Secure private application access with Privileged Identity Management (PIM) and Global Secure Access
Microsoft Entra Private Access provides secure access to private applications. Private Access includes built-in capabilities for maintaining a secure environment. Microsoft Entra Private Access does this by controlling access to private apps and preventing unauthorized or compromised devices from accessing critical resources. For general corporate access, see Microsoft Entra Private Access.
For the scenario where you need to control access to specific critical resources, such as highly valued servers and applications, Microsoft recommends that you add an extra security layer by enforcing just-in-time privileged access on top of their already secured private access.
This article discusses how to use Microsoft Entra Private Access to enable Privileged Identity Management (PIM) with Global Secure Access. For details about enabling (PIM), see What is Microsoft Entra Privileged Identity Management?.
Ensure secure access to your high value private applications
Customers should consider configuring PIM using Global Secure Access to enable:
Enhanced Security: PIM allows for just-in-time privileged access, reducing the risk of excessive, unnecessary, or misused access permissions within your environment. This enhanced security aligns with the Zero Trust principle, ensuring that users have access only when they need it.
Compliance and Auditing: Using PIM with Microsoft Global Secure Access can help ensure that your organization meets compliance requirements by providing detailed tracking and logging of privileged access requests. For details about PIM licensing, see Microsoft Entra ID Governance licensing fundamentals
Prerequisites
- Microsoft Entra ID license that includes Privileged Identity Management (PIM)
- Microsoft Entra Private Access
Secure private access
To successfully implement secure private access, you must complete these three steps:
Step 1: Configure and assign groups
To begin, we configure and assign groups by creating a Microsoft Entra ID group, onboard it as a PIM managed group, update group assignments with eligible membership, and specify access for user and devices.
Sign in to Microsoft Entra as at least a Privileged Role Administrator.
Browse to Identity > Groups > All groups.
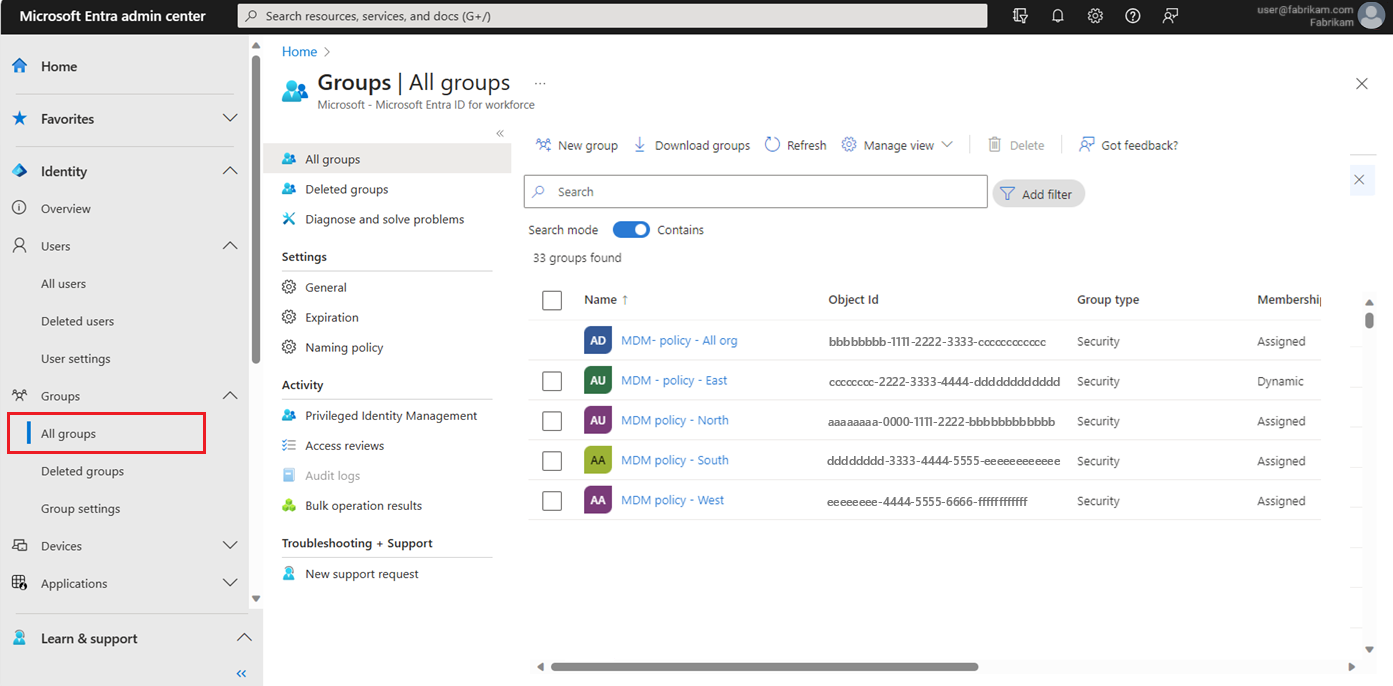
Select New group.
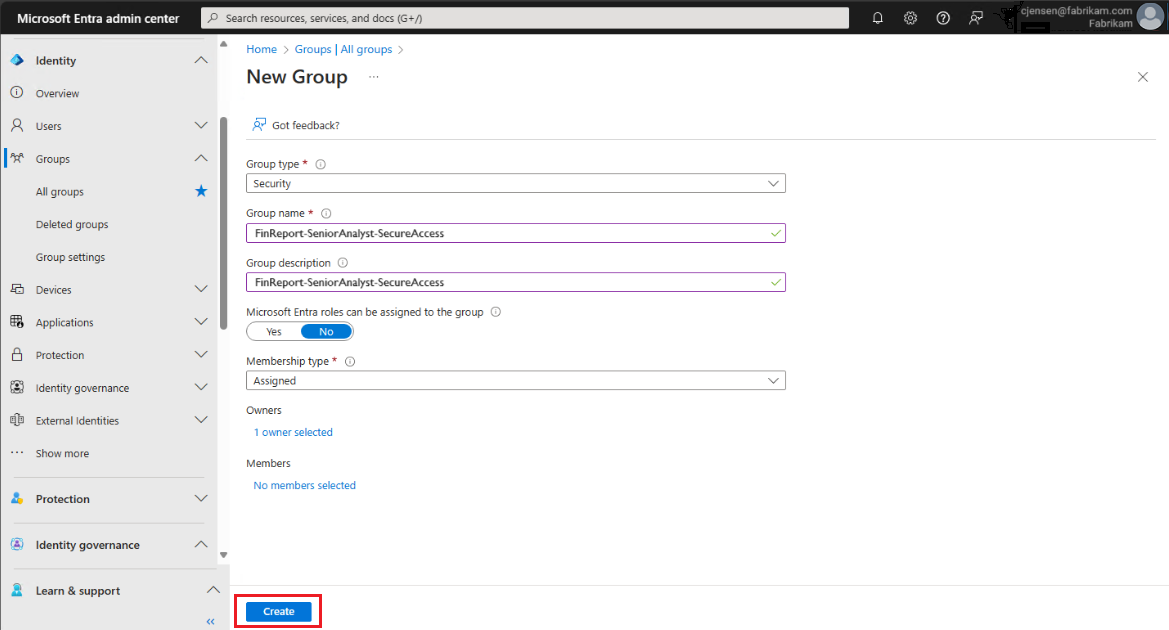
In the Group type, select Security.
Provide a group name; for example,
FinReport-SeniorAnalyst-SecureAccess.- This group name example indicates the application (FinReport), the role (SeniorAnalyst), and the nature of the group (SecureAccess), We recommend choosing a name that reflects the group's function or the assets it protects.
In the Membership type option, select Assigned.
Select Create.


Onboard the group to PIM
- Sign in to Microsoft Entra as at least a Privileged Role Administrator.
- Browse to Identity Governance > Privileged Identity Management.
- Select Groups, then Discover groups.
- Select the group that you created; for example,
FinReport-SeniorAnalyst-SecureAccess, then select Manage groups. - When prompted for onboarding, select OK.
Update PIM policy role settings (optional step)
- Select Setting, then select Member.
- Adjust any other settings you want in the Activation tab.
- Set the Activation Max Duration; for example, 0.5 hours.
- In the On activation option, require Azure MFA, and select Update.
Assign eligible membership
Select Assignments, then Add assignments.
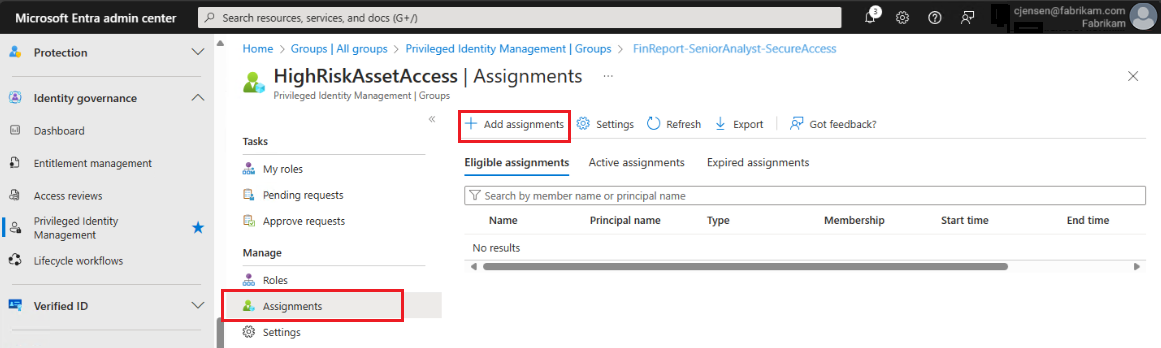
In the Role option, select Member, then select Next.
Add the selected members that you would like to include for the role.
In the Assignment Type option, select Eligible, then select Assign.

Quick Access assignment
- Sign in to Microsoft Entra as at least a Privileged Role Administrator.
- Browse to Global Secure Access > Quick Access > Users and groups.
- Select Add user/group, then specify the group that you created; for example,
FinReport-SeniorAnalyst-SecureAccess.
Note
This scenario is most effective when you choose Per-app Access, as Quick Access is used here for reference only. Apply the same steps if you choose Enterprise Applications.
Client-side experience
Even if a user and their device meet security requirements, attempting to access a privileged resource results in an error. This error occurs because Microsoft Entra Private Access recognizes that the user hasn't been assigned access to the application.

Step 2: Activate privileged access
Next, we activate group membership using the Microsoft Entra admin center, and then attempt to connect with the new role activated.
Sign in to Microsoft Entra as at least a Privileged Role Administrator.
Browse to Identity Governance > Privileged Identity Management.
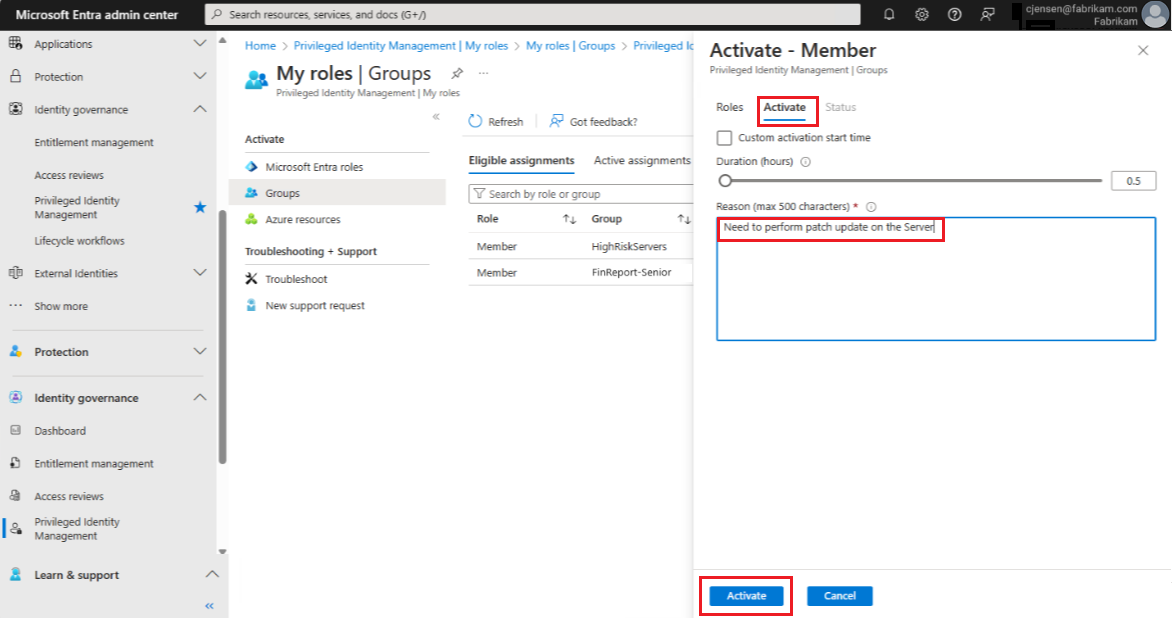
Select My roles > Groups to see all eligible assignments.
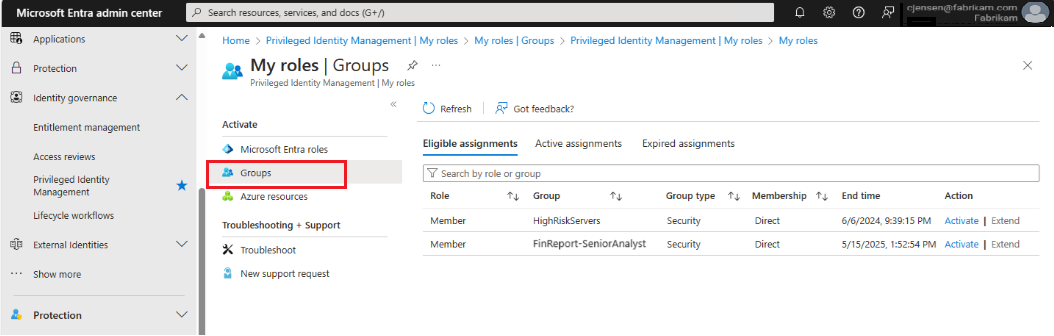
Select Activate, then type the reason in the Reason box. You can also choose to adjust the parameters of the session, then select Activate.
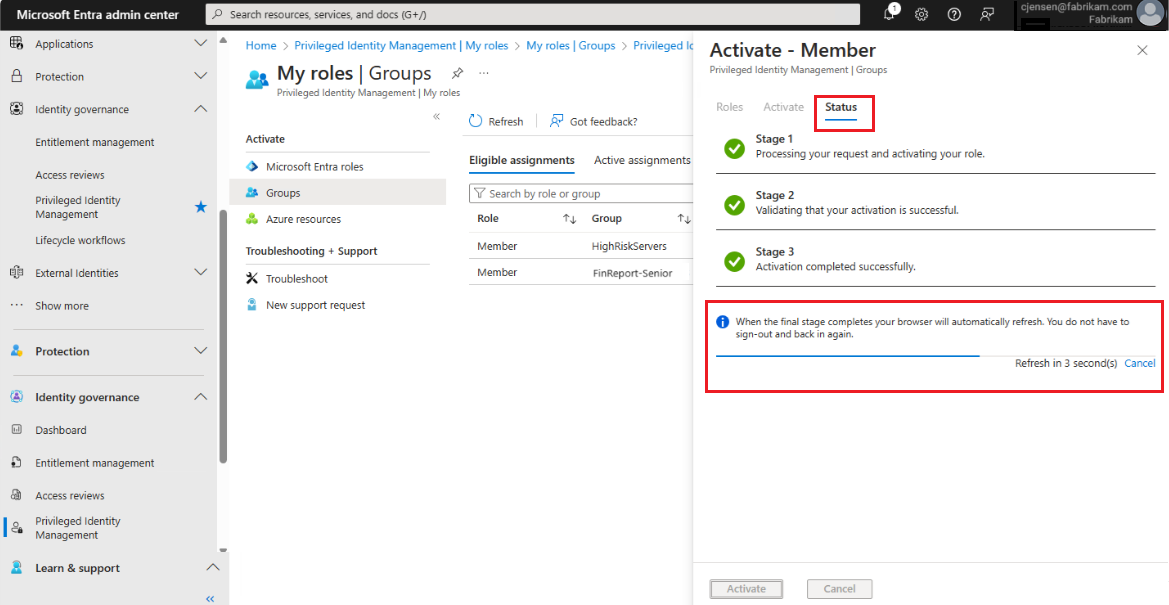
Once the role is activated, you receive a confirmation from the portal.


Reattempt to connect with role activated
Browse any of the published resources, as you should be able to successfully connect to them.

Deactivate the role
If the work is completed ahead of the time you allocated, you can choose to deactivate the role. This action terminates the role membership.
Sign in to Microsoft Entra as at least a Privileged Role Administrator.
Browse to Identity Governance > Privileged Identity Management.
Select My roles, then Groups.
Select Deactivate.
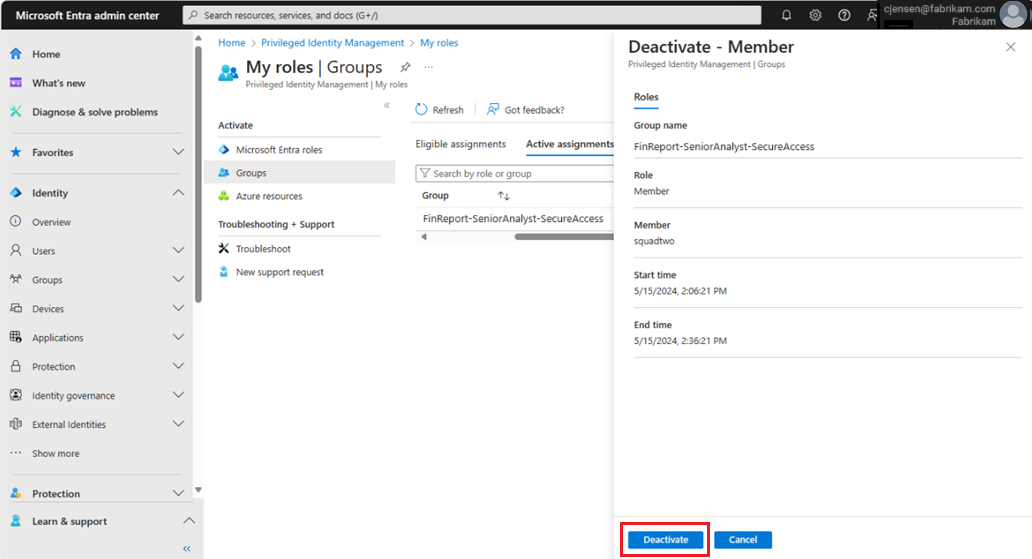
A confirmation is sent to you once the role is deactivated.

Step 3: Follow compliance guidance
This final step enables you to successfully maintain a history of access requests and activations. The standard log format helps to meet tracking and logging compliance guidance and provide an audit trail.
