Trigger on-demand backup of an Azure Database for MySQL - Flexible Server instance by using the Azure portal
This article provides a step-by-step procedure to trigger an on-demand backup from the Azure portal.
Prerequisites
You need an Azure Database for MySQL Flexible Server instance to complete this how-to guide.
- Create a MySQL flexible server instance by following the steps in the article Quickstart: Create an instance of Azure Database for MySQL with the Azure portal.
Trigger on-demand backup
Follow these steps to trigger backup on demand:
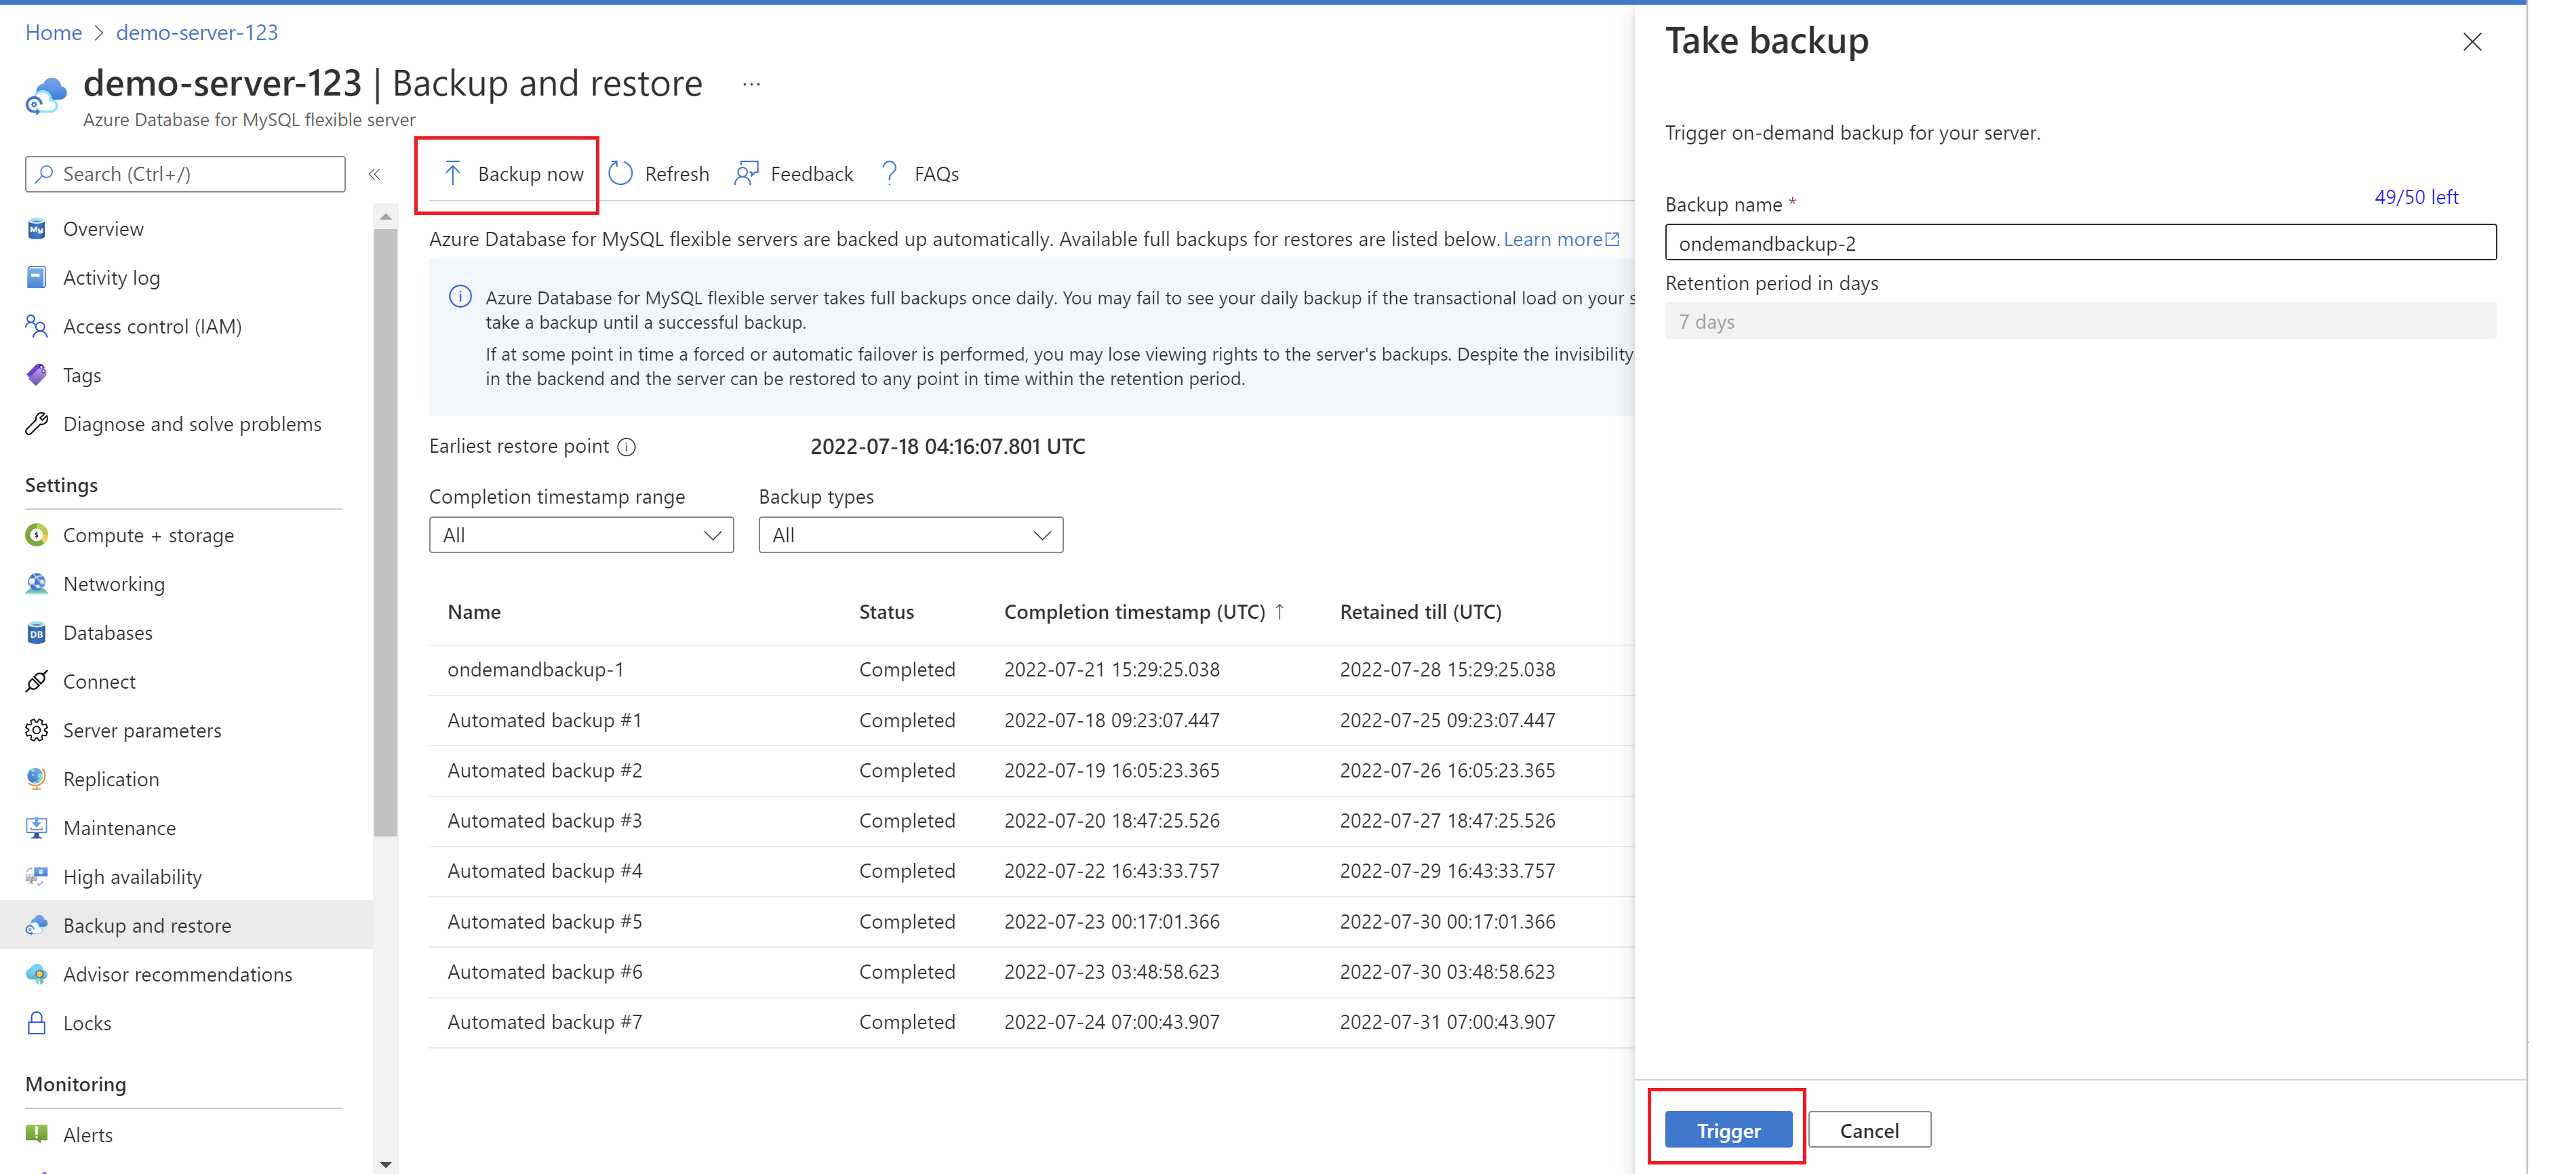
In the Azure portal, choose your Azure Database for the MySQL flexible server instance you want to back up.
Under Settings select Backup and restore from the left panel.
From the Backup and restore page, select Backup Now.
Now on the Take backup page, in the Backup name field, provide a custom name for the backup.
Select Trigger
Once completed, the on-demand and automated backups are listed.
Trigger an On-Demand Backup and Export (preview)
Note
The "On-Demand Backup and Export" feature in Azure Database for MySQL Flexible Server, currently in preview, has been temporarily paused. This decision was made to address certain technical blockers identified during the preview phase, which impact the restorability of exported backups. As a result, exporting backups to external storage accounts will not be available until further notice.
Follow these steps to trigger an on-demand backup and export:
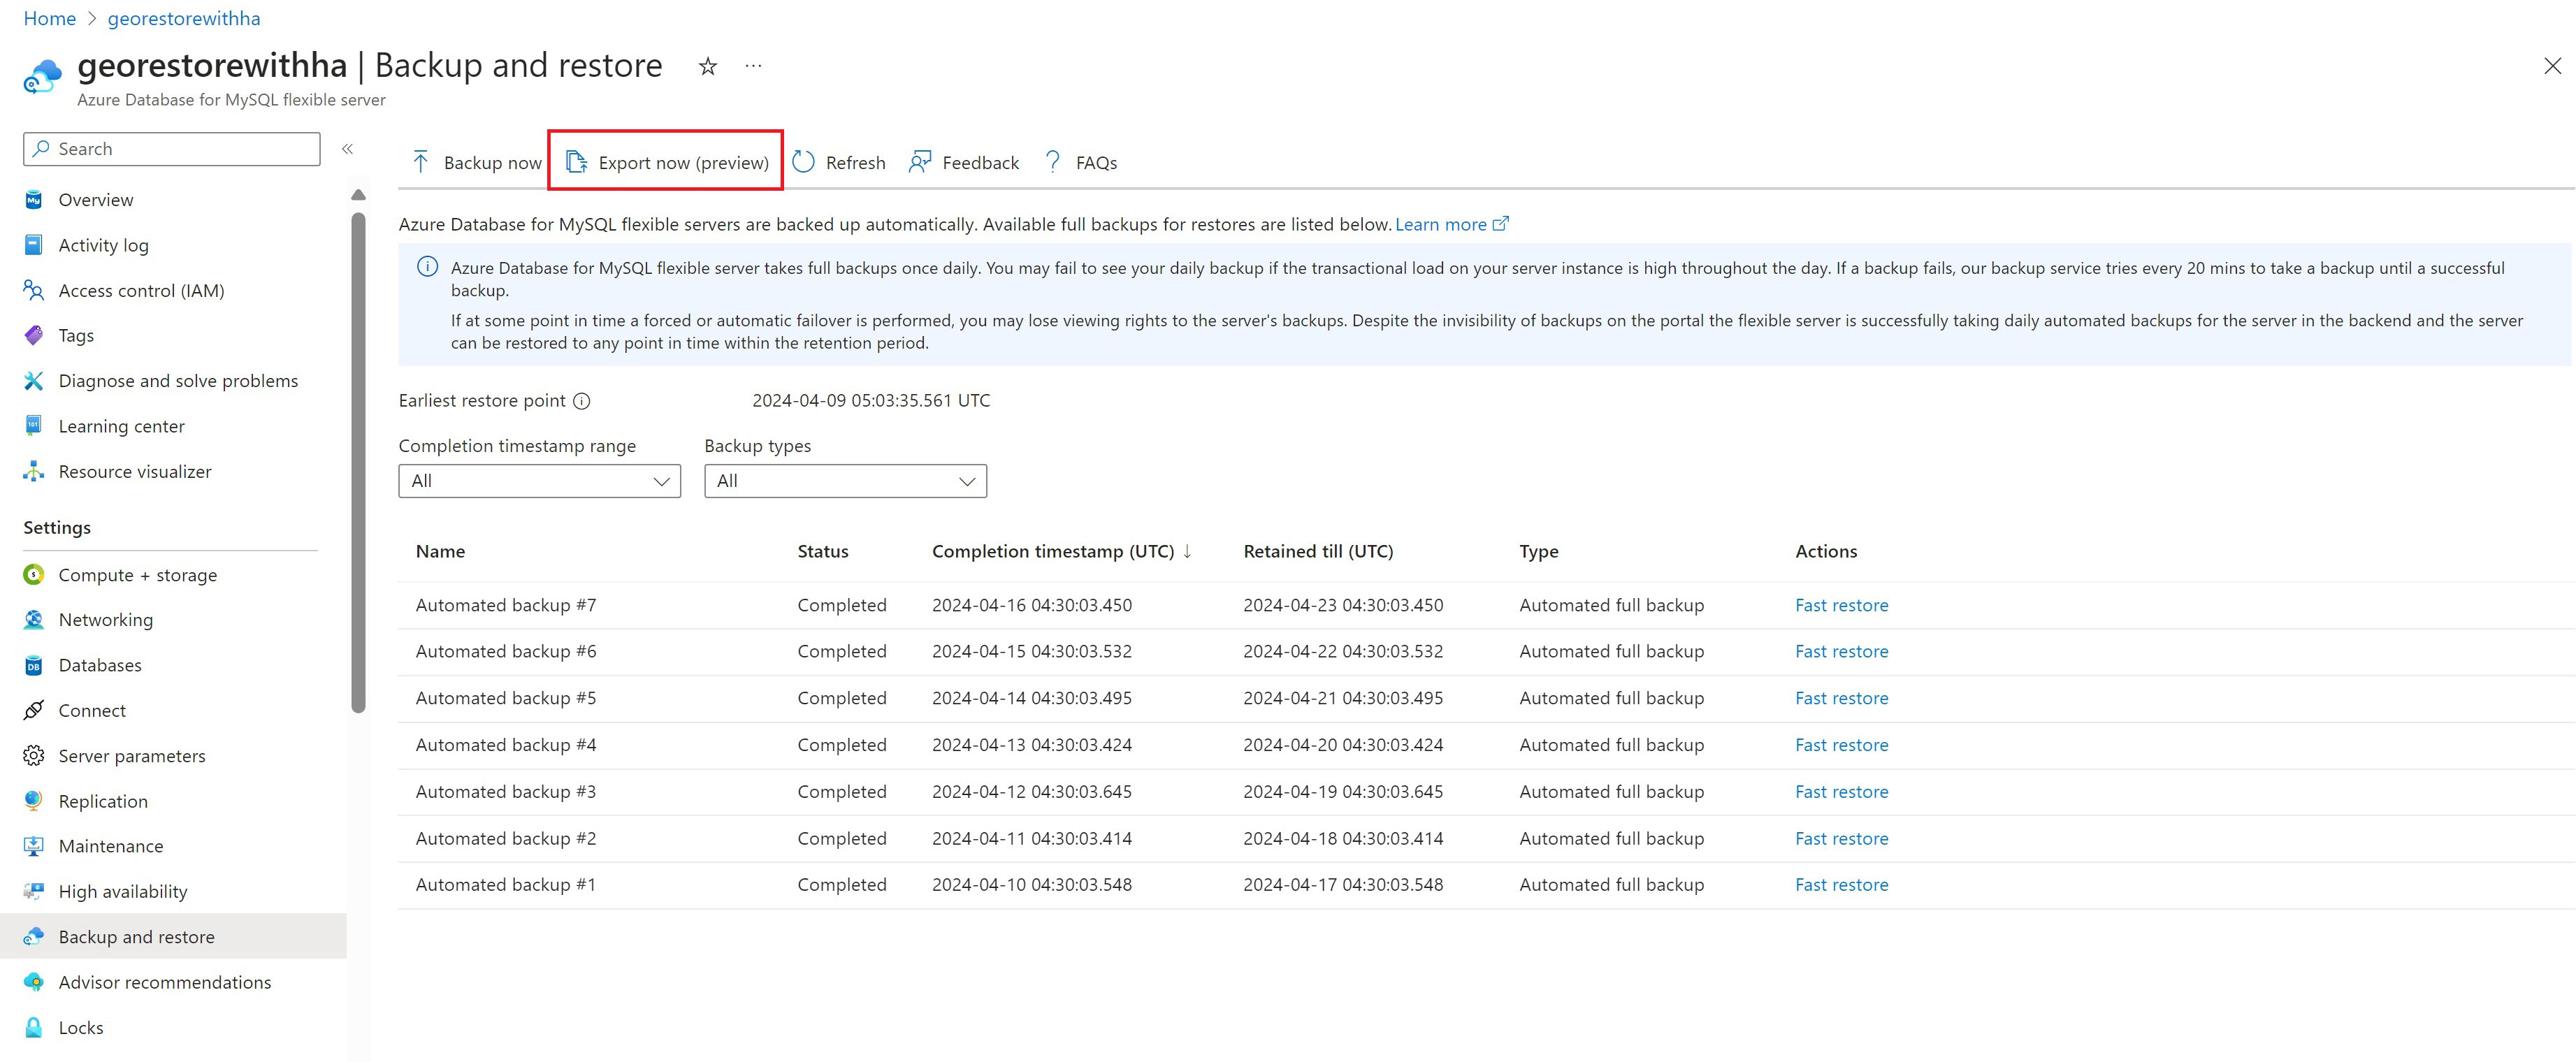
In the Azure portal, choose your Azure Database for MySQL Flexible Server instance to take a backup of and export.
Under Settings select Backup and restore from the left panel.
From the Backup and restore page, select Export now.

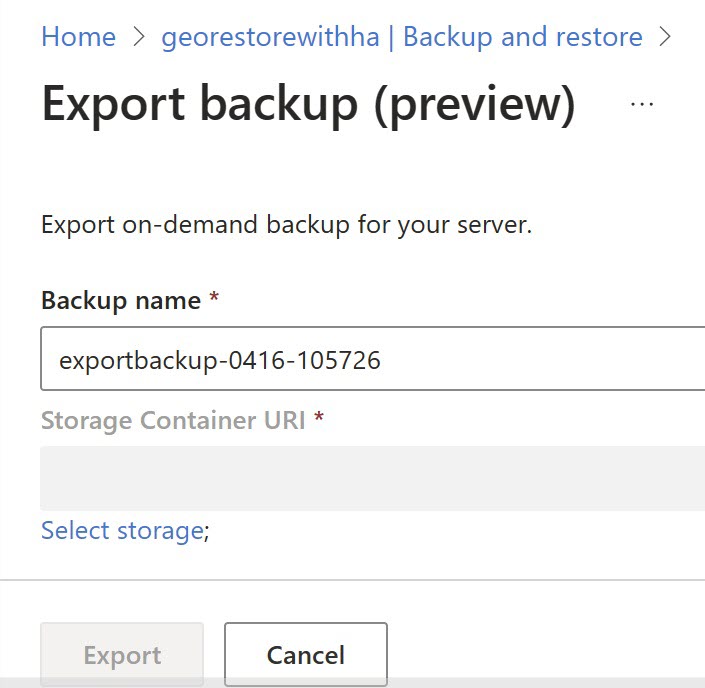
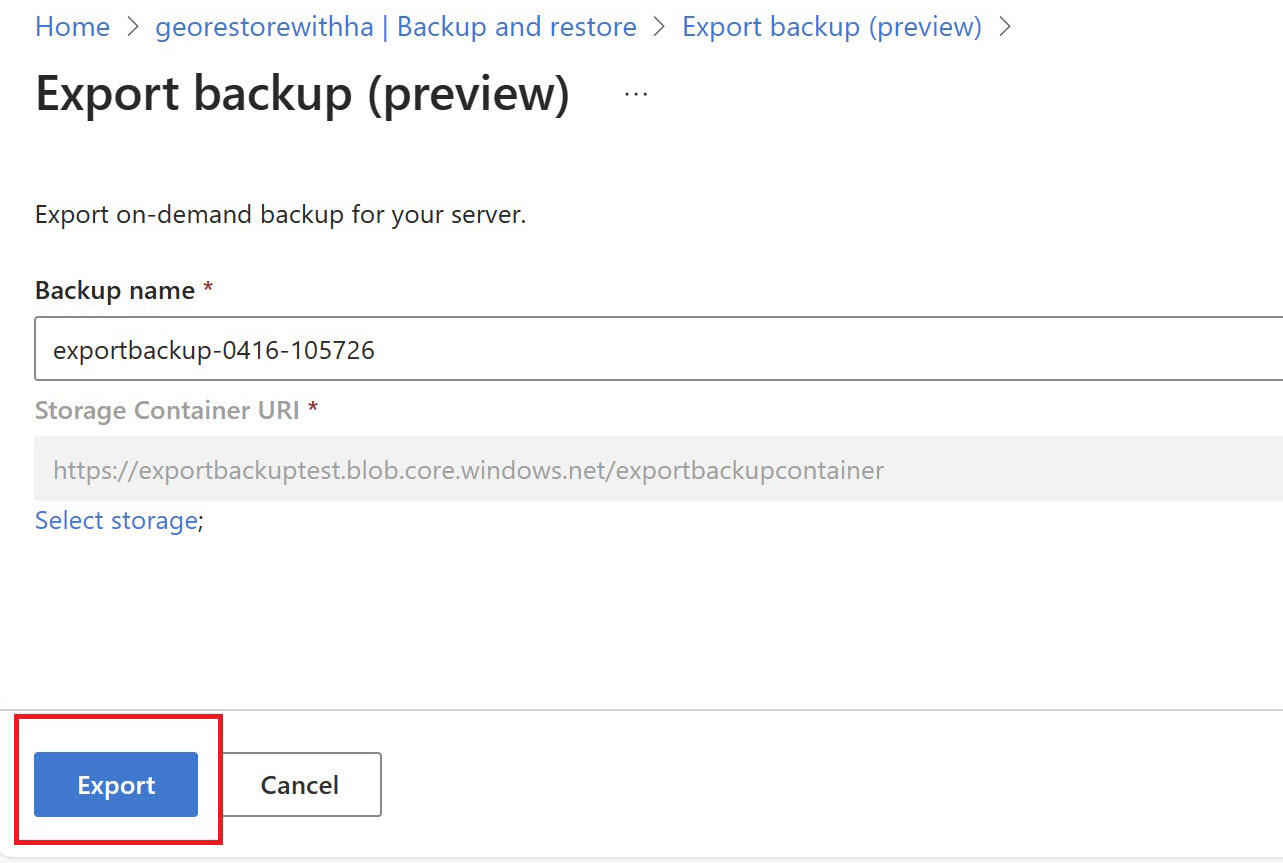
When the Export backup page is shown, provide a custom name for the backup in the Backup name field or use the default populated name.

Select Select storage, then select the storage account, which is the target for the on-demand backup to be exported to.

Select the container from the list displayed, then Select.

Then select Export.

You should see the exported on-demand backup in the target storage account once exported.
If you don't have a precreated storage account to select from, select "+Storage Account," and the portal initiates a storage account creation workflow to help you create a storage account to export the backup.
Restore from an exported on-demand full backup
Download the backup file from the Azure storage account using Azure Storage Explorer.
Install the MySQL community version from MySQL. Download MySQL Community Server. The downloaded version must be the same or compatible with the version of the exported backups.
Open the command prompt and navigate to the bin directory of the downloaded MySQL community version folder.
Now specify the data directory using
--datadirby running the following command at the command prompt:mysqld --datadir=<path to the data folder of the files downloaded>Connect to the database using any supported client.
