Monitor health for Standard workflows in Azure Logic Apps with Health Check (Preview)
Applies to: Azure Logic Apps (Standard)
Note
This capability is in preview and is subject to the Supplemental Terms of Use for Microsoft Azure Previews.
To help your Standard logic app workflows run with high availability and performance, set up the Health Check feature on your logic app to monitor workflow health. This feature makes sure that your app stays resilient by providing the following benefits:
Proactive monitoring so you can find and address issues before they impact your customers.
Increased availability by removing unhealthy instances from the load balancer in Azure.
Automatic recovery by replacing unhealthy instances.
How does Health Check work in Azure Logic Apps?
Health Check is an Azure App Service platform feature that redirects requests away from unhealthy instances and replaces those instances if they stay unhealthy. For a Standard logic app, you can specify a path to a "health" workflow that you create for this purpose and for the App Service platform to ping at regular intervals. For example, the following sample shows the basic minimum workflow:

After you enable Health Check, the App Service platform pings the specified workflow path for all logic app instances at 1-minute intervals. If the logic app requires scale out, Azure immediately creates a new instance. The App Service platform pings the workflow path again to make sure that the new instance is ready.
If a workflow running on an instance doesn't respond to the ping after 10 requests, the App Service platform determines that the instance is unhealthy and removes the instance for that specific logic app from the load balancer in Azure. With a two-request minimum, you can specify the required number of failed requests to determine that an instance is unhealthy. For more information about overriding default behavior, see Configuration: Monitor App Service instances using Health Check.
After Health Check removes the unhealthy instance, the feature continues to ping the instance. If the instance responds with a healthy status code, inclusively ranging from 200 to 299, Health Check returns the instance to the load balancer. However, if the instance remains unhealthy for one hour, Health Check replaces the instance with a new one. For more information, see What App Service does with health checks.
Prerequisites
An Azure account and subscription. If you don't have a subscription, sign up for a free Azure account.
A Standard logic app resource with the following attributes:
An App Service plan that is scaled to two or more instances.
A "health" workflow that specifically runs the health check and the following elements:
Starts with the Request trigger named When a HTTP request is received.
Includes the Request action named Response. Set this action to return a status code inclusively between 200 to 299.
You can also optionally have this workflow run other checks to make sure that dependent services are available and work as expected. As a best practice, make sure that the Health Check path monitors critical components in your workflow. For example, if your app depends on a database and messaging system, make sure that Health Check can access those components.
Limitations
The specified path length must have fewer than 65 characters.
Changes in the specified path for Health Check cause your logic app to restart. To reduce the impact on production apps, set up and use deployment slots.
Health Check doesn't follow redirects for the 302 status code So, avoid redirects, and make sure to select a valid path that exists in your app.
Set up Health Check
In the Azure portal, go to your Standard logic app resource.
On the logic app menu, select Diagnose and solve problems.
On the Diagnose and solve problems page, in the search box, find and select Health Check feature.
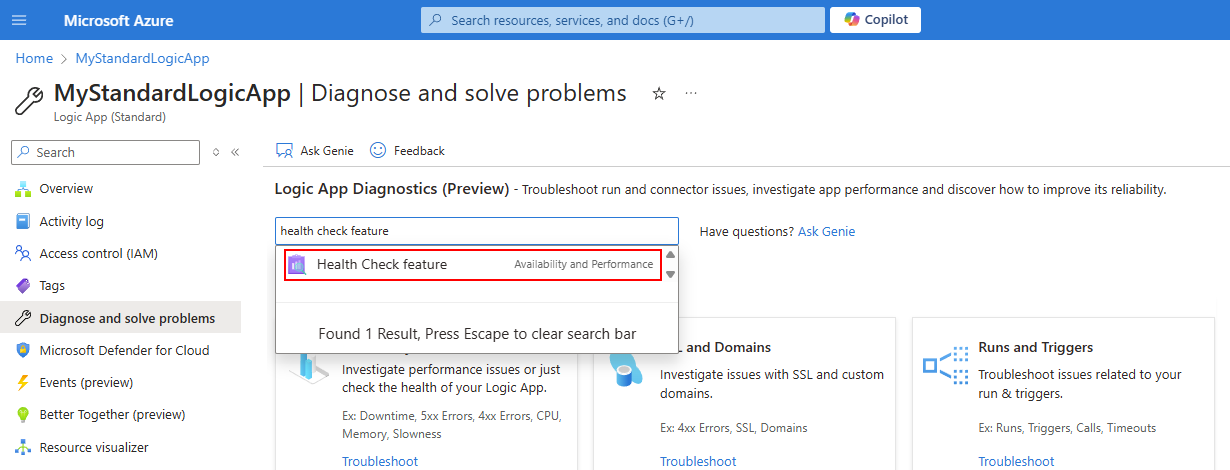
In the Health Check feature section, select View Solution.
On the pane that opens, select Configure and enable health check feature.
On the Health check tab, next to Health check, select Enable.
Under Health probe path, in the Path box, enter a valid URL path for your workflow, for example:
/api/{workflow-name}/triggers/{request-trigger-name}/invoke?api-version=2022-05-01Save your changes. On the toolbar, select Save.
In your logic app resource, update the host.json file by following these steps:
On the logic app menu, under Development Tools, select Advanced Tools > Go.
On the KuduPlus toolbar, from the Debug console menu, select CMD.
Browse to the site/wwwroot folder, and next to the host.json file, select Edit.
In the host.json file editor, add the Workflows.HealthCheckWorkflowName property and your health workflow name to enable health check authentication and authorization, for example:
"extensions": {
    "workflow": {
        "settings": {
            "Workflows.HealthCheckWorkflowName" : "{workflow-name}"
        }
    }
}
When you finish, select Save.

Troubleshooting
After I set the health path, my health workflow doesn't trigger.
On the logic app menu, select Diagnose and solve problems.
Under Troubleshooting categories, select Availability and Performance.
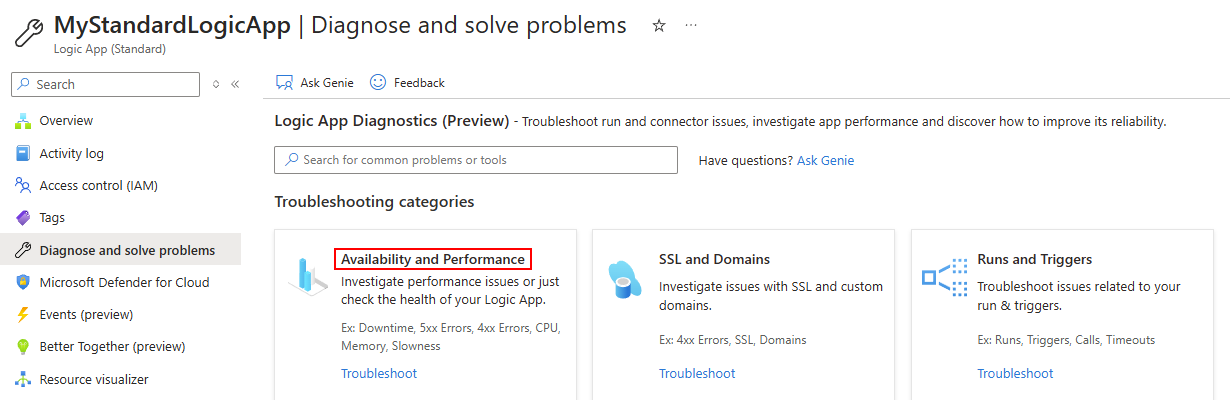
Find and review the status code section.
If the status code is 401, check the following items:
Confirm that the Workflows.HealthCheckWorkflowName property and your health workflow name appear correctly.
Confirm that the specified path matches the workflow and Request trigger name.

Common health problems
My logic app resource doesn't have any workflows, but the resource still scales out to multiple instances, which incur costs.
This behavior can happen if the logic app resource isn't healthy, or typically, when the resource can't access the associated storage account. Try checking whether the storage account has a networking setting that blocks access, or whether you have a networking firewall policy that blocks access.
My logic app resource has workflows, but they aren't running or running a lot. However, the resource still scales out to multiple instances, which incur costs.
Check whether the resource can access the associated storage account.
For example, does the storage account have a networking setting that blocks access? Do you have a networking firewall policy that blocks access?
If your workflow starts with a service provider-based trigger, make sure that the trigger successfully works as expected.
A failed service provider-based trigger might create unnecessary scaling, which can dramatically increase costs.
For example, a common oversight is setting a trigger without giving your logic app permission or access to the destination, such as a Service Bus queue, Storage blob container, and so on.
Make sure to monitor such triggers at all times, so that you can promptly detect and fix any issues.
My workflow intermittently stops processing messages for hours but runs well most other times.
If your Standard logic app uses the hosting option named Workflow Service Plan and isn't hosted in an App Service Environment, make sure that Runtime Scale Monitoring is turned on and that Always Ready Instances is set to at least 1.
In the Azure portal, find and open your logic app, if not already open.
On the logic app menu, under Settings, select Configuration.
On the Workflow runtime settings tab, next to Runtime Scale Monitoring, select On.
On the Configuration page toolbar, select Save.
On the logic app menu, under Settings, select Scale out (App Service plan).
Under App Scale out, make sure that the Always Ready Instances value isn't set to 0.