Use Azure Key Vault secrets in your Pipeline
Azure DevOps Services | Azure DevOps Server 2022 - Azure DevOps Server 2019
With Azure Key Vault, you can securely store and manage your sensitive information such as passwords, API keys, certificates, etc. using Azure Key Vault, you can easily create and manage encryption keys to encrypt your data. Azure Key Vault can also be used to manage certificates for all your resources. In this article, you'll learn how to:
- Create an Azure Key Vault.
- Configure your Key Vault permissions.
- Create a new service connection.
- Query for secrets from your Azure Pipeline.
Prerequisites
- An Azure DevOps organization. Create one for free if you don't already have one.
- Your own project. Create a project if you don't already have one.
- Your own repository. Create a new Git repo if you don't already have one.
- An Azure subscription. Create a free Azure account if you don't already have one.
Create a Key Vault
Sign in to the Azure portal, and then select Create a resource.
Under Key Vault, select Create to create a new Azure Key Vault.
Select your Subscription from the dropdown menu, and then select an existing Resource group or create a new one. Enter a Key vault name, select a Region, choose a Pricing tier, and select Next if you want to configure additional properties. Otherwise, select Review + create to keep the default settings.
Once the deployment is complete, select Go to resource.
Set up authentication
Create a user-assigned managed identity
Sign in to the Azure portal, then search for the Managed Identities service in the search bar.
Select Create, and fill out the required fields as follows:
- Subscription: Select your subscription from the dropdown menu.
- Resource group: Select an existing resource group or create a new one.
- Region: Select a region from the dropdown menu.
- Name: Enter a name for your user-assigned managed identity.
Select Review + create when you're done.
Once the deployment is complete, select Go to resource, then copy the Subscription and Client ID values to use in upcoming steps.
Navigate to Settings > Properties, and copy your managed identity's Tenant ID value for later use.
Set up key vault access policies
Navigate to Azure portal, and use the search bar to find the key vault you created earlier.
Select Access policies, then select Create to add a new policy.
Under Secret permissions, select Get and List checkboxes.
Select Next, then paste the Client ID of the managed identity you created earlier into the search bar. Select your managed identity.
Select Next, then Next once more.
Review your new policies, and then select Create when you're done.
Create a service connection
Sign in to your Azure DevOps organization, and then navigate to your project.
Select Project settings > Service connections, and then select New service connection to create a new service connection.
Select Azure Resource Manager, then select Next.
For Identity Type, select Managed identity from the dropdown menu.
For Step 1: Managed identity details, fill out the fields as follows:
Subscription for managed identity: Select the subscription containing your managed identity.
Resource group for managed identity: Select the resource group hosting your managed identity.
Managed Identity: Select your managed identity from the dropdown menu.
For Step 2: Azure Scope, fill out the fields as follows:
Scope level for service connection: Select Subscription.
Subscription for service connection: Select the subscription your managed identity will access.
Resource group for Service connection: (Optional) Specify to limit managed identity access to one resource group.
For Step 3: Service connection details:
Service connection name: Provide a name for your service connection.
Service Management Reference: (Optional) Context information from an ITSM database.
Description: (Optional) Add a description.
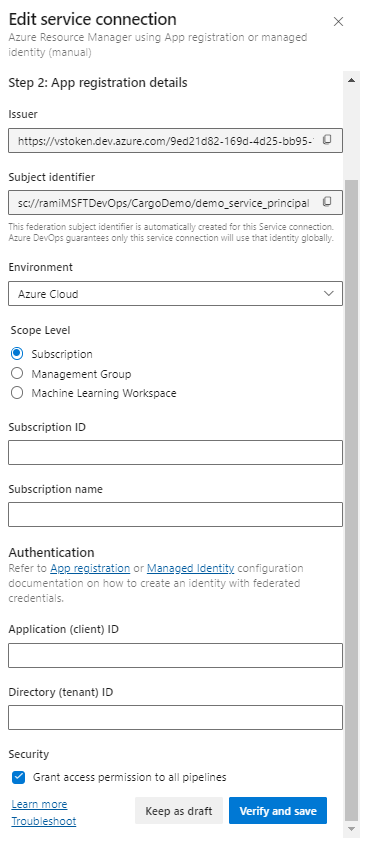
In Security, select the Grant access permission to all pipelines checkbox to allow all pipelines to use this service connection. If you don't select this option, you must manually grant access to each pipeline that uses this service connection.
Select Save to validate and create the service connection.
Query and use secrets in your pipeline
Using the Azure Key Vault task we can fetch the value of our secret and use it in subsequent tasks in our pipeline. One thing to keep in mind is that secrets must be explicitly mapped to env variable as shown in the example below.
pool:
  vmImage: 'ubuntu-latest'

steps:
- task: AzureKeyVault@1
  inputs:
    azureSubscription: 'SERVICE_CONNECTION_NAME'
    KeyVaultName: 'KEY_VAULT_NAME'
    SecretsFilter: '*'

- bash: |
    echo "Secret Found! $MY_MAPPED_ENV_VAR"
  env:
    MY_MAPPED_ENV_VAR: $(SECRET_NAME)
The output from the last bash command should look like this:
Secret Found! ***
Note
If you want to query for multiple secrets from your Azure Key Vault, use the SecretsFilter argument to pass a comma-separated list of secret names: 'secret1, secret2'.


