Install and configure Visual Studio Code for Go development
In this quickstart, you will install the Go compiler and tools, install Visual Studio Code to write Go code, and install the Go for Visual Studio Code extension which provides support while writing Go. Once configured, you'll create an application, run it, and use the debugging tool to pause execution and observe the value of variables.
1. Install Go
Install Go from the official page. This installs the compiler, the Standard Library, and many tools to perform various common tasks during Go development. To install Go, follow these steps:
- In a web browser, go to go.dev/doc/install.
- Download the version for your operating system.
- Once downloaded, run the installer.
- Open a command prompt, then run
go versionto confirm Go was installed.
2. Install Visual Studio Code
Next, install Visual Studio Code, which provides basic code editing functionality. Follow these steps to install Visual Studio Code:
- Open a web browser and go to code.visualstudio.com.
- Download the version for your operating system. Visual Studio Code supports Windows, Linux, and macOS.
- Once downloaded, run the installer.
3. Install the Go extension
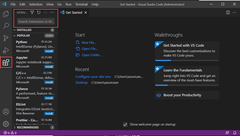
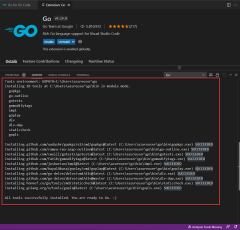
Install and configure the Go for Visual Studio Code extension. Visual Studio Code and the Go extension provide IntelliSense, code navigation, and advanced debugging.
4. Update the Go tools
5. Write a sample Go program
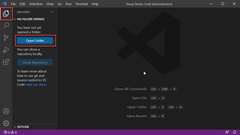
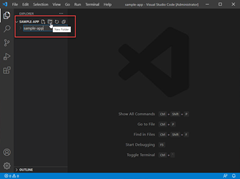
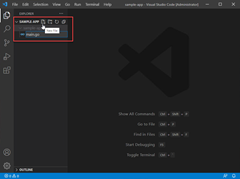
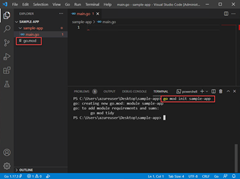
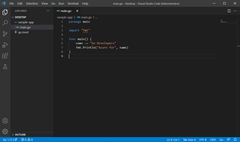
In this step, you write and run a sample Go program to make sure everything is working correctly.
Sample code:
package main

import "fmt"

func main() {
    name := "Go Developers"
    fmt.Println("Azure for", name)
}
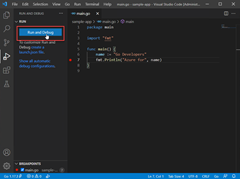
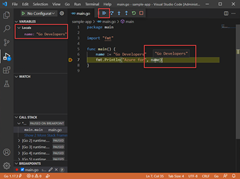
6. Run the debugger
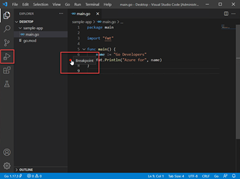
Finally, create a break point and use the debugger tool to step through code line by line and view the values stored in variables while the application is paused.
