Get started with multimodal vision chat apps using Azure OpenAI
This article shows you how to use Azure OpenAI multimodal models to generate responses to user messages and uploaded images in a chat app. This chat app sample also includes all the infrastructure and configuration needed to provision Azure OpenAI resources and deploy the app to Azure Container Apps using the Azure Developer CLI.
By following the instructions in this article, you will:
- Deploy an Azure Container chat app that uses managed identity for authentication.
- Upload images to be used as part of the chat stream.
- Chat with an Azure OpenAI multimodal Large Language Model (LLM) using the OpenAI library.
Once you complete this article, you can start modifying the new project with your custom code.
Note
This article uses one or more AI app templates as the basis for the examples and guidance in the article. AI app templates provide you with well-maintained, easy to deploy reference implementations that help to ensure a high-quality starting point for your AI apps.
Architectural overview
A simple architecture of the chat app is shown in the following diagram:

The chat app is running as an Azure Container App. The app uses managed identity via Microsoft Entra ID to authenticate with Azure OpenAI, instead of an API key. The chat app uses Azure OpenAI to generate responses to user messages.
The application architecture relies on the following services and components:
- Azure OpenAI represents the AI provider that we send the user's queries to.
- Azure Container Apps is the container environment where the application is hosted.
- Managed Identity helps us ensure best-in-class security and eliminates the requirement for you as a developer to securely manage a secret.
- Bicep files for provisioning Azure resources, including Azure OpenAI, Azure Container Apps, Azure Container Registry, Azure Log Analytics, and role-based access control (RBAC) roles.
- Microsoft AI Chat Protocol provides standardized API contracts across AI solutions and languages. The chat app conforms to the Microsoft AI Chat Protocol.
- A Python Quart that uses the
openaipackage to generate responses to user messages with uploaded image files. - A basic HTML/JavaScript frontend that streams responses from the backend using JSON Lines over a ReadableStream.
Cost
In an attempt to keep pricing as low as possible in this sample, most resources use a basic or consumption pricing tier. Alter your tier level as needed based on your intended usage. To stop incurring charges, delete the resources when you're done with the article.
Learn more about cost in the sample repo.
Prerequisites
A development container environment is available with all dependencies required to complete this article. You can run the development container in GitHub Codespaces (in a browser) or locally using Visual Studio Code.
To use this article, you need to fulfill the following prerequisites:
An Azure subscription - Create one for free
Azure account permissions - Your Azure Account must have
Microsoft.Authorization/roleAssignments/writepermissions, such as User Access Administrator or Owner.GitHub account
Open development environment
Use the following instructions to deploy a preconfigured development environment containing all required dependencies to complete this article.
GitHub Codespaces runs a development container managed by GitHub with Visual Studio Code for the Web as the user interface. For the most straightforward development environment, use GitHub Codespaces so that you have the correct developer tools and dependencies preinstalled to complete this article.
Important
All GitHub accounts can use Codespaces for up to 60 hours free each month with 2 core instances. For more information, see GitHub Codespaces monthly included storage and core hours.
Use the following steps to create a new GitHub Codespace on the main branch of the Azure-Samples/openai-chat-vision-quickstart GitHub repository.
Right-click on the following button, and select Open link in new window. This action allows you to have the development environment and the documentation available for review.

On the Create codespace page, review and then select Create new codespace
Wait for the codespace to start. This startup process can take a few minutes.
Sign in to Azure with the Azure Developer CLI in the terminal at the bottom of the screen.
azd auth loginCopy the code from the terminal and then paste it into a browser. Follow the instructions to authenticate with your Azure account.
The remaining tasks in this article take place in the context of this development container.
Deploy and run
The sample repository contains all the code and configuration files for the chat app Azure deployment. The following steps walk you through the sample chat app Azure deployment process.
Deploy chat app to Azure
Important
Azure resources created in this section incur immediate costs. These resources may accrue costs even if you interrupt the command before it is fully executed.
Run the following Azure Developer CLI command for Azure resource provisioning and source code deployment:
azd upUse the following table to answer the prompts:
Prompt Answer Environment name Keep it short and lowercase. Add your name or alias. For example, chat-vision. It's used as part of the resource group name.Subscription Select the subscription to create the resources in. Location (for hosting) Select a location near you from the list. Location for the Azure OpenAI model Select a location near you from the list. If the same location is available as your first location, select that. Wait until app is deployed. Deployment usually takes between 5 and 10 minutes to complete.
Use chat app to ask questions to the Large Language Model
The terminal displays a URL after successful application deployment.
Select that URL labeled
Deploying service webto open the chat application in a browser.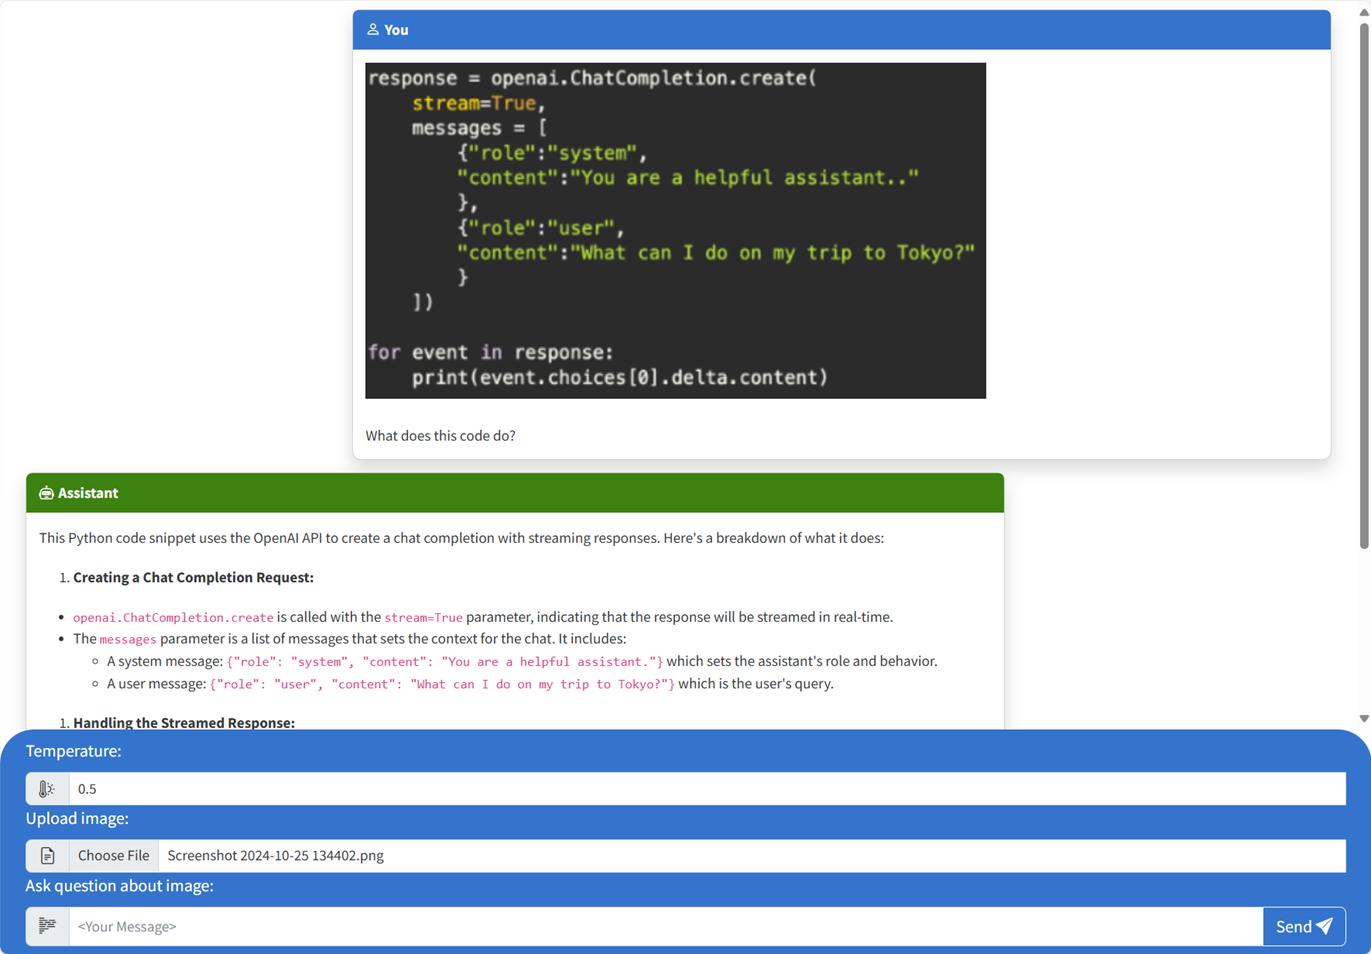
In the browser, upload an image by clicking on Choose File and selecting an image.
Ask a question about the uploaded image such as "What is the image about?".
The answer comes from Azure OpenAI and the result is displayed.

Exploring the sample code
While OpenAI and Azure OpenAI Service rely on a common Python client library, small code changes are needed when using Azure OpenAI endpoints. This sample uses an Azure OpenAI multimodal model to generate responses to user messages and uploaded images.
Base64 Encoding the uploaded image in the frontend
The uploaded image needs to be Base64 encoded so that it can be used directly as a Data URI as part of the message.
In the sample, the following frontend code snippet in the scripttag of the src/quartapp/templates/index.html file handles that functionality. The toBase64 arrow function uses the readAsDataURL method of theFileReader to asynchronously read in the uploaded image file as a base64 encoded string.
    const toBase64 = file => new Promise((resolve, reject) => {
        const reader = new FileReader();
        reader.readAsDataURL(file);
        reader.onload = () => resolve(reader.result);
        reader.onerror = reject;
    });
The toBase64 function is called by a listener on the form's submit event. When the submit event fires, the listener checks for an image file, and handles it if present by Base64 encoding the image using the toBase64 function. The new image data url, fileData, is then appended to the message.
    form.addEventListener("submit", async function(e) {
        e.preventDefault();

        const file = document.getElementById("file").files[0];
        const fileData = file ? await toBase64(file) : null;

        const message = messageInput.value;

        const userTemplateClone = userTemplate.content.cloneNode(true);
        userTemplateClone.querySelector(".message-content").innerText = message;
        if (file) {
            const img = document.createElement("img");
            img.src = fileData;
            userTemplateClone.querySelector(".message-file").appendChild(img);
        }
        targetContainer.appendChild(userTemplateClone);
Handling the image with the backend
In the src\quartapp\chat.py file, the backend code for image handling starts after configuring keyless authentication.
Note
For more information on how to use keyless connections for authentication and authorization to Azure OpenAI, check out the Get started with the Azure OpenAI security building block Microsoft Learn article.
Chat handler function
The chat_handler() function waits for incoming request JSON data from the chat/stream endpoint then processes it. The messages are then extracted from the JSON data. Finally, the base64 encoded image is retrieved from the JSON data.
@bp.post("/chat/stream")
async def chat_handler():
    request_json = await request.get_json()
    request_messages = request_json["messages"]
    # get the base64 encoded image from the request
    image = request_json["context"]["file"]
Response stream using the OpenAI Client and model
The response_stream inside the chat_handler function handles the chat completion call in the route. The following code snippet begins by preprocessing the user content messages. If an image is present, the image URL is appended to the user content, with the
    @stream_with_context
    async def response_stream():
        # This sends all messages, so API request may exceed token limits
        all_messages = [
            {"role": "system", "content": "You are a helpful assistant."},
        ] + request_messages[0:-1]
        all_messages = request_messages[0:-1]
        if image:
            user_content = []
            user_content.append({"text": request_messages[-1]["content"], "type": "text"})
            user_content.append({"image_url": {"url": image, "detail": "auto"}, "type": "image_url"})
            all_messages.append({"role": "user", "content": user_content})
        else:
            all_messages.append(request_messages[-1])
Note
For more information on the image detail parameter and related settings, check out the Detail parameter settings in image processing: Low, High, Auto section in the "Use GPT-4 Turbo with Vision" Microsoft Learn article.
Next, bp.openai_client.chat.completions gets chat completions via an Azure OpenAI API call and streams the response.
        chat_coroutine = bp.openai_client.chat.completions.create(
            # Azure OpenAI takes the deployment name as the model name
            model=os.environ["OPENAI_MODEL"],
            messages=all_messages,
            stream=True,
            temperature=request_json.get("temperature", 0.5),
        )
Finally, the response is streamed back to the client, with error handling for any exceptions.
        try:
            async for event in await chat_coroutine:
                event_dict = event.model_dump()
                if event_dict["choices"]:
                    yield json.dumps(event_dict["choices"][0], ensure_ascii=False) + "\n"
        except Exception as e:
            current_app.logger.error(e)
            yield json.dumps({"error": str(e)}, ensure_ascii=False) + "\n"

    return Response(response_stream())
Other sample resources to explore
In addition to the chat app sample, there are other resources in the repo to explore for further learning. Check out the following notebooks in the notebooks directory:
| Notebook | Description |
|---|---|
| chat_pdf_images.ipynb | This notebook demonstrates how to convert PDF pages to images and send them to a vision model for inference. |
| chat_vision.ipynb | This notebook is provided for manual experimentation with the vision model used in the app. |
Clean up resources
Clean up Azure resources
The Azure resources created in this article are billed to your Azure subscription. If you don't expect to need these resources in the future, delete them to avoid incurring more charges.
To delete the Azure resources and remove the source code, run the following Azure Developer CLI command:
azd down --purge
Clean up GitHub Codespaces
Deleting the GitHub Codespaces environment ensures that you can maximize the amount of free per-core hours entitlement you get for your account.
Important
For more information about your GitHub account's entitlements, see GitHub Codespaces monthly included storage and core hours.
Sign into the GitHub Codespaces dashboard.
Locate your currently running Codespaces sourced from the
Azure-Samples//openai-chat-vision-quickstartGitHub repository.Open the context menu for the codespace and select Delete.

Get help
Log your issue to the repository's Issues.