Migrate a self-hosted Socket.IO app to be fully managed on Azure
In this article, you migrate a Socket.IO chat app to Azure by using Web PubSub for Socket.IO.
Important
Raw connection strings appear in this article for demonstration purposes only.
A connection string includes the authorization information required for your application to access Azure Web PubSub service. The access key inside the connection string is similar to a root password for your service. In production environments, always protect your access keys. Use Azure Key Vault to manage and rotate your keys securely and secure your connection with WebPubSubServiceClient.
Avoid distributing access keys to other users, hard-coding them, or saving them anywhere in plain text that is accessible to others. Rotate your keys if you believe they may have been compromised.
Prerequisites
- An Azure account with an active subscription. If you don't have one, you can create a free account.
- Some familiarity with the Socket.IO library.
Create a Web PubSub for Socket.IO resource
Go to the Azure portal.
Search for socket.io, and then select Web PubSub for Socket.IO.
Select a plan, and then select Create.

Migrate the app
For the migration process in this guide, you use a sample chat app provided on Socket.IO's website. You need to make some minor changes to both the server-side and client-side code to complete the migration.
Server side
Locate
index.jsin the server-side code.Add the
@azure/web-pubsub-socket.iopackage:npm install @azure/web-pubsub-socket.ioImport the package:
const { useAzureSocketIO } = require("@azure/web-pubsub-socket.io");Locate in your server-side code where you created the Socket.IO server, and append useAzureSocketIO(...):
Raw connection strings appear in this article for demonstration purposes only. In production environments, always protect your access keys. Use Azure Key Vault to manage and rotate your keys securely and secure your connection with
WebPubSubServiceClient.const io = require("socket.io")(); useAzureSocketIO(io, { hub: "eio_hub", // The hub name can be any valid string. connectionString: process.argv[2] });Important
The
useAzureSocketIOmethod is asynchronous, and it does initialization steps to connect to Web PubSub. You can useawait useAzureSocketIO(...)or useuseAzureSocketIO(...).then(...)to make sure your app server starts to serve requests after the initialization succeeds.If you use the following server APIs, add
asyncbefore using them, because they're asynchronous with Web PubSub for Socket.IO:For example, if there's code like this:
io.on("connection", (socket) => { socket.join("room abc"); });Update it to:
io.on("connection", async (socket) => { await socket.join("room abc"); });This chat example doesn't use any of those APIs. So you don't need to make any changes.
Client side
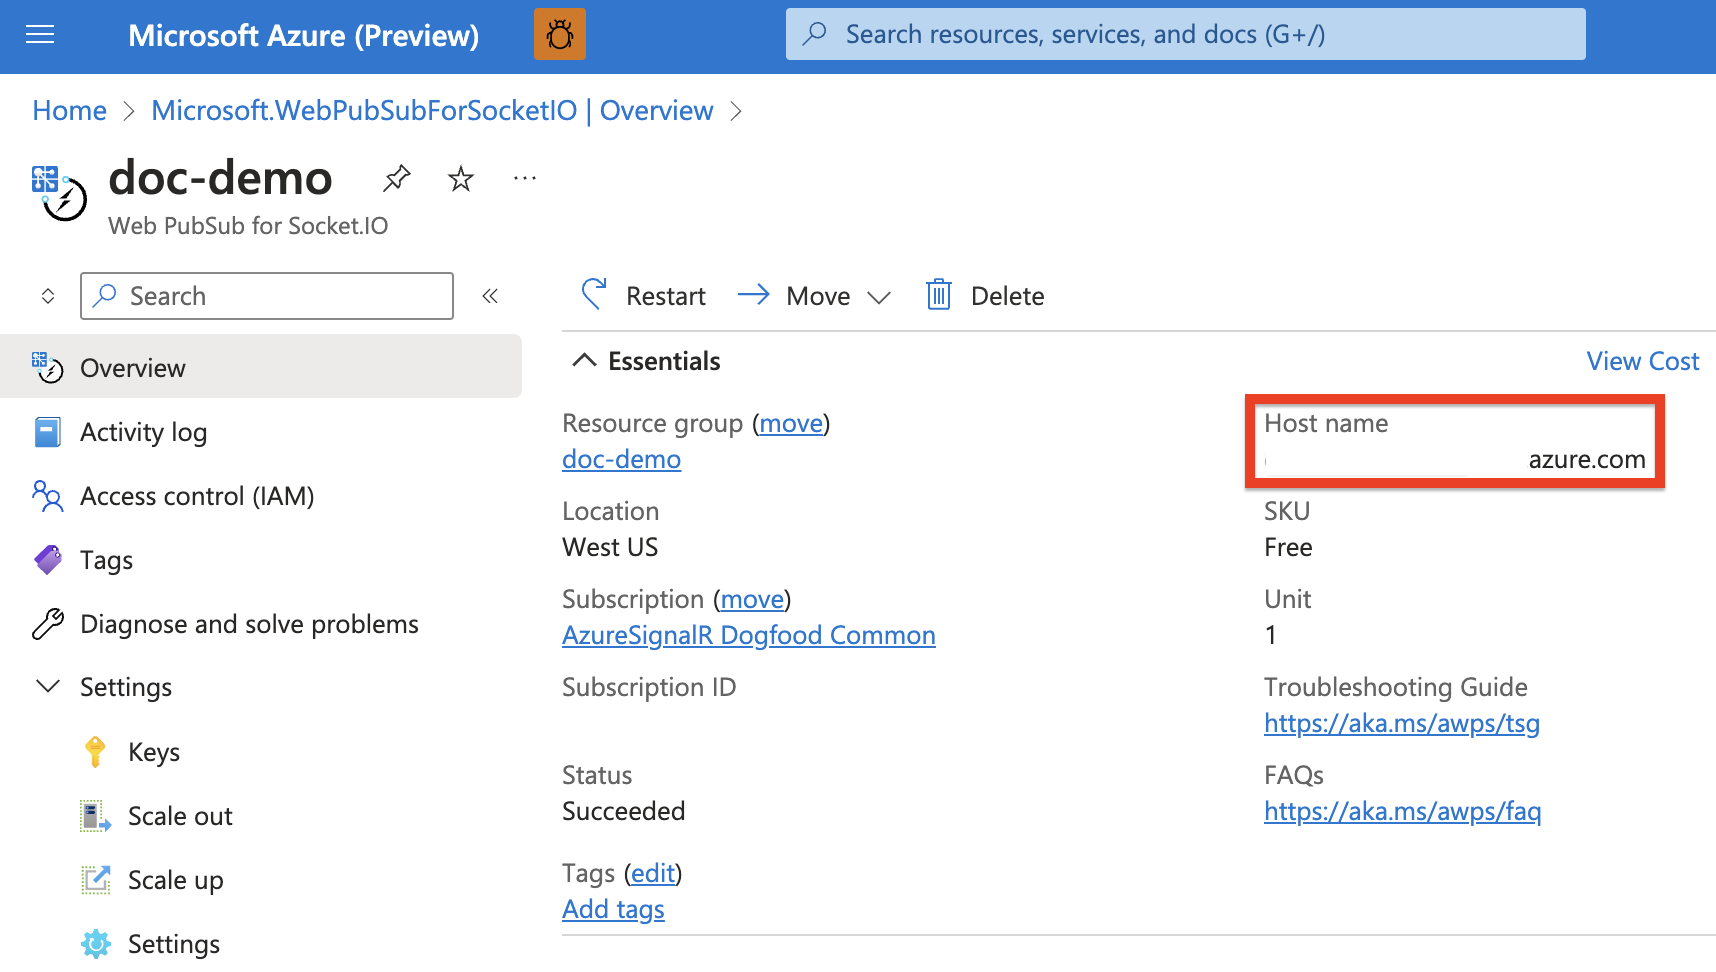
Find the endpoint to your resource on the Azure portal.

Go to
./public/main.jsin the client-side code.Find where the Socket.IO client is created. Replace its endpoint with the Socket.IO endpoint in Azure, and add a
pathoption:const socket = io("<web-pubsub-for-socketio-endpoint>", { path: "/clients/socketio/hubs/eio_hub", });