Get started with Azure Maps iOS SDK (Preview)
The Azure Maps iOS SDK is a vector map library for iOS. This article guides you through the processes of installing the Azure Maps iOS SDK and loading a map.
Note
Azure Maps iOS SDK retirement
The Azure Maps Native SDK for iOS is now deprecated and will be retired on 3/31/25. To avoid service disruptions, migrate to the Azure Maps Web SDK by 3/31/25. For more information, see The Azure Maps iOS SDK migration guide.
Prerequisites
Be sure to complete the steps in the Quickstart: Create an iOS app article.
Localizing the map
The Azure Maps iOS SDK provides three ways of setting the language and regional view of the map. The following code demonstrates the different ways of setting the language to French (fr-FR) and the regional view to Auto.
Set the default language and regional view properties in your app by passing the language and regional view information into the
AzureMapsclass using the staticlanguageandviewproperties.// Alternatively use Azure Active Directory authenticate. AzureMaps.configure(aadClient: "<Your aad clientId>", aadAppId: "<Your aad AppId>", aadTenant: "<Your aad Tenant>") // Set your Azure Maps Key. // AzureMaps.configure(subscriptionKey: "<Your Azure Maps Key>") // Set the language to be used by Azure Maps. AzureMaps.language = "fr-FR" // Set the regional view to be used by Azure Maps. AzureMaps.view = "Auto"You can also pass the language and regional view information to the map control init.
MapControl(options: [
    StyleOption.language("fr-FR"),
    StyleOption.view("Auto")
])
The final way of programmatically setting the language and regional view properties uses the maps
setStylemethod. Use the mapssetStylemethod anytime you need to change the language and regional view of the map.mapControl.getMapAsync { map in map.setStyleOptions([ StyleOption.language("fr-FR"), StyleOption.view("Auto") ]) }
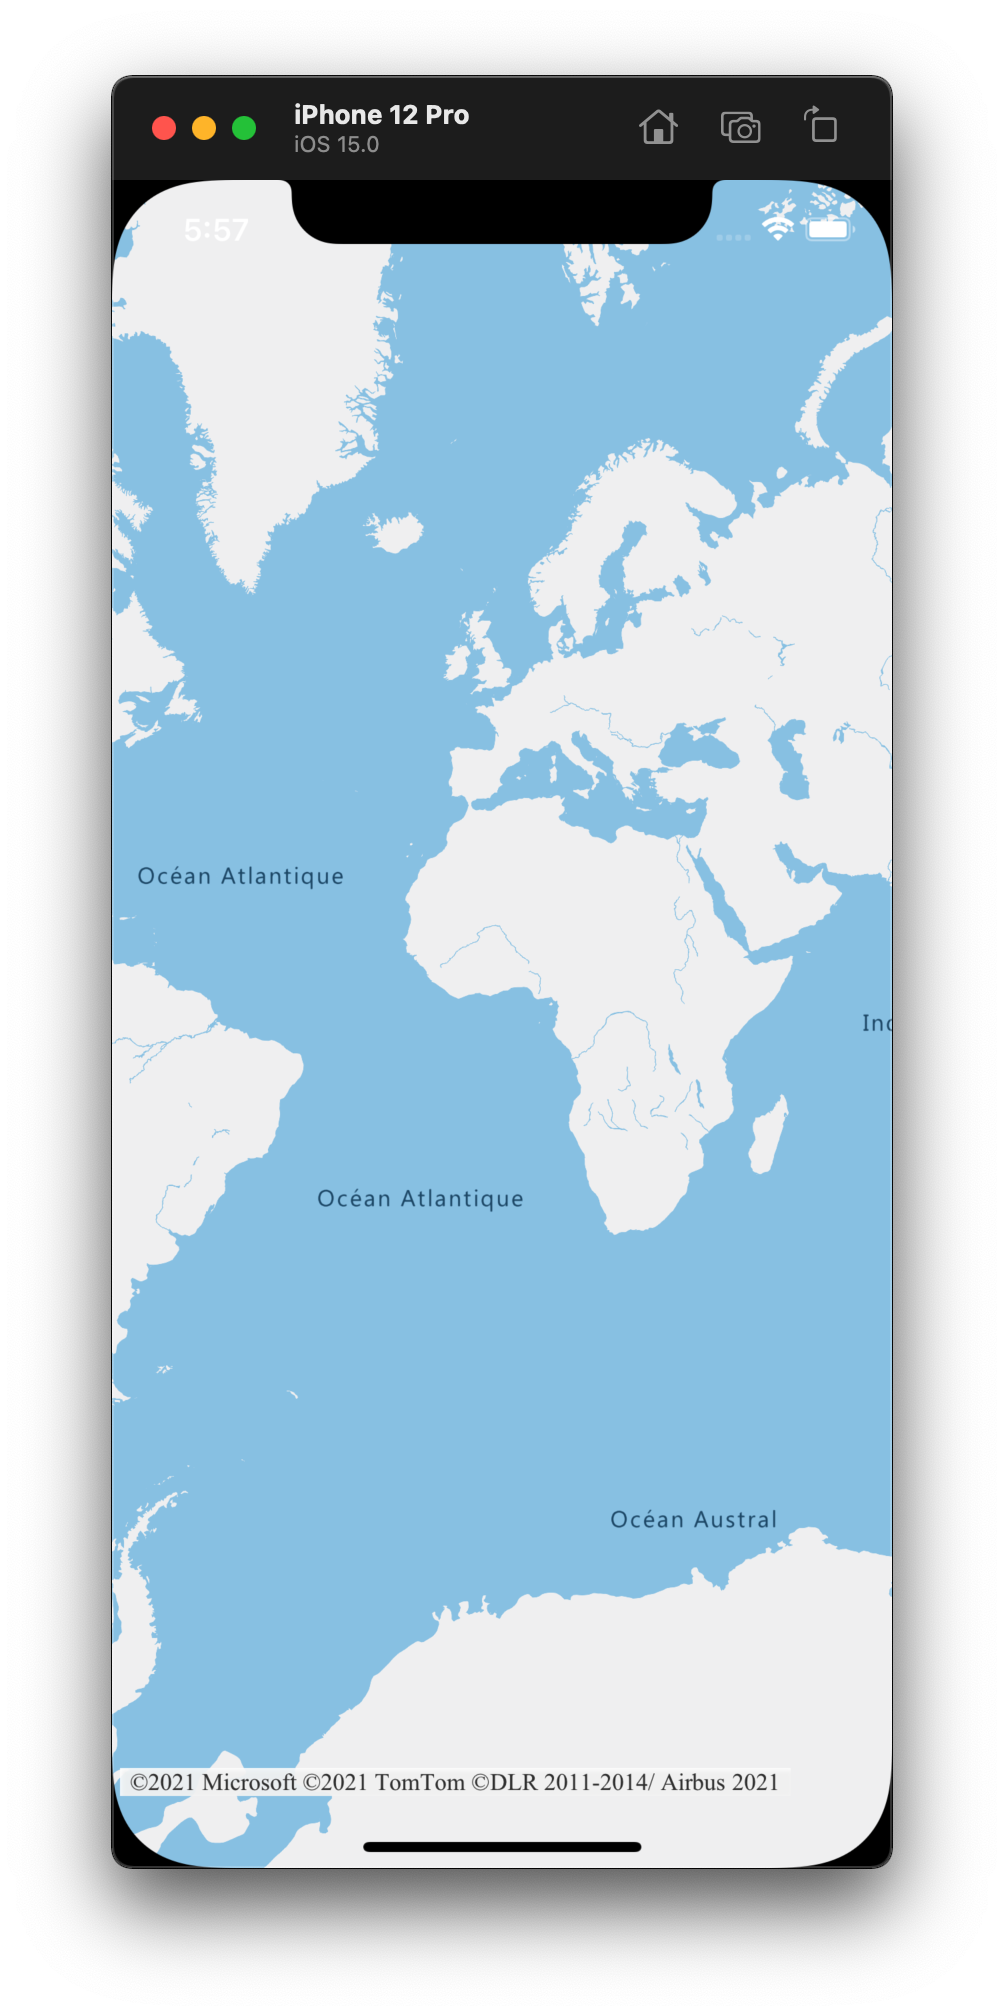
Here's an example of an Azure Maps application with the language set to fr-FR and regional view set to Auto.

For a complete list of supported languages and regional views, see Localization support in Azure Maps.
Navigating the map
This section details the various ways to navigate when in an Azure Maps program.
Zoom the map
- Touch the map with two fingers and pinch together to zoom out or spread the fingers apart to zoom in.
- Double tap the map to zoom in one level.
- Double tap with two fingers to zoom out the map one level.
- Tap twice; on second tap, hold your finger on the map and drag up to zoom in, or down to zoom out.
Pan the map
- Touch the map and drag in any direction.
Rotate the map
- Touch the map with two fingers and rotate.
Pitch the map
- Touch the map with two fingers and drag them up or down together.
Azure Government cloud support
The Azure Maps iOS SDK supports using the Azure Government cloud. You specify using the Azure Maps government cloud domain by adding the following line of code where the Azure Maps authentication details are specified:
AzureMaps.domain = "atlas.azure.us"
Be sure to use Azure Maps authentication details from the Azure Government cloud platform when authenticating the map and services.
Additional information
See the following articles for more code examples: