Integrate Azure OpenAI fine-tuning with Weights & Biases (preview)
Weights & Biases (W&B) is a powerful AI developer platform that enables machine learning practitioners to train, fine-tune, and deploy models efficiently. Azure OpenAI fine-tuning integrates with W&B, allowing you to track metrics, parameters, and visualize your Azure OpenAI fine-tuning training runs within your W&B projects. In this article, we will guide you through setting up the Weights & Biases integration.
Prerequisites
- An Azure OpenAI resource. For more information, see Create a resource and deploy a model with Azure OpenAI. The resource should be in a region that supports fine-tuning.
- Ensure all team members who need to fine-tune models have Cognitive Services OpenAI Contributor access assigned for the new Azure OpenAI resource.
- A Weights & Biases account and API key.
- Azure Key Vault. For more information on creating a key vault, see the Azure Key Vault quickstart.
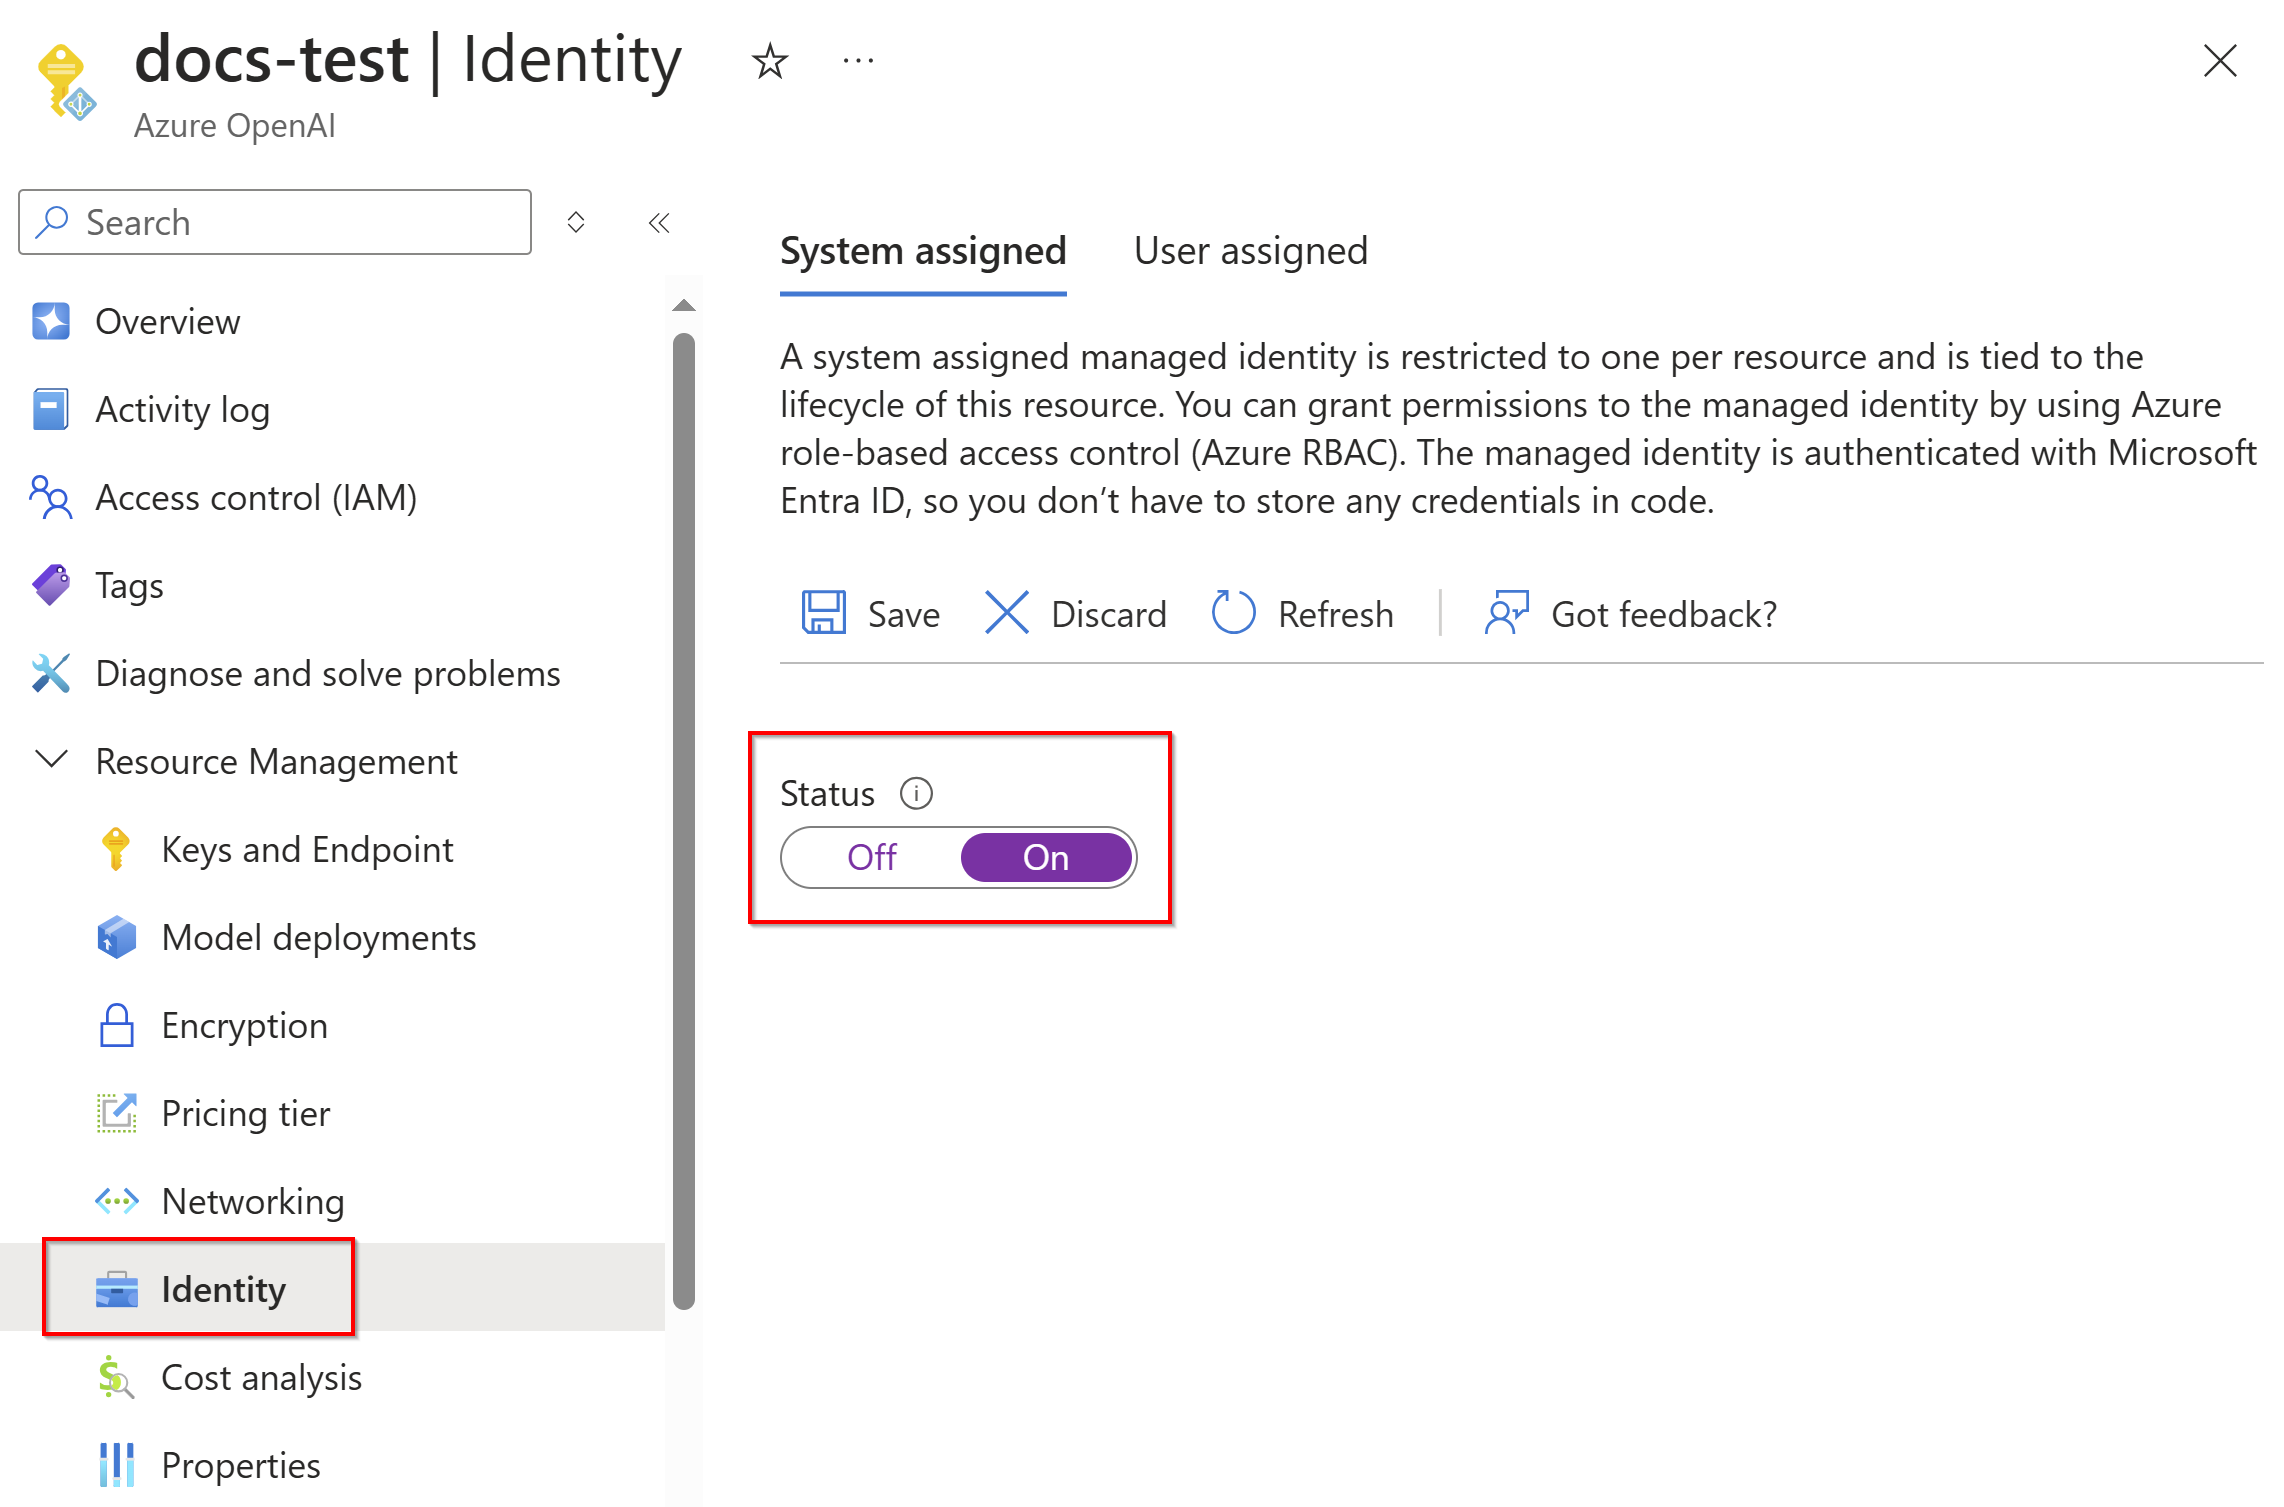
Enable System Managed Identity
First, enable System Managed Identity for your Azure OpenAI resource.
Retrieve Weights & Biases API key
Sign in to https://wandb.ai and go to the User Settings.
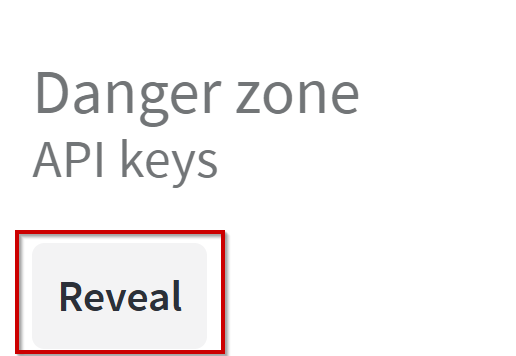
Under API Keys, select Reveal to access your key and copy it to the clipboard.
If you would like to create a new key, use https://wandb.ai/authorize, and copy the key to add to your integration configuration later.
Configure Azure Key Vault
To securely send data from Azure OpenAI to your Weights & Biases projects, you'll need to use Azure Key Vault.
Add your Weights & Biases API key as a Secret to your Azure Key Vault
Navigate to the Azure Key Vault you are planning to use.
To read and write secrets to your Azure Key Vault, you must explicitly assign access.
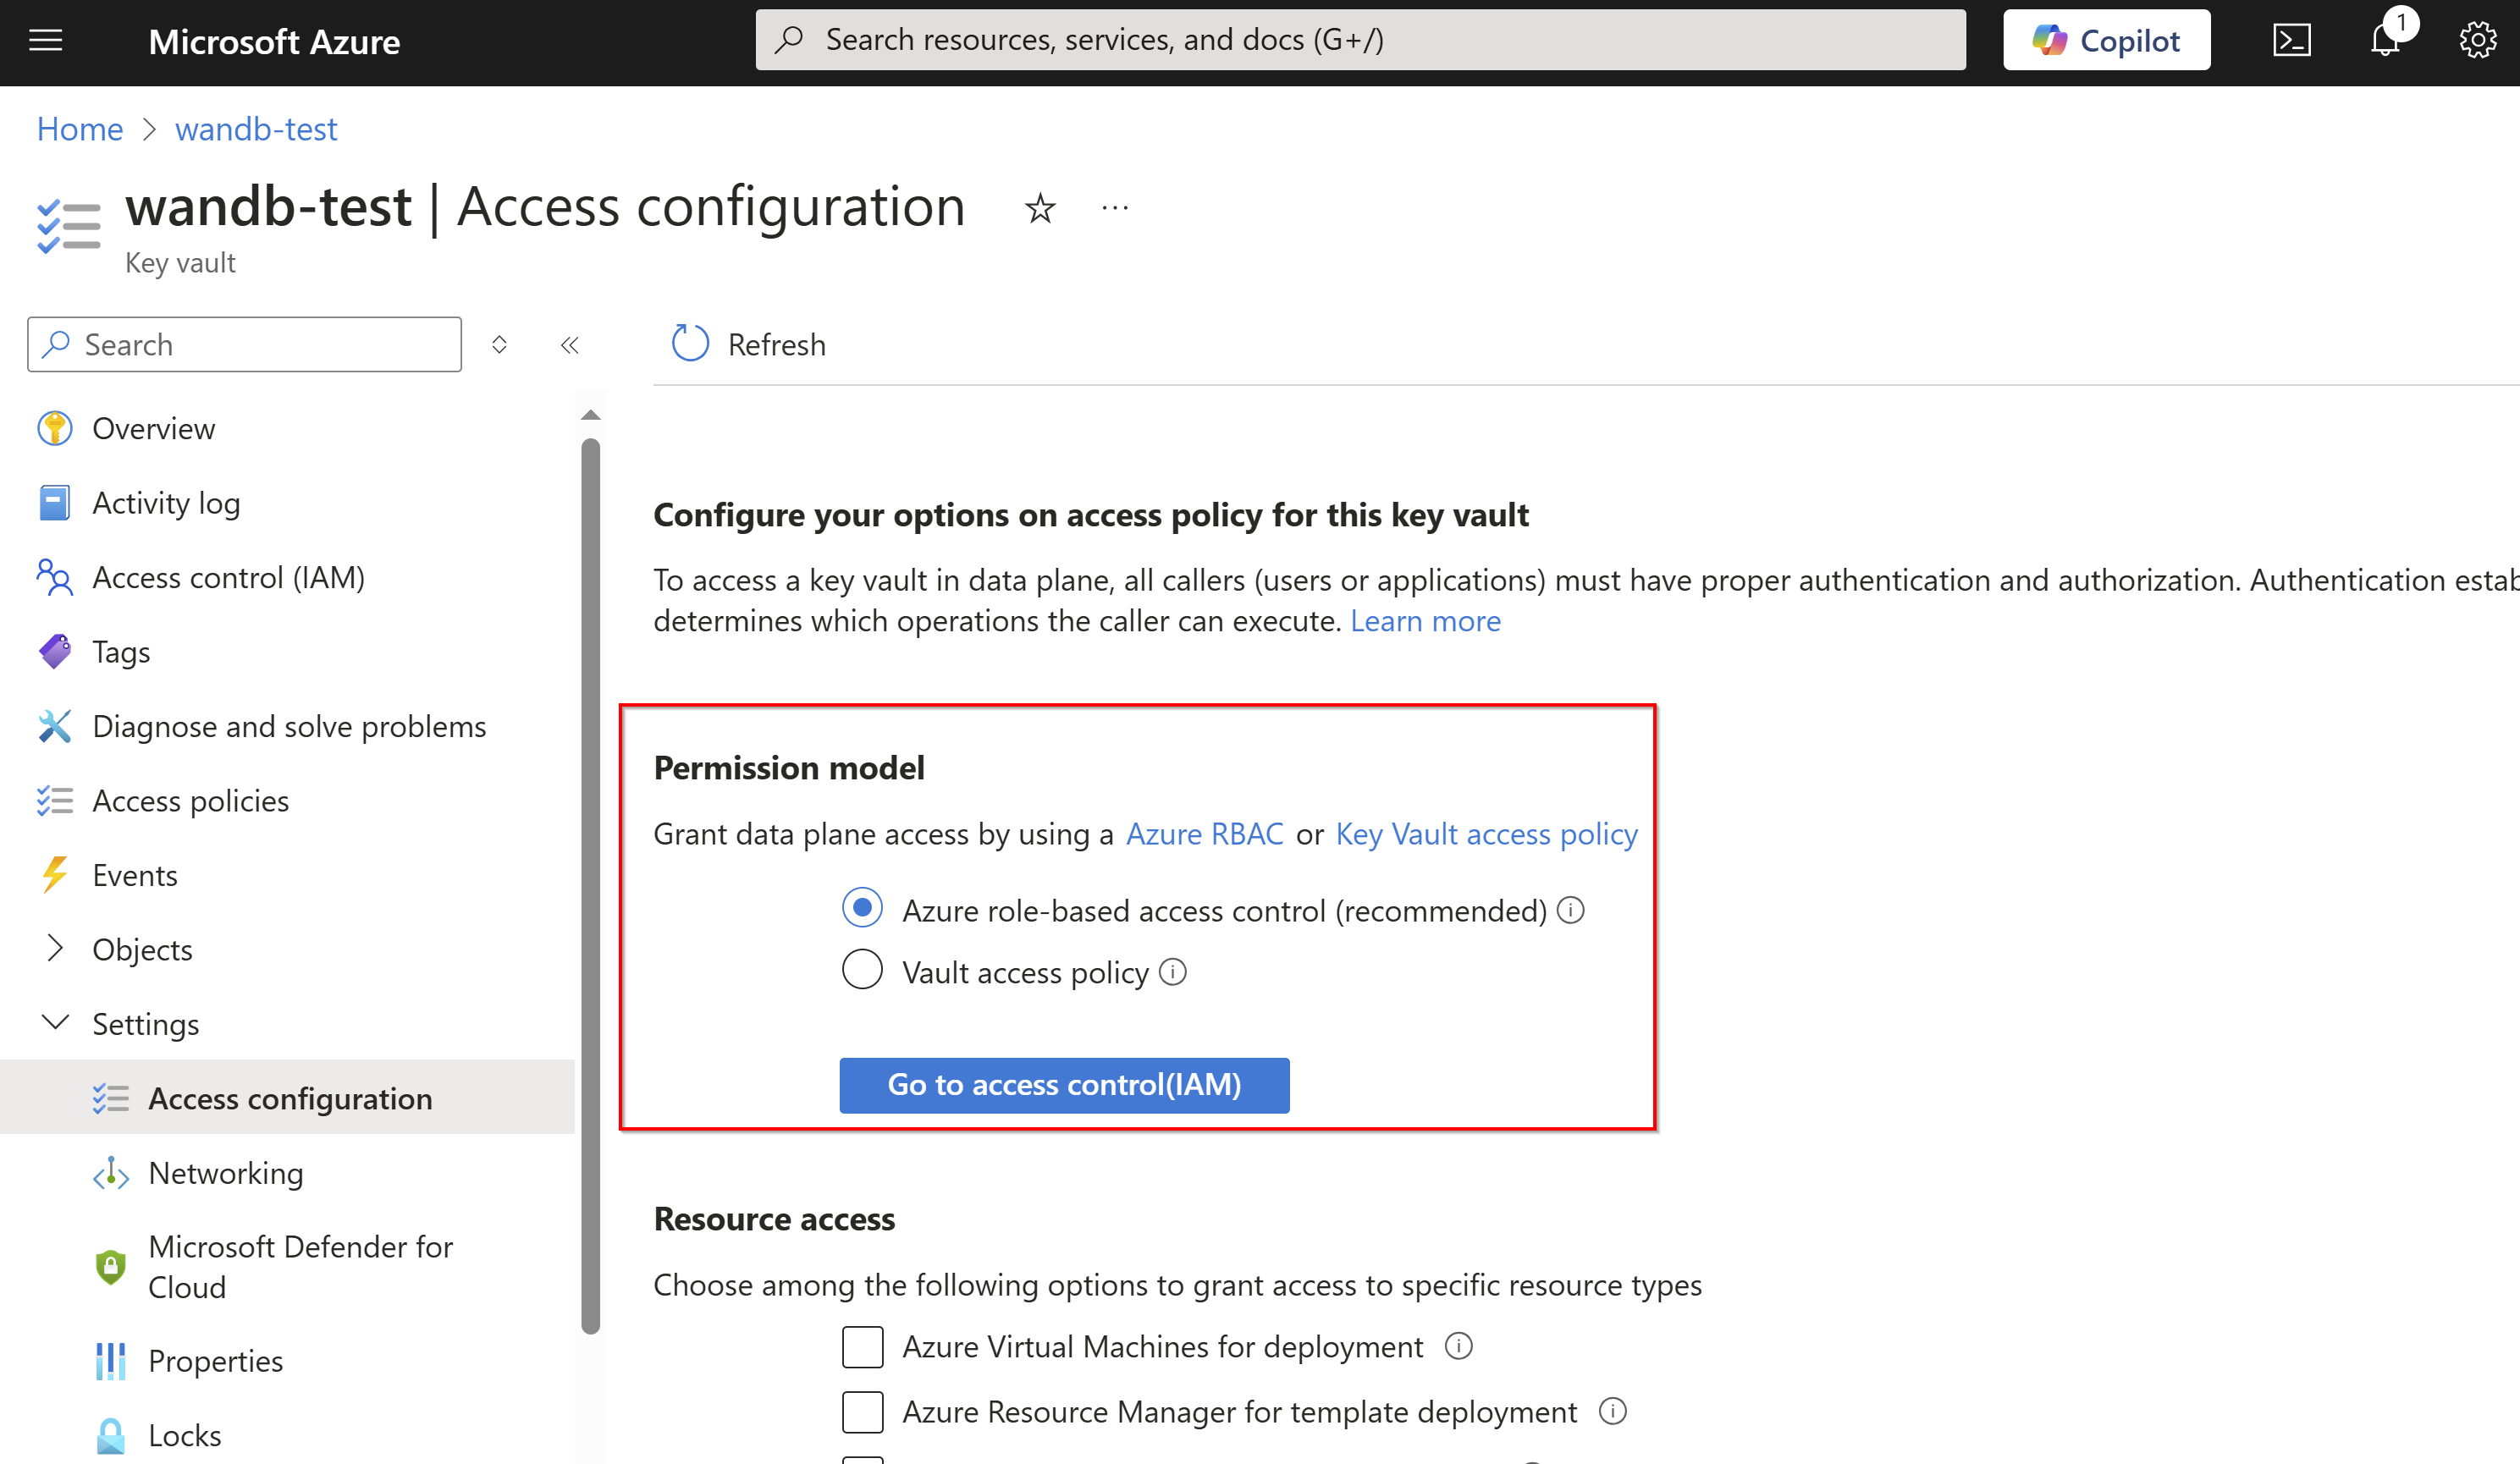
Go to Settings > Access configuration. Under Permission model, we recommend you select Azure role-based access control if this isn't already selected. Learn more about Azure role-based access control.
Assign Key Vault Secrets Officer role
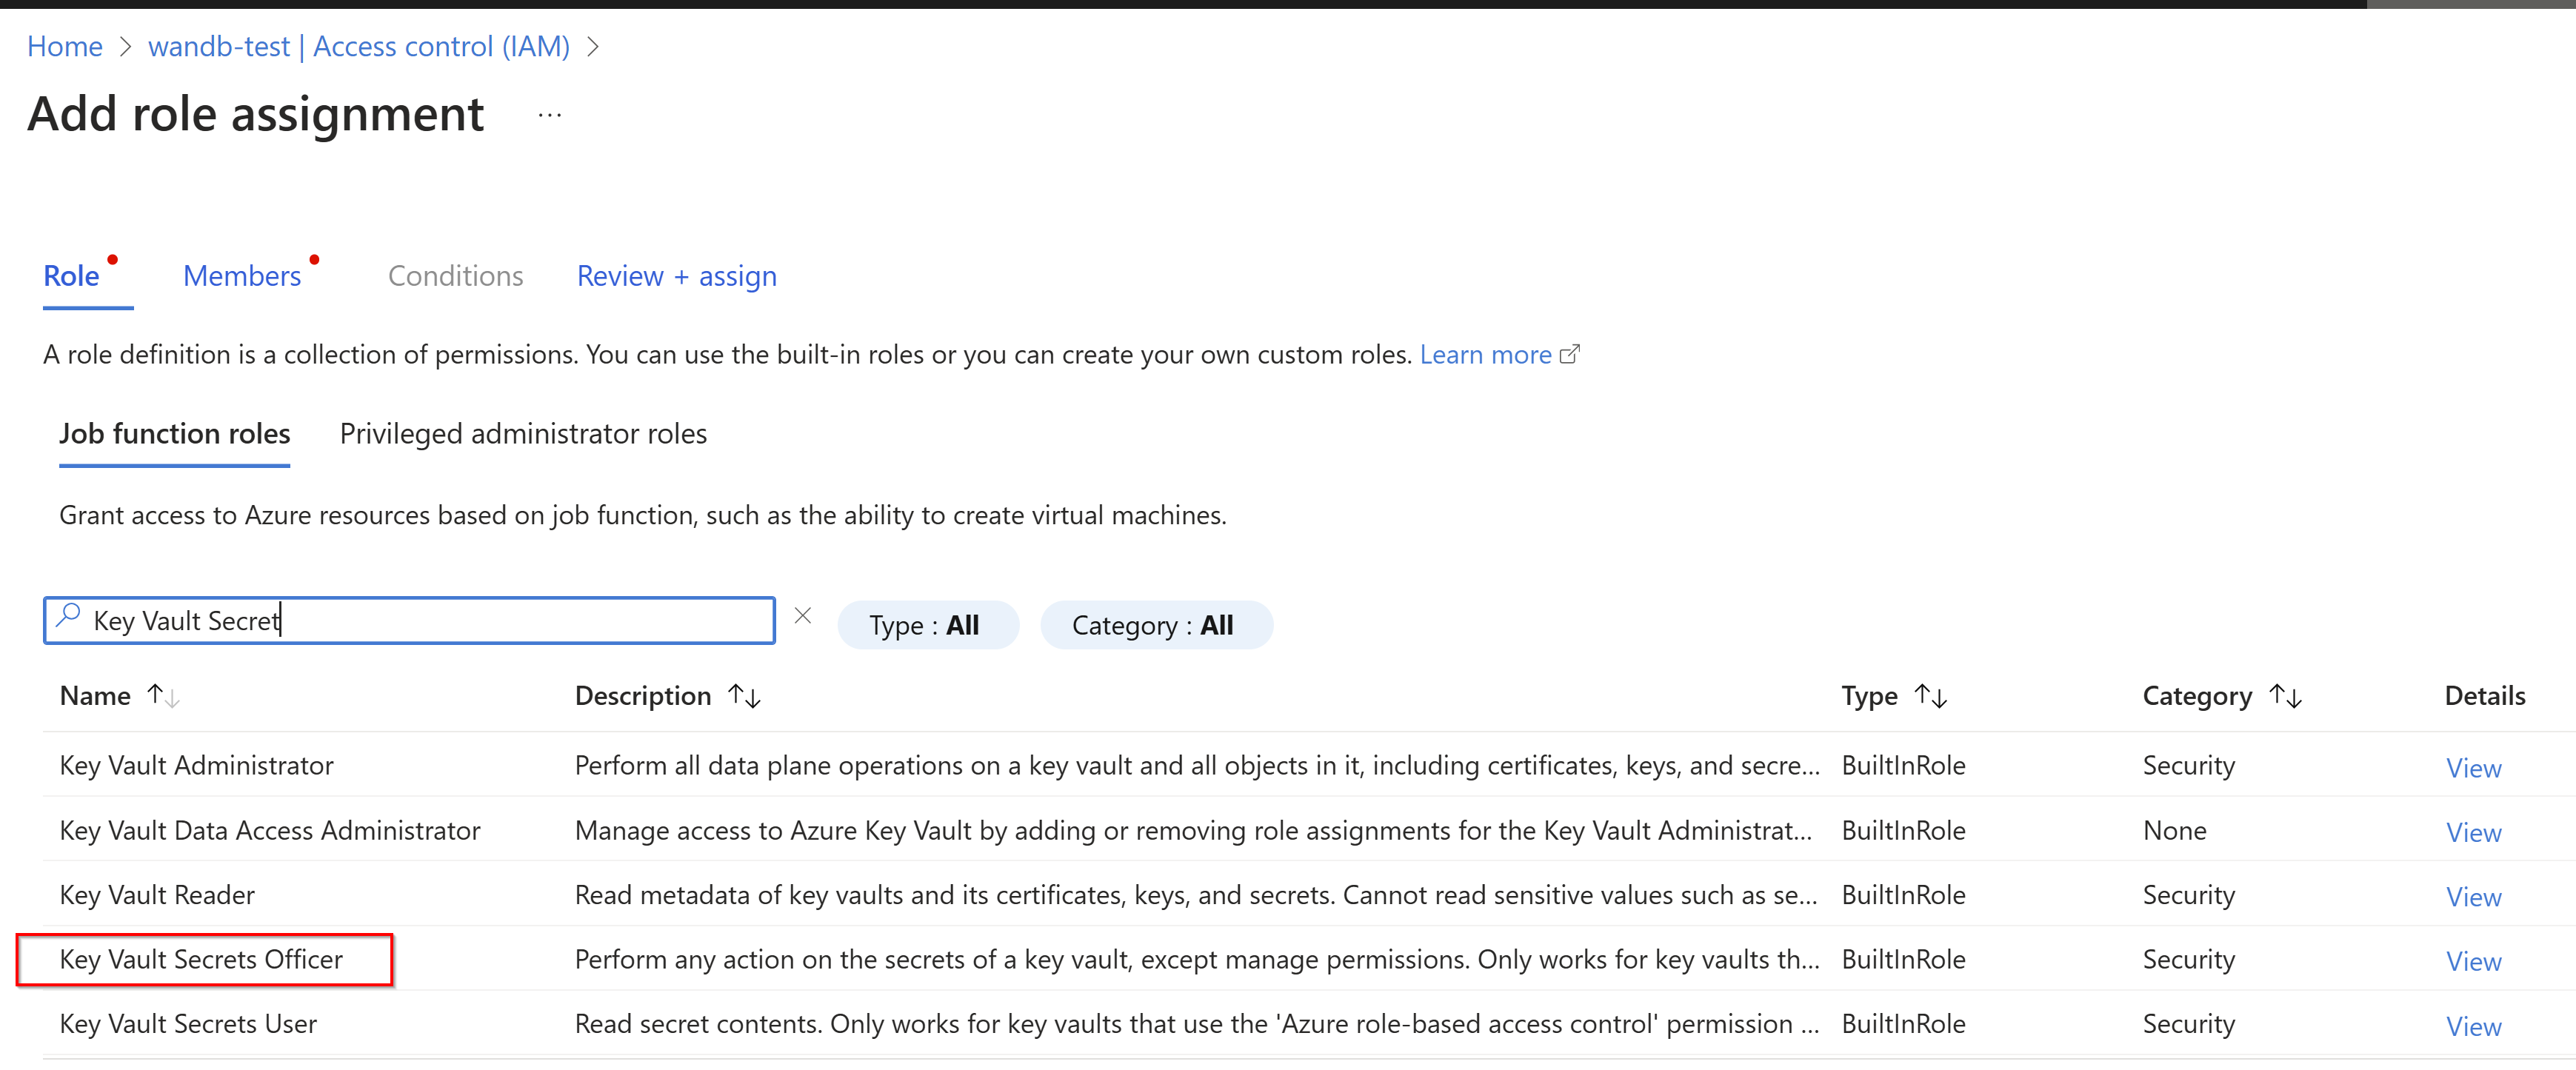
Now that you have set your permission model to Azure role-based access control, you can give yourself the Key Vault Secrets Officer role.
Go to Access control (IAM) and then Add role assignment
Choose Key Vault Secrets Officer, add your account as a member, and select review & assign.
Create secrets
From within your key vault resource under Objects, select Secrets > Generate/Import.
Provide a name for your secret and save the generated Weights & Biases API key to the secret value.
Make sure to capture the secret name and key vault URL. The key vault URL can be retrieved from Overview section of your key vault.
Give your Key Vault permission on your Azure OpenAI account
If you used a Vault Access policy earlier to read and write secrets to your Azure Key Vault, you should use that again. Otherwise, continue to use Azure role-based access control. We recommend Azure role-based access control. However, if it does not work for you, please try Vault Access policy.
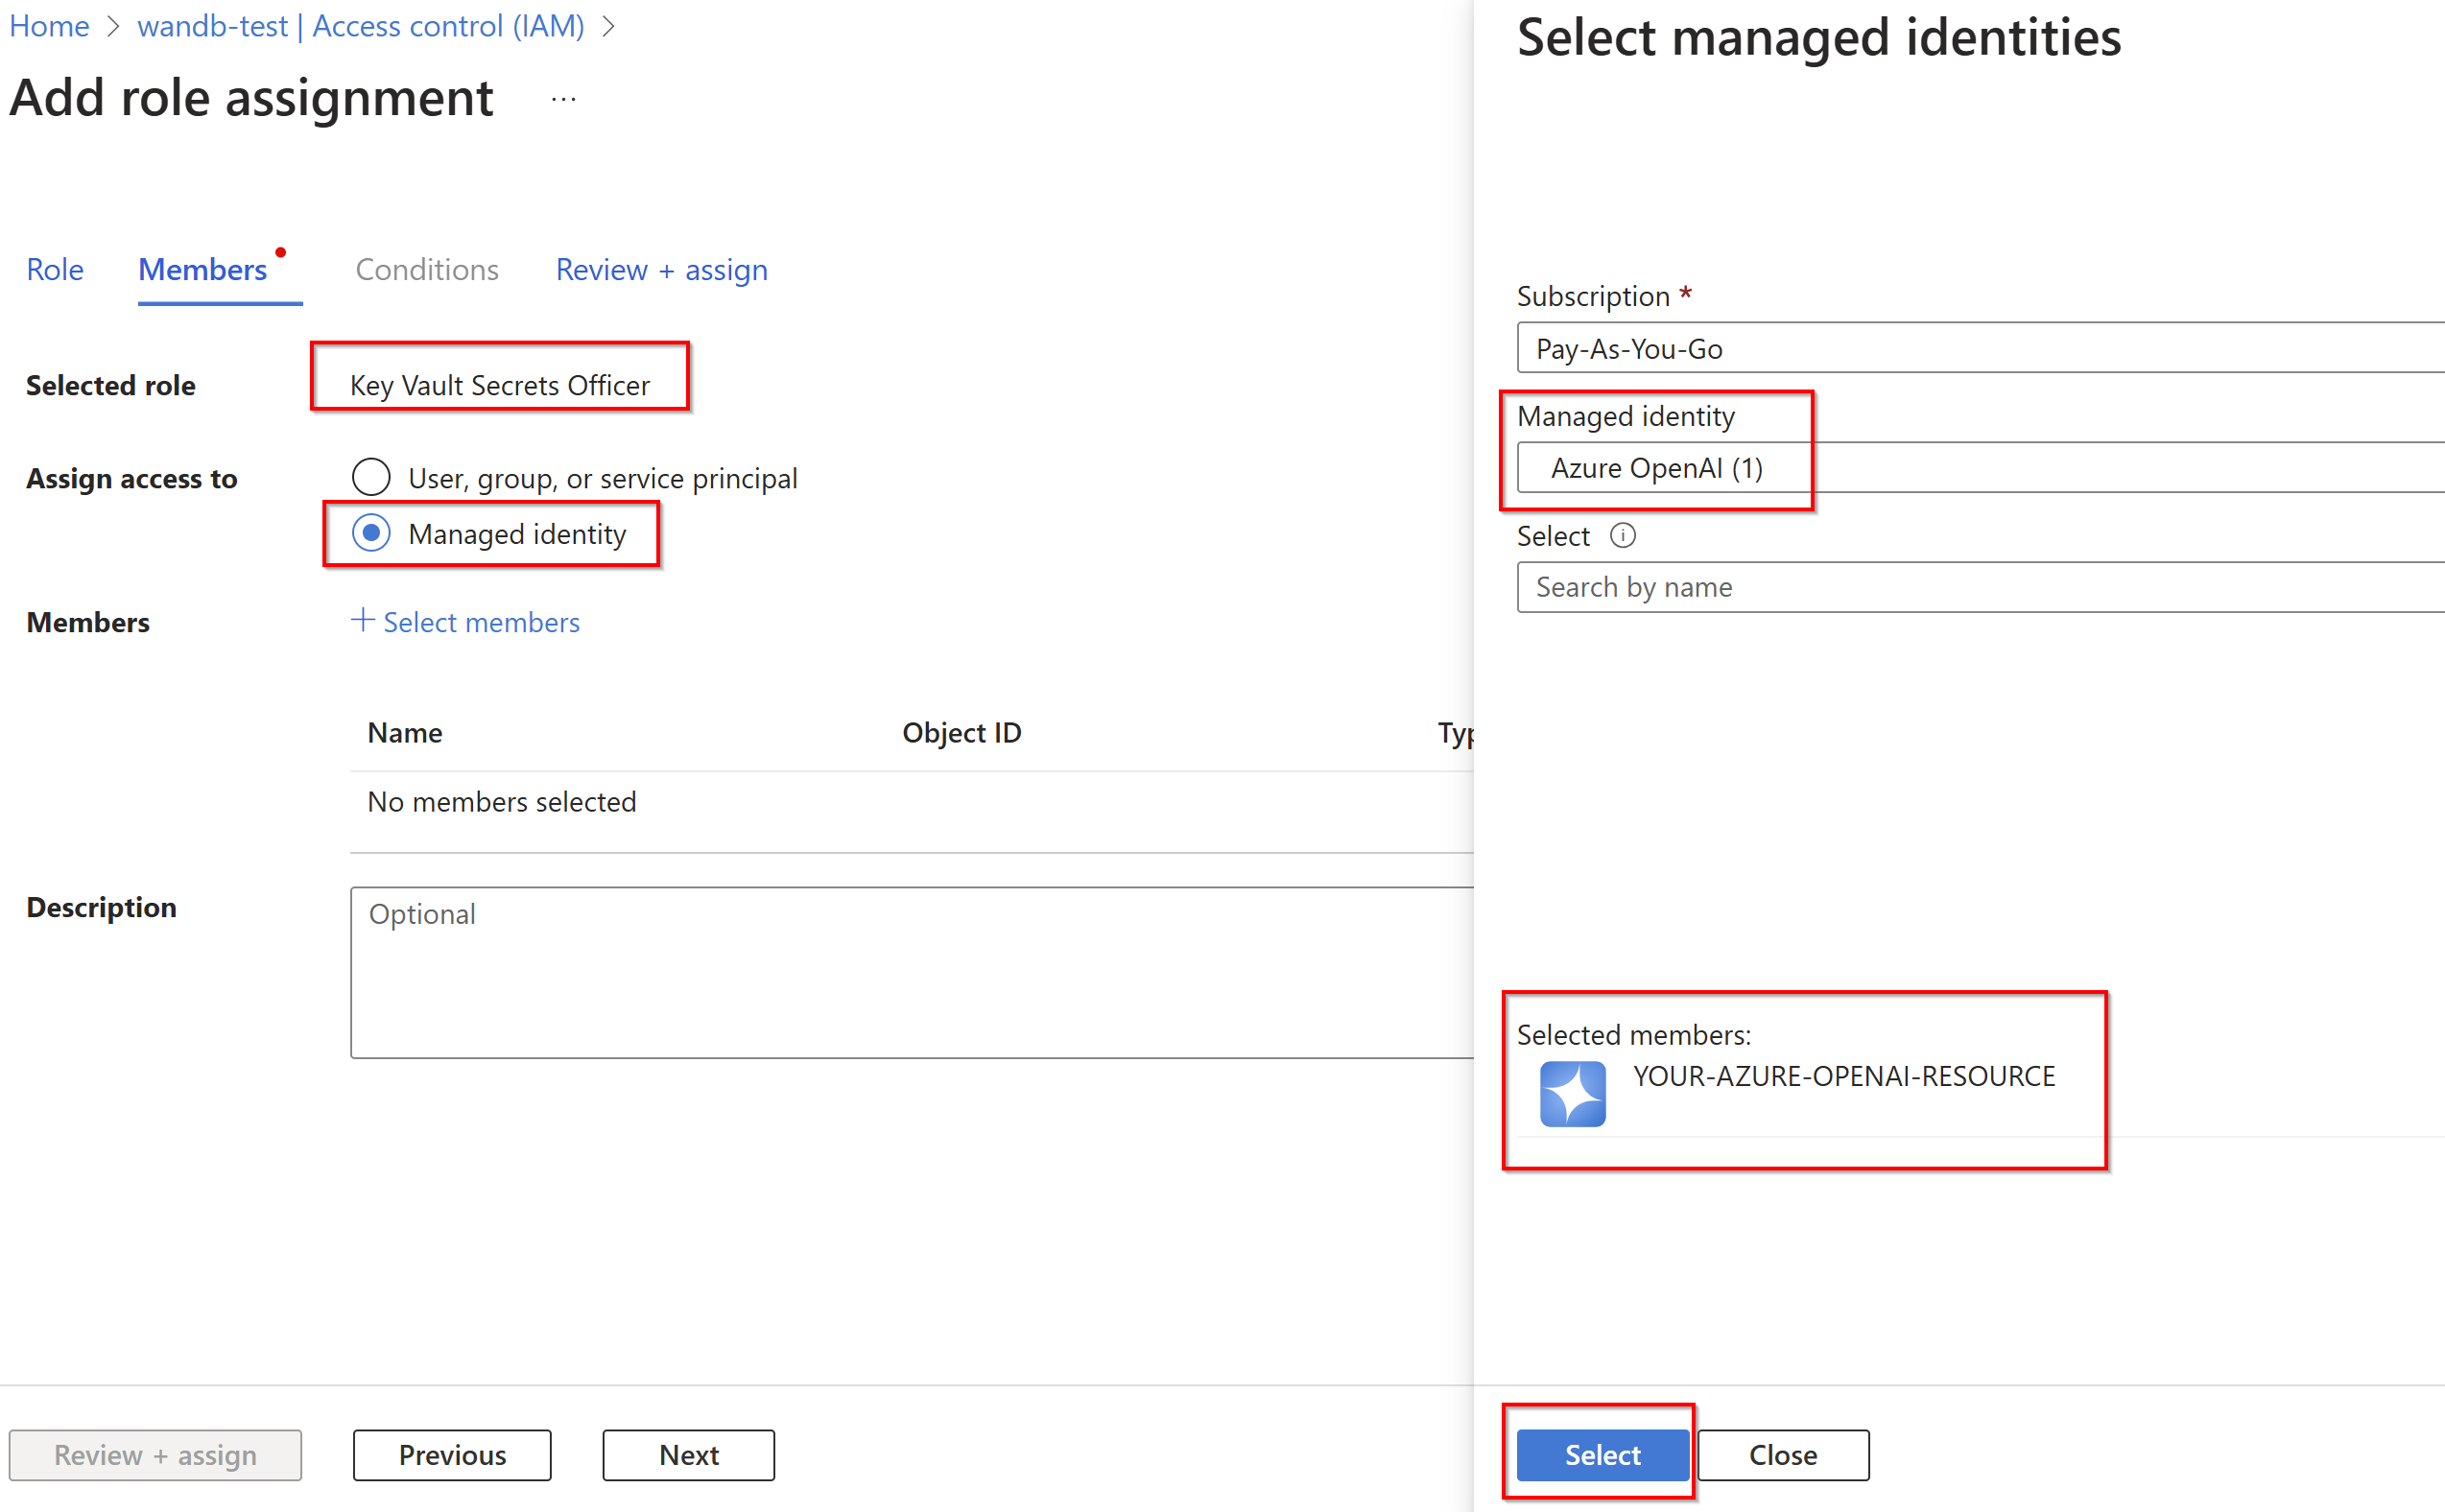
Give your Azure OpenAI resource the Key Vault Secrets Officer role.
Link Weights & Biases with Azure OpenAI
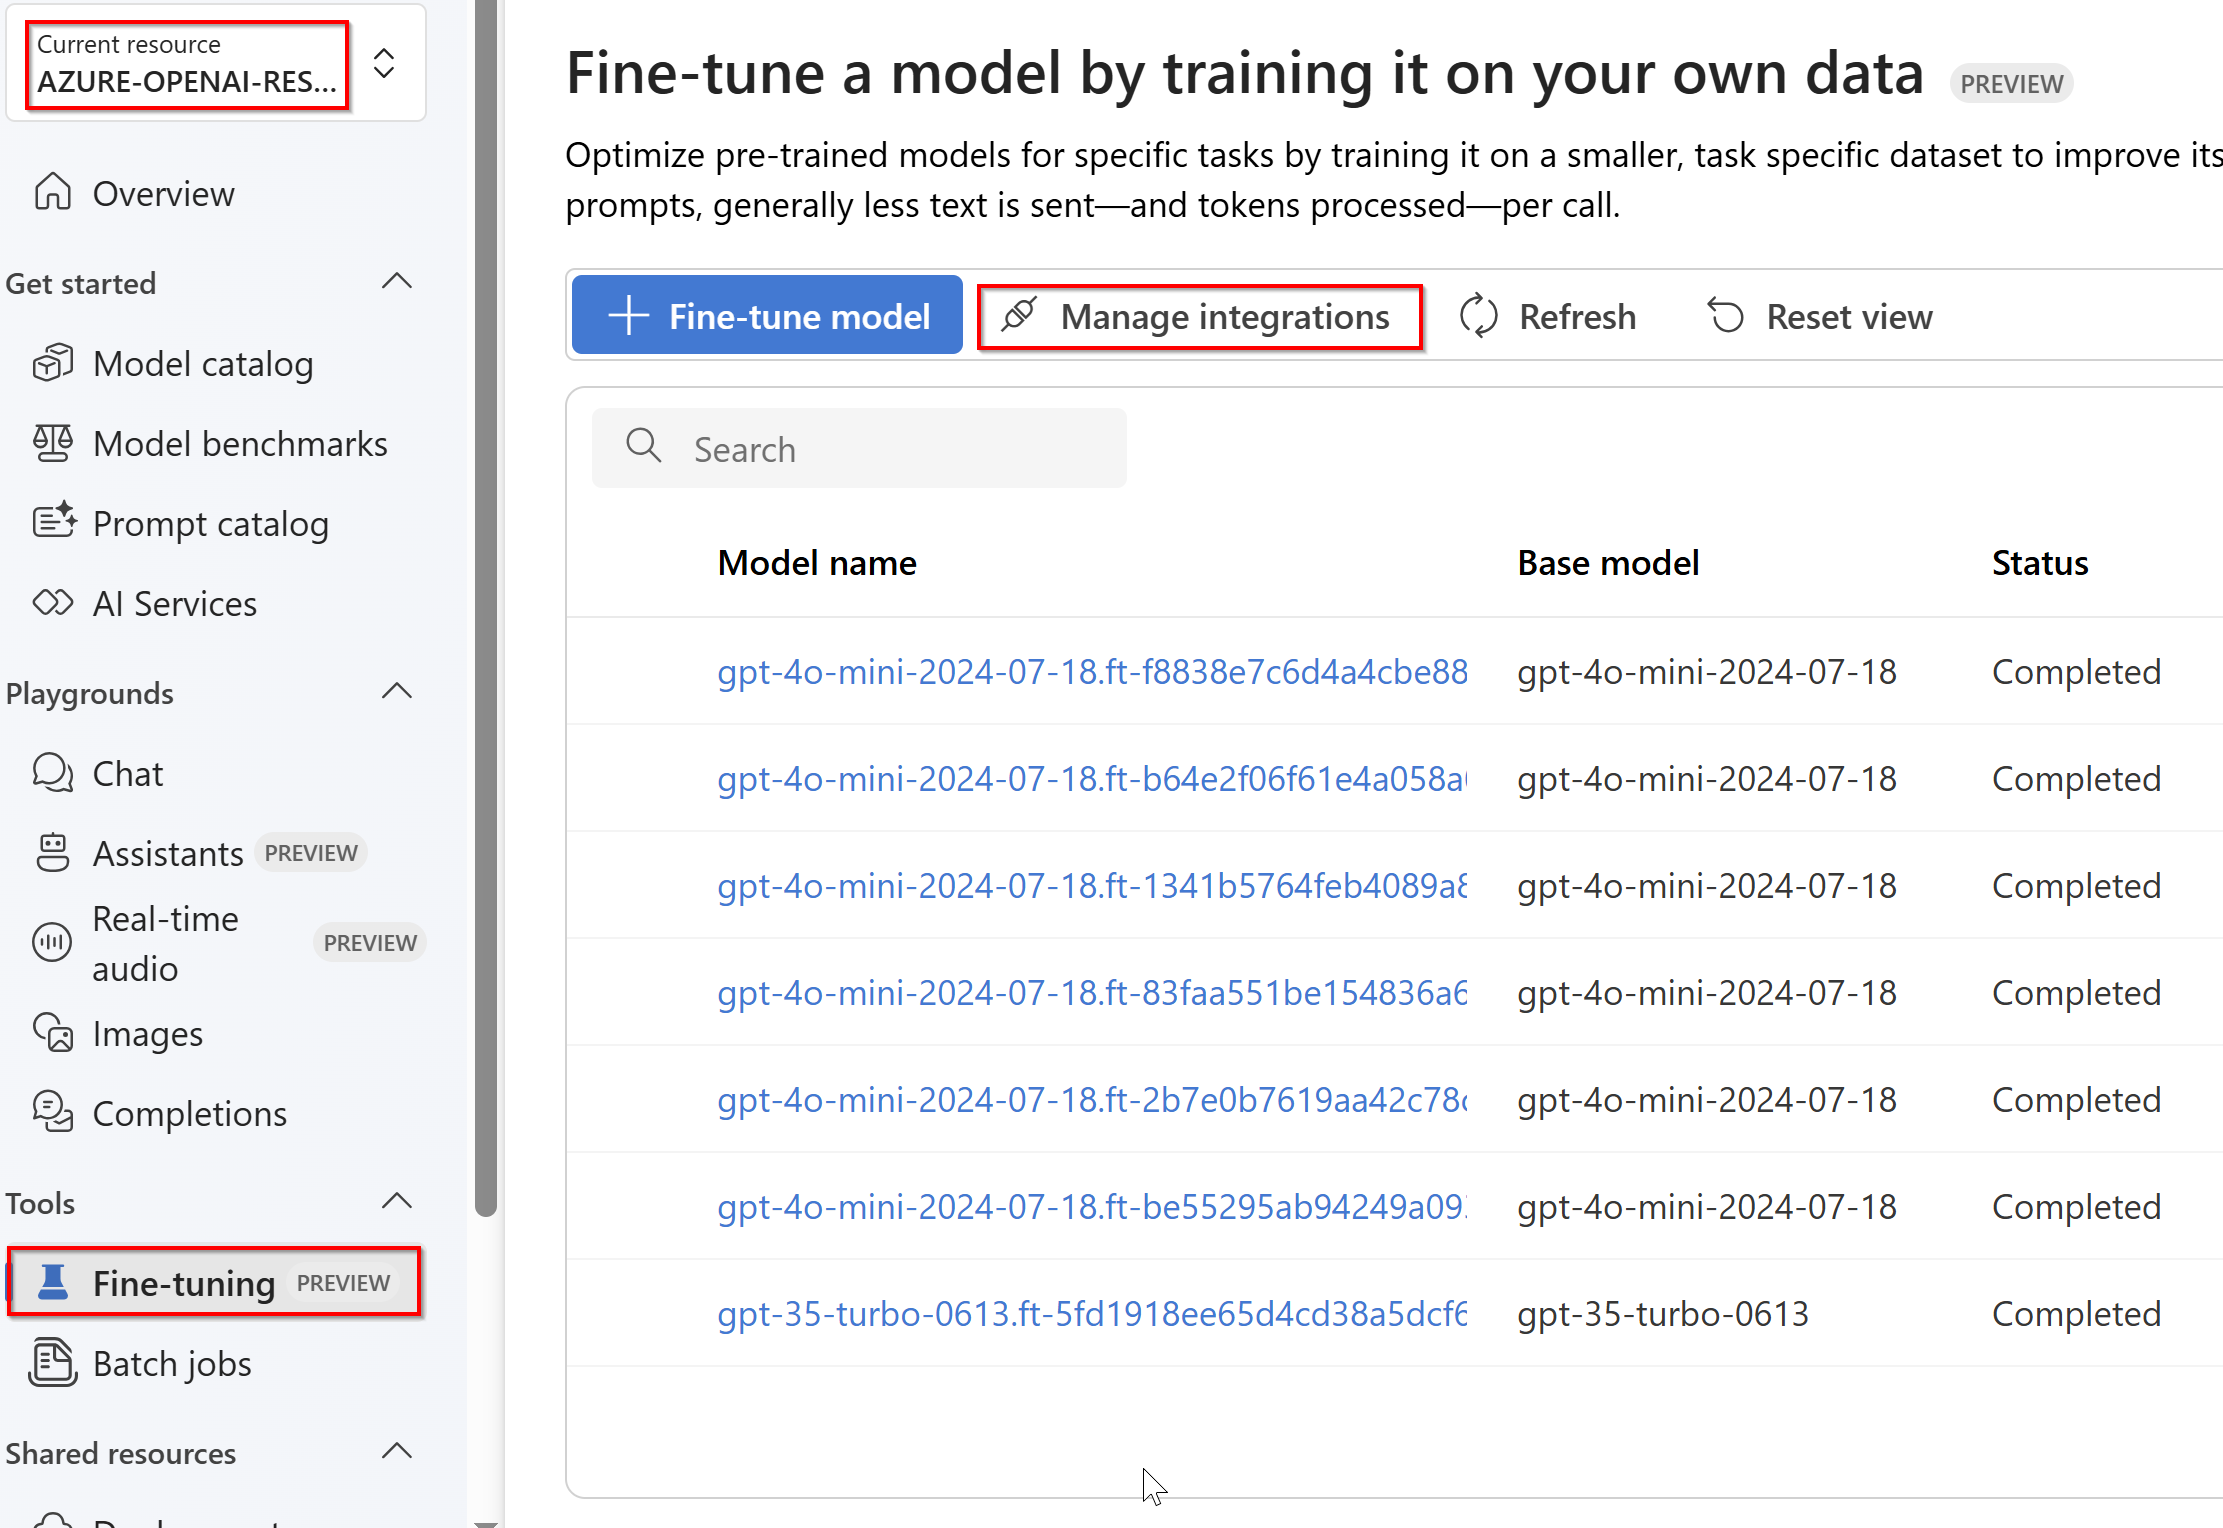
Navigate to the Azure AI Foundry portal and select your Azure OpenAI fine-tuning resource.
Add your key vault URL and secret. Then, select Update.
Now, when you create new fine-tuning jobs, you'll have the option to log data from the job to your Weights & Biases account.

