Prepare SUSE Linux image for Azure Local virtual machines (preview)
Applies to: Azure Local 2311.2 and later
This article describes how to use a SUSE Linux image to create a virtual machine (VM) on your Azure Local. You use Azure CLI for the VM image creation.
Prerequisites
Before you begin, meet the following prerequisites:
Have access to an Azure Local instance. This system is deployed, registered, and connected to Azure Arc. Go to the Overview page in the Azure Local resource. On the Server tab in the right-pane, the Azure Arc should show as Connected.
Download the SUSE QCOW2 image file to your local system. Alternatively, you can run the following PowerShell command to download the image:
PS C:\temp\images> wget "https://download.opensuse.org/repositories/Cloud:/Images:/Leap_15.6/images/openSUSE-Leap-15.6.x86_64-NoCloud.qcow2" -OutFile c:\temp\images\openSUSE-Leap-15.6.x86_64-NoCloud.qcow
Workflow
To convert the QCOW2 image to VHDX and create a VM image from the VHDX image.
Important
Do not use an Azure Virtual Machine VHD disk to prepare the VM image for Azure Local.
The following sections provide detailed instructions for each step in the workflow.
Step 1: Convert QCOW2 to VHDX
After the QCOW2 image is downloaded, use the QEMU disk image utility for Windows tool to convert the image to VHDX.
The QEMU disk image utility for Windows tool is used to convert, create, and consistently check various virtual disk formats. It's compatible with Hyper-V and other solutions and is optimized for Windows Server (x64).
Follow these steps to download the tool and convert the QCOW2 image file to VHDX.
Download the QEMU disk image utility for Windows tool by clicking the Download binaries button for file. Alternatively, you can run the following PowerShell command to download the tool:
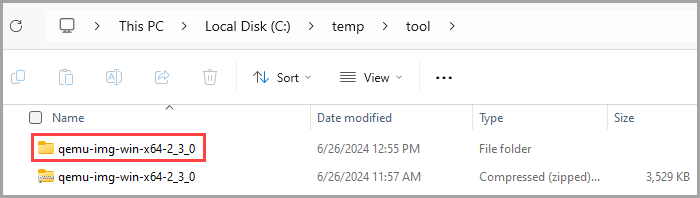
PS C:\temp\tool> wget https://cloudbase.it/downloads/qemu-img-win-x64-2_3_0.zip -OutFile C:\temp\tool\qemu-img-win-x64-2_3_0.zipAfter the tool is downloaded, extract the files from the zip by running this command:
PS C:\temp\tool
Expand-Archive 'c:\temp\tool\qemu-img-win-x64-2_3_0.zip'
Here's an example:
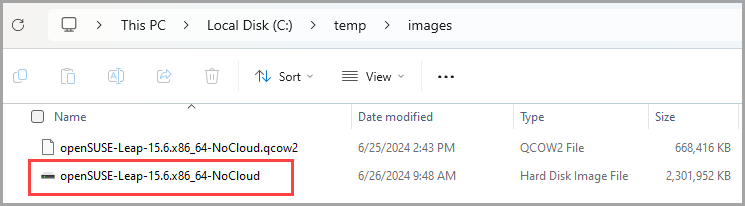
Then using the QEMU tool, convert and save the QCOW2 to VHDX by running this command:
PS C:\temp\tool\qemu-img-win-x64-2_3_0> ./qemu-img.exe convert c:\temp\images\openSUSE-Leap-15.6.x86_64-NoCloud.qcow2 -O vhdx -o subformat=dynamic c:\temp\images\openSUSE-Leap-15.6.x86_64-NoCloud.vhdx
PS C:\temp\tool\qemu-img-win-x64-2_3_0>
Here's an example:


Now, you're ready to create your VM image.
Step 2: Create a SUSE VM image
Follow these steps on your Azure Local to create the VM image from the VHDX that you created earlier.
Use the Azure CLI to create the VM image:
Run PowerShell as an administrator.
Sign in. Run the following cmdlet:
az loginSet your subscription. Run the following cmdlet:
az account set --subscription <Subscription ID>Set parameters for your subscription, resource group, custom location, location, OS type for the image, name of the image, and the path where the image is located. Replace the parameters in
< >with the appropriate values.$subscription = "<Subscription ID>" $resource_group = "<Resource group>" $customLocation = "<Custom location>" $location = "<Location for your Azure Local>" $osType = "<OS of source image>"Parameters are described in the following table.
Parameter Description subscriptionSubscription associated with your Azure Local instance. resource_groupResource group for the Azure Local instance that you associate with this image. locationLocation for your Azure Local instance. For example, the location could be eastusorwestreurope.os-typeOperating system associated with the source image. This system can be Windows or Linux. Use the VHDX of the VM to create a gallery image. Use this VM image to create Azure Arc virtual machines on Azure Local.
Make sure to copy the VHDX in user storage in the cluster shared volume of Azure Local. For example, the path could look like
C:\ClusterStorage\UserStorage_1\linuxvhdx.$imagePath = "Path to user storage in CSV" $imageName = "mylinuxvmimg" $osType = "Linux" az stack-hci-vm image create --subscription $subscription -g $resource_group --custom-location $customLocation --location $location --image-path $imagePath --name $imageName --debug --os-type $osTypeVerify that the image is created.
Related content
- Create logical networks for Azure Local on your Azure Local instance.