How to Configure Active Directory on Windows Server 8
Introduction
"Active Directory (AD) is a directory service created by Microsoft for Windows domain networks. It is included in most Windows Server operating systems. Server computers that run Active Directory are called domain controllers.
Active Directory provides a central location for network administration and security. It authenticates and authorizes all users and computers in a Windows domain type network—assigning and enforcing security policies for all computers and installing or updating software. For example, when a user logs into a computer that is part of a Windows domain, Active Directory verifies the password and specifies whether the user is a system administrator or normal user."* - Wikipedia.com
In this wiki. you will learn how to configure Active Directory in Windows Server 8 Beta
Configuring Active Directory Step by Step.
Note: For seasoned windows Administrators. DcPromo is gone.
Part 1. Installing Active Directory Services
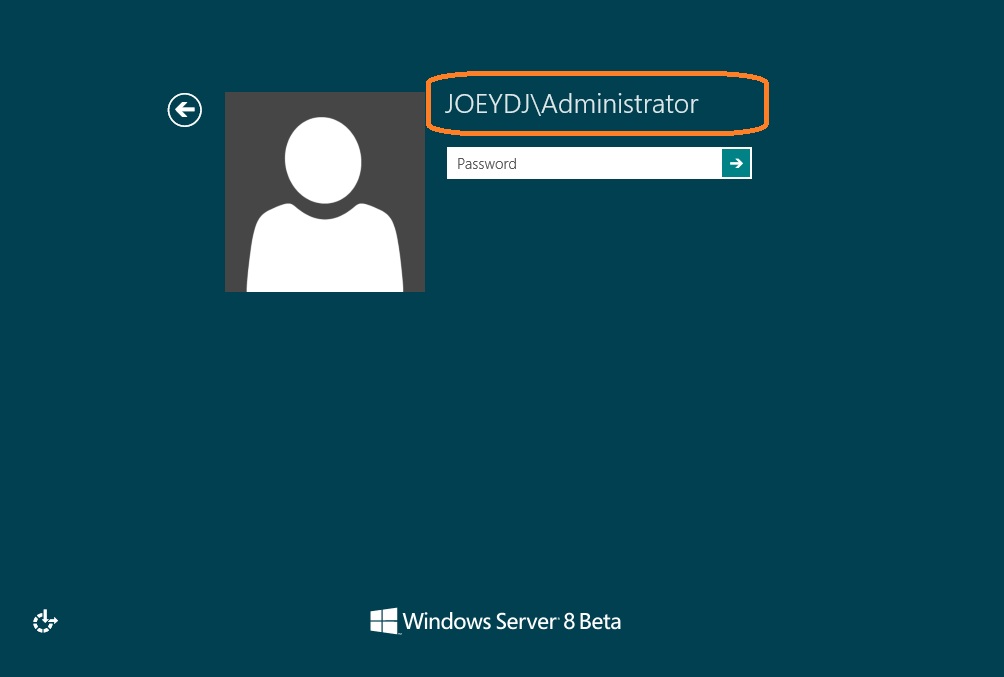
Step 1. Open and Login to Windows Server 8.
Windows will automatically open Server Dashboard by default.
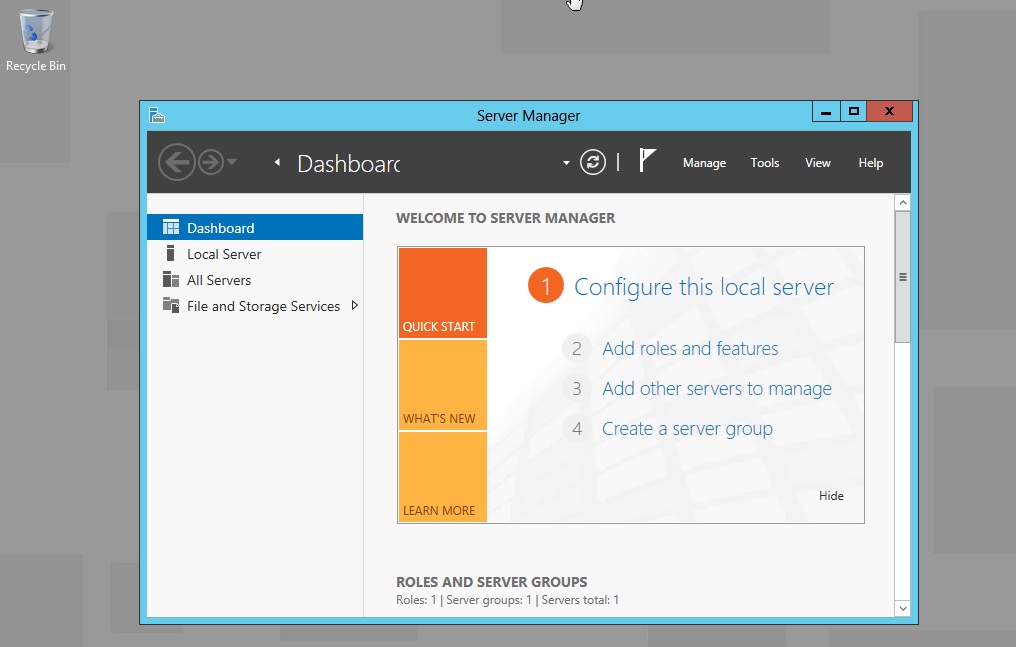
Figure 1. Windows Server 8 Opening screen
Step 2. Click Add Roles and Features
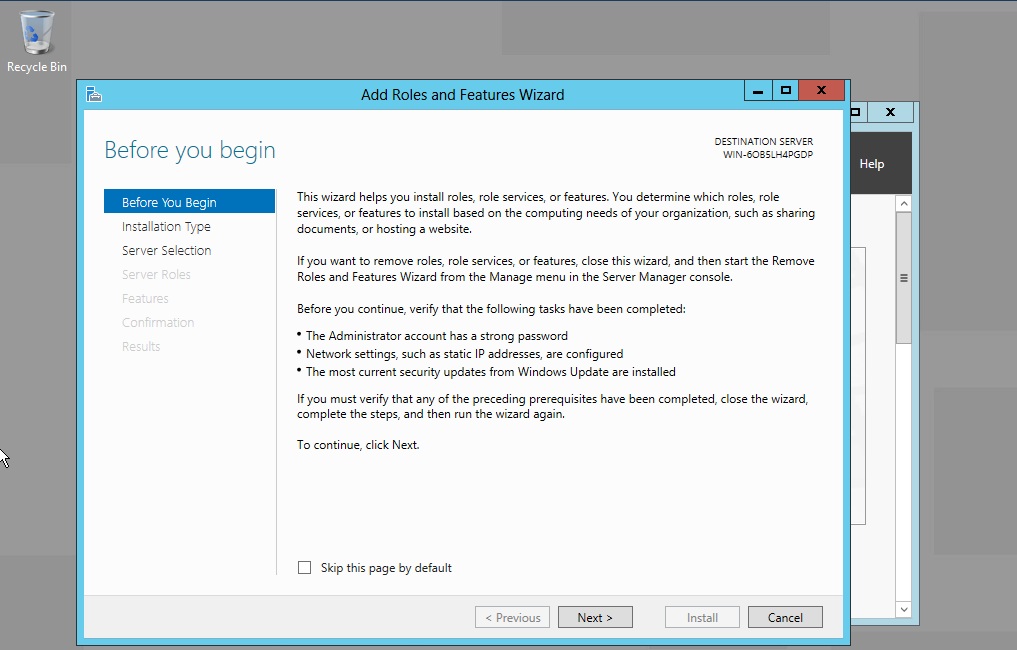
Figure 2. Add Roles and Features Wizard
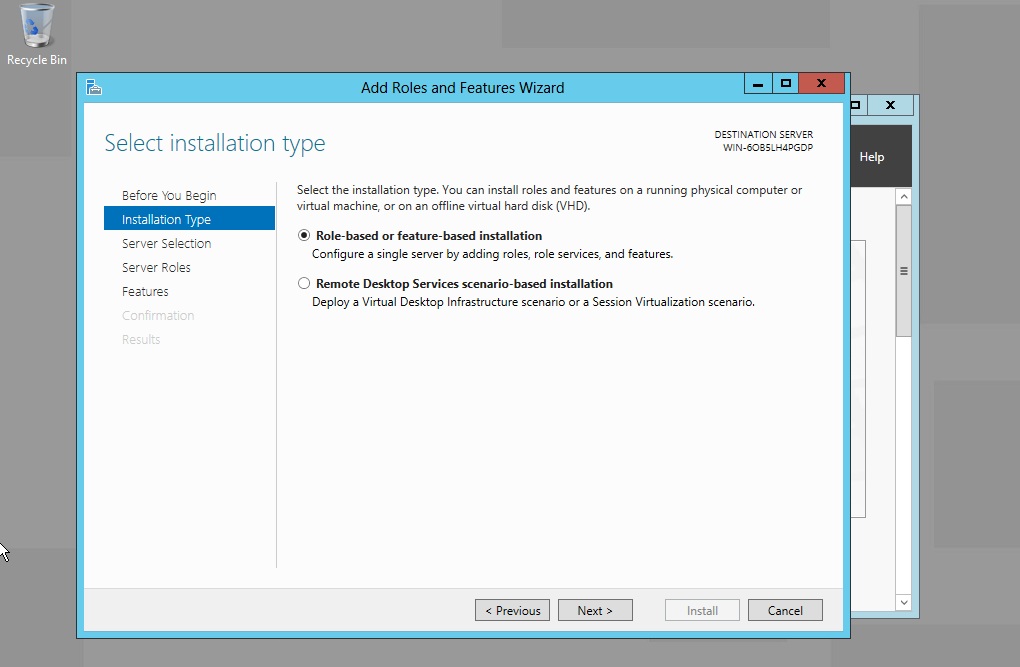
Step 3. Click Next. Chose "Role-based or feature-based installation"
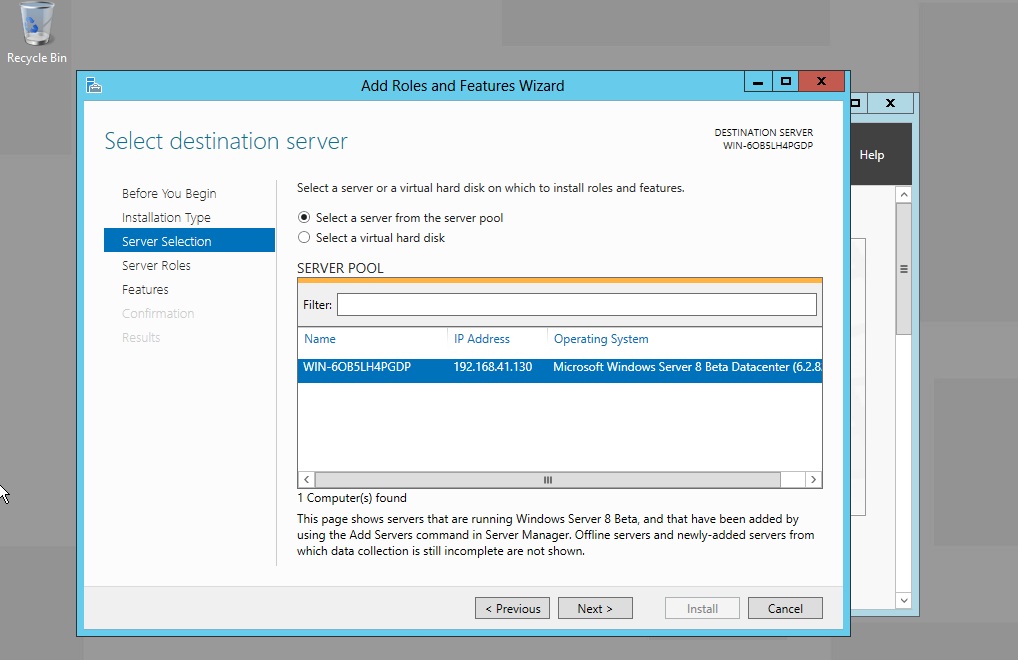
Step 4. Select server.
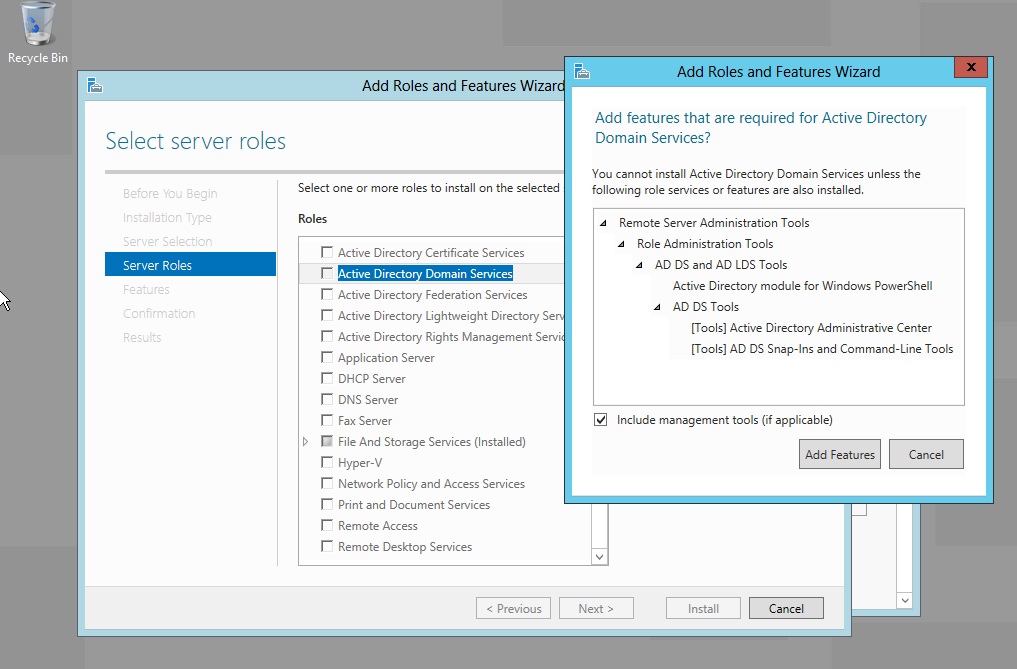
Step 5. Choose Active Directory Domain Services
Step 6. Click Add Features. Click Next until you reach AD DS.
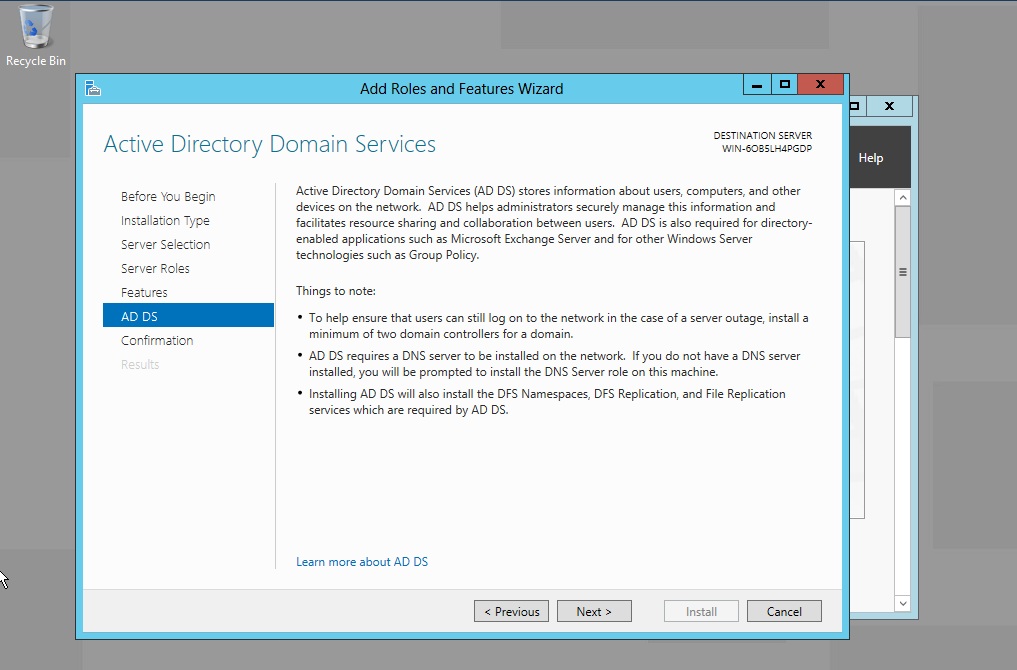
Figure 6. Active Directory Domain Services
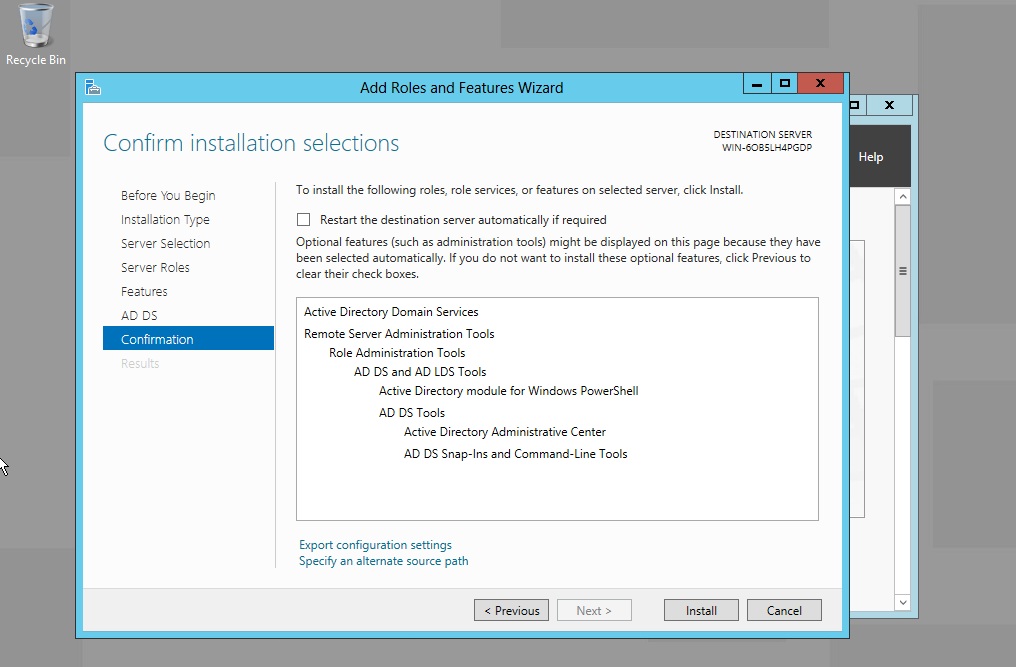
Step 7. Click Next. Click Install.
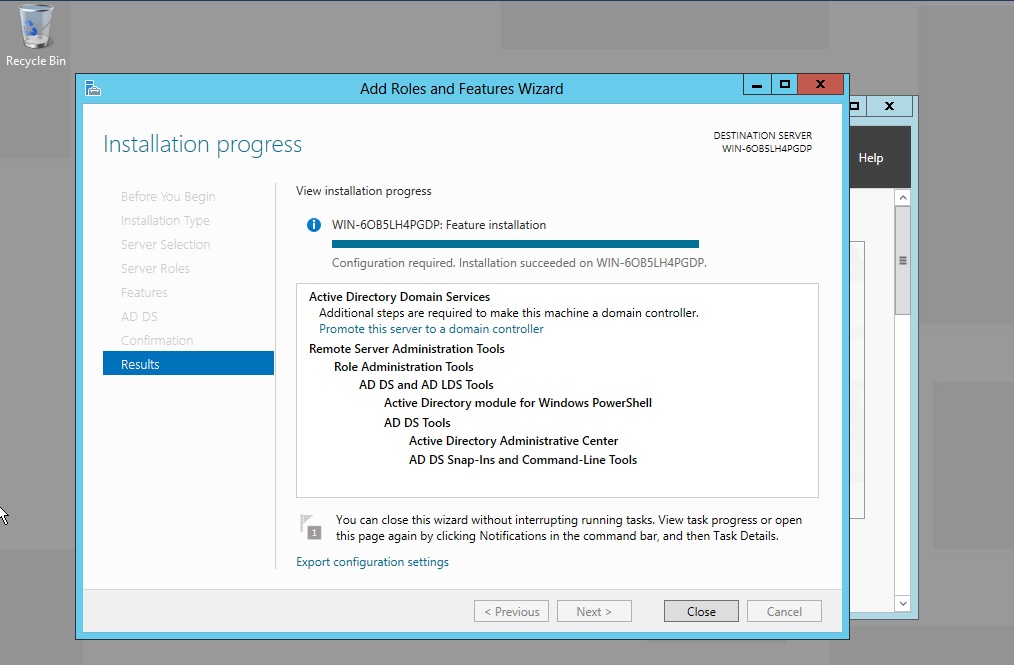
Step 8. Click Close to finish the installation.
Part 2. Configuring Active Directory Services.
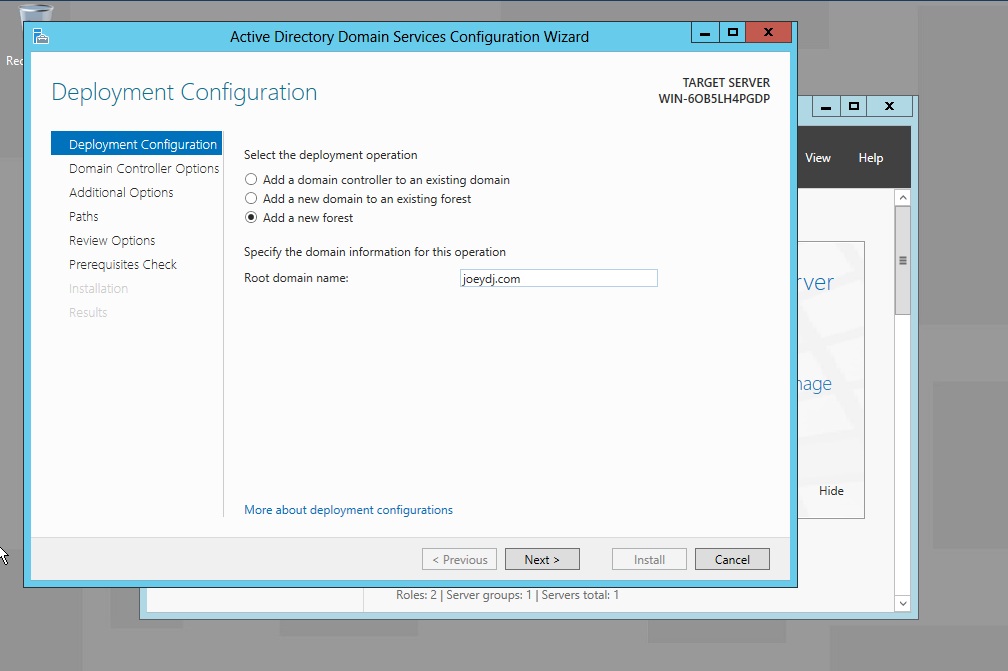
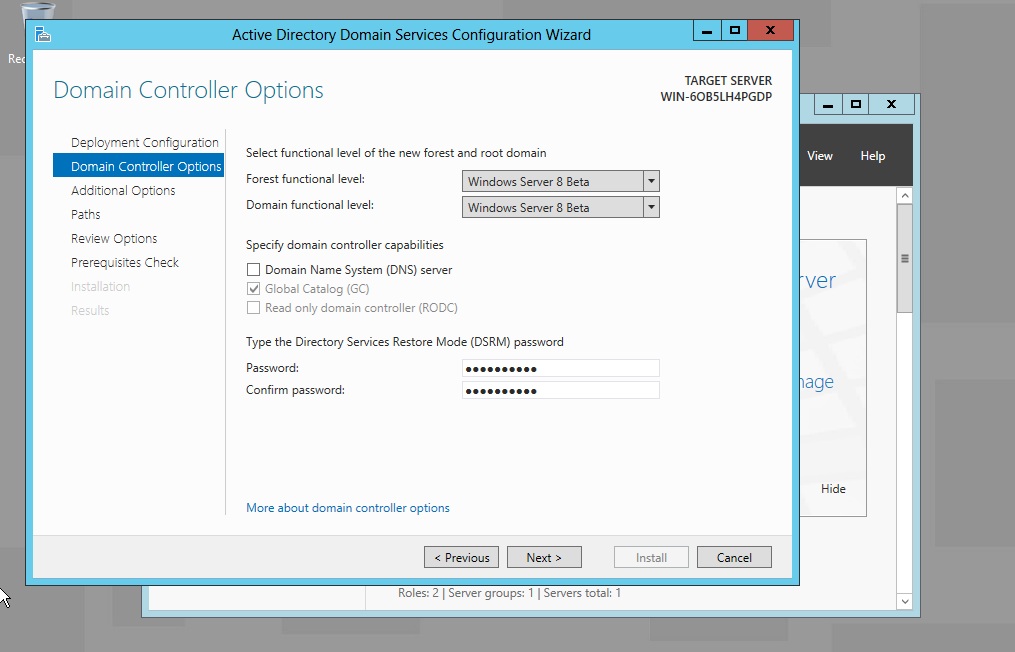
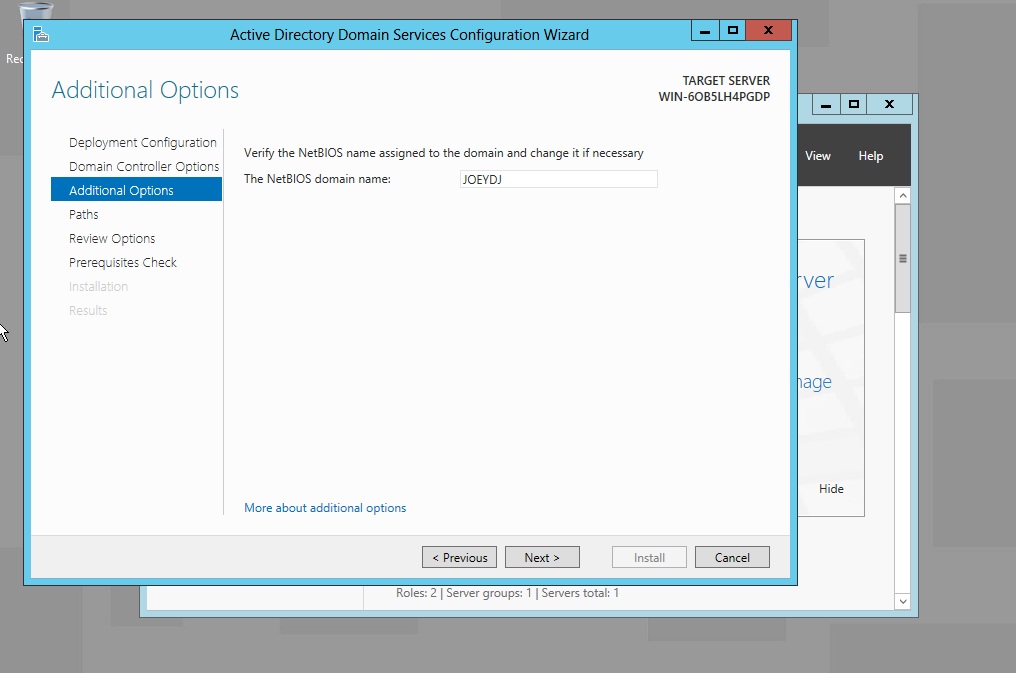
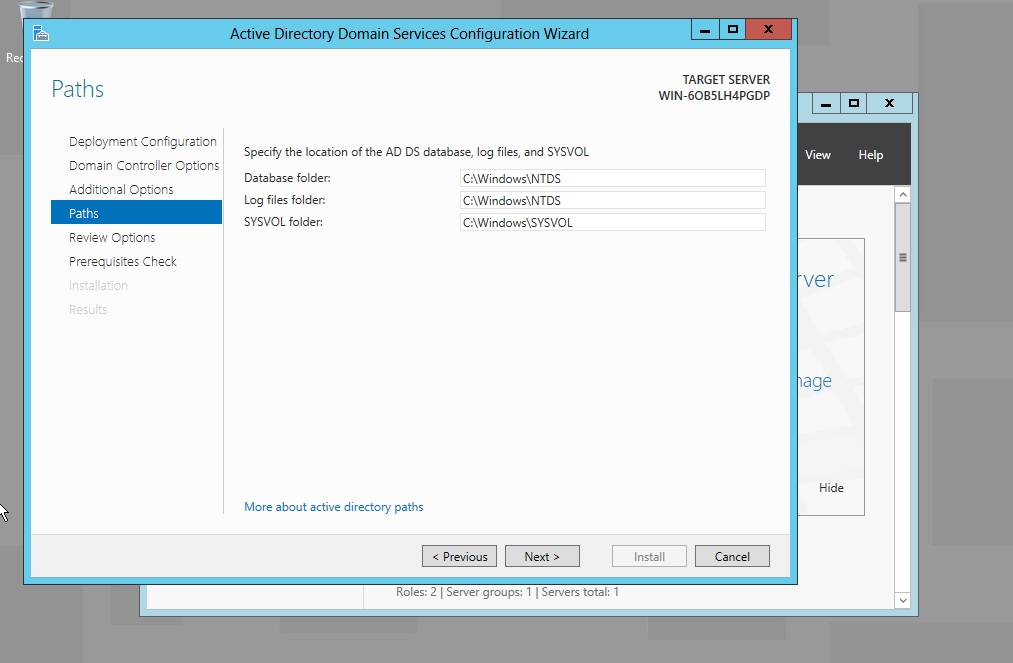
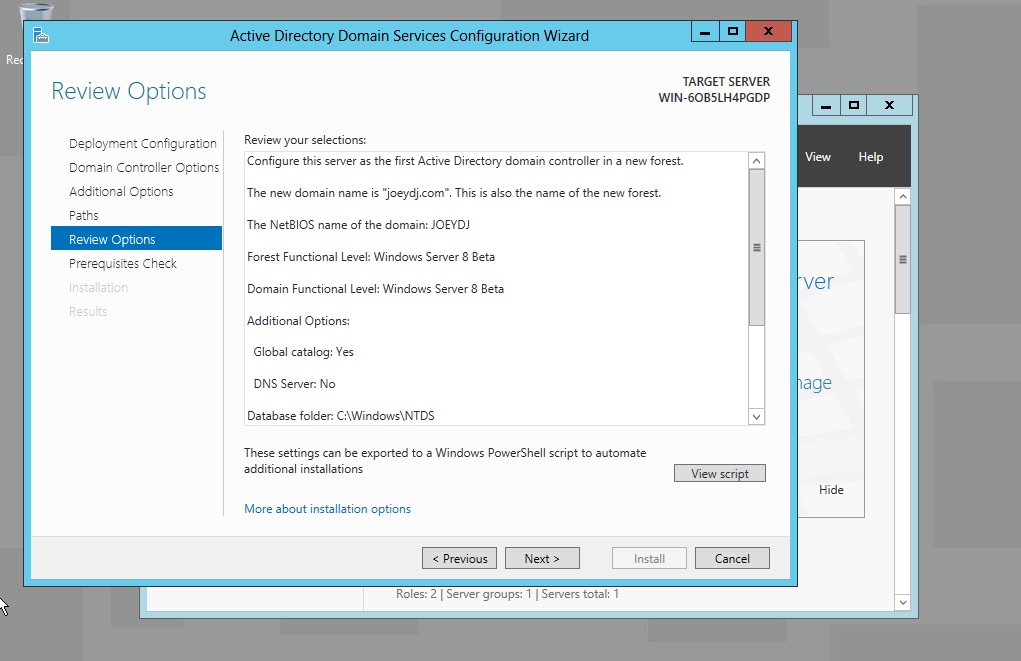
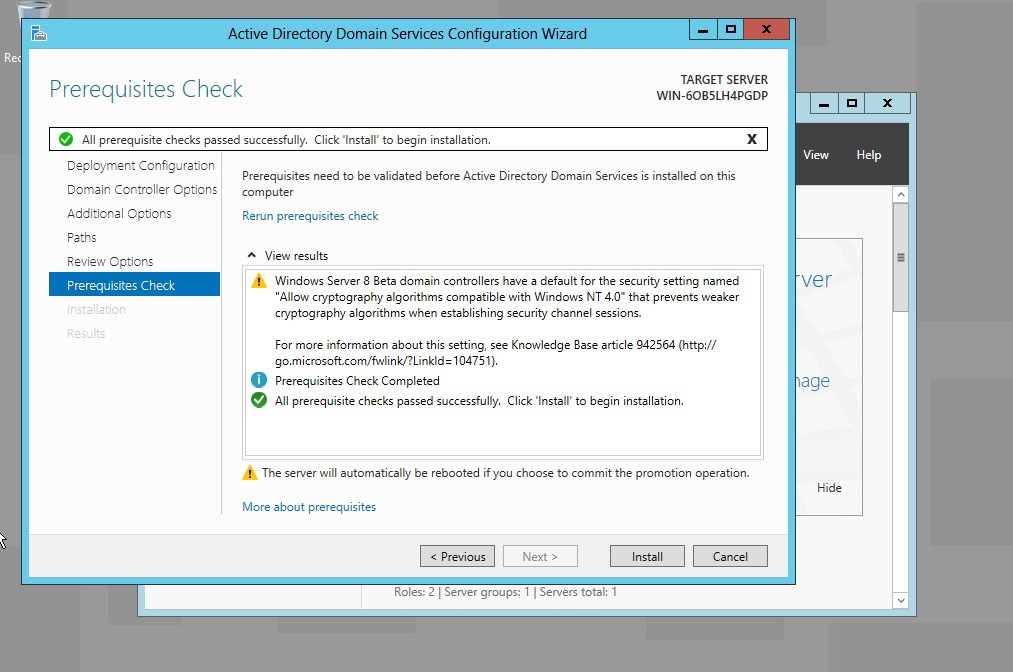
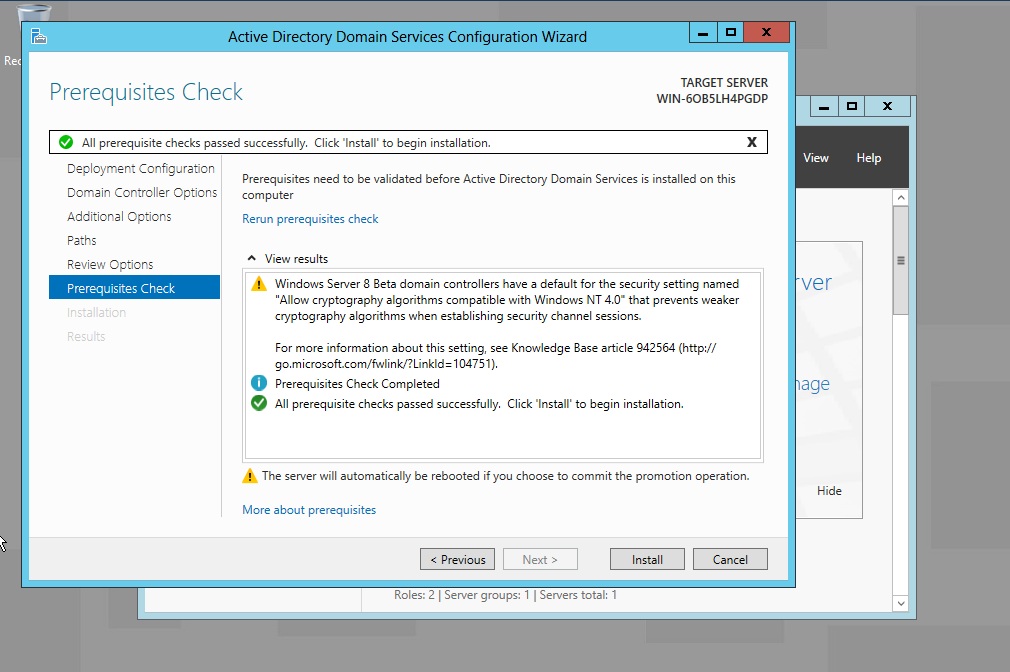
Step 9. Click on the flag to see additional "task". Promote the Server to Domain Controller.
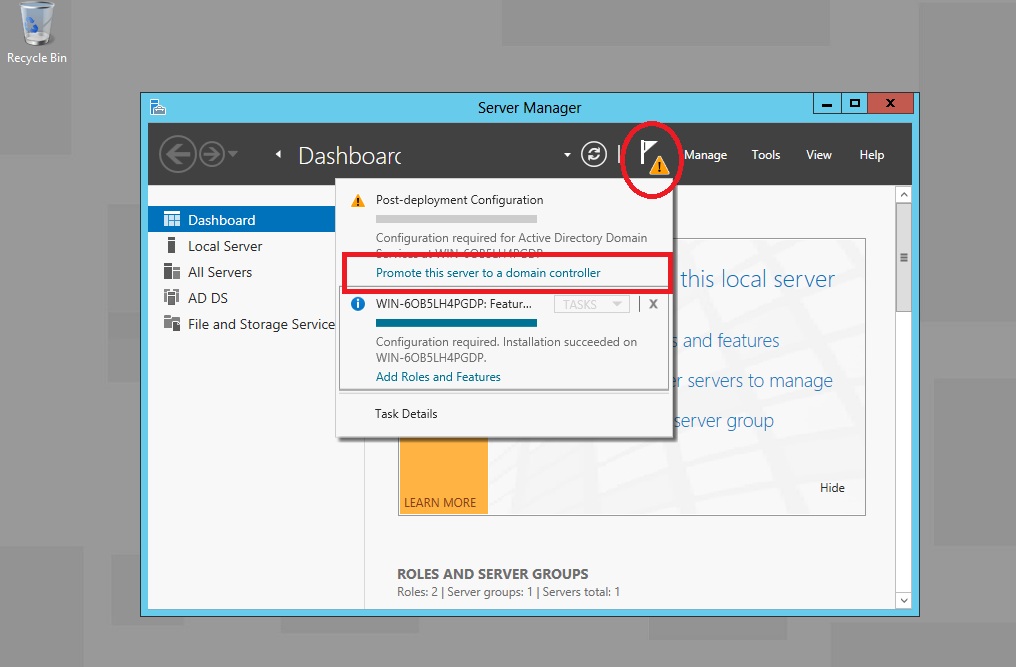
Figure 9. Promote the server to Domain Controller.
