Installing Windows Server 8 Step-By-Step
Introduction
Windows Server 8 has just been released this March, 2012.
You can request to download a copy from this link for evaluation
Below is a Step by Step guide on how to install Windows Server 8 Beta.
Windows Server 8 Installation guide.
Step#1. Mount the installation CD or ISO
Step#2. Make sure that your first boot device is the CD
(If you are on a virtualized environment. This is usually taken care off
by the vm engine )
Step#3. Start your PC. Windows Server 8 installer will begin to load.

Figure 1. Windows 8 Installer Loading

Figure 2. Windows Server 8 Beta Logo
Step #4. Choose Your Local Settings And click Next
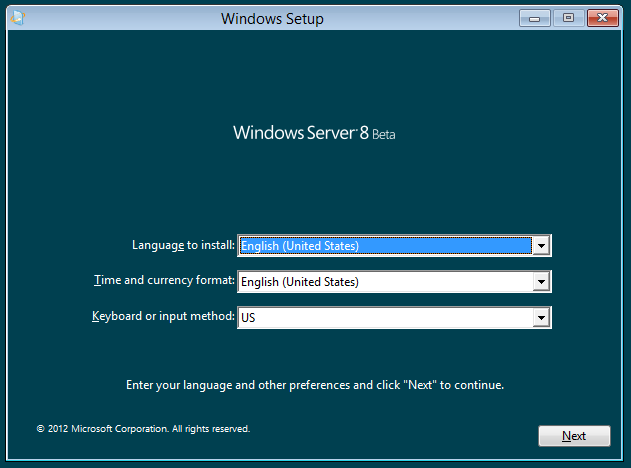
Figure 3. Local Settings
Step #5. Install/Repair option. Click on Install
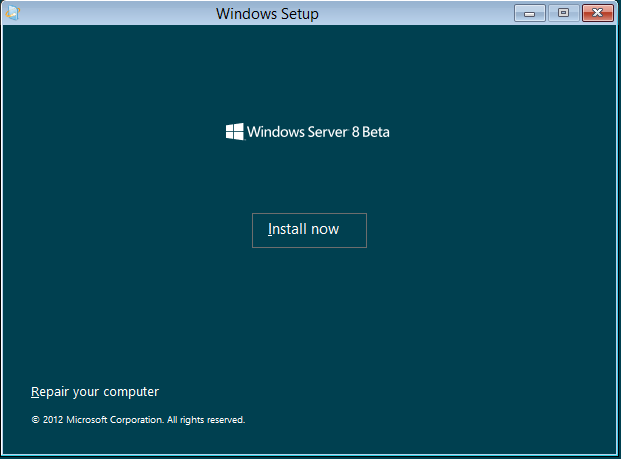
Figure 4. Install/repair option
Step#6. Setup will Start

Figure 5. Setup is starting
Step #7. Server option. For beginners use Server with GUI.
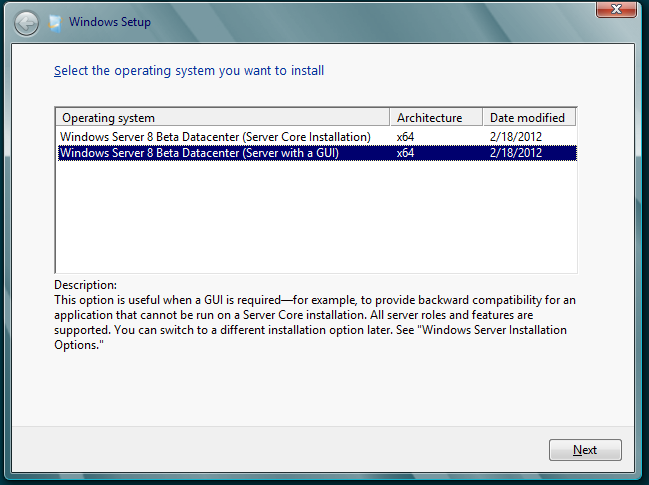
Figure 6. Windows Server 8 Server options.
Step #8. Accept the License Terms
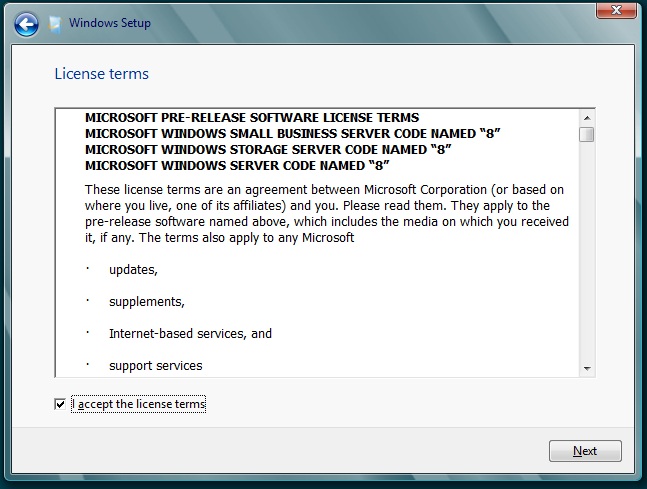
Figure 7. Accept license Terms.
Step #9. In Windows Setup options Choose Custom Install.
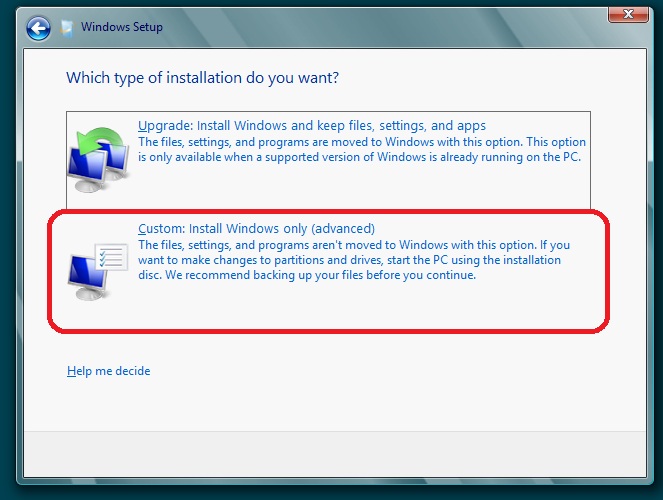
Figure 8. Windows Setup options.
Step #10. Choose Destination Drive
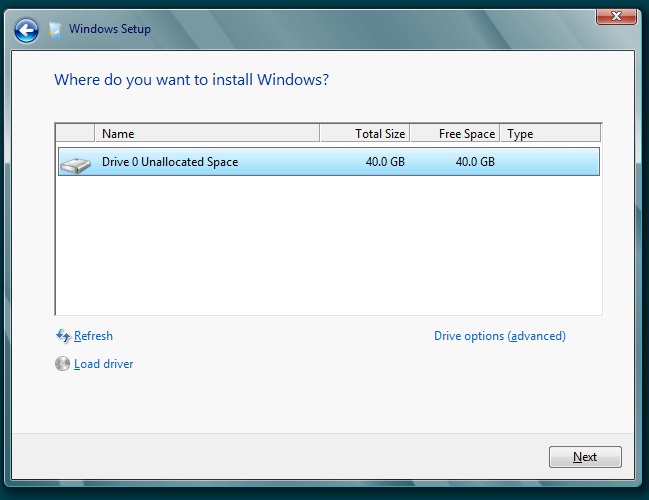
Figure 9. Drive Selection
Step #11. Windows Will Start Copying Files.
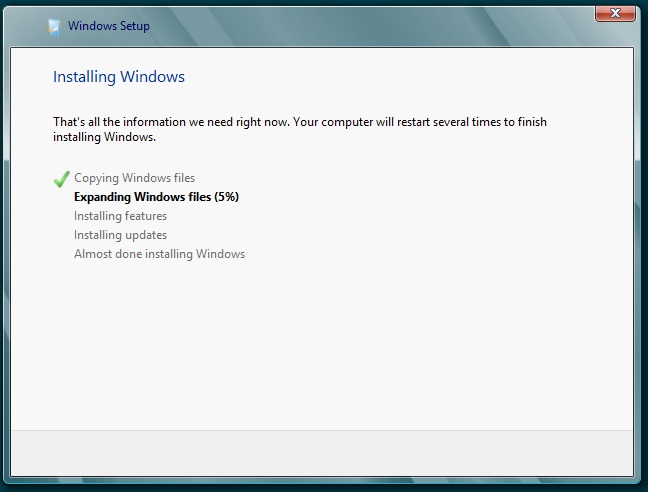
Figure 10. Windows is copying files.
Step #12. After Step 10. Windows will reboot several times. Make it sure that you boot from the
drive where you install windows server 8.

Figure 11. Windows Server 8 starting.
Step#13. Change Administrator password
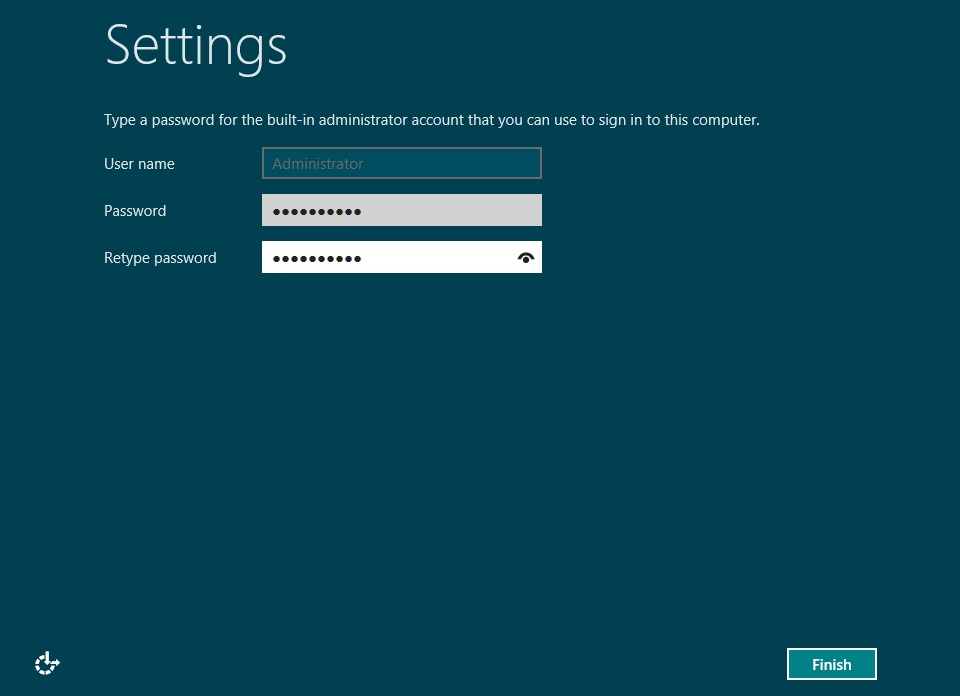
Figure 12. Change password
Step #14. Windows 8 Server Beta opening Screen. Press Ctrl+ALT+Del
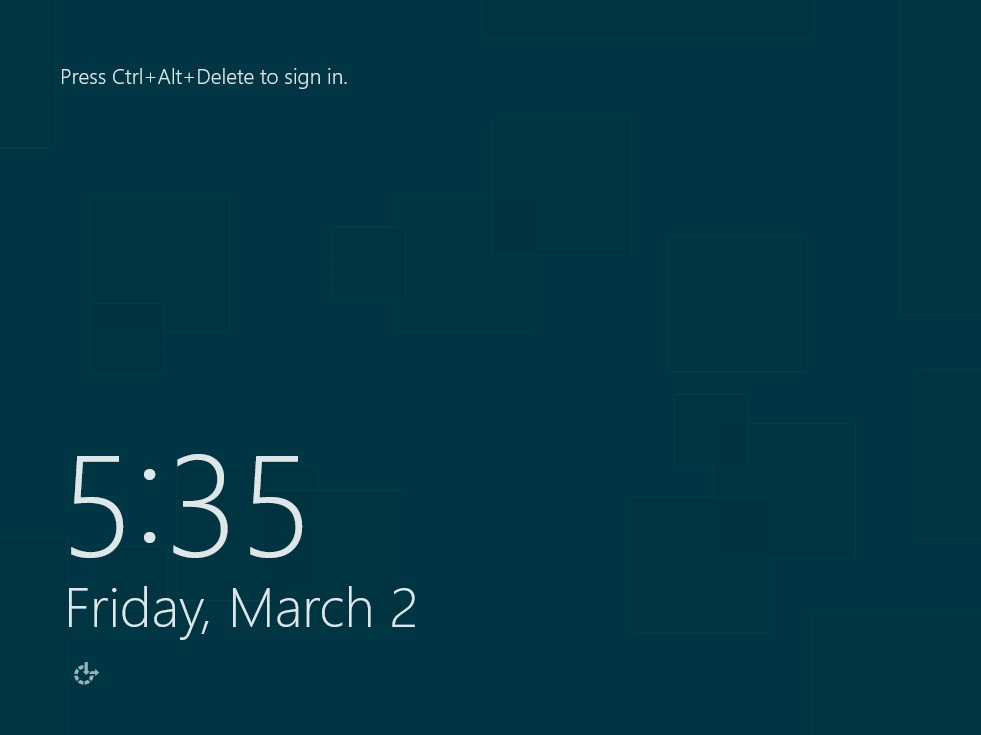
Figure 13. Windows Server 8 Opening Screen
Step #15. Log-in to Windows server 8 log-in screen.
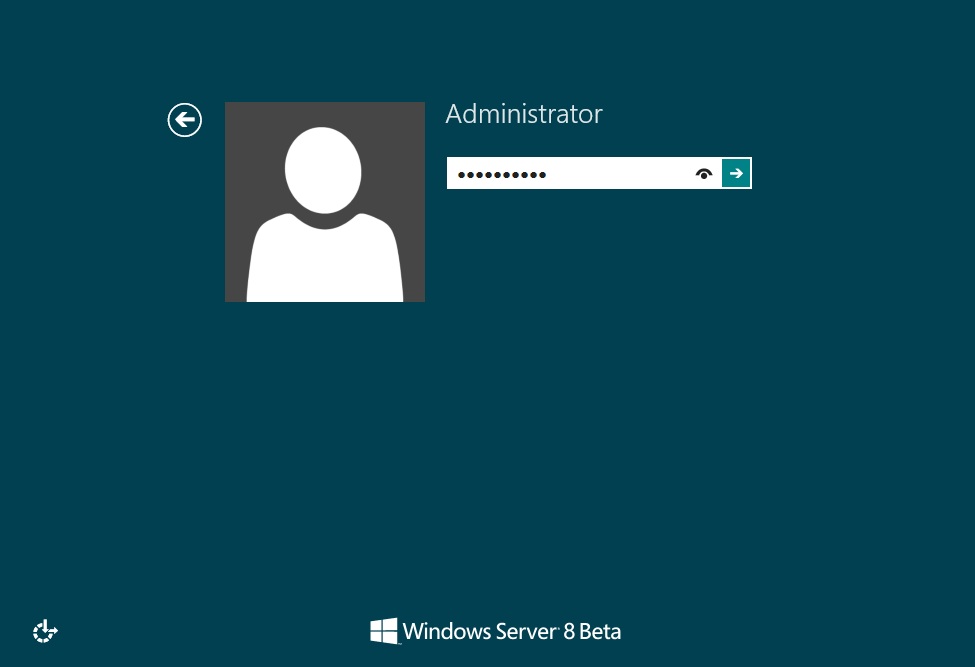
Figure 14. Log-on to windows Server 8 log-on screen
Step #16. Windows Server 8. Server Manager Dashboard
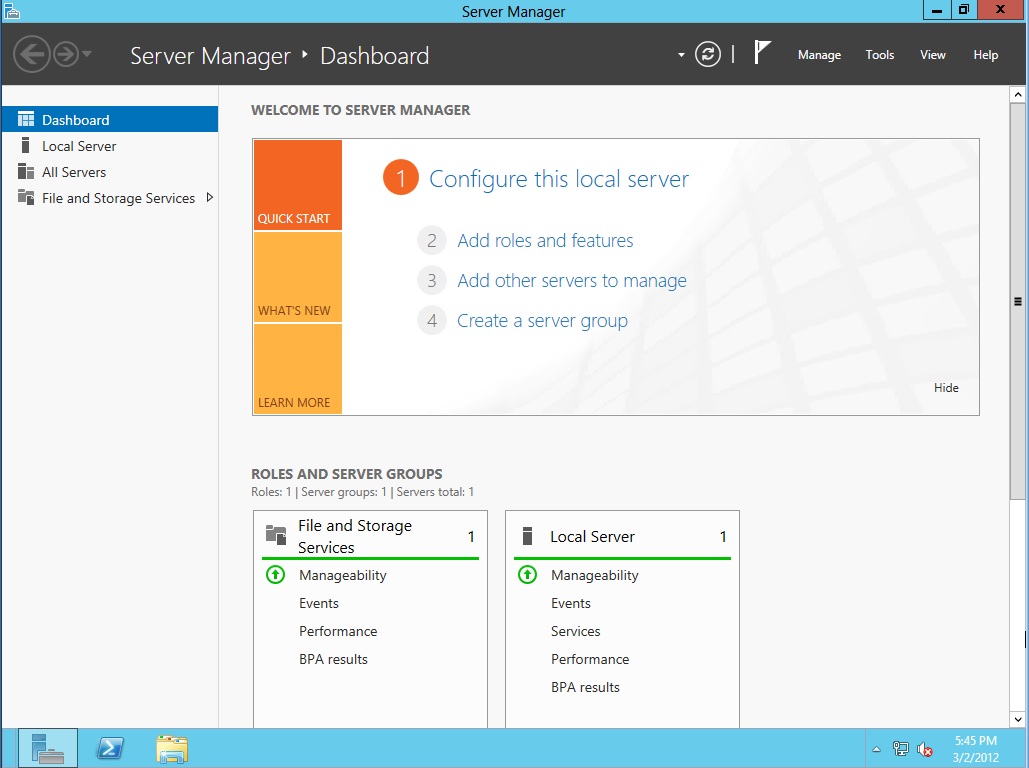
Figure 15. Windows Server 8 Server manager.
NOTE:
There is a known Issues For VMware Player user.
In the installation of VMware addition you should not install
the SVGA driver as it will cause windows Server 8 to hang.
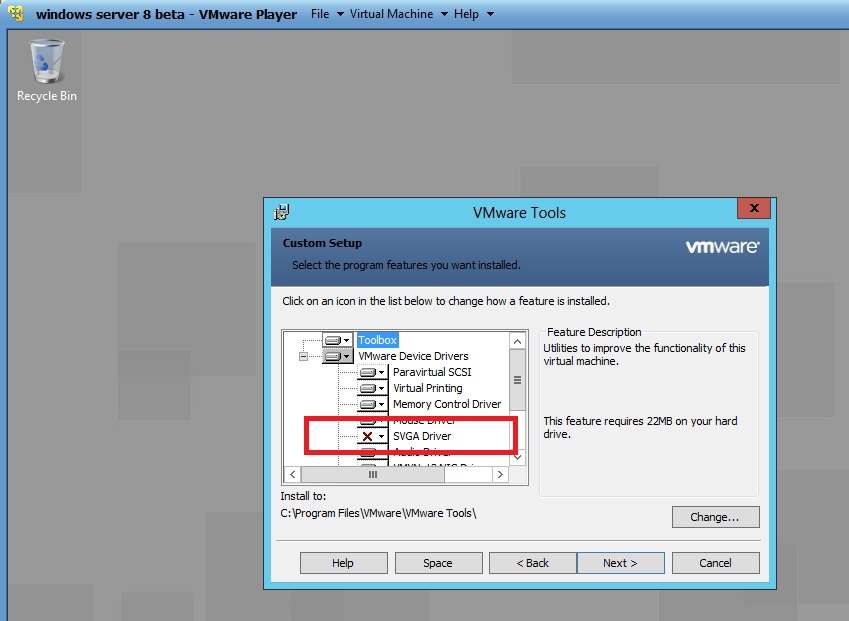
Figure 16. Window server 8 and Windows 8 Issue with VMware player virtual addition