Share via


System Center Data Protection Manager 2012: Installation Guide


**
This Wiki article is based on pre-release documentation and is subject to change in future releases.
**


Introduction

This Wiki article will help you to deploy Microsoft System Center Data Protection Manager 2012 to your environment.


Lab environment


Installation Process


Prerequisites

First of all you must verify if your server is compliant with the system requirements.


Prepare the SQL configuration

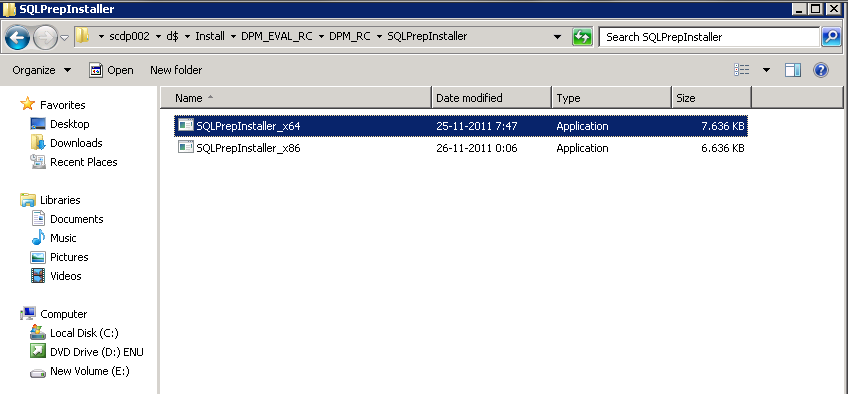
  Create a drive mapping to your SCDPM installation media and start SQLPrepInstall_x64
  Click on Next to install Microsoft Visual C++ 2008.
  Read the License Terms and click on I have read and accept the license term.

Now click on Install.
 Click on Finish.
 Click on OK to finalize the SQL Preparation.


Configure Single Instance Storage (SIS)


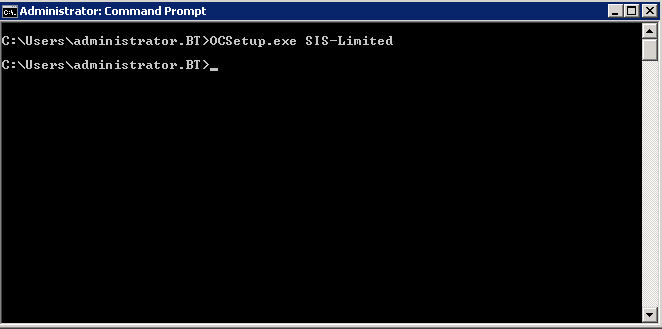
  Open Command Prompt and run the following command: OCsetup.exe SIS-Limited
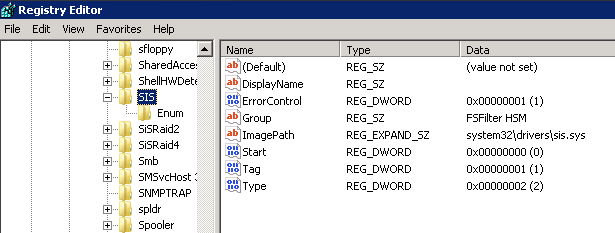
  To check if the installation succeeded open Regedit. Now check if the following key is available:

HKEY_LOCAL_MACHINE\SYSTEM\CurrentControlSet\Services\SIS

Now restart the DPM server.


Installation


  Open setup.exe from your installation media and click on Data Protection Manager. 
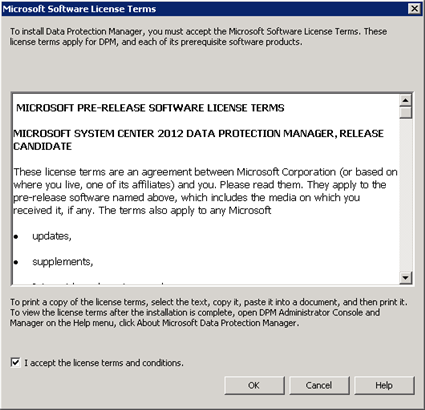
  Read the License Terms and click on I accept the license terms and conditions and click on OK.
   On the Welcome screen click on Next.
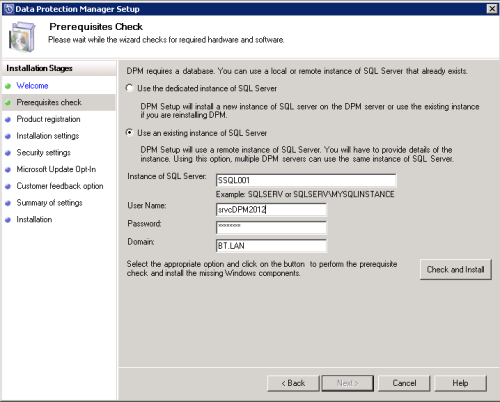
   Within this guide I am using a separated SQL server instance (called SSQL001).

Type in the following details:
Instance of SQL Server: Your SQL Server hostname
User Name: Your DPM Service account
Password: The password of the DPM Service account
Domain: Your domain name

After entering all details click on Check and Install.
   Click on Next.
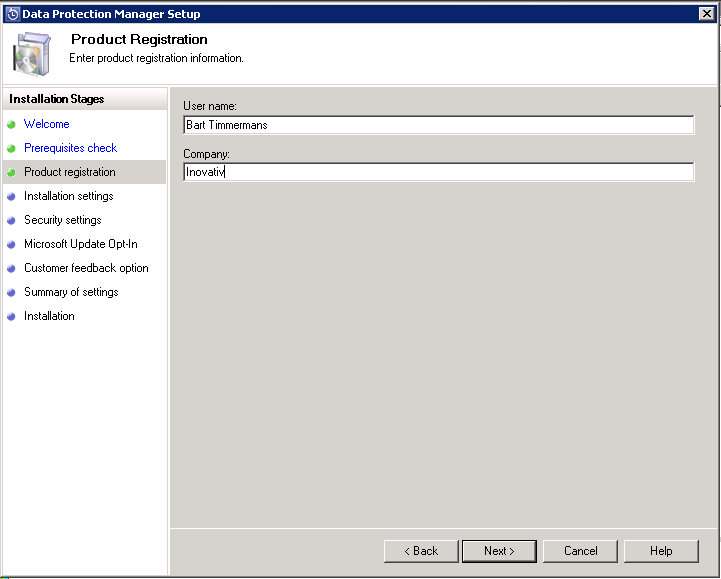
   Type in your User name and Company and click on Next.
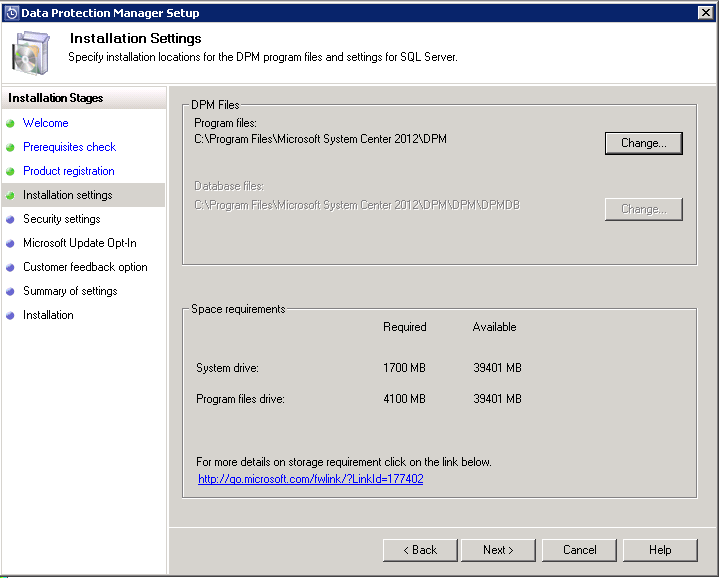
   Use the default settings and click on Next.

Note:
There is a bug with the Program Files selector. So if you want to store the program files to another driver (which is preferred) this doesn't work with the Release Candidate.
   Type in a complex password (don't forget to save it to your default password database/excel) and click on Next.
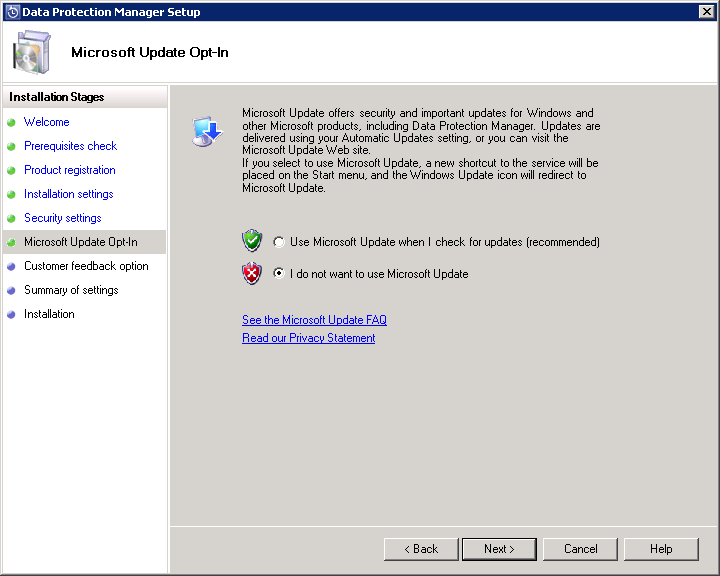
   Select your Windows Update preference and click on Next.

(If you are using WSUS or SCCM for patch management you must select I do not want to use Microsoft Update)
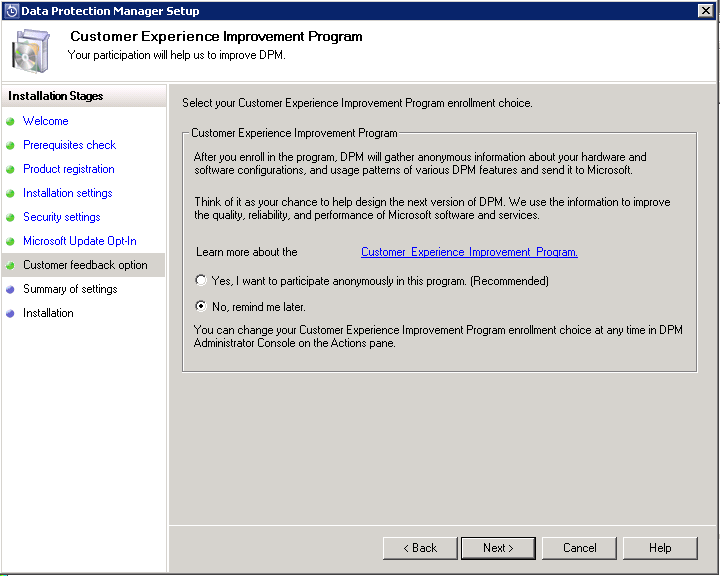
   Select your Customer Experience preference and click on Next.
   Review your settings and click on Install.
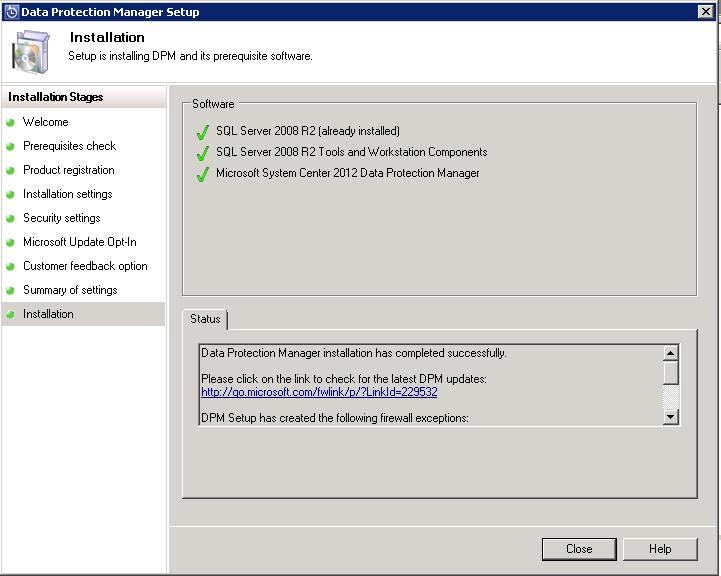
   After the installation is finished click on Close.