How to Connect Excel PowerPivot to Hive on Azure via HiveODBC
The Hive ODBC Driver enables client applications such as Excel PowerPivot to access a Hive data warehouse running on Windows Azure. This driver requires the ODBC Server Port to be opened on the Hadoop Services on Azure (http://www.hadooponazure.com) portal. This walkthrough provides the following steps that describe how to access Hive on Windows Azure from Excel PowerPivot in detail.
- Open ODBC Server Port on Hadoop on Azure portal.
- Download and install Hive ODBC Driver.
- Create an ODBC DSN pointing to Hive on Azure using the ODBC Driver.
- Configure Excel PowerPivot
Alternatively, you can watch the following video posted to youtube that demonstrates these steps.
View
See Also
Open ODBC Server Port on Hadoop on Azure Portal
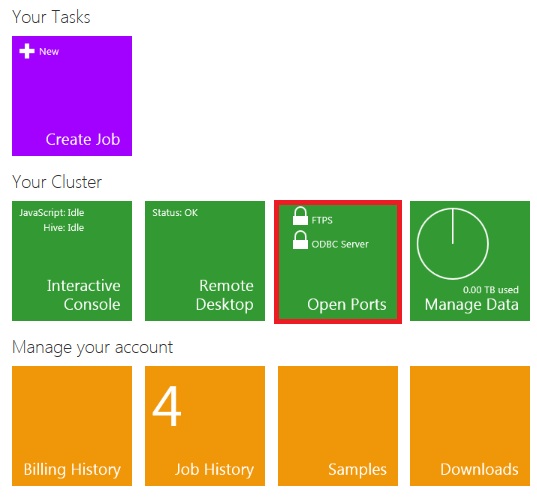
Log in to www.hadooponazure.com (Hadoop Services on Azure) portal. The Open Ports tile on the portal should indicate whether the ODBC Server Port is locked.
If it is locked, click the Open Ports tile. Use the slider to enable ODBC Server Port (port number: 10000). 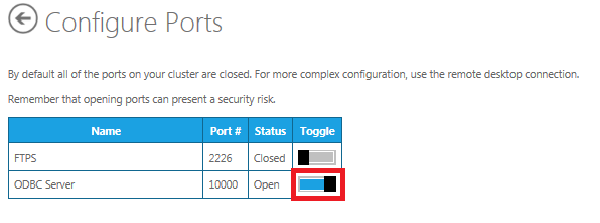
When you navigate back to portal home page, the Open Ports tile now should indicate that the ODBC Server Port is unlocked.
Download and Install the Hive ODBC Driver
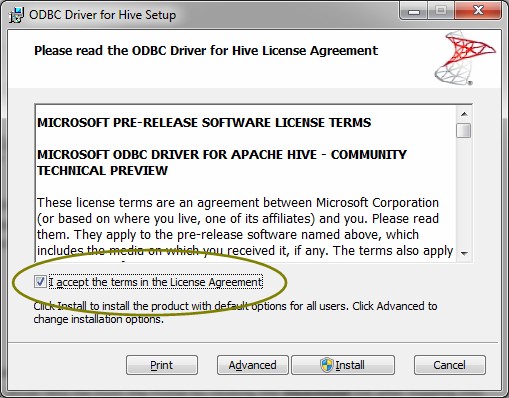
Click Downloads tile on the Hadoop Services on Azure portal, and download and install either 32-bit/64-bit version of the Hive ODBC Driver installation file depending on the version of Excel 2010 you have on your computer.

Installing the Hive ODBC Driver is pretty straight forward.
Create an ODBC DSN Pointing to Hive on Windows Azure
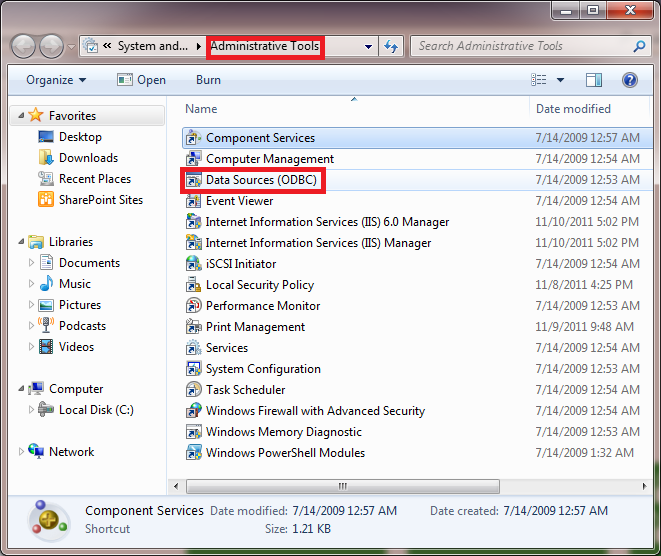
Launch ODBC Data Source Administrator from Administrative Tools.
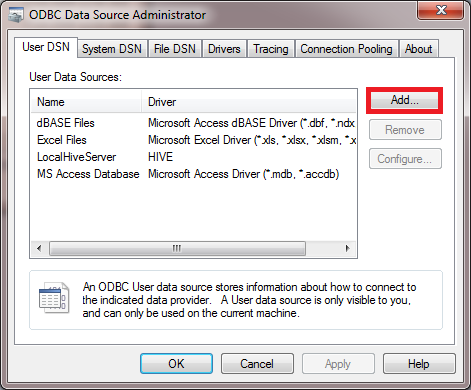
Click Add to create a new DSN.
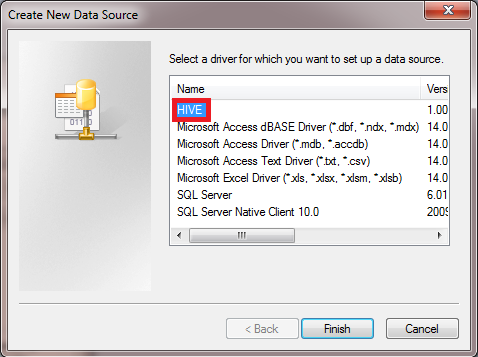
Select HIVE from the list of ODBC drivers.
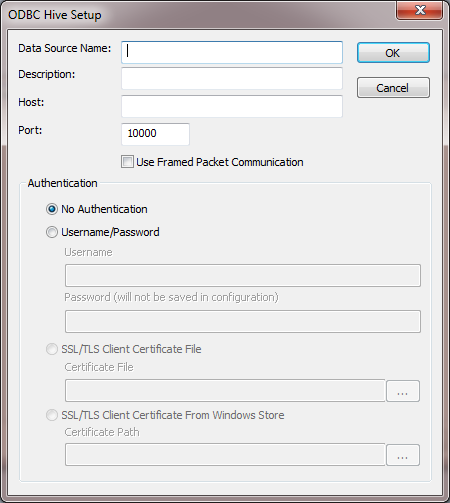
In the ODBC Hive Setup dialog box, do the following:
- Specify a friendly name for the DSN. For example: Hive on Azure.
- Specify a description for the DSN.
- Type the host name, which you can get from the Hadoop Services On Azure portal after you sign-in.
- Keep the default ODBC Port number: 10000.
- Select Username/Password option.
- Type the name of the user that you specified when requesting for the Hadoop cluster to be created on Azure.
- Click OK to close the ODBC Hive Setup dialog box.
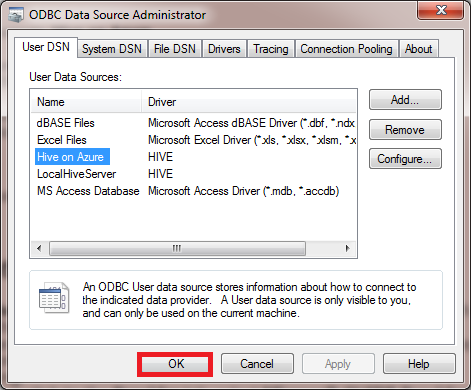
Click OK to close the ODBC Data Source Administrator.
Configure Excel PowerPivot to Access Hive on Azure
Launch Excel 2010, switch to PowerPivot tab, and click PowerPivot Window on the ribbon to launch PowerPivot.Click From Other Sources button on the ribbon to launch the Table Import Wizard.
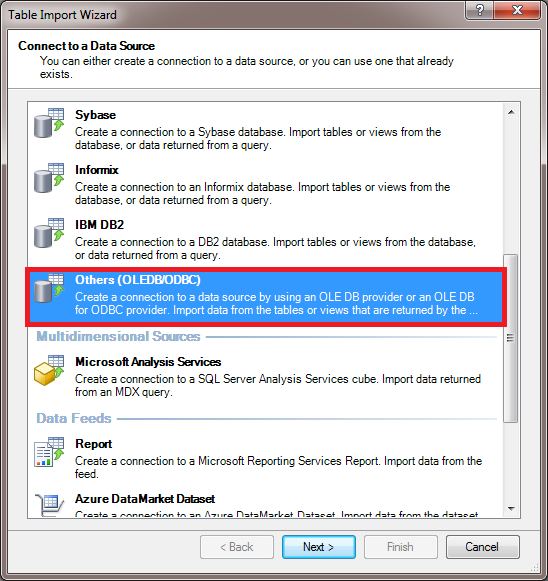
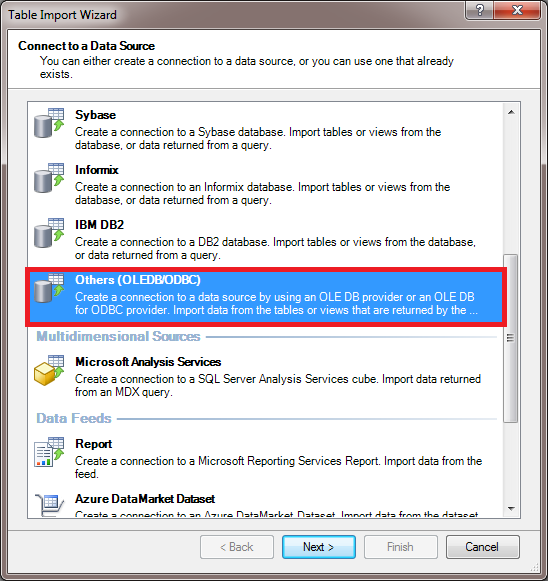
Select Others (OLEDB/ODBC) since we will be using the ODBC Driver for Hive to access Hive on Azure, and click Next.
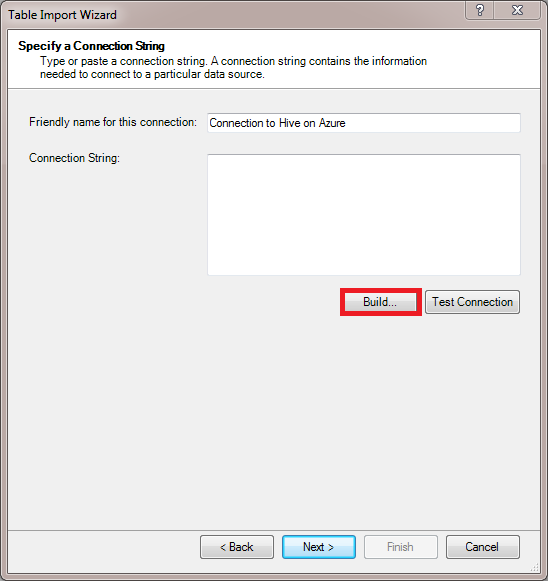
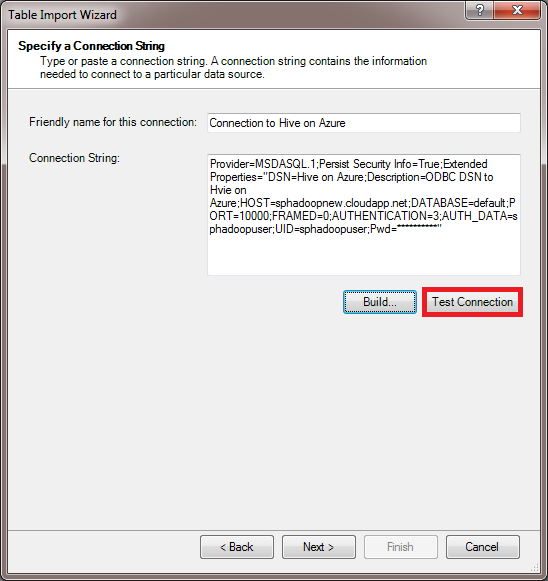
Type a friendly name for the connection. Click Build to build the connection string.
In the Data Link Properties dialog box, switch to the Provider tab, select Microsoft OLEDB Provider for ODBC Drivers, and click Next.
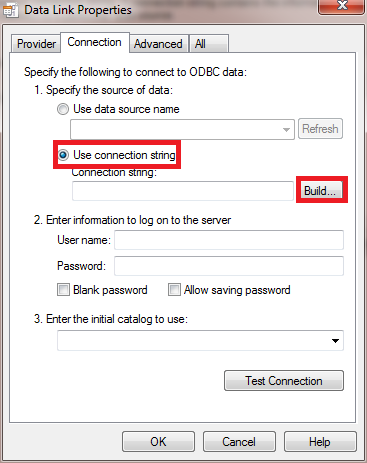
Select Use Connection String, and click Build.
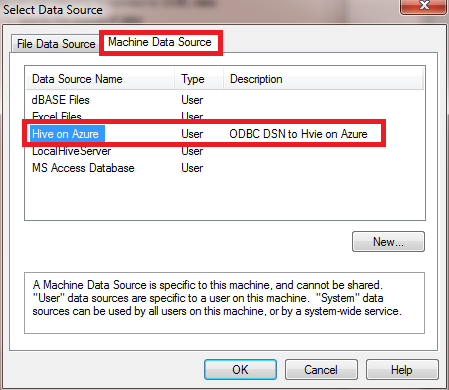
Switch to the Machine Data Sources tab, select Hive on Azure DSN that you had created earlier using the ODBC Data Source Administrator, and click OK.
Enter the password for the Hadoop user in the ODBC Hive Setup dialog box and click OK to close it.
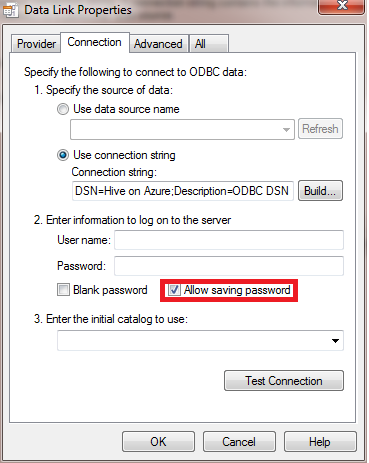
Select the Allow Saving Password option to save the password in the connection string. Click OK to close the Data Link Properties dialog box.
Click Test Connection in the Table Import Wizard to test the connection.
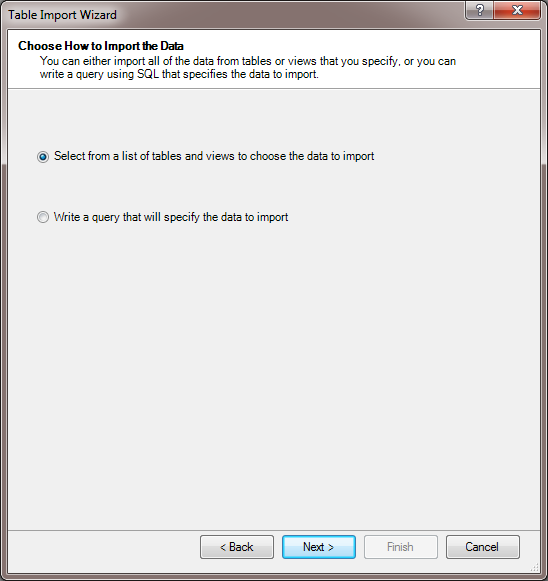
Click Next. You see two options to import the data. The first one lets you choose from a list of tables and views from which you want to import the data and the second one lets you specify a HiveQL query that you want to run against your Hive data warehouse to retrieve the data.
In this walkthrough, you select the first option, and click Next.
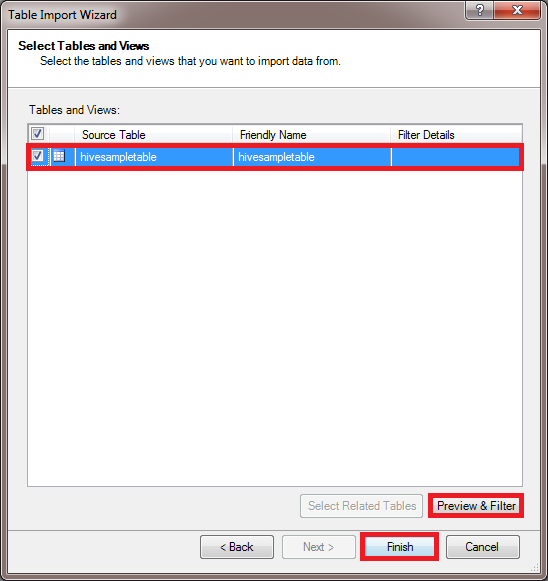
Select a table from the list and click Preview & Filter to preview and filter the data.
Click Finish to start importing the data from Hive into PowerPivot.
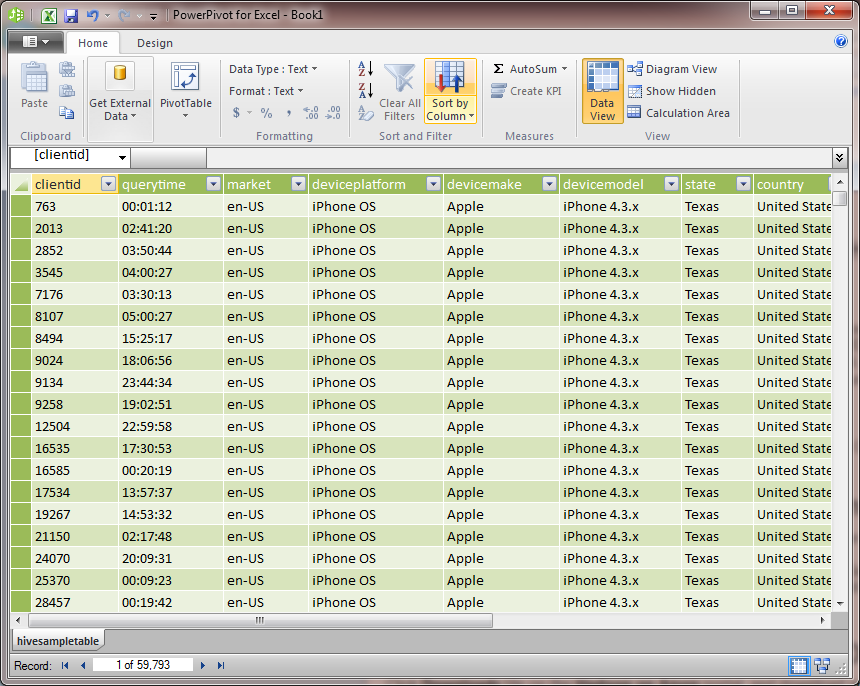
Click Close to see the data in the PowerPivot.
