How to Create and Run a Job on the Hadoop on Azure Portal
This article describes how the create Map Reduce jobs on a cluster that has been provisioned on the Hadoop on Windows Azure Portal. For more information on running Map Reduce Jobs for an on-premise or Azure Hadoop cluster, see
the getting started guide for your cluster deployment type.
- Getting Started with an On-Premises Hadoop-based services for Windows.
- Getting Started with a Azure Deployment of Hadoop-based Services.
To run a job, you will need to first create your own jar file – compiled java code that contains your Map Reduce code. For more information on how to create a jar file, you can reference these links:
- Apache Hadoop Jar Command
- Apache Hadoop Map Reduce Tutorial
- Yahoo! Developer Network - Module 3: Getting Started with Hadoop
- Goto “Running a Hadoop Job” to run a job
- Goto “Running a Sample Program” to create a Hadoop MR job
We have also made the hadoop-examples-0.20.203.1-SNAPSHOT.jar file available which is made use below to run the pi sample. Once, your logged into the portal, download the .jar file to your local computer by clicking the Samples tile, then click the Pi Estimator tile. The steps in this topic walk you through manually uploading a jar file from your local computer. However, you can just click Deploy to your cluster for the sample.
Running the Pi Estimator Job
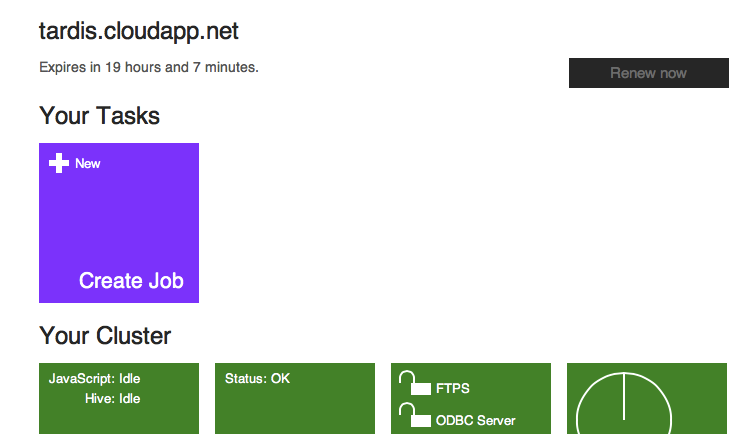
After logging into the cluster at http://hadooponazure.com/, click on Create Job under the Your Tasks banner.
Click on Choose File to upload an already created jar file such as the referenced hadoop-examples-0.20.203.1-SNAPSHOT.jar and type in you job name.

Provide any parameters associated with your jar file. In the case of running the pi example with the above noted jar file, click on Add parameter so you can add the following three parameters:
pi, 10, 100
This indicates that for the examples jar file, you will run the pi sample using iterations / threads of 10 with the number of jobs to aggregate over at 100. The parameters should look much like the screenshot below.

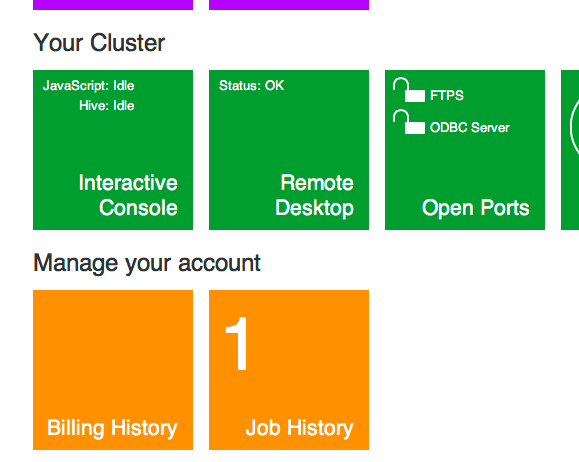
Click Execute job and the Hadoop-based service on Azure portal page will submit the job to your cluster. You are immediately be able to view the status and output. The current status of a running job is always available by clicking the Job History tile under **Manage your account. Then just click the correct job. **

Once the job has been completed, the portal live tiles will be updated with completion of the task as noted below.

If you click on the task itself, (e.g. the “pi #1” tile), you can re-execute the job – similar to what you had done in Step #3.
To view the results of the job you had just executed, click on Job History at the bottom of the portal live tiles.
The listing of your recent jobs are noted in the Job History page.
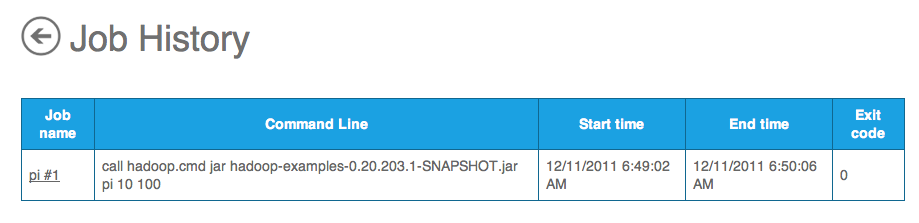
Click on the job name and you can see the job information, command executed, output, and any errors similar to the screenshot below.

More Information
- See our How To and FAQ Guide and please feel free to contribute based on your expertise and experience.
- See Hadoop-based Services for Windows.