Note
Access to this page requires authorization. You can try signing in or changing directories.
Access to this page requires authorization. You can try changing directories.
There are lot of conflicting information and articles but because I was able to achieve it, I posted an article on steps to be followed in order to grant commercial tenant user access to GCChigh tenant and vice-versa.
- Add users as External User in Azure AD. If You are adding a GCC or GCChigh user, you need to follow step 11 before you start step 1.
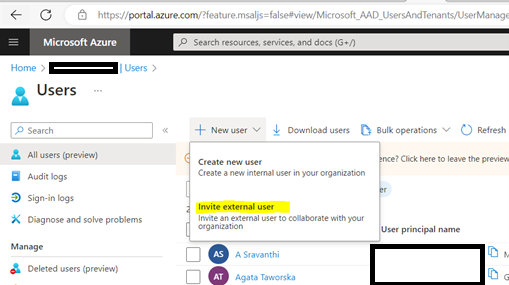
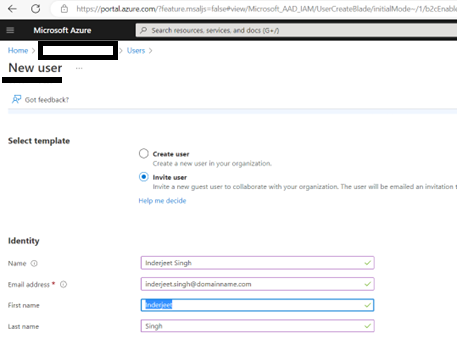
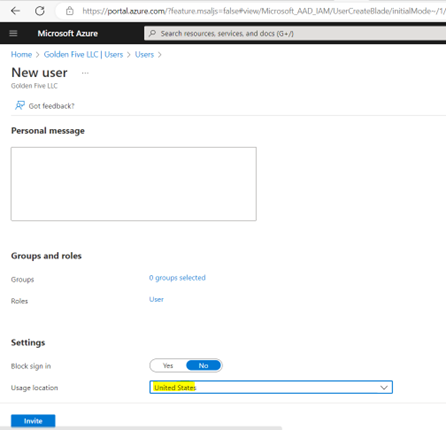
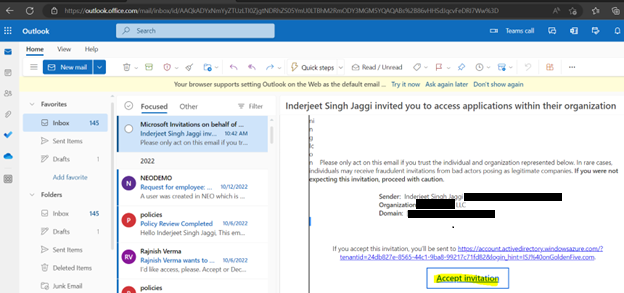
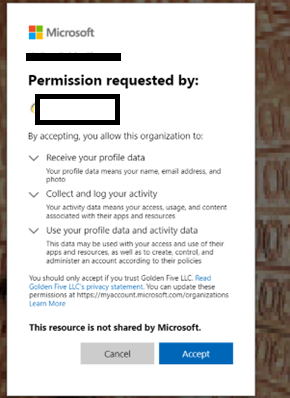
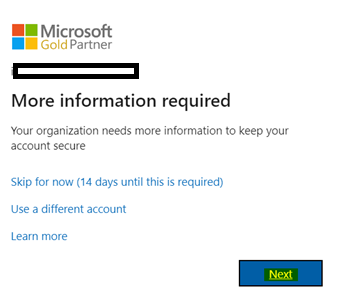
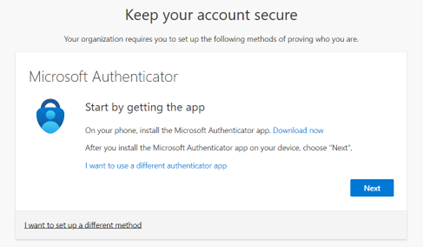
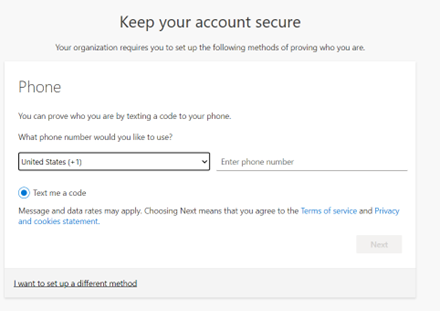
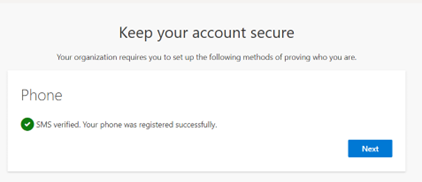
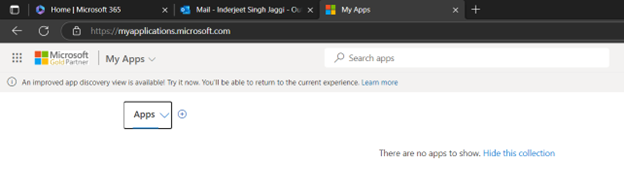
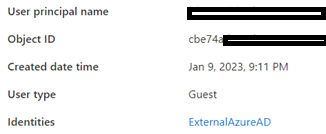
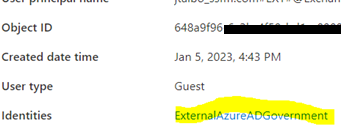
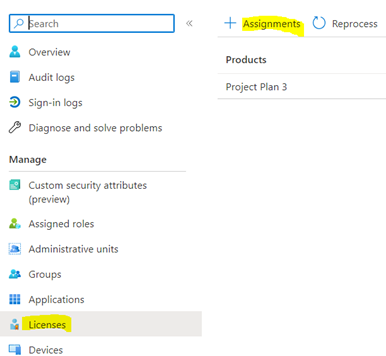
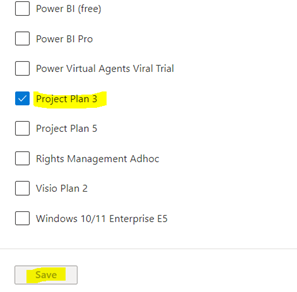
https://itfreesupport.com/wp-content/uploads/2023/02/Picture12.png1. Access Poratl.azure.com, search Azure Active Directory > Users > New User > Invite External Userhttps://itfreesupport.com/wp-content/uploads/2023/02/Picture13.png2. Keep ‘Invite User’ option selected, and enter below details. Make sure location is selected as United States, Select Invitehttps://itfreesupport.com/wp-content/uploads/2023/02/Picture14.pnghttps://itfreesupport.com/wp-content/uploads/2023/02/Picture15.png3. Once the invited user receive below email. User need to select Accept Invitationhttps://itfreesupport.com/wp-content/uploads/2023/02/Picture16.png4. Accept the below message so tenant can access below informationhttps://itfreesupport.com/wp-content/uploads/2023/02/Picture17.png5. Select Next on below screen to add multi factor authentication for the account, then you can usehttps://itfreesupport.com/wp-content/uploads/2023/02/Picture18.pnghttps://itfreesupport.com/wp-content/uploads/2023/02/Picture19.png6. I selected ‘I want to set up a different Method’ and then selected phone, User can select App as well and proceed.https://itfreesupport.com/wp-content/uploads/2023/02/Picture20.png7. You should get a prompt as, Verifiedhttps://itfreesupport.com/wp-content/uploads/2023/02/Picture21.png8. Now if user is added successfully, he will be redirected to URL (My Apps (microsoft.com)https://itfreesupport.com/wp-content/uploads/2023/02/Picture22.pnghttps://itfreesupport.com/wp-content/uploads/2023/02/Picture23.png9. Normal users you will see Identity as ‘ExternalAzureAD’ but for GCCHIgh user you will see “ExternalAzureADGovernment”https://itfreesupport.com/wp-content/uploads/2023/02/Picture24.png10. If Projects or any other license is required, make sure you assign the license for same by going to Licenses > Assignments > Select the License and then select Savehttps://itfreesupport.com/wp-content/uploads/2023/02/Picture25.png
11. For GCCHigh, below tenant level setting is additionally needed before you follow step 1
https://itfreesupport.com/wp-content/uploads/2023/02/Picture1.pnghttps://itfreesupport.com/wp-content/uploads/2023/02/Picture2.png
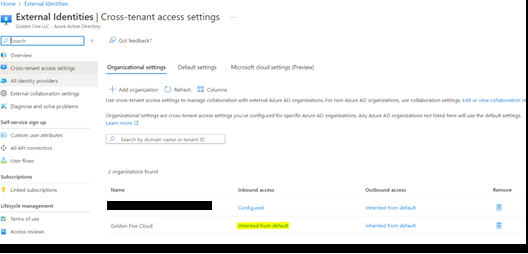
- Once added, click on ‘Inherited from default’
https://itfreesupport.com/wp-content/uploads/2023/02/Picture3.png
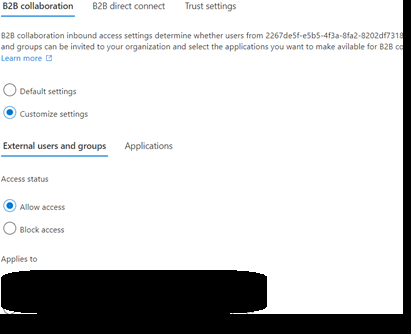
- Select ‘Customize Settings’ for B2B collaboration > ‘Allow access’ under external users and group. Set ‘Allow access’ under Applications
https://itfreesupport.com/wp-content/uploads/2023/02/Picture4.png
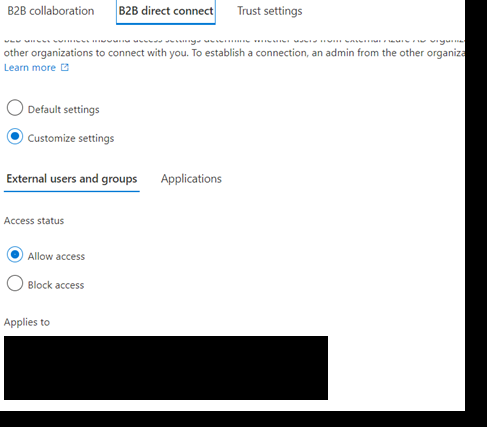
- Select ‘Customize Settings’ for B2B Direct Connect > ‘Allow access’ under external users and group. Set ‘Allow access’ under Applications
https://itfreesupport.com/wp-content/uploads/2023/02/Picture5.png
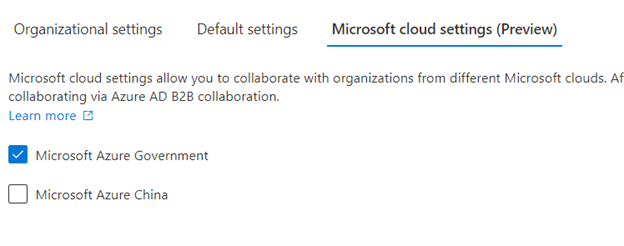
- Under Microsoft cloud settings select ‘Microsoft Azure Government’
https://itfreesupport.com/wp-content/uploads/2023/02/Picture7.png
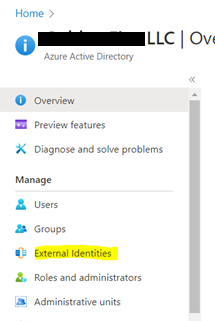
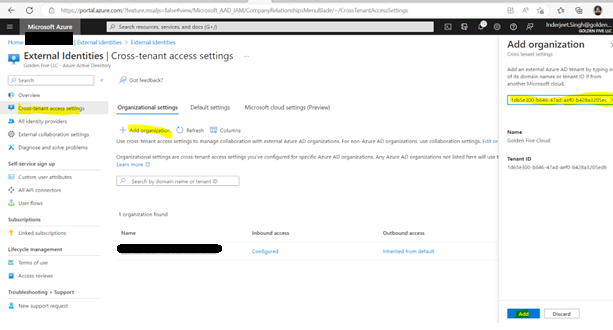
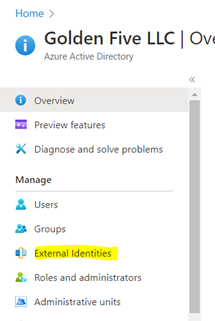
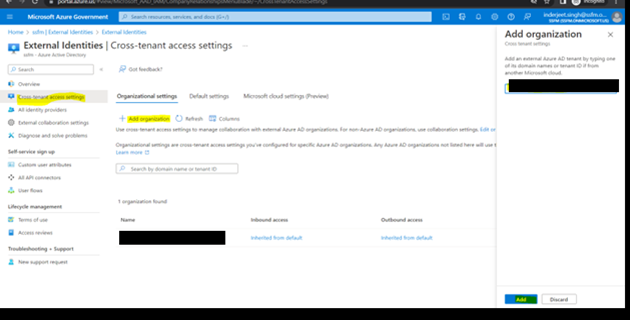
- Now from GCCHigh, go to Access Poratl.azure.com, search Azure Active Directory > ‘External Identities’ from left navigation > Add the GCCHigh tenant ID and then select Add at bottom.
https://itfreesupport.com/wp-content/uploads/2023/02/Picture8.pnghttps://itfreesupport.com/wp-content/uploads/2023/02/Picture9.png
- For GCCHigh we should leave ‘Inherited from default’
https://itfreesupport.com/wp-content/uploads/2023/02/Picture10.png
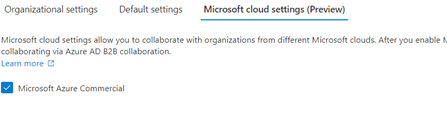
- Under Microsoft cloud settings select ‘Microsoft Azure Commercial’
https://itfreesupport.com/wp-content/uploads/2023/02/Picture11.png
Reference : https://itfreesupport.com/2023/02/onboard-external-gcchigh-or-commercial-user-to-commercial-ad-tenant