Microsoft 365: Working with Microsoft Graph Explorer
Introduction
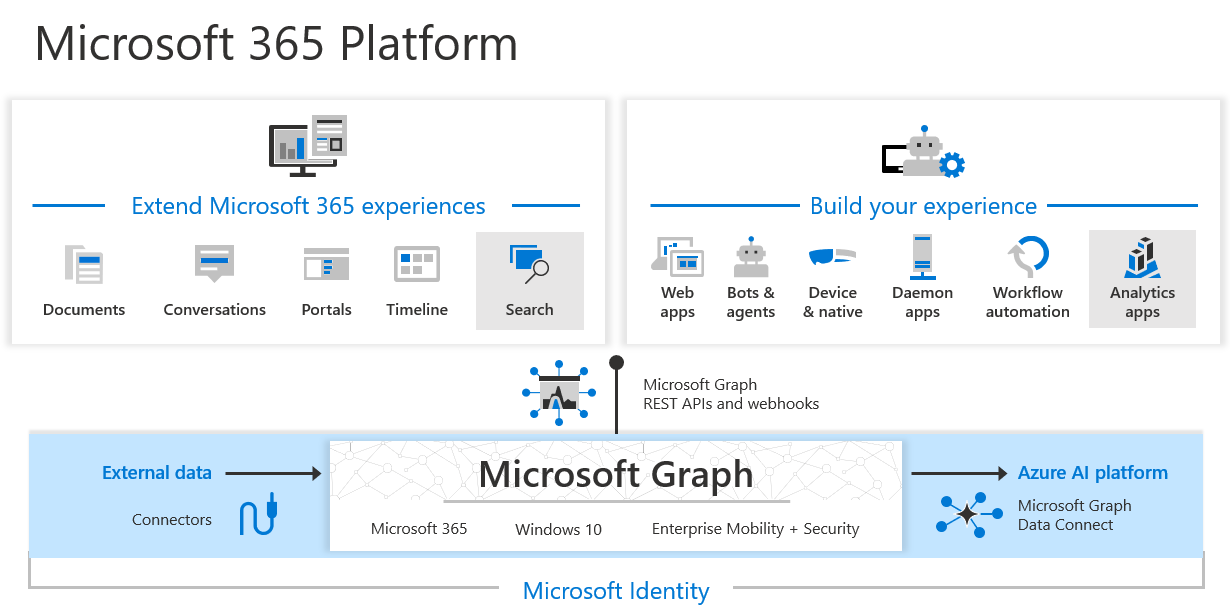
Microsoft Graph is the gateway to data and intelligence in Microsoft 365. It provides a unified programmability model that you can use to access the tremendous amount of data in Microsoft 365, Windows 10, and Enterprise Mobility + Security. Use the wealth of data in Microsoft Graph to build apps for organizations and consumers that interact with millions of users.
It offers a single endpoint, https://graph.microsoft.com, to provide access to rich, people-centric data and insights exposed as resources of Microsoft 365 services.
Graph Explorer
To understand the possibilities of Graph, Microsoft has provided a playground – Graph Explorer that can be used to explore the way we can work with the various APIs . It is accessible at https://aka.ms/ge which will redirect you to Graph Explorer.
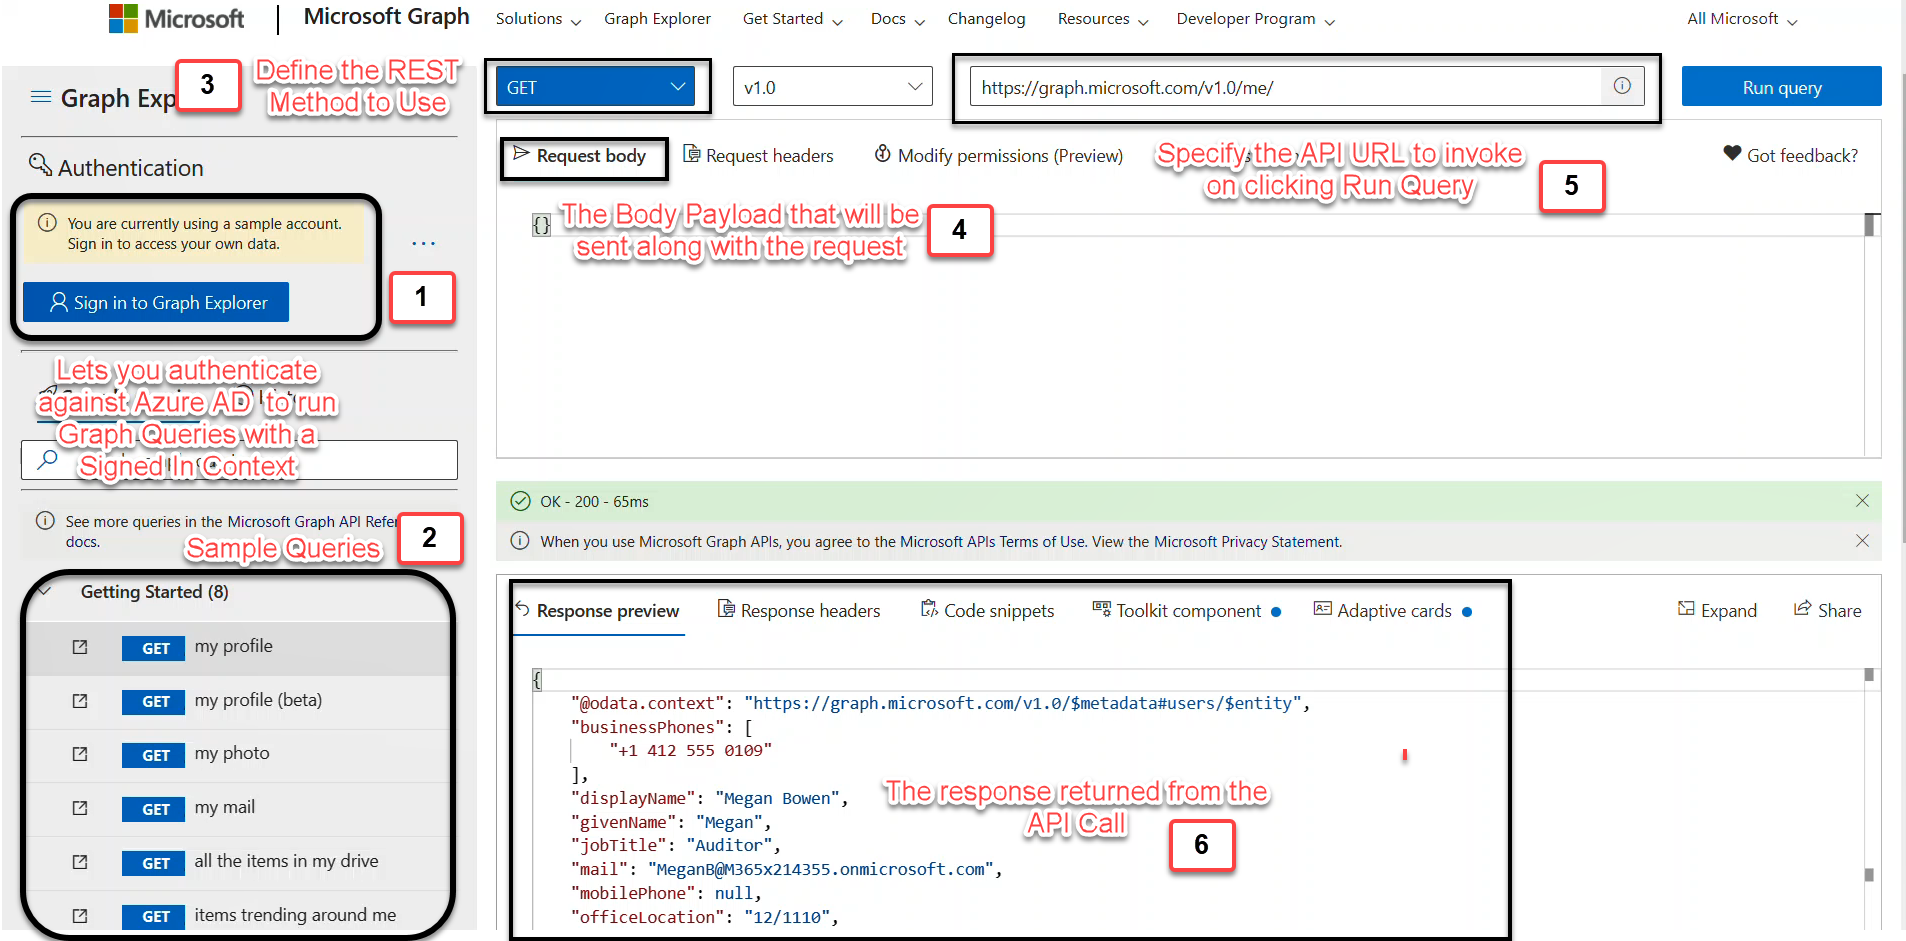
Looking at the basic options available in the graph explorer. Going by the marked numbers,
1. Try API
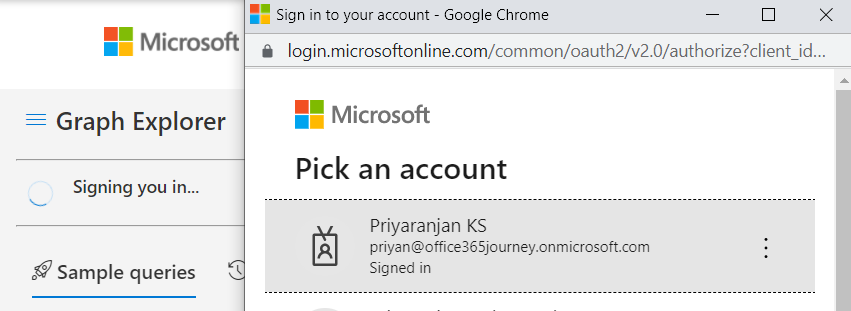
Graph Explorer lets you try out APIs with or without a logged in Context. In case you want to try out some API request response without signing in, Graph Explorer lets you do that by running the API query against Microsoft’s Demo tenant where you get the details of the dummy user Megan Bowen. However, if you want to sign into your tenant and run some real time queries against Graph, Click on Sign in to Graph Explorer which will open up the Authentication window and you can sign in.
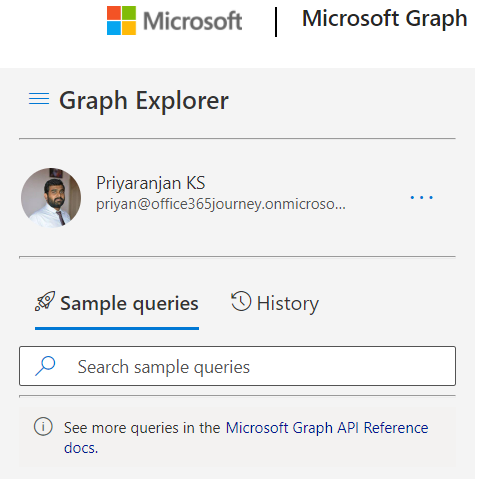
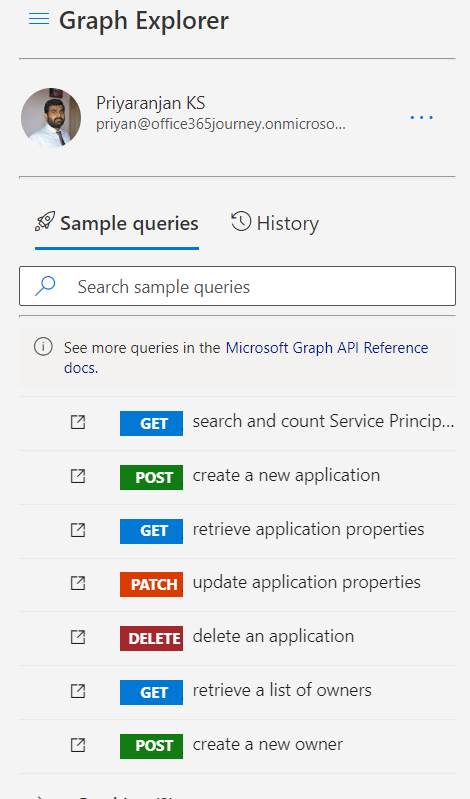
Post signing in, you can see the logged in details in the Graph Explorer
In case you don’t have a tenant to log in to or have difficulties in using it against the Work Tenant, Spin up an demo tenant for playing around by leveraging the Microsoft 365 Developer Program which will give you an Office 365 tenant to play around.
2. Sample Queries
Graph Explorer provides with easy to consume API samples and you can find good numbers of API examples in multiple resource categories which is updated on a frequently basis. It helps you sent requests to the APIs and view the response returned which will help you design the applications with much better insights. Various method samples for GET/POST/PUT/PATCH/DELETE is available for use. The redirection link to the left of each sample will take you to the official Microsoft documentation of the sample.
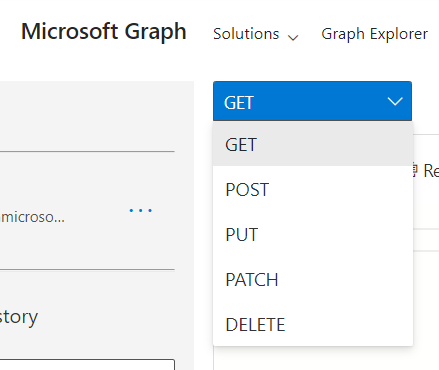
3. Method:
In case we need to test a sample not available in the Graph Explorer, we can select the method of choice from the drop down
4. Request Body:
In case of any POST or DELETE method, we can specify the usual JSON payload in the Request Body which will be used by the REST query while execution
5. Request URL :
Selecting a sample query from the left pane will auto populate this address bar. However in case of using a specific API of choice, we can add the REST URL in the address bar and click on Run query to send a call to it.
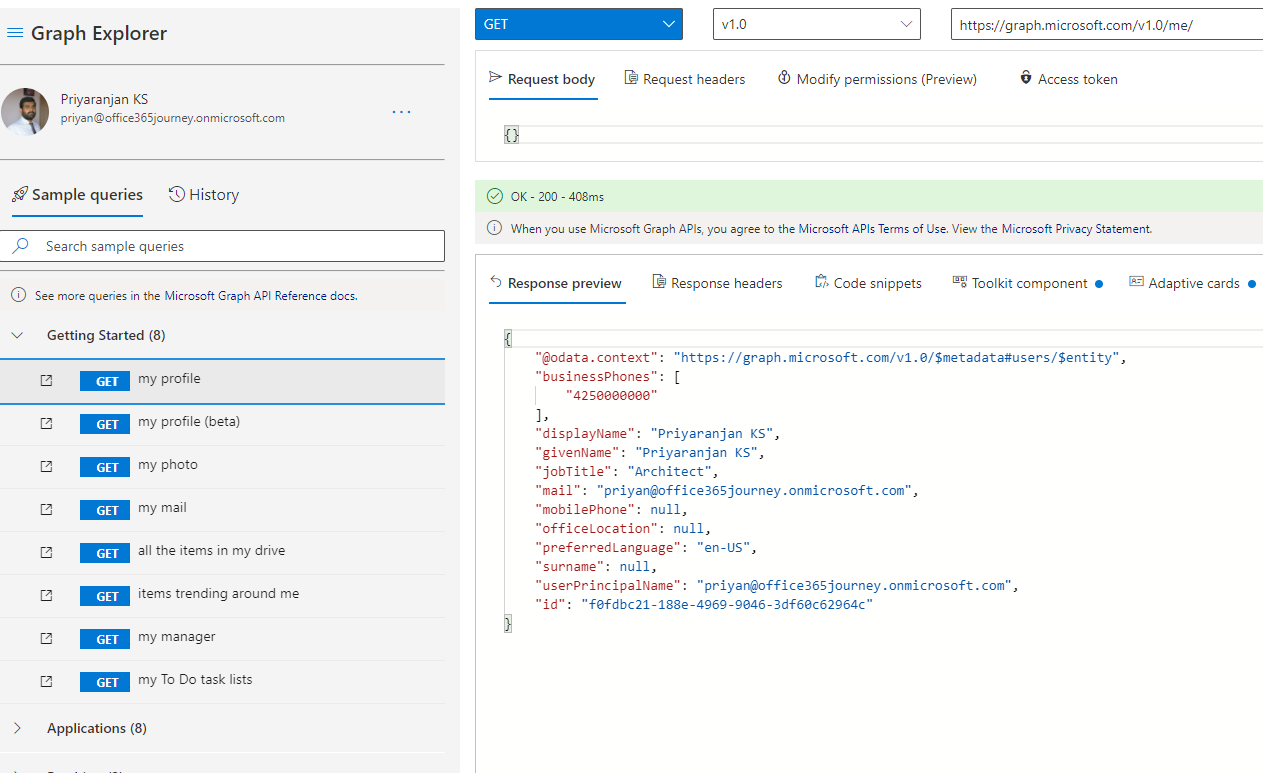
6. Execute a GET query (Response preview)
We can execute a sample query by heading over to the left pane and clicking on one of the available API references – my profile which will issue a GET request to fetch the user profile details from the tenant to which I have signed in and the returned response will be available in the Response Preview section. The HTTP Status code of 200 indicates a successful fetch.
Execute a POST query
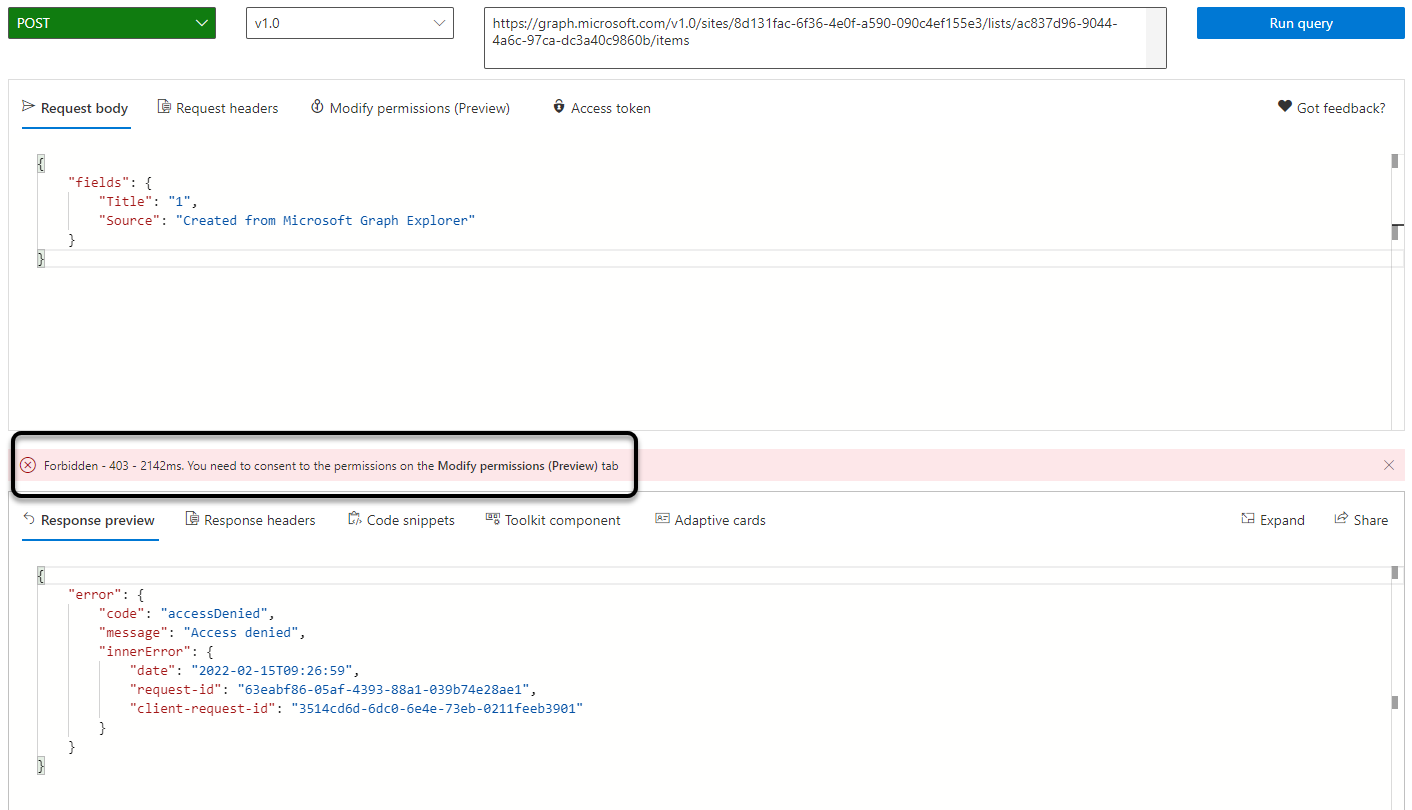
Let execute a POST request from Graph Explorer by changing the Request method from the dropdown and adding the Graph API URL for creating a SharePoint List item which has the syntax :span>
https://graph.microsoft.com/v1.0/sites/{site-id}/lists/{list-id}/items
Get the Site and List ID where we will be creating the list item and replace it in the above URL.
The body payload for the POST request as per the Official Documentation will look like:
{
"fields": {
"Title": "1",
"Source": "Created from Microsoft Graph Explorer"
}
}
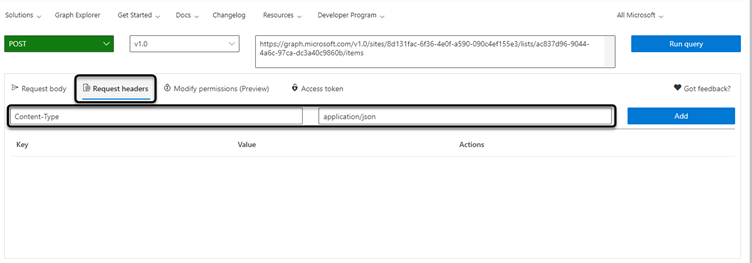
We will also add the Content Type in the request header to define the data type of the request payload
Here we are creating a new item and populating the fields Title and Source with values. We will add it to the Request Body and click on Run Query to submit the request.
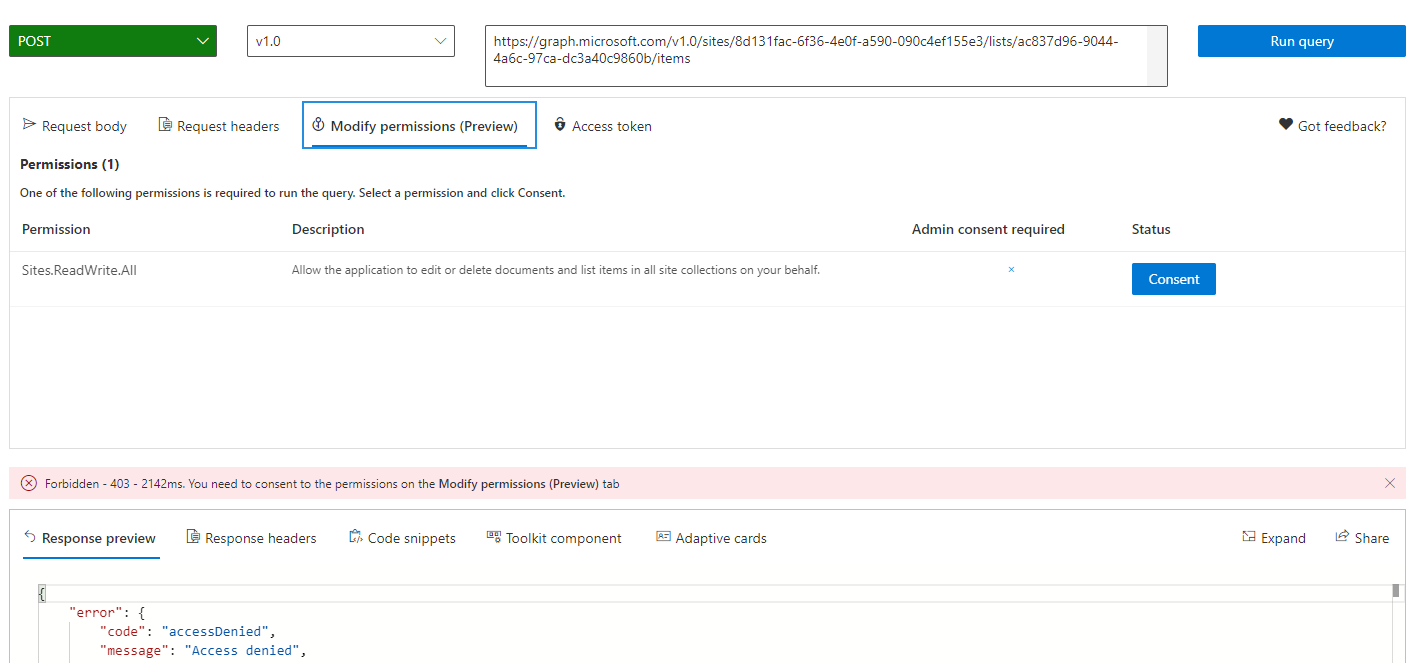
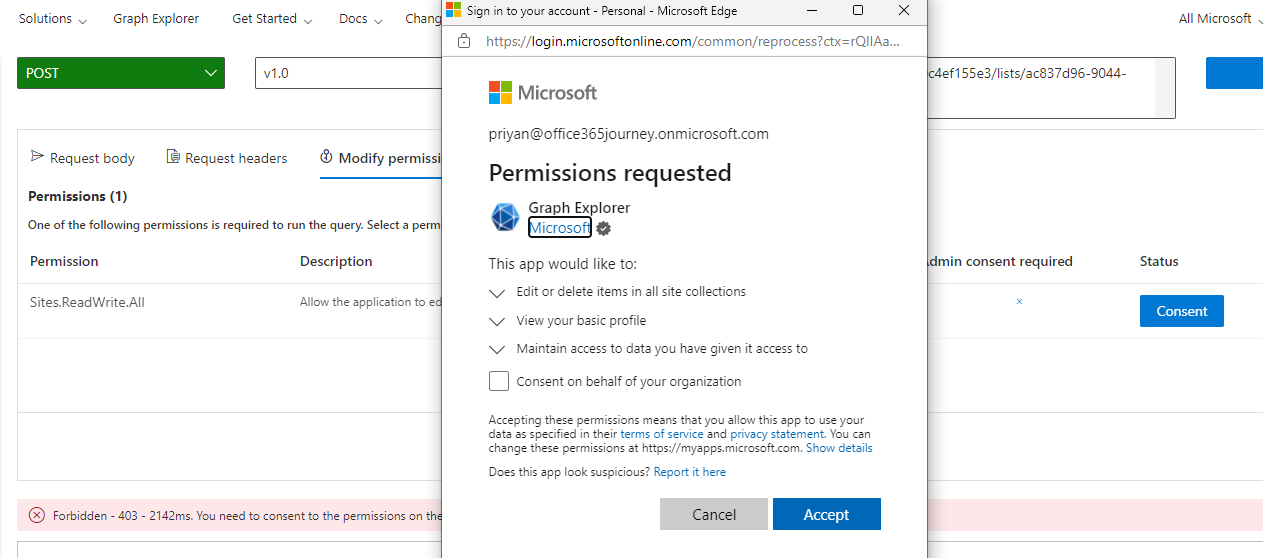
However, we can see that we have received a Response Code 403 which indicates lack of required permissions. To access the Resources from Graph API, we need to define the Permissions which will be used to perform the defined operations and provide a Consent to use them. We can do this by heading over to the Modify Permissions tab.
Status code |
Status message |
Description |
|---|---|---|
400 |
Bad Request |
Cannot process the request because it is malformed or incorrect. |
401 |
Unauthorized |
Required authentication information is either missing or not valid for the resource. |
403 |
Forbidden |
Access is denied to the requested resource. The user might not have enough permission. Important: If conditional access policies are applied to a resource, a HTTP 403; Forbidden error=insufficent_claims may be returned. For more details on Microsoft Graph and conditional access see Developer Guidance for Azure Active Directory Conditional Access |
404 |
Not Found |
The requested resource doesn’t exist. |
405 |
Method Not Allowed |
The HTTP method in the request is not allowed on the resource. |
406 |
Not Acceptable |
This service doesn’t support the format requested in the Accept header. |
409 |
Conflict |
The current state conflicts with what the request expects. For example, the specified parent folder might not exist. |
410 |
Gone |
The requested resource is no longer available at the server. |
411 |
Length Required |
A Content-Length header is required on the request. |
412 |
Precondition Failed |
A precondition provided in the request (such as an if-match header) does not match the resource's current state. |
413 |
Request Entity Too Large |
The request size exceeds the maximum limit. |
415 |
Unsupported Media Type |
The content type of the request is a format that is not supported by the service. |
416 |
Requested Range Not Satisfiable |
The specified byte range is invalid or unavailable. |
422 |
Unprocessable Entity |
Cannot process the request because it is semantically incorrect. |
423 |
Locked |
The resource that is being accessed is locked. |
429 |
Too Many Requests |
Client application has been throttled and should not attempt to repeat the request until an amount of time has elapsed. |
500 |
Internal Server Error |
There was an internal server error while processing the request. |
501 |
Not Implemented |
The requested feature isn’t implemented. |
503 |
Service Unavailable |
The service is temporarily unavailable for maintenance or is overloaded. You may repeat the request after a delay, the length of which may be specified in a Retry-After header. |
504 |
Gateway Timeout |
The server, while acting as a proxy, did not receive a timely response from the upstream server it needed to access in attempting to complete the request. May occur together with 503. |
507 |
Insufficient Storage |
The maximum storage quota has been reached. |
509 |
Bandwidth Limit Exceeded |
Your app has been throttled for exceeding the maximum bandwidth cap. Your app can retry the request again after more time has elapsed. |
Modify Permissions
We can see that the required Permission has already been added in the tab and we need to click on Consent so that the Graph Explorer can use this permission. span>
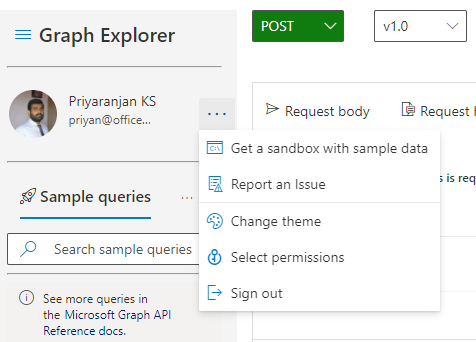
As of writing, Modify Permissions is in Preview, In case the permissions are not listed in this tab, click the 3 dots next to your login name in the left pane and click on Select Permissions.
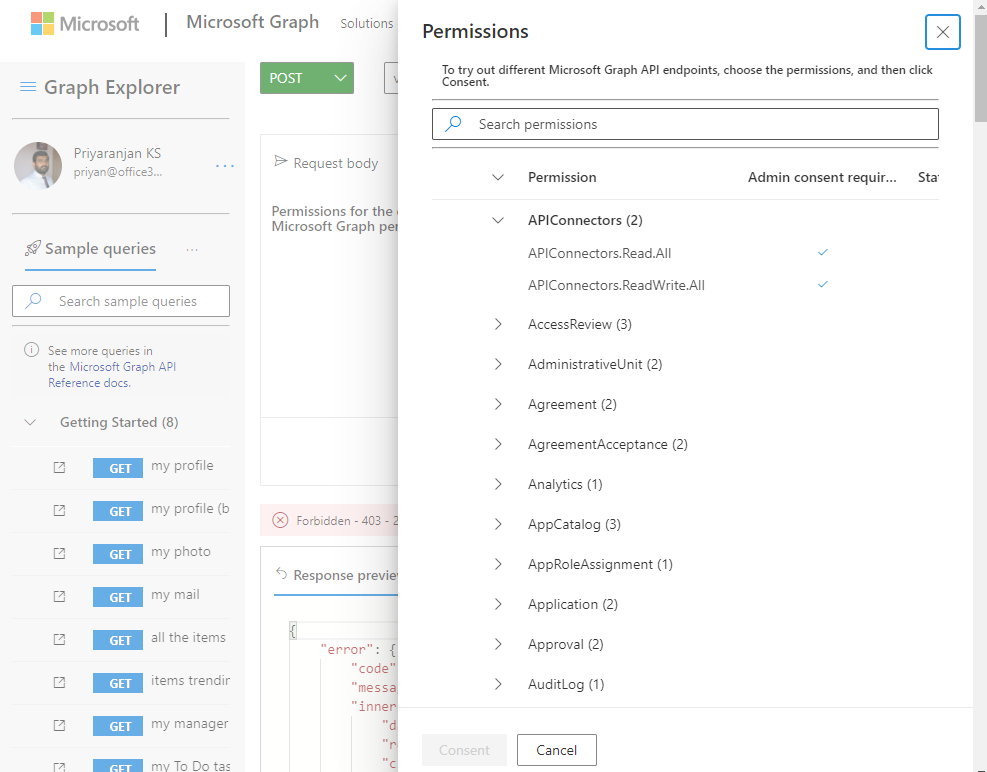
This will open the right pane from which you can select the needed permissions and click on Consent at the bottom.
Clicking on Consent from Modify Permissions or Select Permissions section will open the Authentication window when we will be shown the operations to which we are consenting.
We can see the Consent Status has changed in the Modify permissions tab after going through the consent process
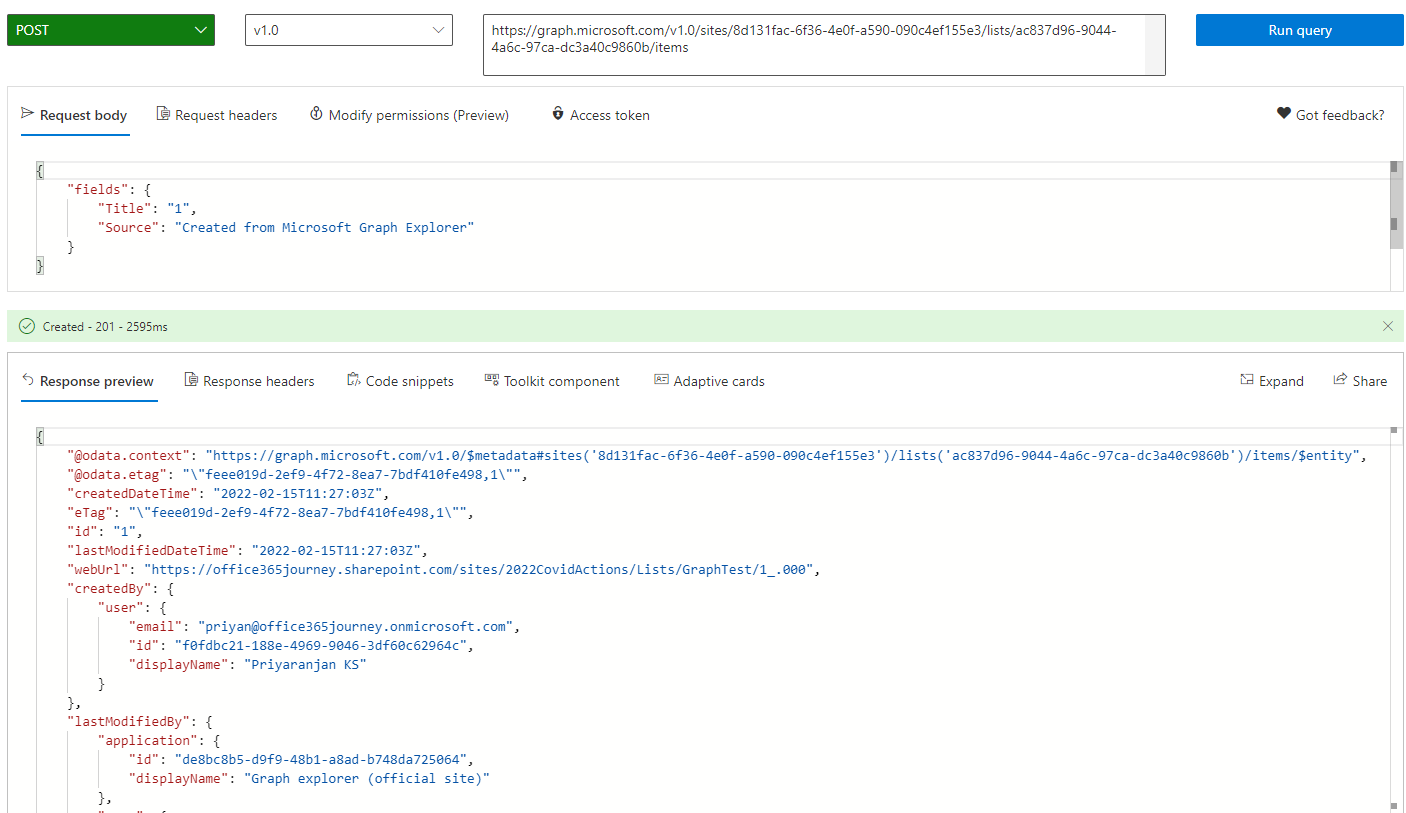
Clicking on run query again will issue the POST request again and this time with the consented permissions which will return back the HTTP Status Code 201 which stands for success. We can also view the response of the query in the response preview where the JSON return body is listed.
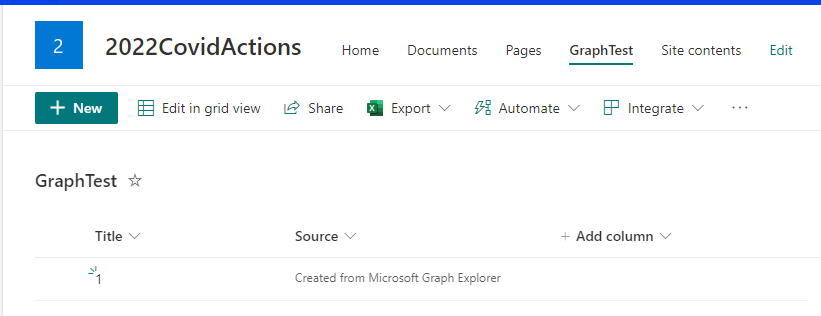
The List Item has been created in the SharePoint List
Get the Access Token
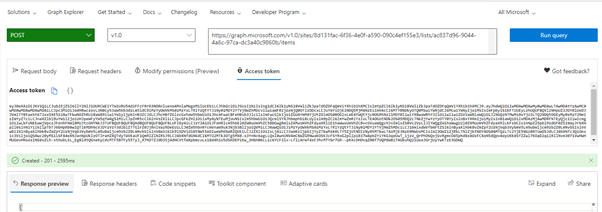
While testing applications with Microsoft Graph, the most fundamental requirement is the access token to perform the Authentication to make Graph Calls for which in an ideal scenario, we will have to register an azure application with the defined permissions. An example can be connecting from PowerShell to Graph to do some operations where the access token is required to pass the authentication loop. In such scenarios, heading over to Graph Explores and signing in , we can click on Access Token which will give us the Access token with the predefined permissions which we can use else where for communicating with graph .
Summary
Thus we saw some basic operations we can do with Graph Explorer which helps us easily do initial investigations around the Request Response body while using Graph in other applications.
