How to work with Address Input and Map Controls in Power Apps
- Introduction
- Scenario
- Implementation
- Adding the Address Input and Map Control
- Configure Address Input Control
- Configuring the Map Control
- Test the App
- Summary
Introduction
Geospatial controls like Address Input and Interactive Map Control provided by Power Apps elevates the user experience and helps users to search for addresses. As these geospatial controls also leverages the mapping capabilities of third party provider called Tom Tom, before using them, you will have to consent to the terms and conditions from the Admin Centre.
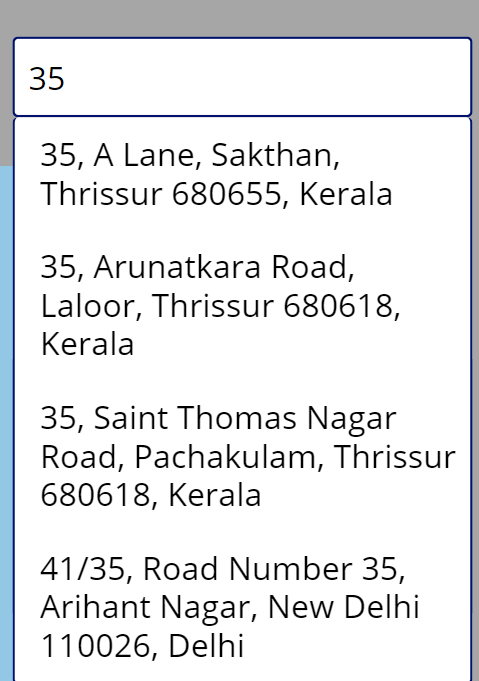
The address input can be used to search for addresses, and it suggests potential matching addresses from which we can select the address. The returned result is displayed a full address in the address bar, but we can tap into individual properties of the Address input to extract, street number, street address, municipality, city etc.
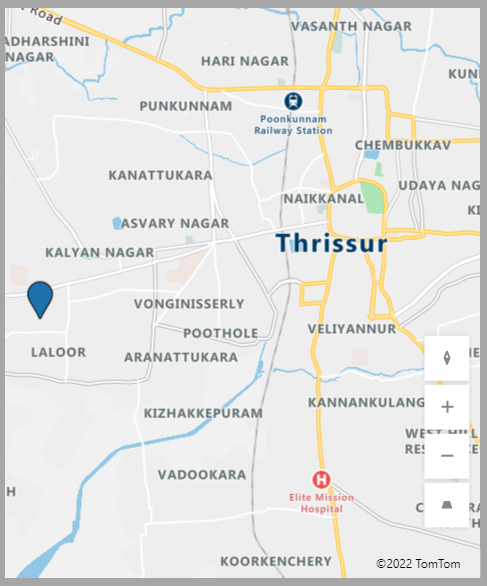
The interactive map provides the map of the specified Longitude and Latitude and displays the location which can be zoomed in an out.
In this article, we will see how to implement Address Input and Map controls in a Canvas App.
Scenario
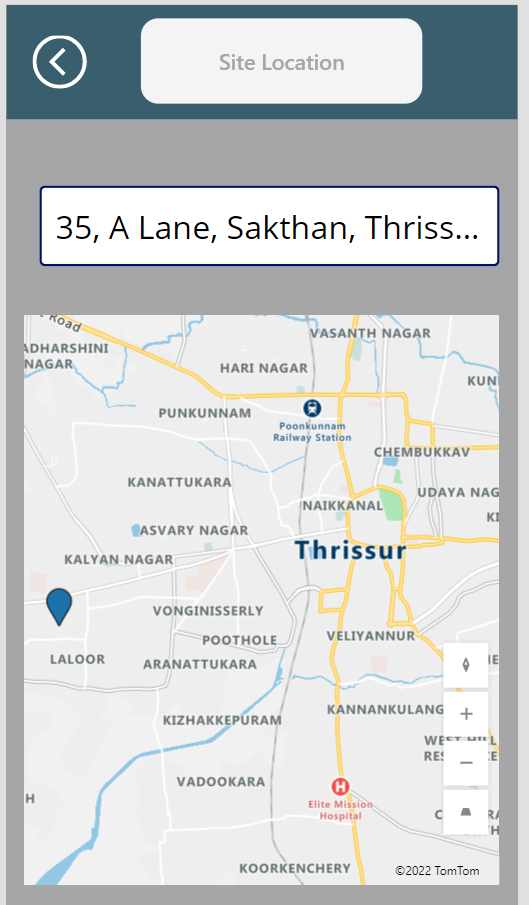
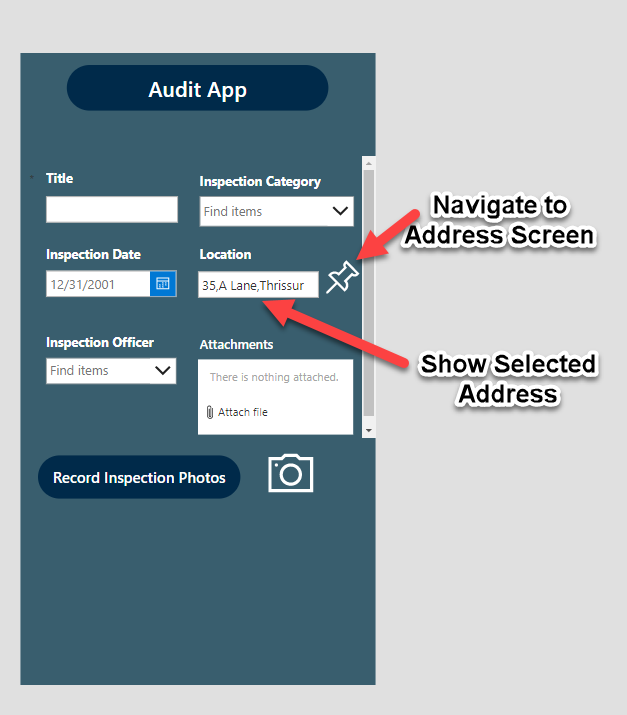
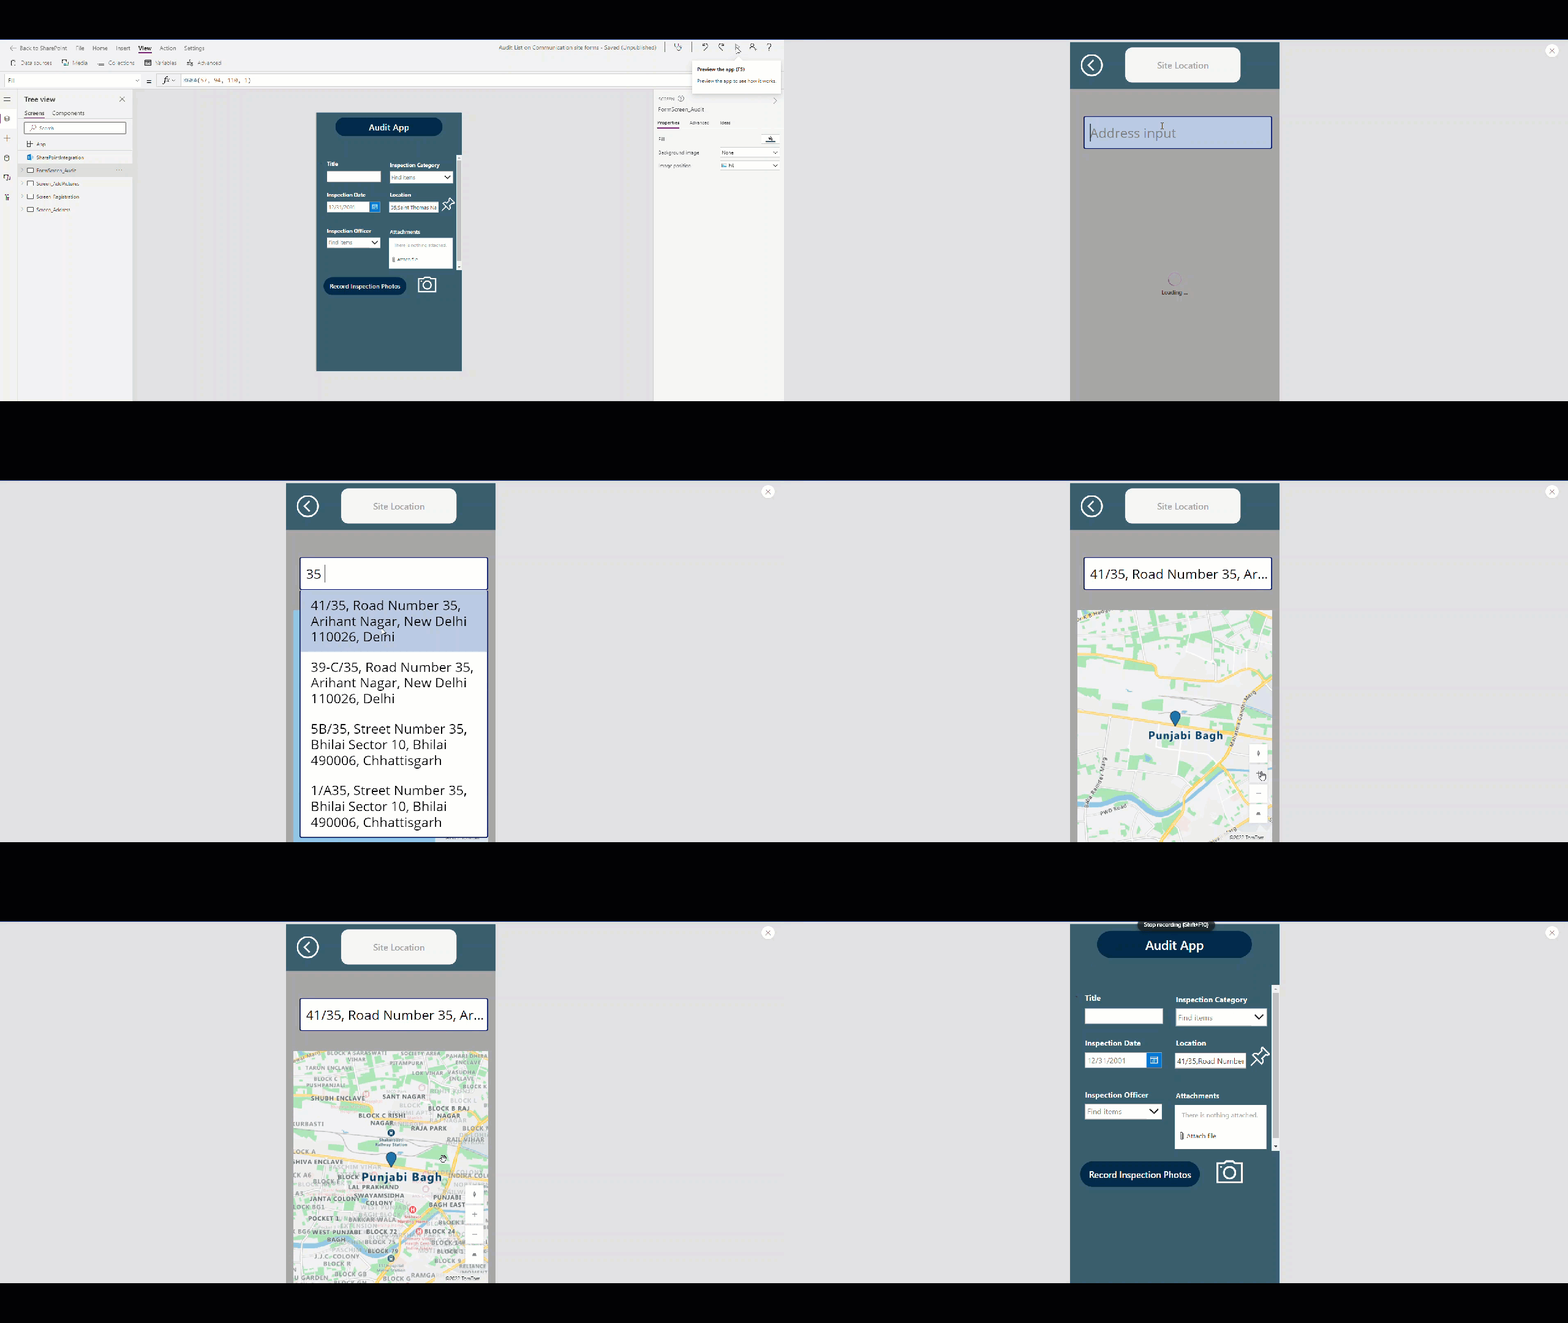
We have created an Audit app that is used for Site Inspection of construction works that has been completed. We will see how to enhance the app to add the Location of the inspection site using Address Input and Map control as below:
Implementation
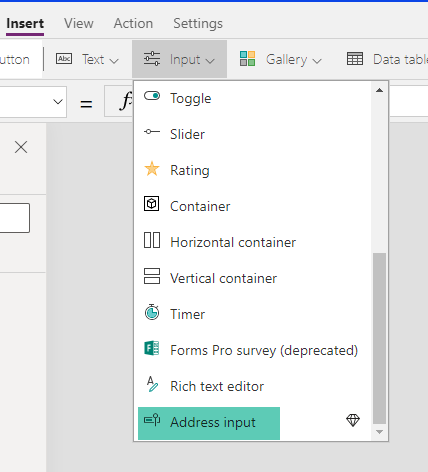
We will create a new screen to the App and add the Address Input control.
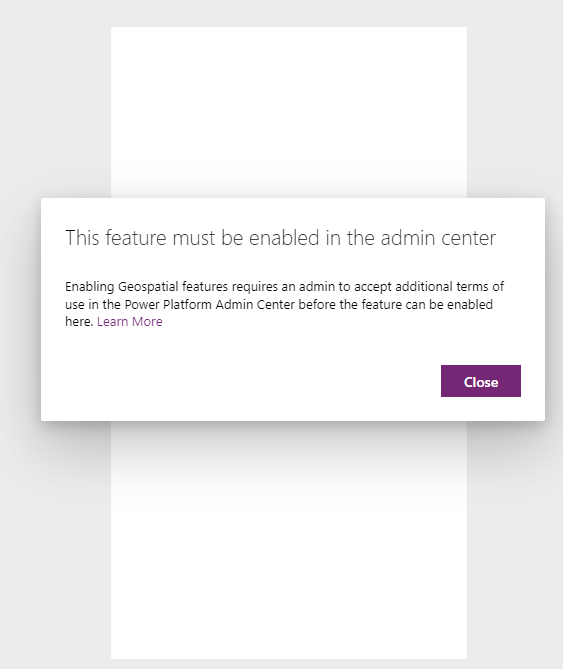
However, it will ask us to enable a feature from the Admin centre to start using the Geospatial features in the app.
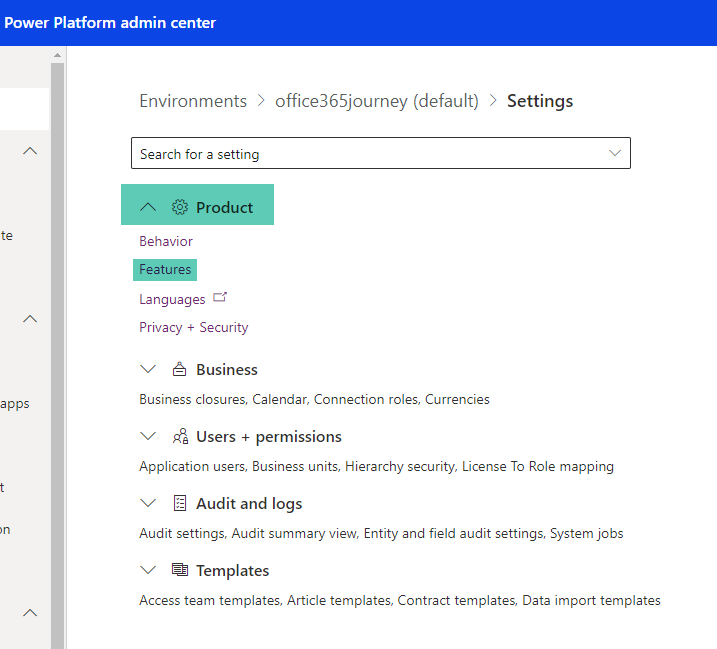
Let’s head over to Power platform admin centre and select the environment of choice. Click on the Settings gear in the top menu bar.
Expand Products and select features.
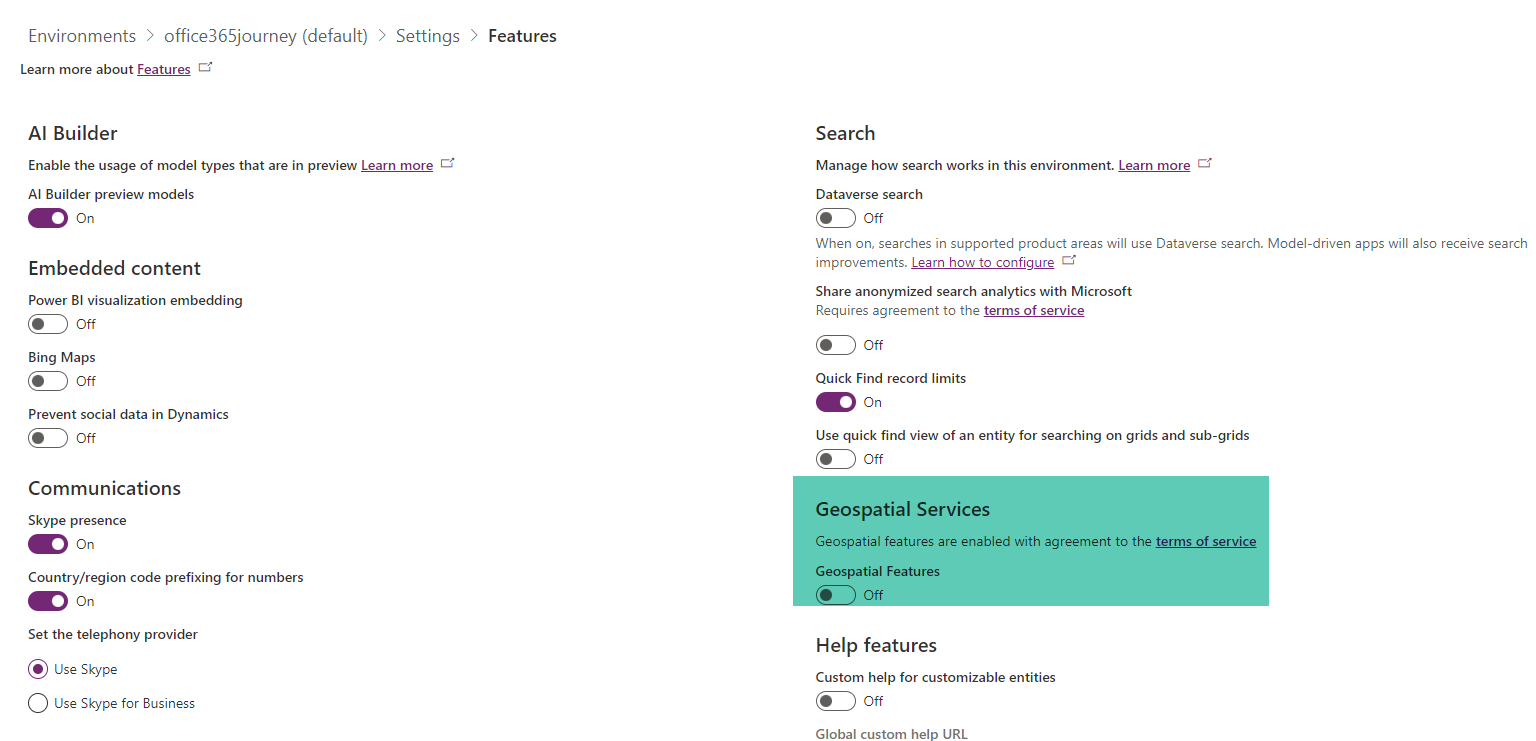
It will provide with a window where we can toggle the features.
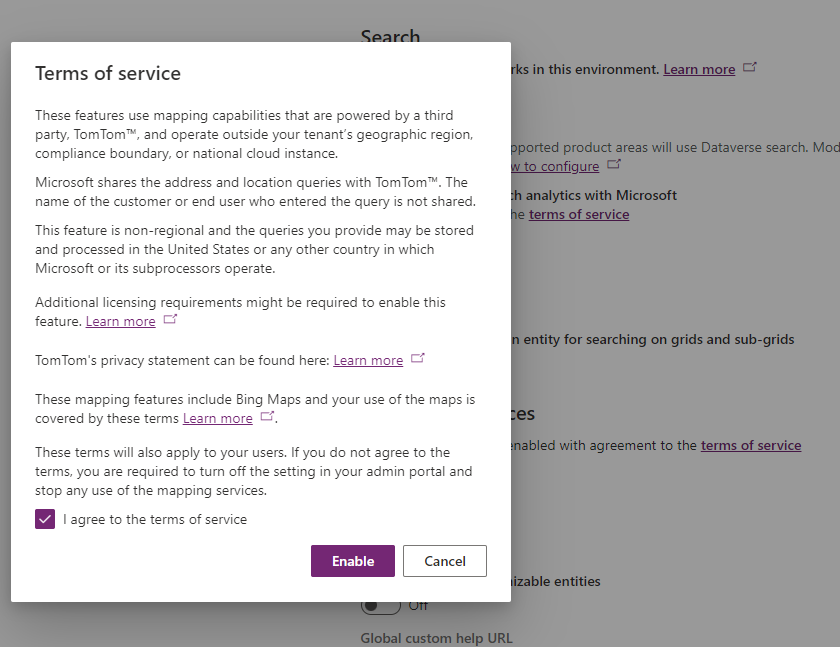
Toggle the Geo Spatial Services to On, it will open a Terms of Service Pop up, read through the terms and if found suitable proceed by selecting the Agree to services check box and clicking on enable
Select Save at the bottom of the page to reflect the changes.
Adding the Address Input and Map Control
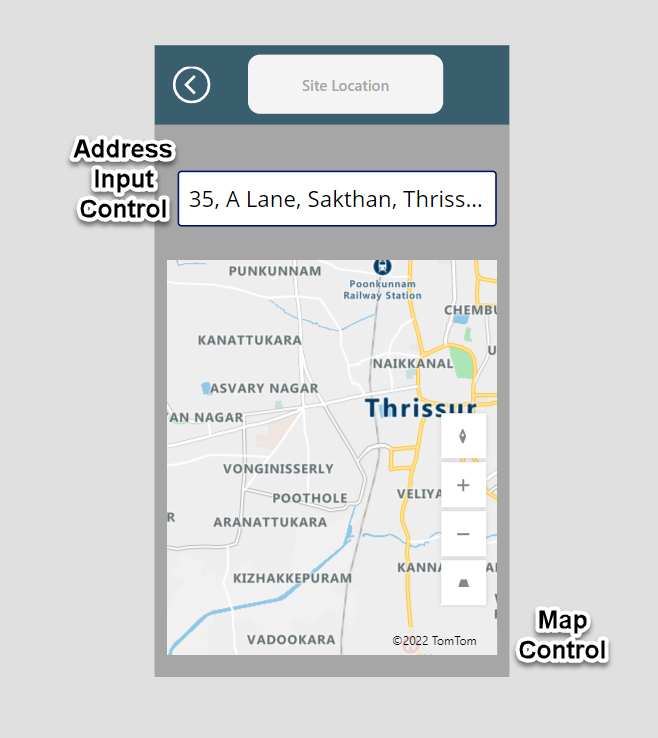
Now we can add both the controls to the screen
We will also add a back navigation to the home Screen where we will be displaying the address that has been selected in the above screen. In the Home screen, we have added a Text control to display the selected address and will be using it to save it to the back end.
The Pin icon next to the Location will help us navigate to the screen housing Address and Map control
Configure Address Input Control
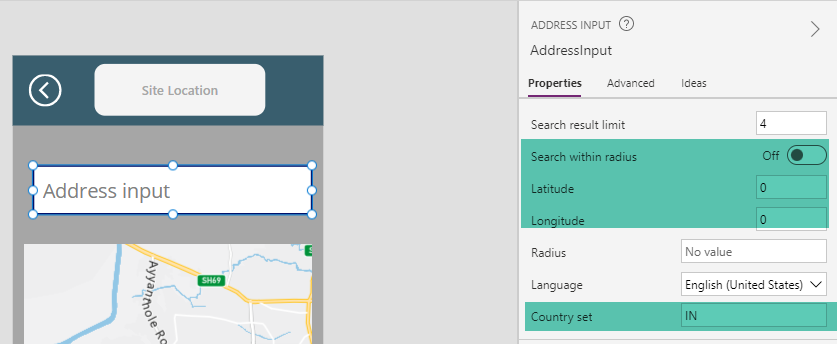
The address input control can be configured to search for addresses within the range of specific latitude and longitude to return filtered results.
Enabling this option for a globally used app may not be a good idea. In case we are working within a national boundary, setting the Country set to the 2-character country code will fetch the address within the mentioned country. A reference to the country code is available here
We have added the India Country code to filter the address suggestions. To capture the Latitude and Longitude for use in the map, we will create a variable named Site Address and save the selected coordinate details as a table in it on the OnChange property of the Address.
Configuring the Map Control
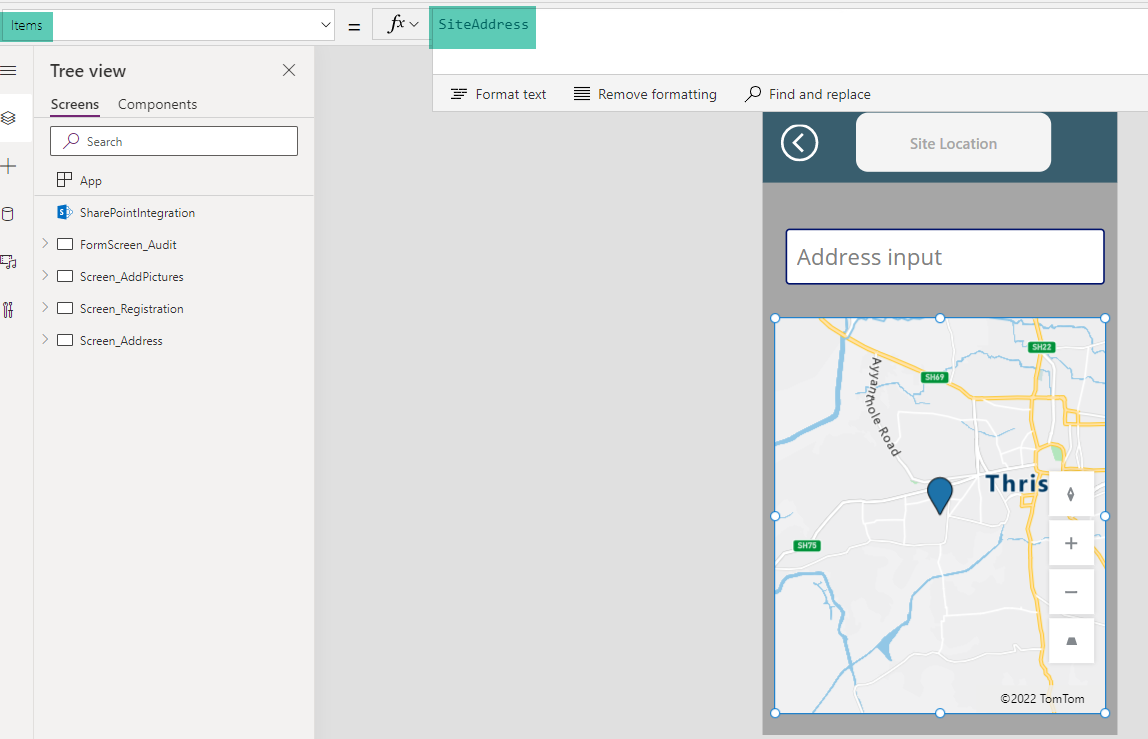
The source for the map will be the selected address table which we have declared in the previous section. We will assign this variable to the items property of the map.
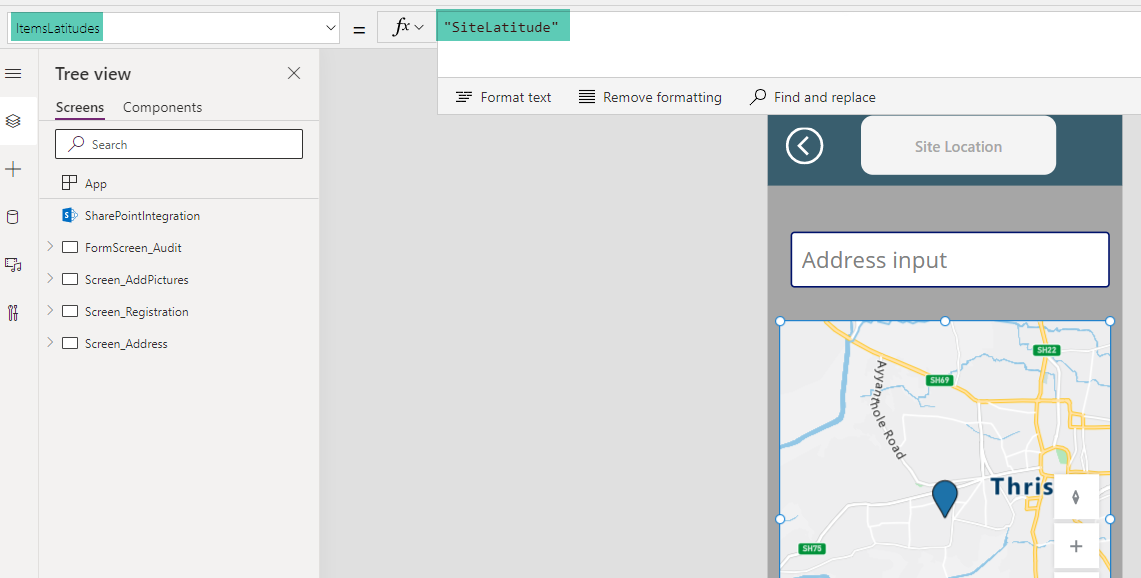
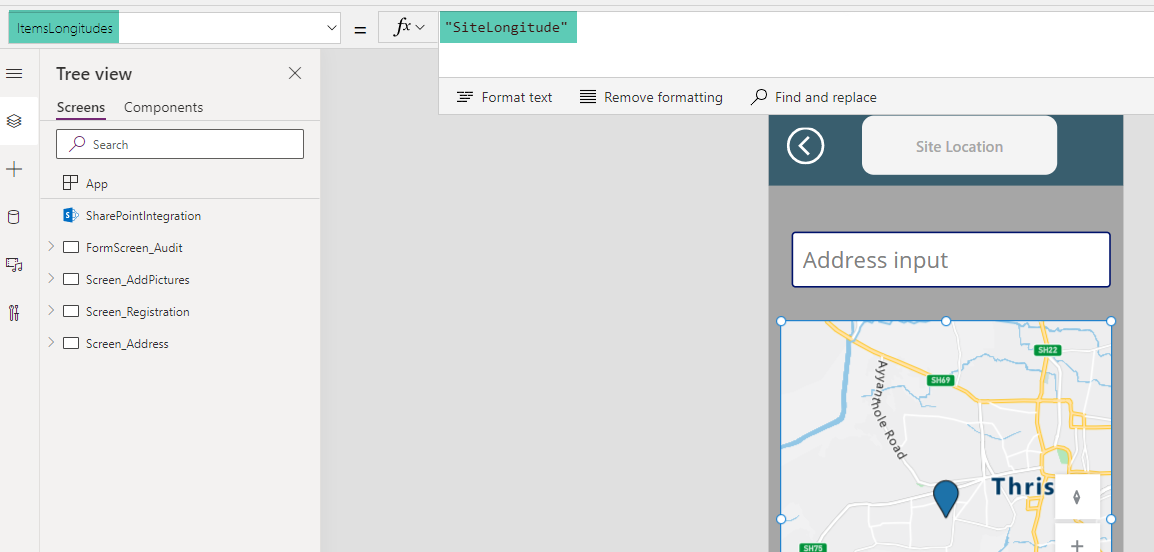
Same way, we will mention the name of the columns in the table from which Map can find the corresponding latitude and longitude in the ItemsLatitude and ItemsLongitude properties
ItemsLatitudes
ItemsLongitudes
Thus, we have completed the configuration of Address input and Map controls.
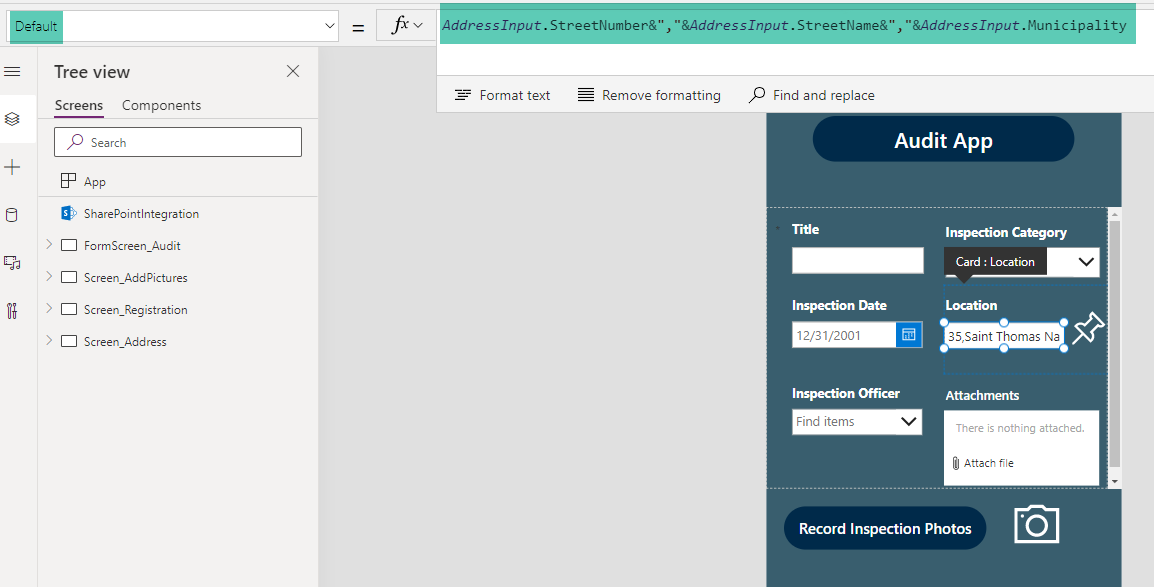
We will do one final update in the home screen where we will tap into the selected address in the Address Input control and display it in the home screen using the expression
AddressInput.StreetNumber&","&AddressInput.StreetName&","&AddressInput.Municipality
We can get a lot more information from the Address Input. Entire list of output properties is listed here
Test the App
Now let’s test the controls by playing the app. As we can see, typing in the address input control, gives us suggestions and selecting the address will update the Map control with the corresponding geographical location. Heading back to the home page, the selected address is displayed which is later saved to the back end.
Summary
Thus, we saw how to work with the Geospatial capabilities of Power Apps provided by Address Input control and Map Control which helps us elevate the address selection user experience in the app.
** **
