Exchange 2016/2019: Implementing DKIM
In some of my articles, I have made mention of implementing SPF, DMARC and DKIM records for your Exchange environment but many ask the question on how do you setup DKIM for Exchange 2016 or Exchange 2019? (Applies to 2013 as well).
There are a couple of steps involved to get this working.
Steps
In order to get DKIM setup we need to do the following:
- Download DKIM-Exchange from GitHub or from a company as a paid version.
- Run the installation (Note here, does not work on Windows 2019 Server Core).
- Generate and save the public and private key.
- Create a TXT record externally with the information from the tool.
- Wait for DNS to replicate and then test.
Download
You can head over to the following url and download the files for installing DKIM-Exchange:
- github.com/pro/dkim-exchange

Once you have downloaded the ZIP file, extract it on an Exchange server.
Installation
Next, open up the Exchange Management Shell (EMS) and navigate to that folder where you extracted the ZIP file to.
Now launch "Install.PS1" from the EMS and follow the prompts.
Part of the installation tells you to launch the application before exiting it.
Configuration
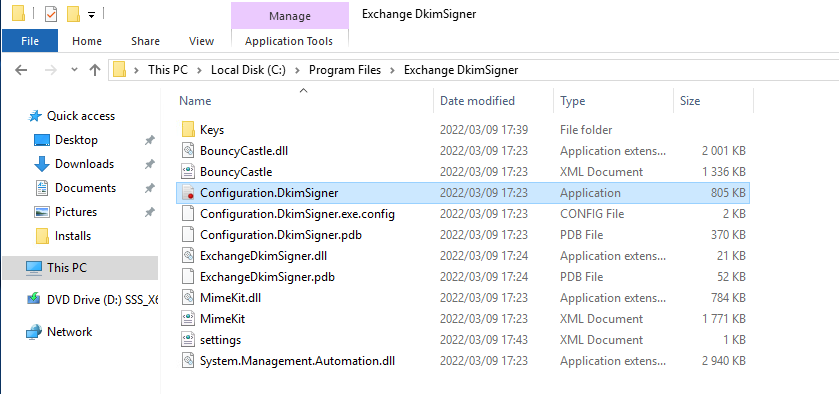
If you head over to the following location, you can open up the Application:
- C:\Program Files\Exchange DkimSigner\configuration.DkimSigner (Shown Below)
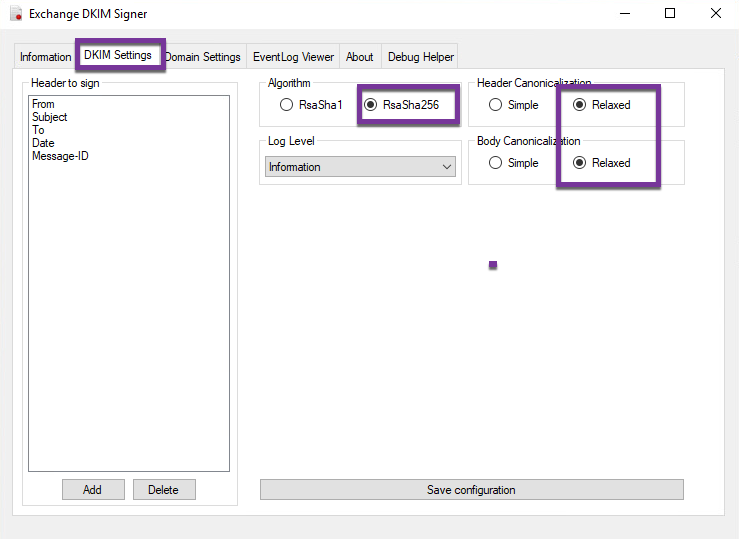
If you click on the configure button in the middle, you can set the priority for the transport agent. Leave it at 12 or at the end if you have more transport agents. Next click on the DKIM Settings tab as shown below:
Ensure that you have the Algorithm set as shown above and both Canonicalization set to "Relaxed". Click on Save configuration at the bottom and then click on Domain settings tab as shown below:
In this section, you will need to delete, example and example 1 on the left and then you need to Add your domain. In my example this is my lab called thexchangelab.com.
I selected "Generate new key" and saved it to the default location where "Private key filename" is shown. I used the Suggested DNS record and added in a TXT record of "1._domainkey" with the value of the "v=DKIM1;....."
Once DNS has replicated, you can then click on the Check button and you should get a match as shown below:
Test
The next step is to test, I sent an email to my gmail account and looked at the header, here is what was shown:
Signature was verified and doing a message header check further, I stopped receiving the error that no signature was detected or invalid signature.


