Typescript: Getting Started - SPFx Development (Part 2)
We saw how to setup the development environment in the Part 1 of this series. Now lets see how to debug and create the project structure
Debug the Application
If you want to add breakpoints in between code execution to check on some variables and test the code flow, we can open up the browser inspection tool and add breakpoints at the required code statement by going to the Sources tab. On a refresh the code execution would pause at the break point and we can do the inspections.
Creating Folder Structure
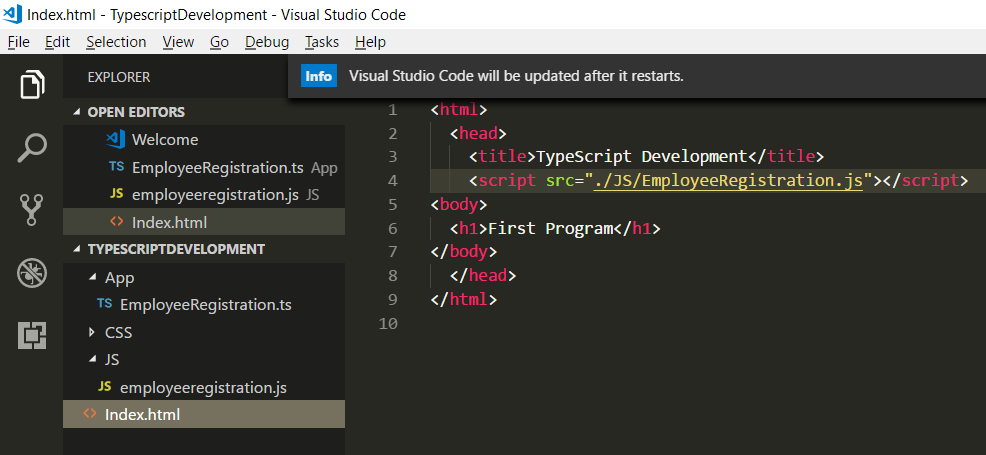
Lets create a basic project structure to isolate the files in their respective folders. We will be creating a JS , CSS and App Folder which will house the Transpiled JS file, any CSS files and the main TS file respectively as shown below.
Ensure to update the JS file path in the index.html to reflect the change in project structure. Currently the TS file is within the App folder. However if we run tsc command to transpile the JS file, it will create the JS file within the App folder. We will see how to direct the JS file to be created directly in the JS Folder later.
Package.JSON
This is an NPM file which stores information about the NPM packages that we will be using in the project. In case we plan to publish the package online, there are other json values that governs the publishing process like Name,Version, License etc. However in this course we will be mostly concerned about the devdependency json key which we will talk about in a while.All the key value pairs in the JSON is defined in the below link which will give you a better idea of what each means.
https://docs.npmjs.com/files/package.json
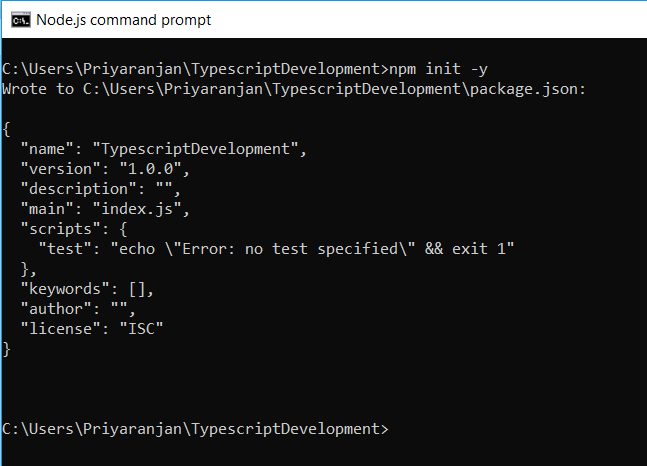
In order to create a Package.JSON for the project we can run the below command and retain the default value . In case you want to specify some custom value that we would like to use in the project, you can omit the -y parameter.
Npm -init -y
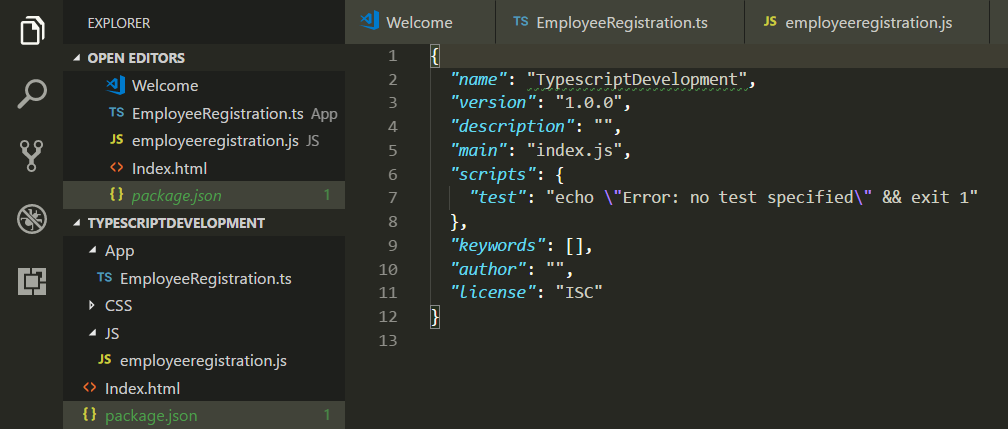
Now lets head over to the VS Code and see the newly created package.json
HTTP Server
In the previous section of setting up the project file, we tested the solution by getting the path of the HTML file by right clicking the Index.html file. But instead of that we can use the HTTP Server npm package to serve up you project file. It’s a very handy web server that can be used to test the development works. We can install the npm package as shown below :
npm install http-server -g
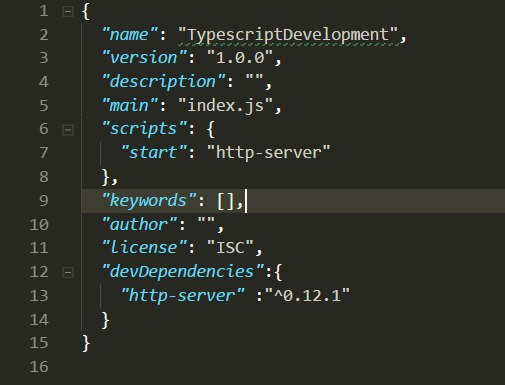
We will also define the start script for the server within the json file within the scripts key by using start as the script key and the npm command http-server as its value. This indicates that running the start script in the command line will run the command http-server .
The “scripts” property is a dictionary containing script commands that are run at various times in the lifecycle of your package. The key is the lifecycle event, and the value is the command to run at that point.
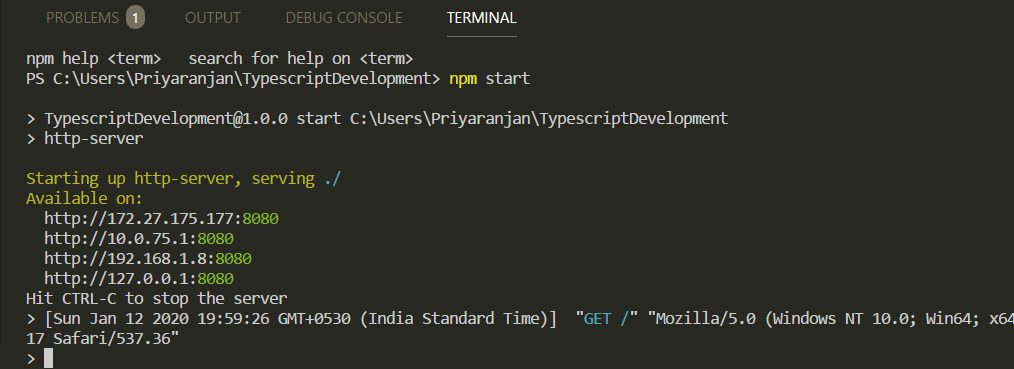
Now that we have made the changes, lets test the server with our Hello World App by running npm start in the integrated terminal. This has started the server and its
Now you can visit http://localhost:8080 to view your server.

