Azure: Migration of On-premises VM using Azure Migrate
Applies to
- Azure Migrate
- VM’s migration from Hyper-V host to Azure
Introduction
This article is a detailed runbook to refer while doing On-premise VM’s migration from Hyper-V host to Azure (using Azure Migrate)
Note: - This article is written based on the steps involved in demo/lab environment and should be taken just as reference.
For production migrations, please do a proper validation and testing before migrating server onto Cloud.
Prerequisites
There are few prerequisites before we start to do the assessment and migration like Storage, vNet, etc. these steps are listed at the end of this article for your reference.
Environment details*:*
This assessment and migration will be performed in a LAB environment with below instances available using lift & shift method.
- **Dock1 **(Host Machine) - Standard D4s v3 (4 vcpus, 16 GiB memory) VM with Nested virtualization on Azure
- VM1 – AD+DNS (Win 2019)
- VM2 – SQL2014 (Database)
- VM3 – SCCM Current branch 1902 (As application)
Few prerequisites before doing the Migration activity is as below:
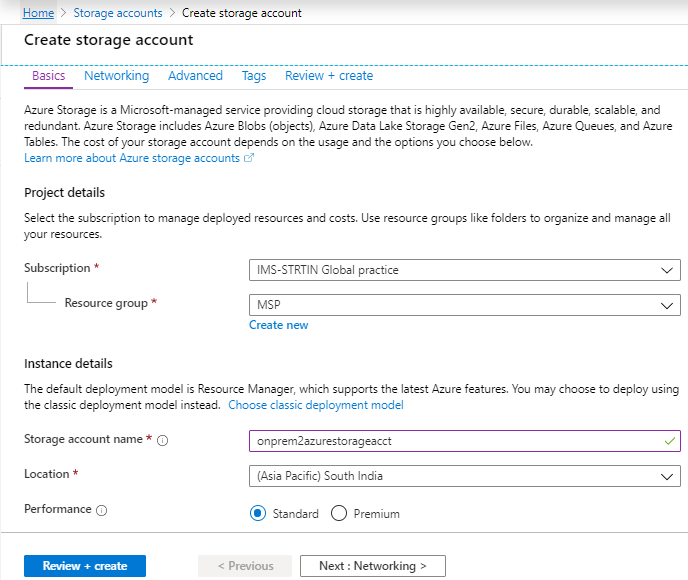
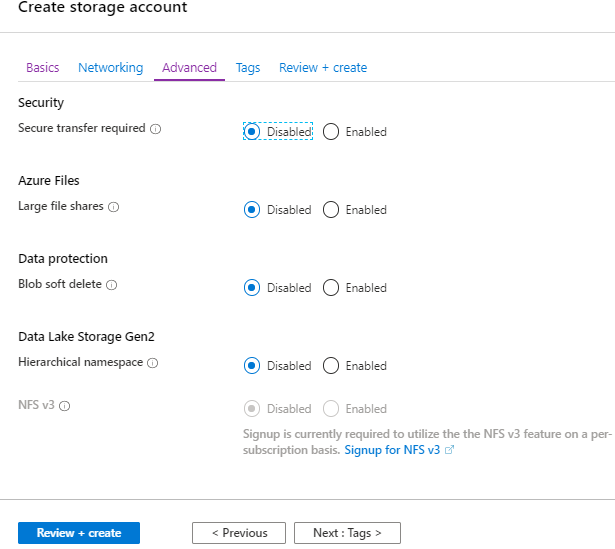
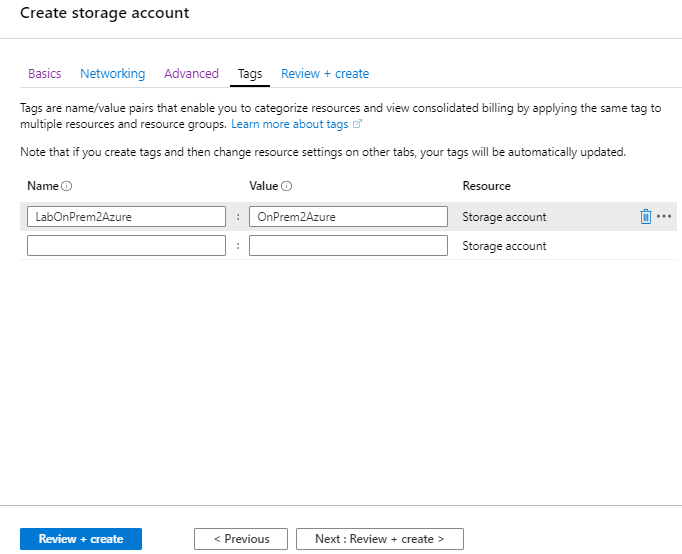
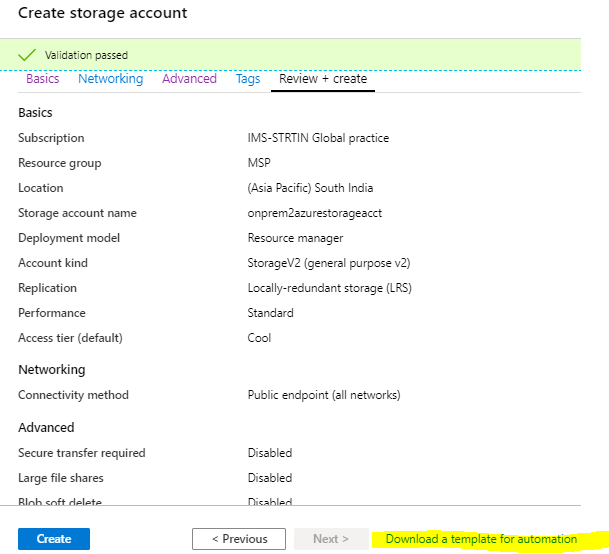
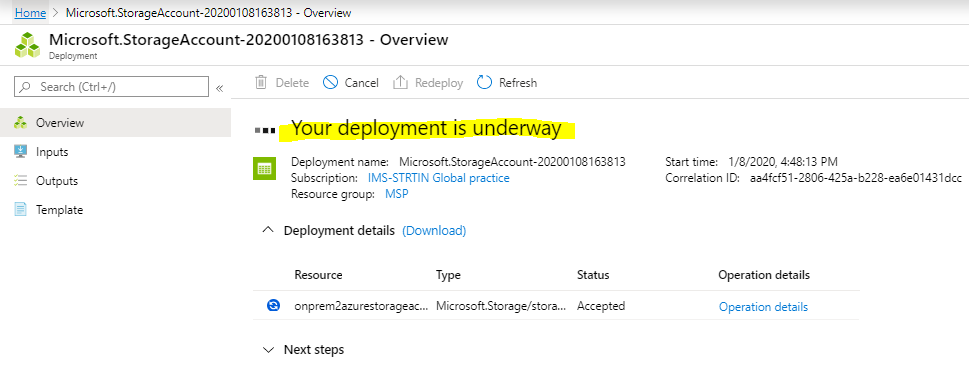
Storage Account
Note – Storage a/c name should be lower case.
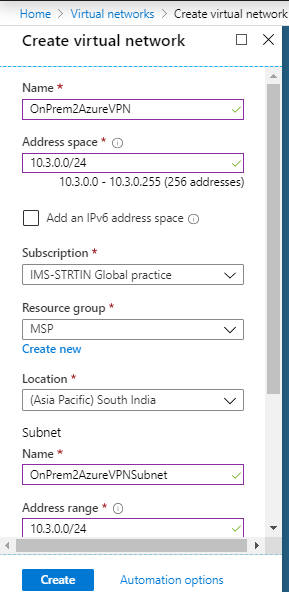
Creating Virtual Network
* *
Discovery & Assessment Phase
* *
Login to* *https://portal.azure.com/ using your credentials
Now search for Azure Migrate in the search window of Azure Portal.
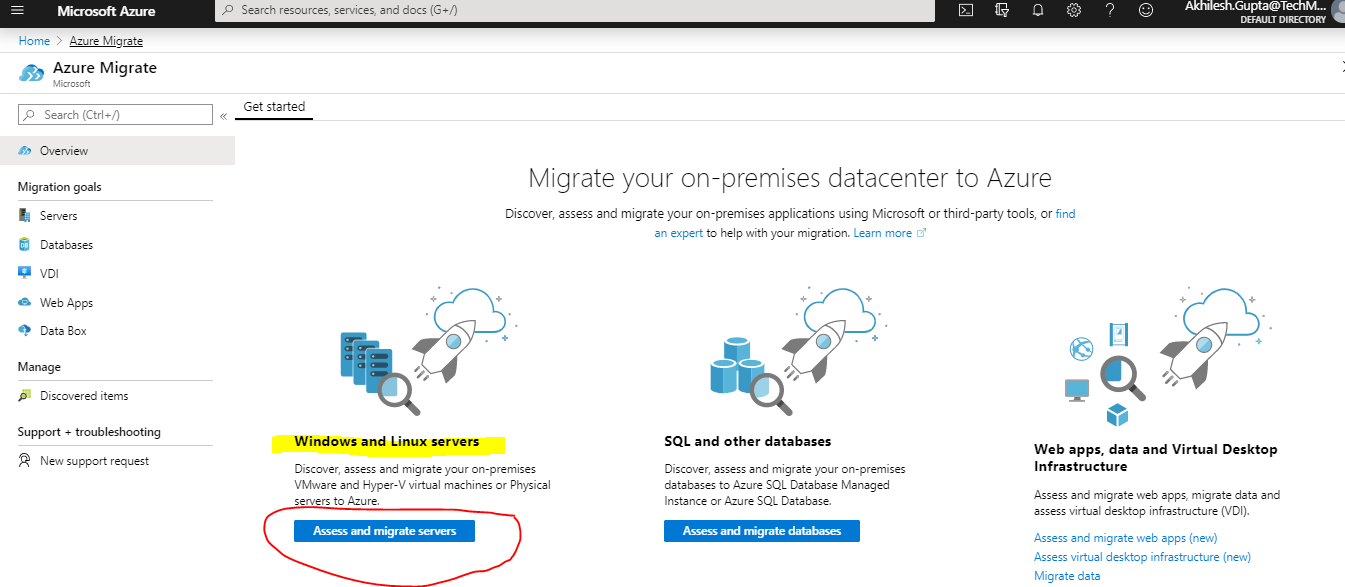
Select Azure Migrate and you will be presented with the below page.
Now select Assess and migrate servers under Windows and Linux servers option.
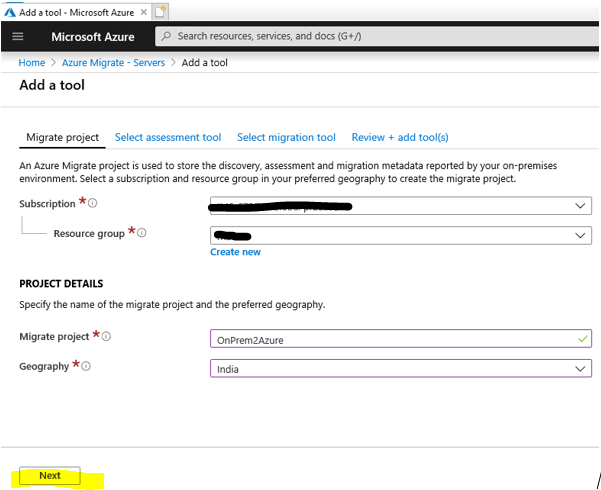
In this page select your desired Subscription, Resource Group and Create project by giving some desired name, select the Geography, and say next.
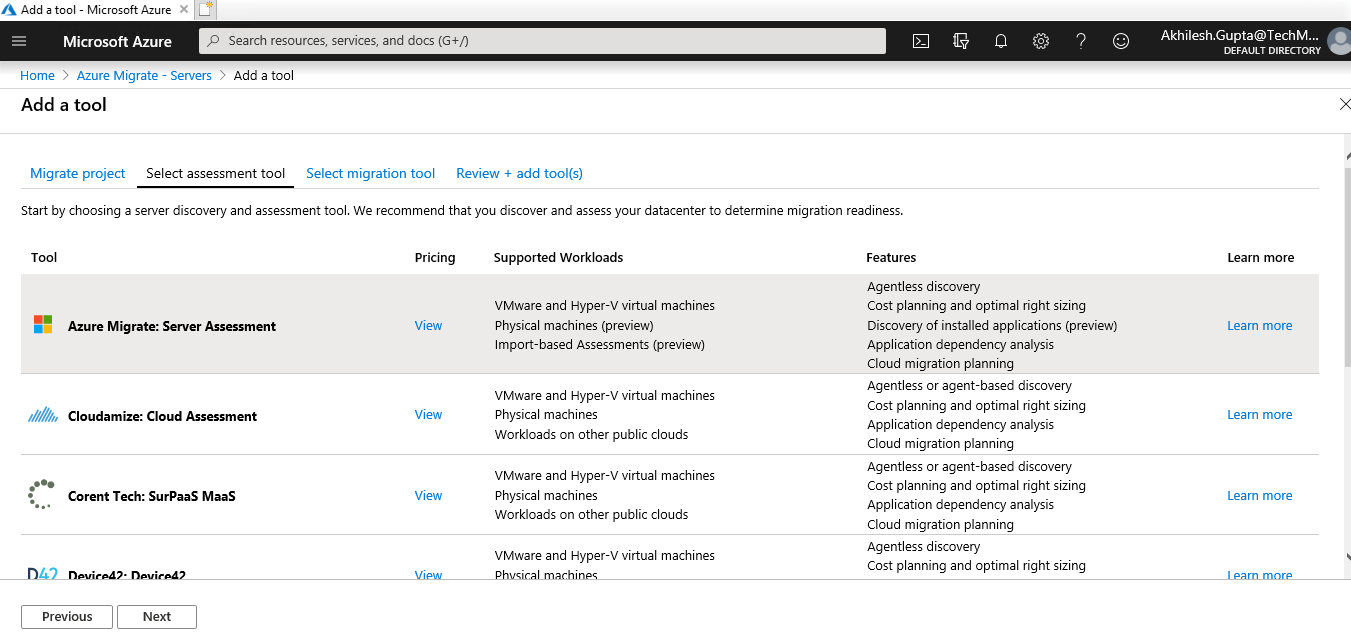
Select the Assessment tool as Azure Migrate: Server Assessment and select next.
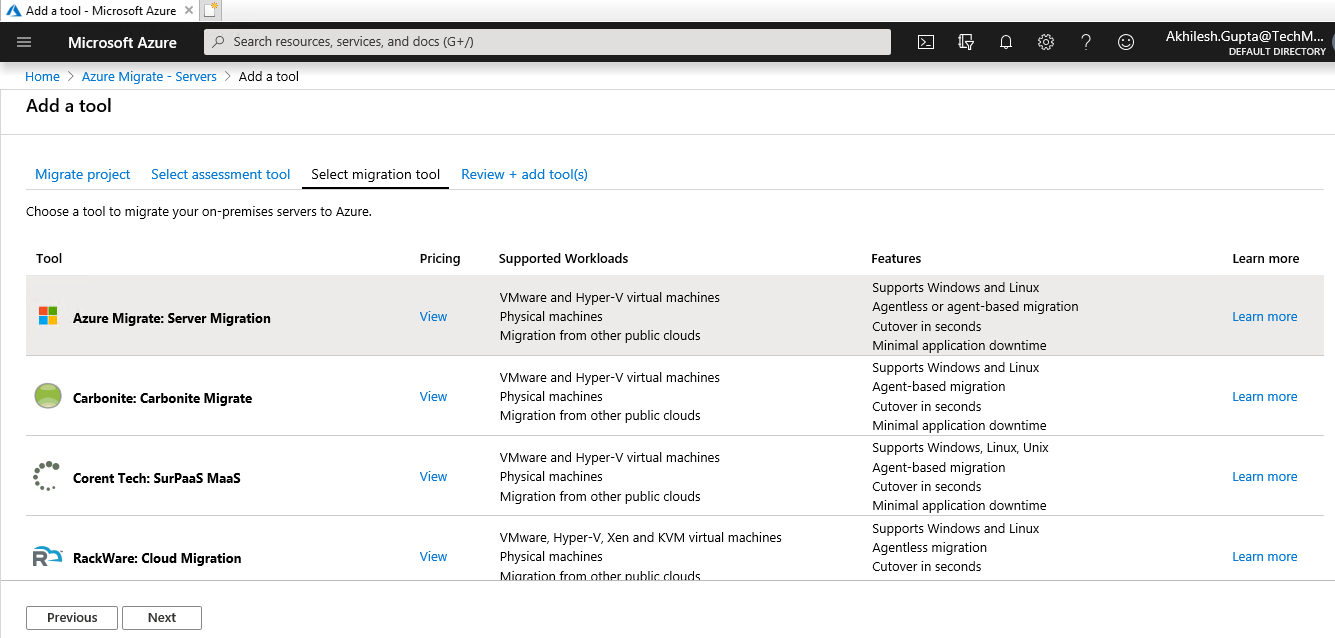
In this page, select migration tool Azure Migrate: Server Migration and select next.
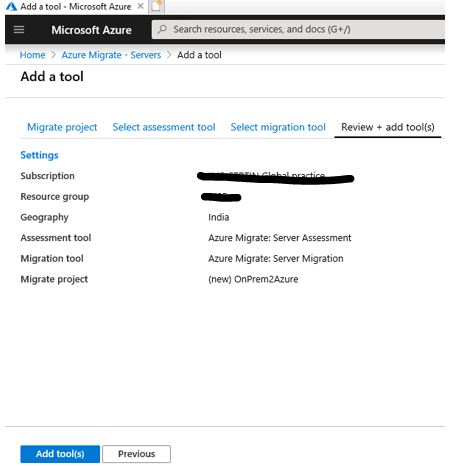
Review and select Add tool(s)
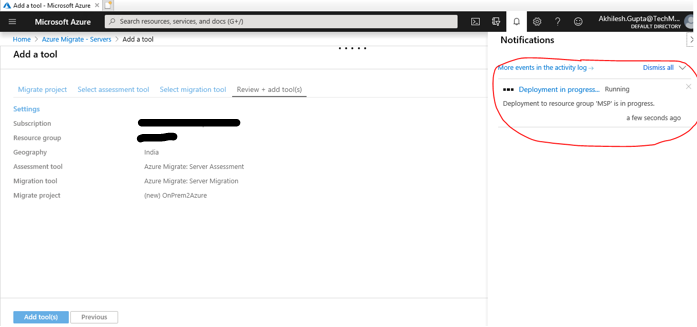
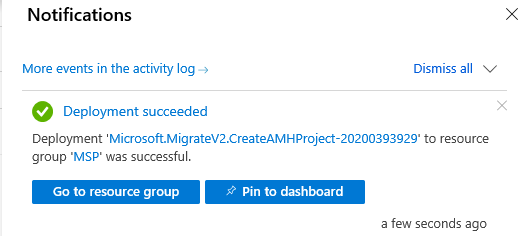
This will be deployed in few seconds.
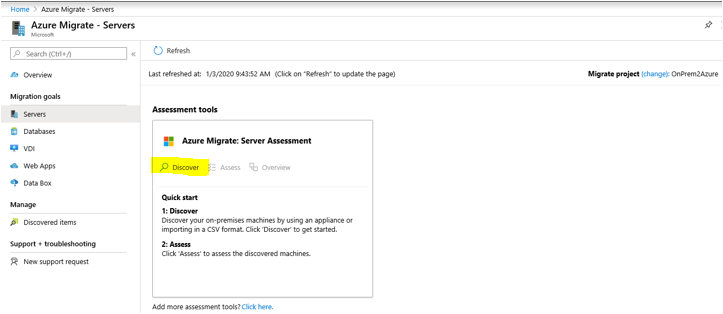
Once it is deployed, you can see this page to do Server Assessment. Now click on Discover button
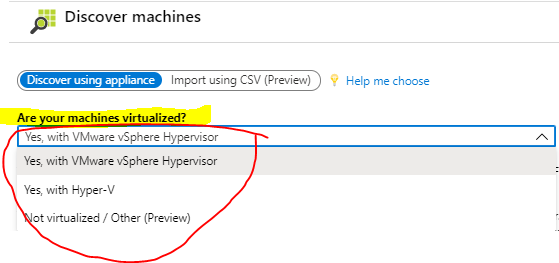
*1. * In this page select your VM virtualization platform.
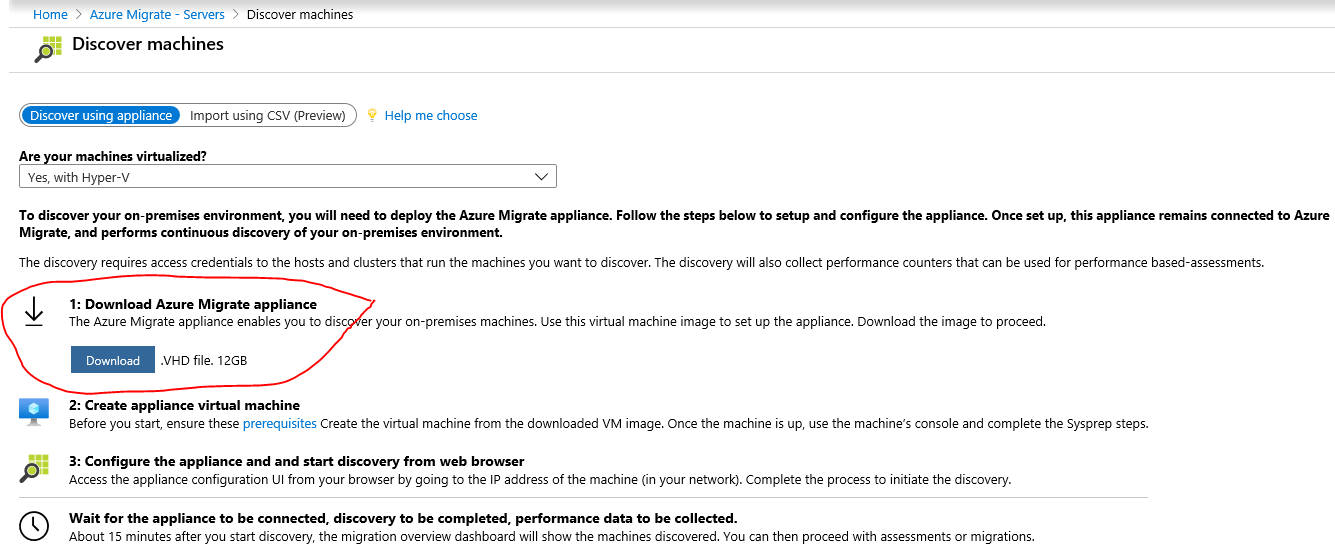
*2. * Download Azure Migrate appliance .vhd file (in case of Hyper-V) or .OVA file (In case of VMware vSphere).
*3. * Once downloaded configure this .vhd in your virtualization platform and start the Azure Migrate VM
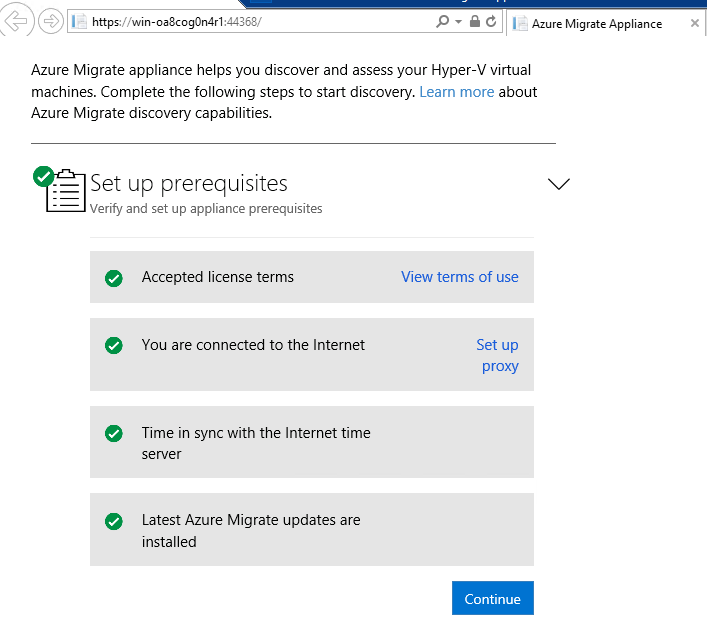
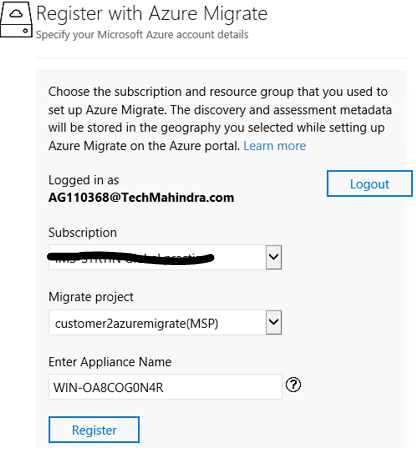
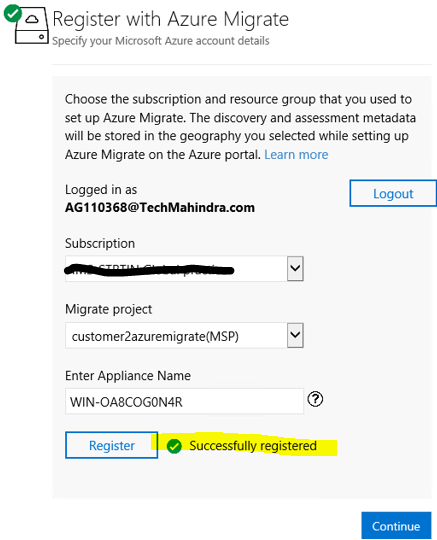
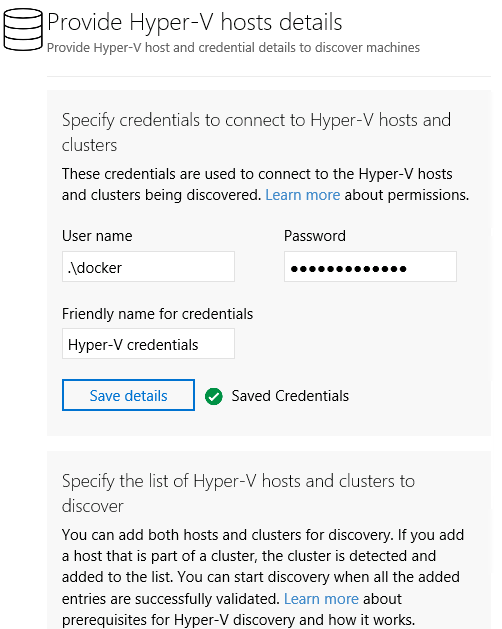
*4. * Once you login to Azure migrate vm, Azure migrate portal will ask to complete below prerequisites, follow that and complete it as below.
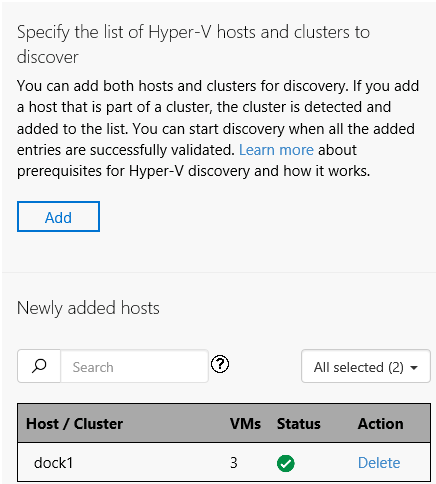
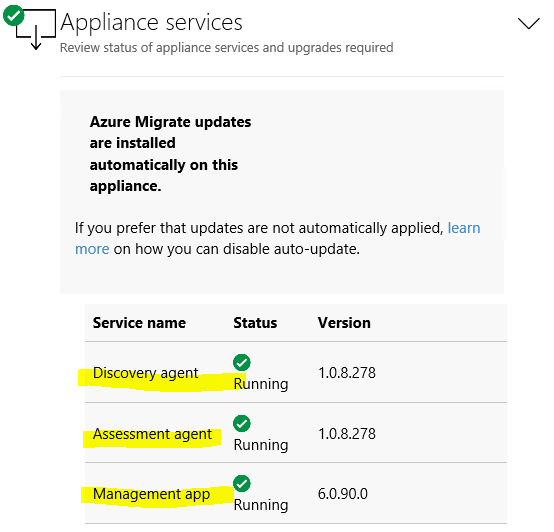
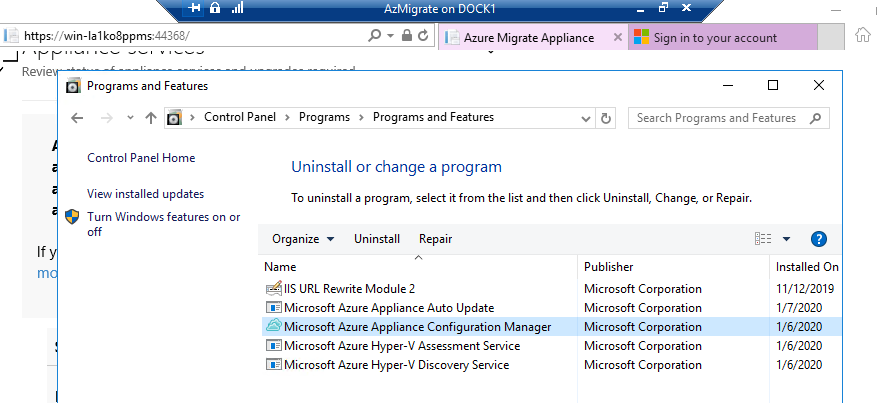
Above 3 agents will be installed and configured on Azure Migrate appliance automatically.
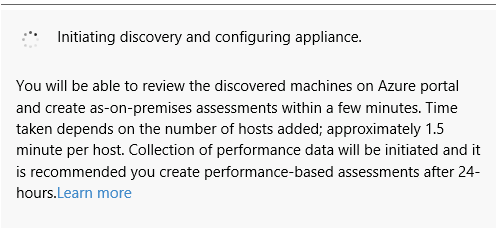
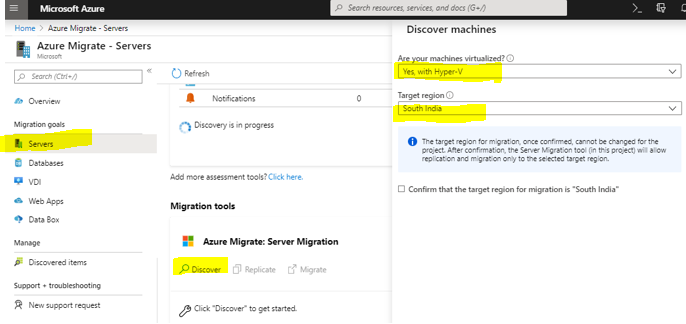
*5. * Now switch to Azure portal and select Azure migrate servers and start discovering by selecting Virtualized Platform and Target region.
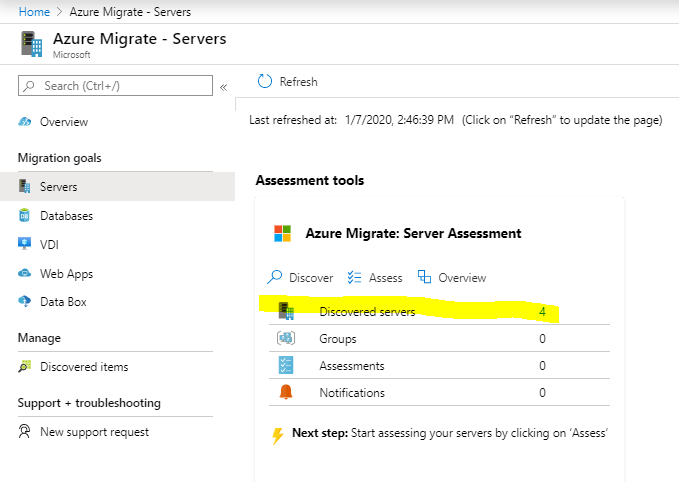
*6. * After discovery is completed you can see discovered servers/vm should be populated in assessment page as below. Now click on Discovered servers.
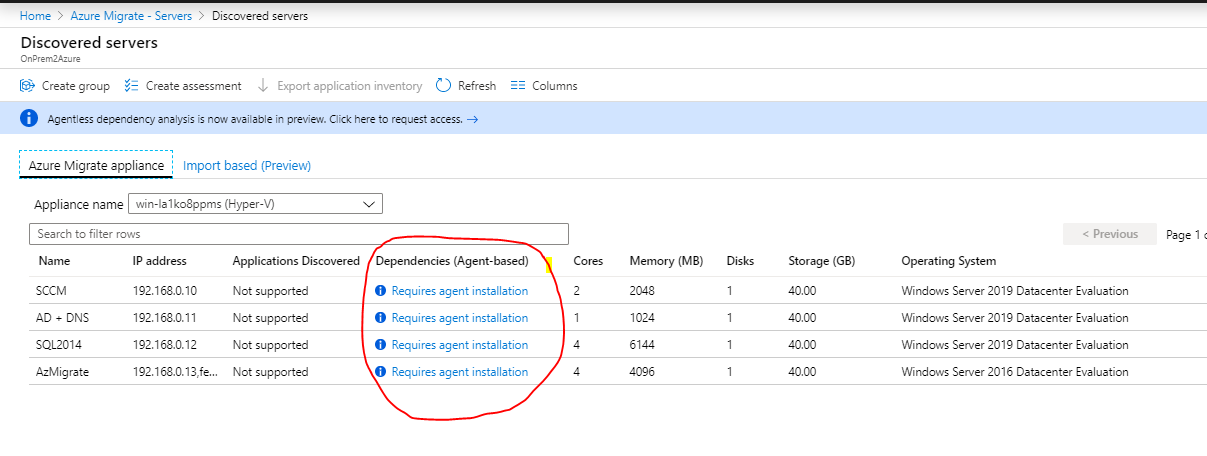
*7. * Until now only discovery of the servers is done, now to check the dependency of VM’s/Applications we will have to install Dependency agents as below.
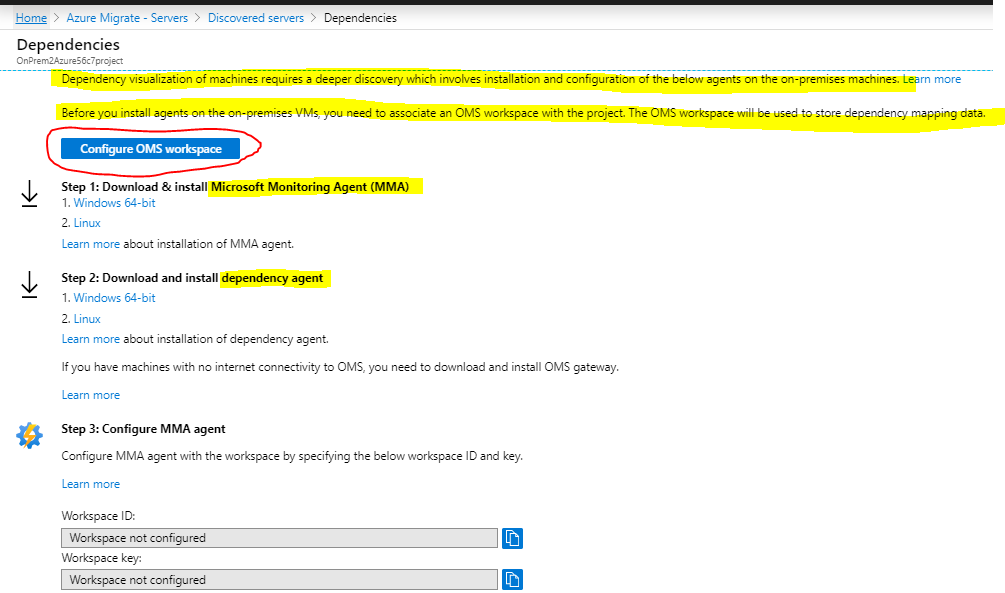
To install the dependency agents and see the VM/Application dependency we will have to first create the OMS workspace and then after install the MMA and dependency agent on VM’s.
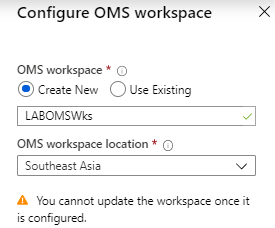
*8. * Click on Configure OMS workspace and provide desired OMS workspace name and location as below and press create.
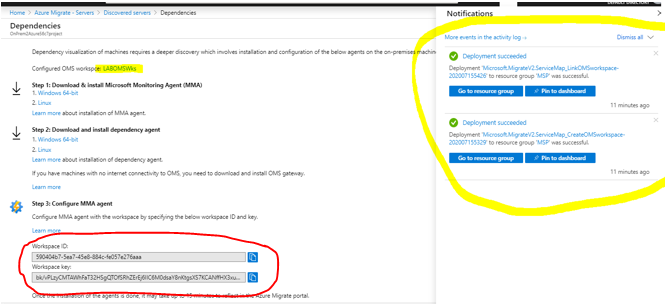
*9. * OMS workspace will be created and deployed within few seconds.
*10. * Now install the MMA and Dependency agents on each VM’s/Server and provide the Workspace ID and Workspace Key to see the dependency.
Once both agents are installed, you can see on the Azure Portal Dependencies are changed to View dependencies as below.
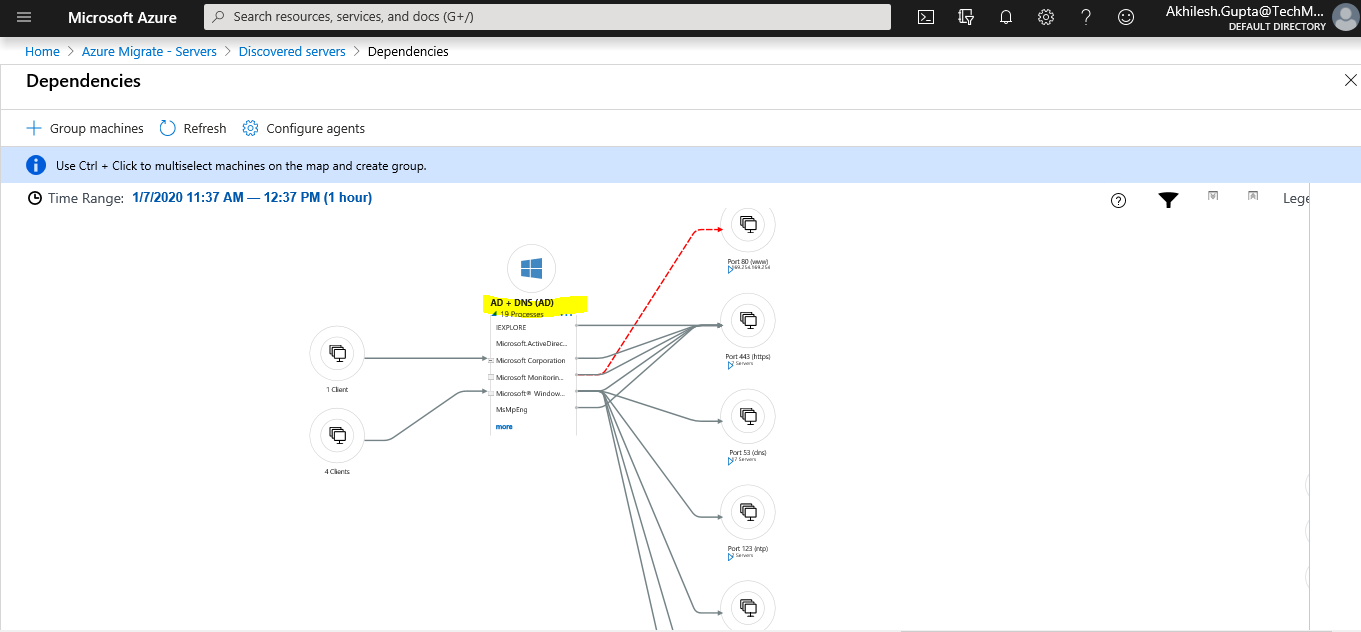
*11. * Now click on View Dependencies on each VM to see the dependency mapping of each VM/application.
Assessment Phase
After discovery and dependency mapping is done, we will move forward to do the assessment of VM’s to check the qualification criteria before moving those VM’s onto Azure Cloud.
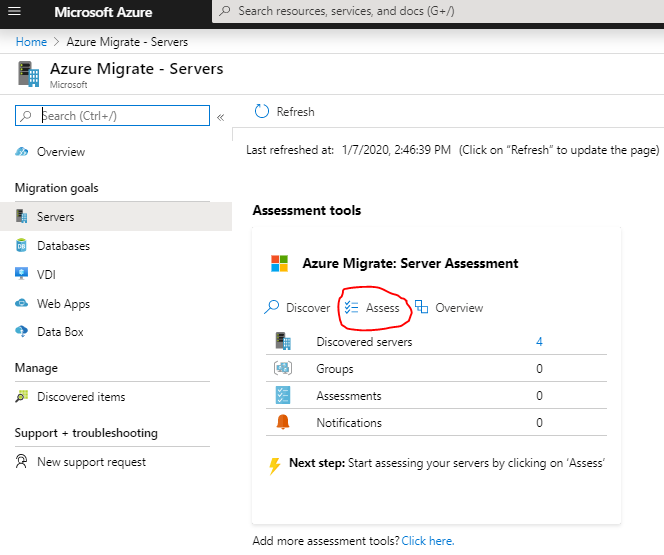
1. On the server assessment page click on Assess tab
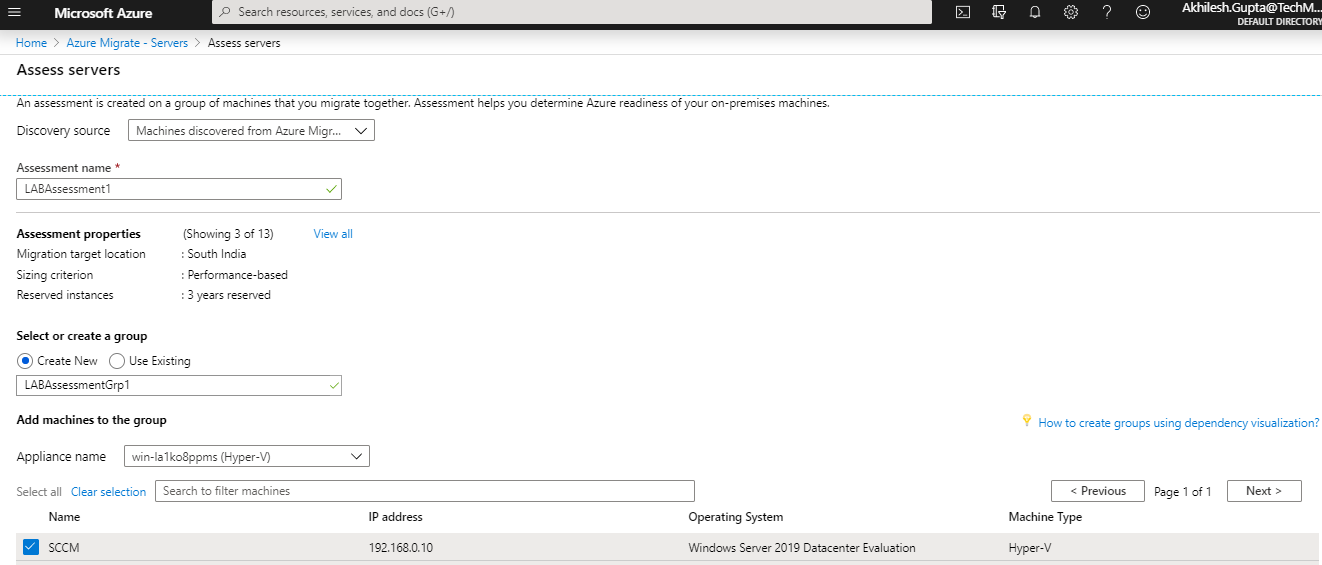
2. Provide Discovery source as Machines discovered from Azure Migrate -> Provide desired Assessment Name -> Create Assessment Group -> Select desired Machines –> Click on Create Assessment
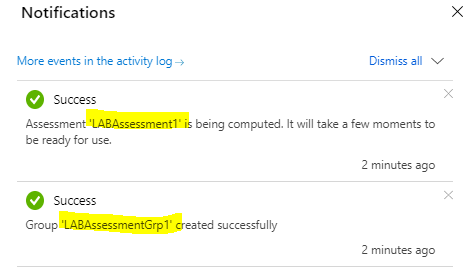
3. Assessment will be deployed and a success notification will be displayed on the Notification tab.
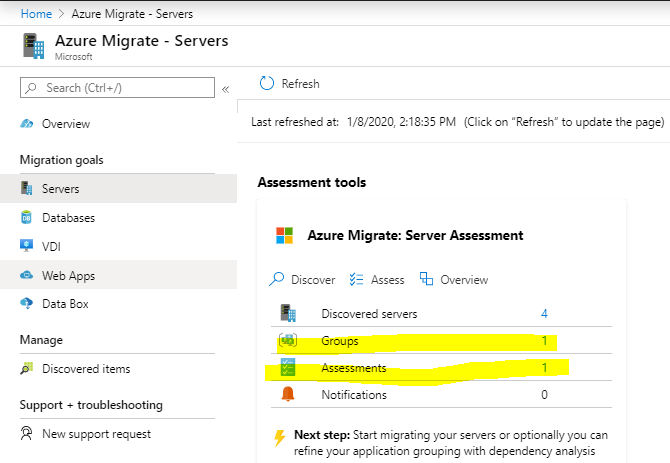
4. Now you will have Assessment group and assessment populated on the Assessment page of the Azure Portal.
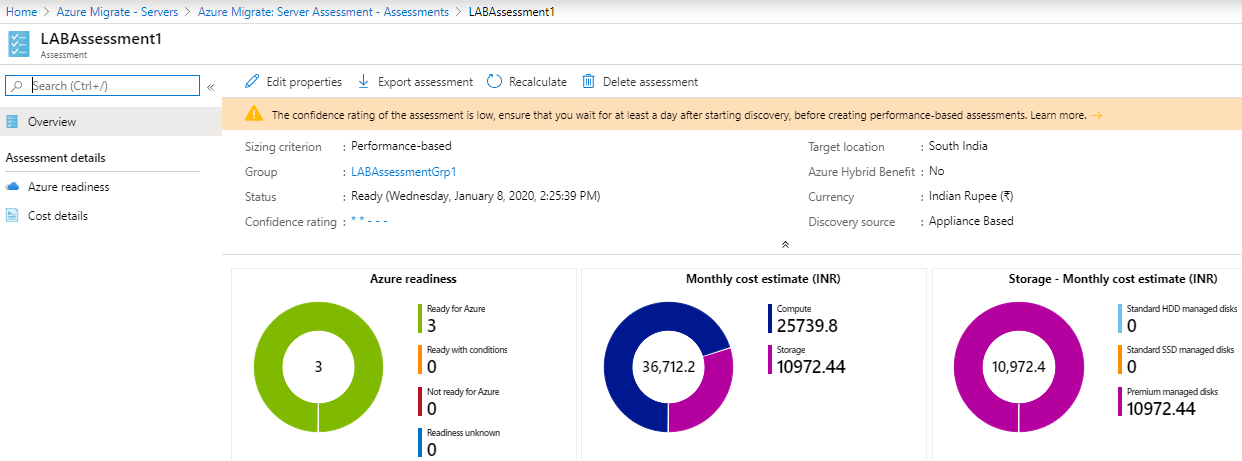
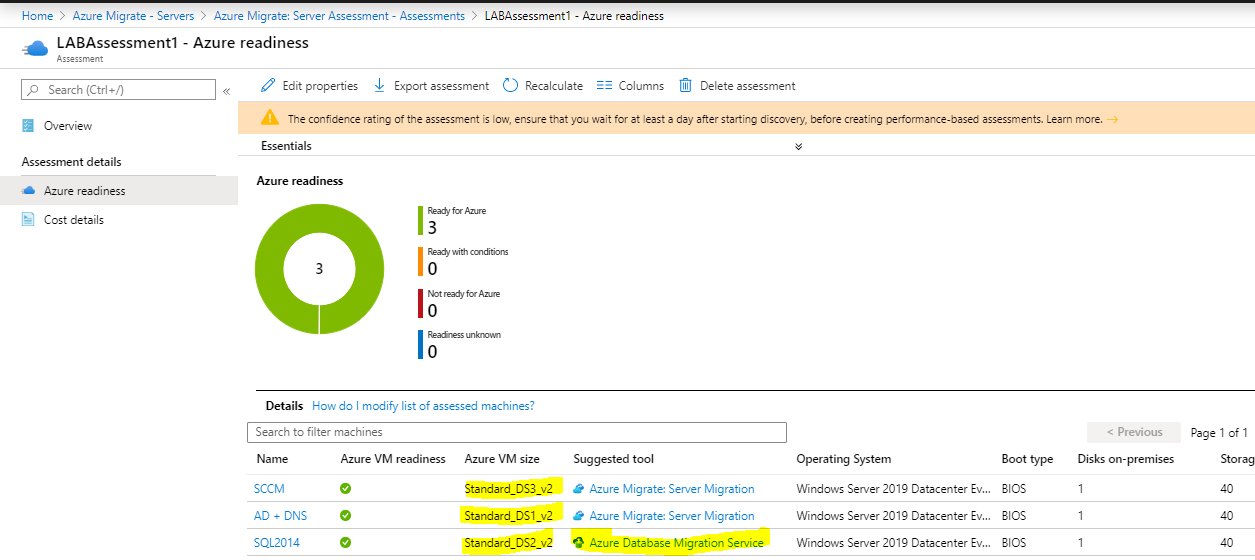
5. Click on the Assessment you created and it will give you a very friendly and detailed view of the readiness of the VM’s, Sizing on Azure and budgetary information, etc. as below:
Migration Phase
After the Discovery and Assessment, we will move to Migration phase where assessed VM’s will be migrated to Azure Cloud using lift and shift method.
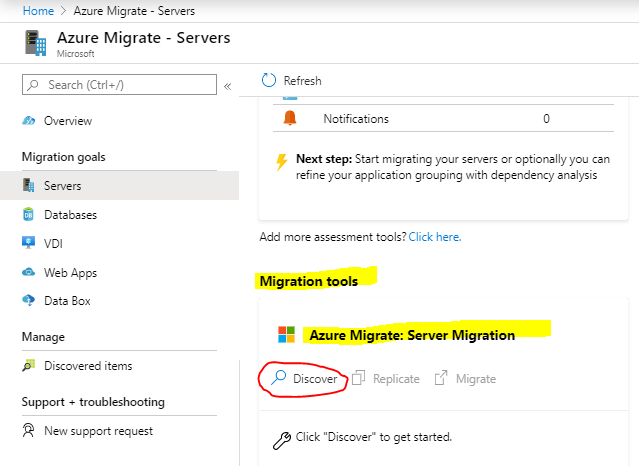
To migrate the assessed VM’s we will again go to the same page of Azure Migrate on Azure Portal and scroll down to use Migration tool (this is the same tool which we deployed at the time of creating Migration project in the beginning)
* *
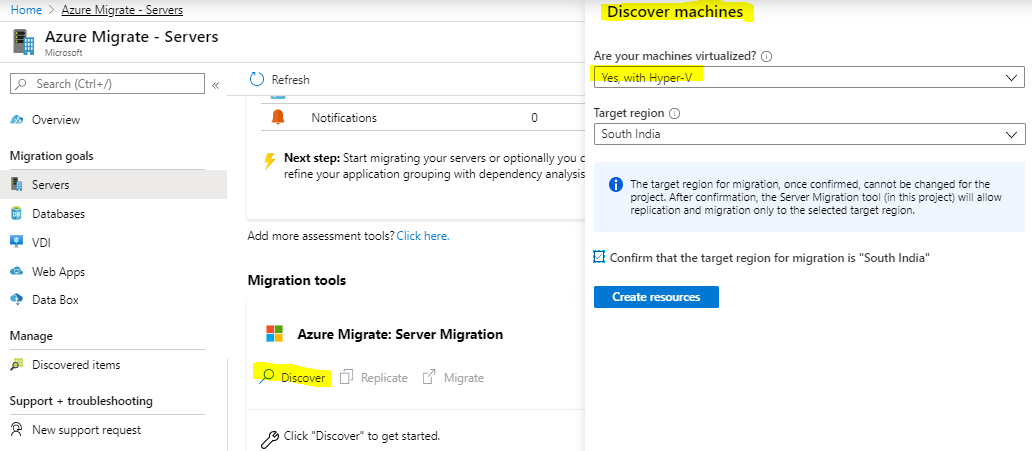
***1. *** On Azure Migrate page -> Click on Discover -> Select Virtualization platform -> Select Target Region -> Click on create resource button
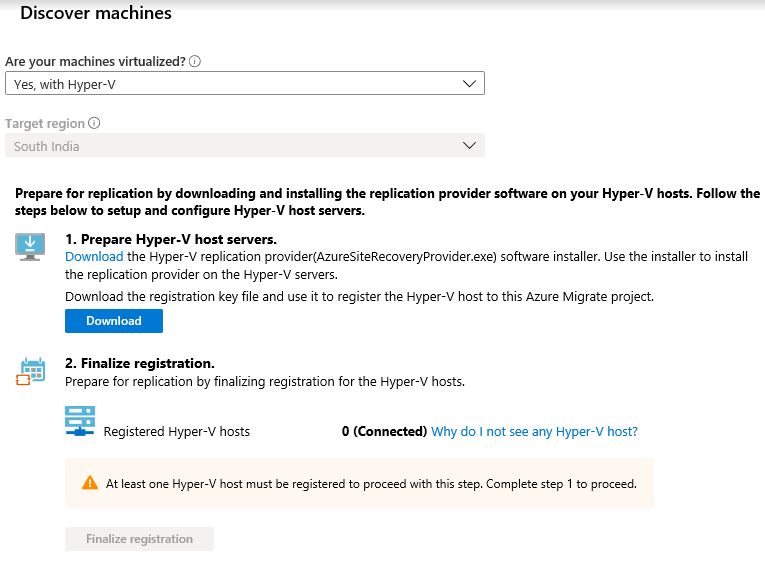
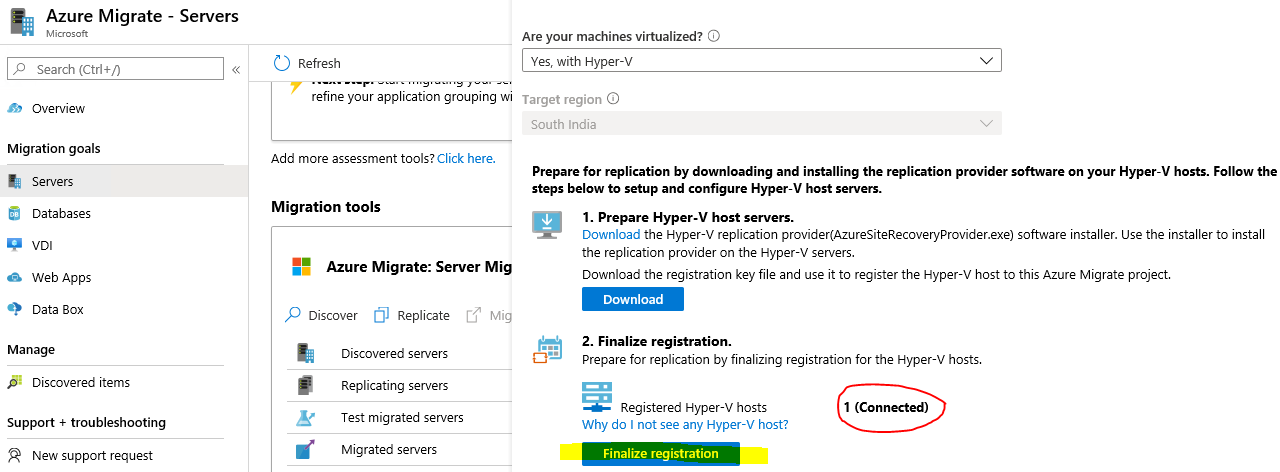
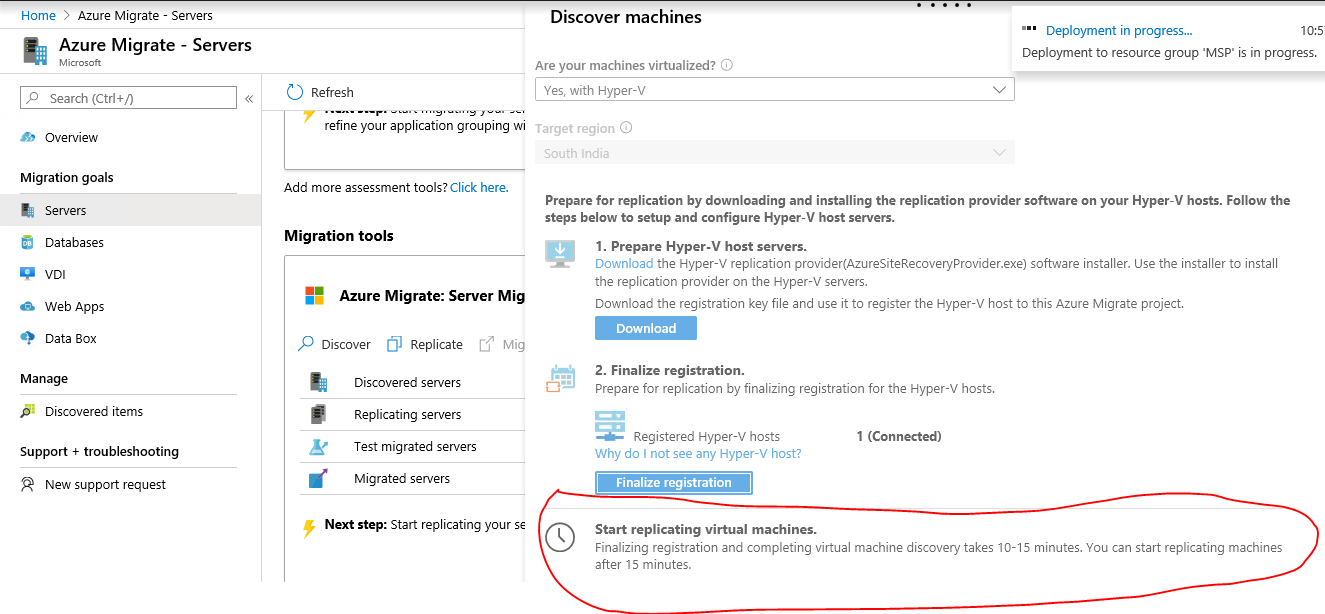
***2. *** Once resources are created again click on Discover -> On next page it will ask you to Download Hyper-V replication provider(aka ASR) and Hyper-V registration key to register On-prim Hyper-V host with Azure.
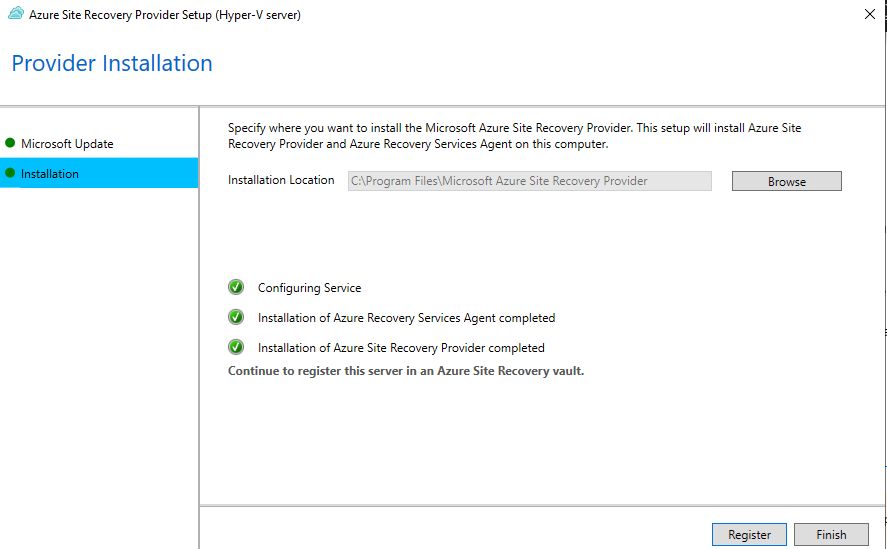
*3. * Run the ASR provider .exe on Hyper-V hosts as below
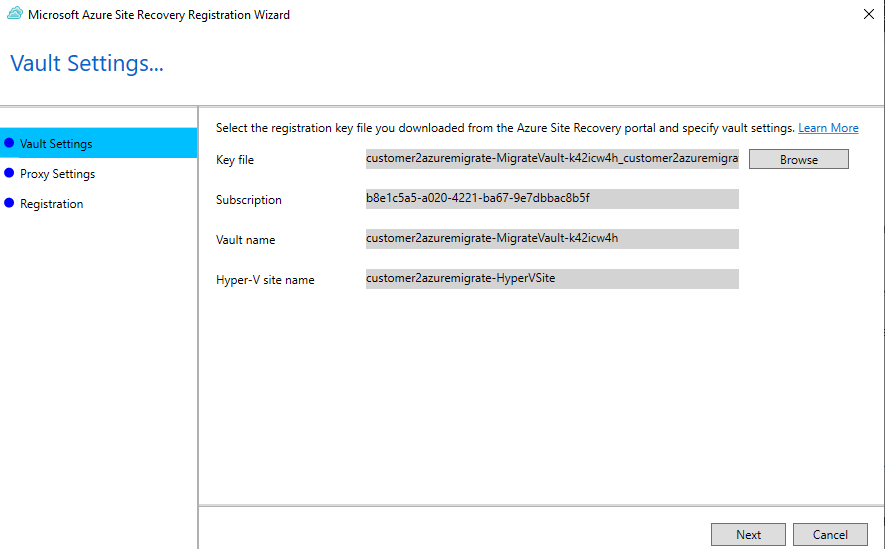
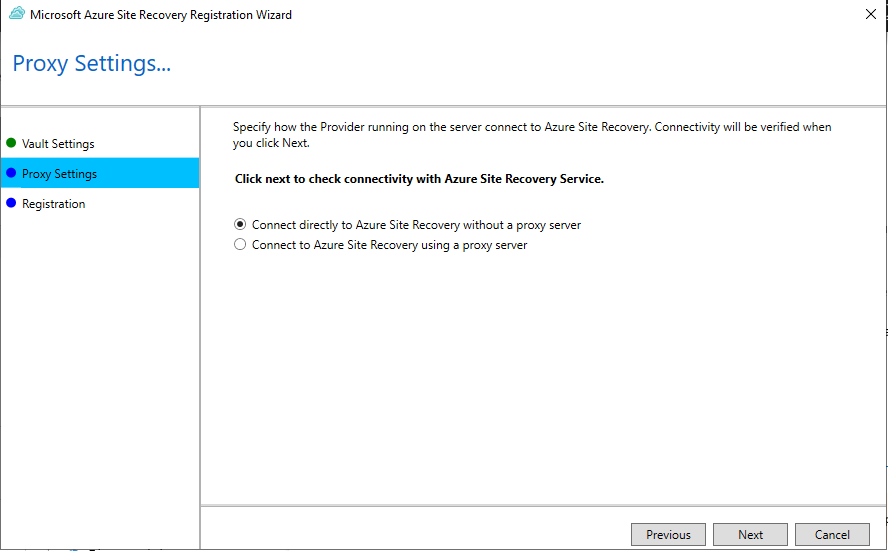
*4. * Now supply the registration key which was downloaded in step no. 3
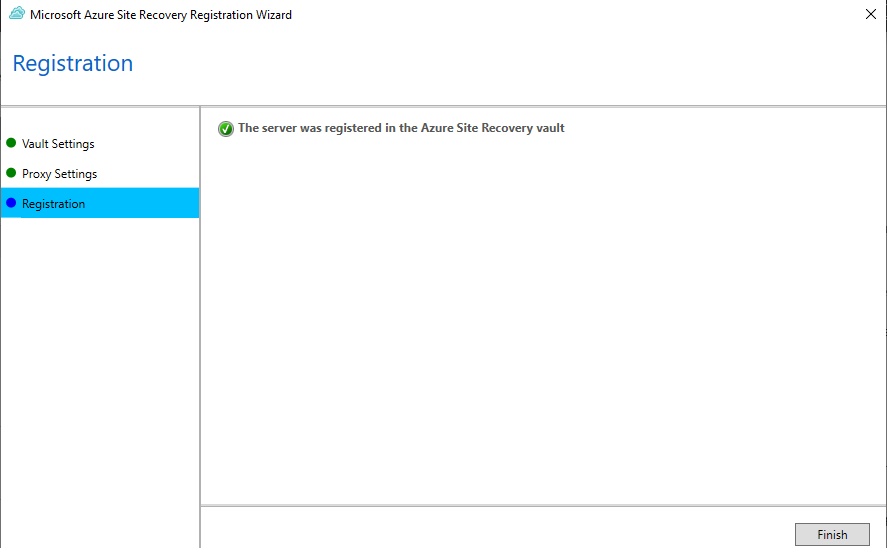
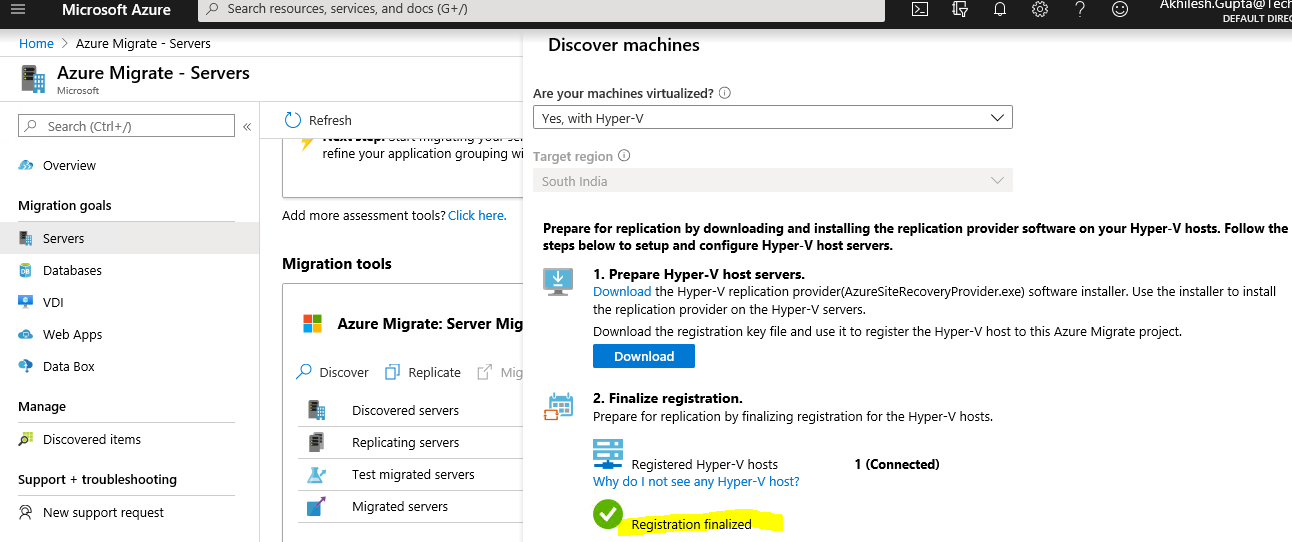
*5. * Now your Hyper-V should be registered successfully with Azure as below.
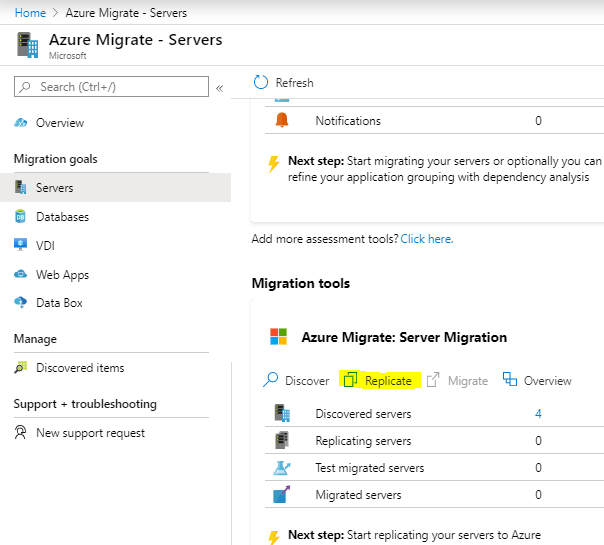
Now after successful Registration we will move on to replicate the VM’s to Azure Storage account(Storage account to be created and kept ready by you)
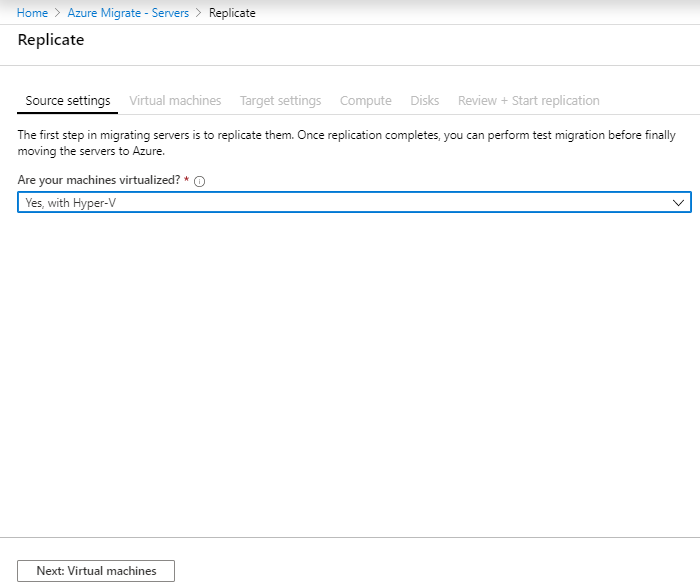
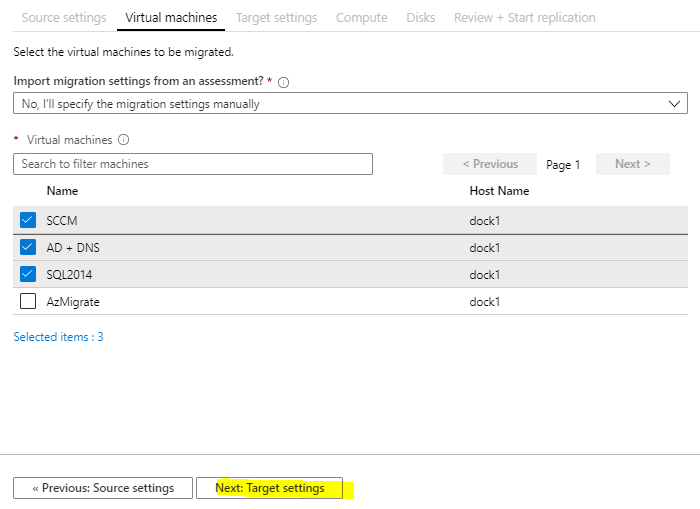
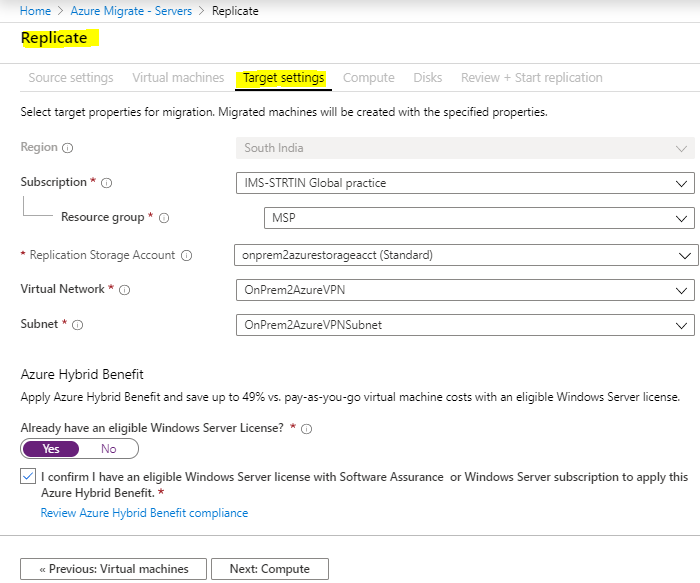
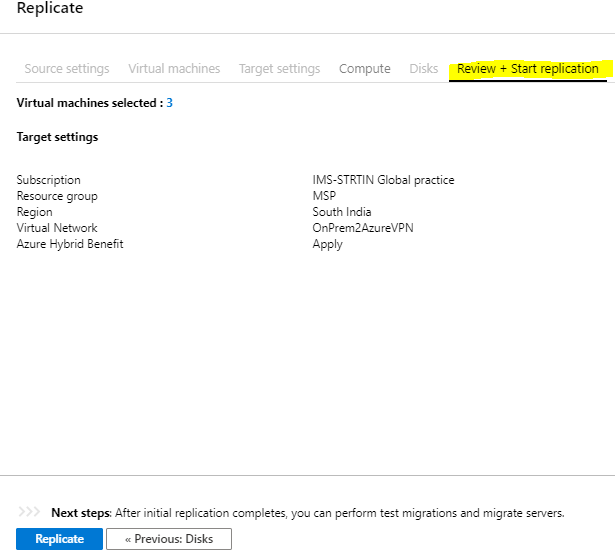
a) Go back to Azure Migrate page, click on -> Replicate -> select desired configurations and click on Replicate button as below:
Note - You can see the replication status on your Hyper-V console as well.
b. Once replication is done, status will change to Protected.
Now perform below 3 steps (Replicate, Test and Migrate) and migrate On-prim VM’s to Azure
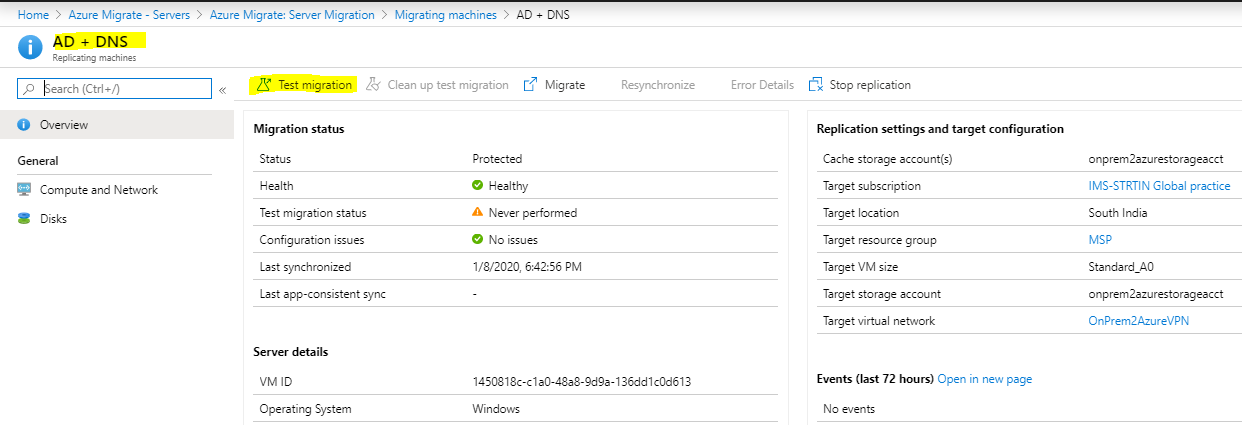
Once replication is done, we will move to do Test Migration (this is optional) or you can directly move to Migrate step no. 3. In this demo we will perform the Step 2 (Test migration) as below:
c. Select the VM you want to do Test Migration in this page (in our demo we are selecting VM (AD+DNS)
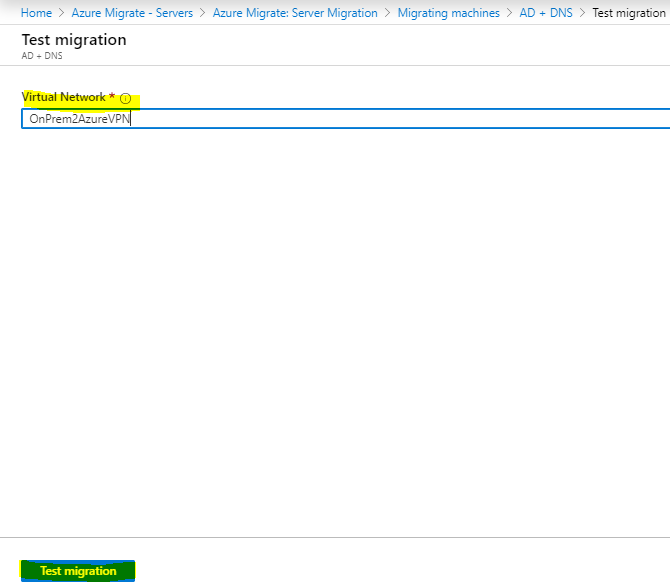
d. Select Desired VNet -> Click Test migrate button
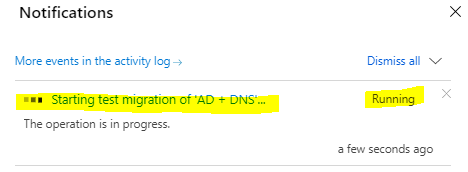
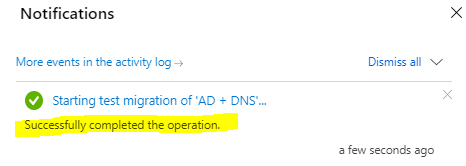
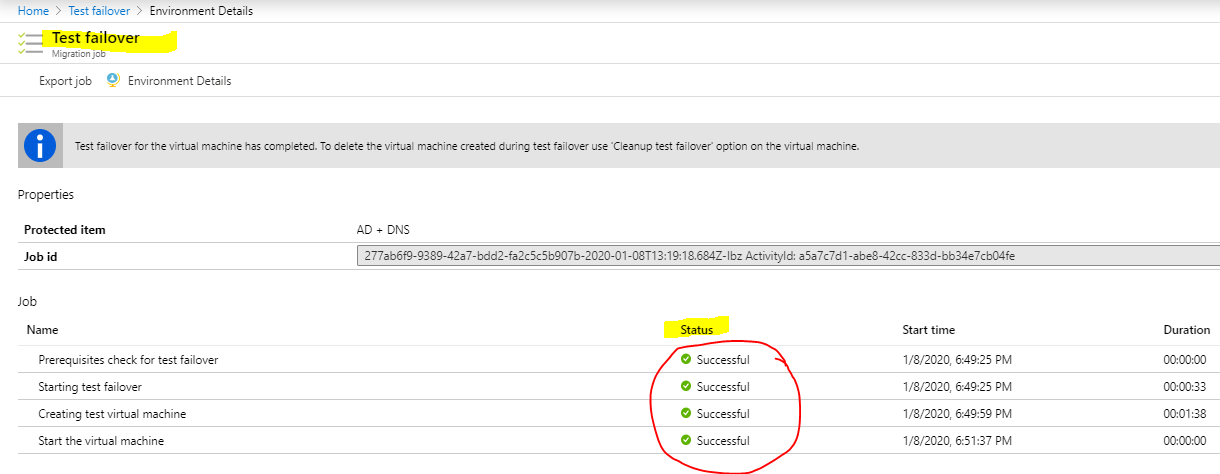
**e. ** Now once you get successful notification on the notification tab –> Test failover -> Verify all the details and you should see all status as successful as below:
f. Now go to Azure Portal -> Virtual Machines -> Your selected VM should have been successfully migrated with (test suffix)
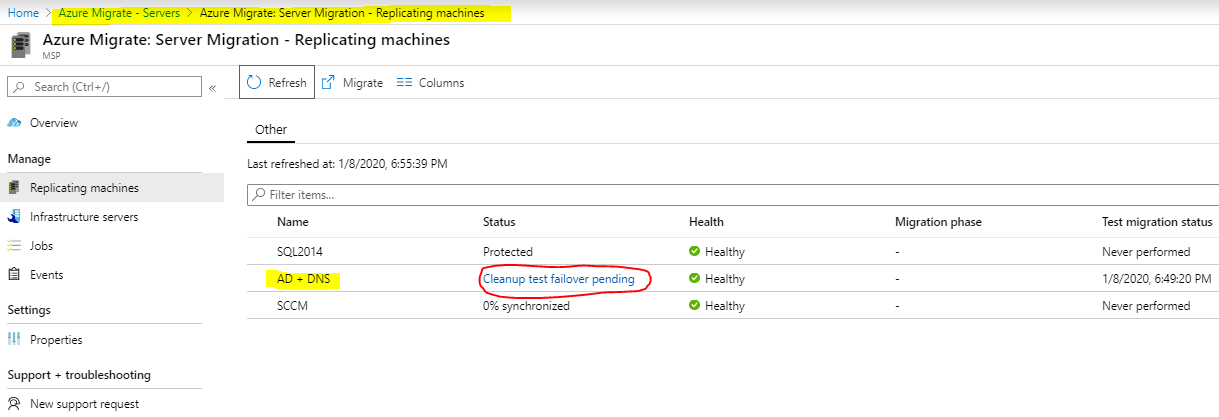
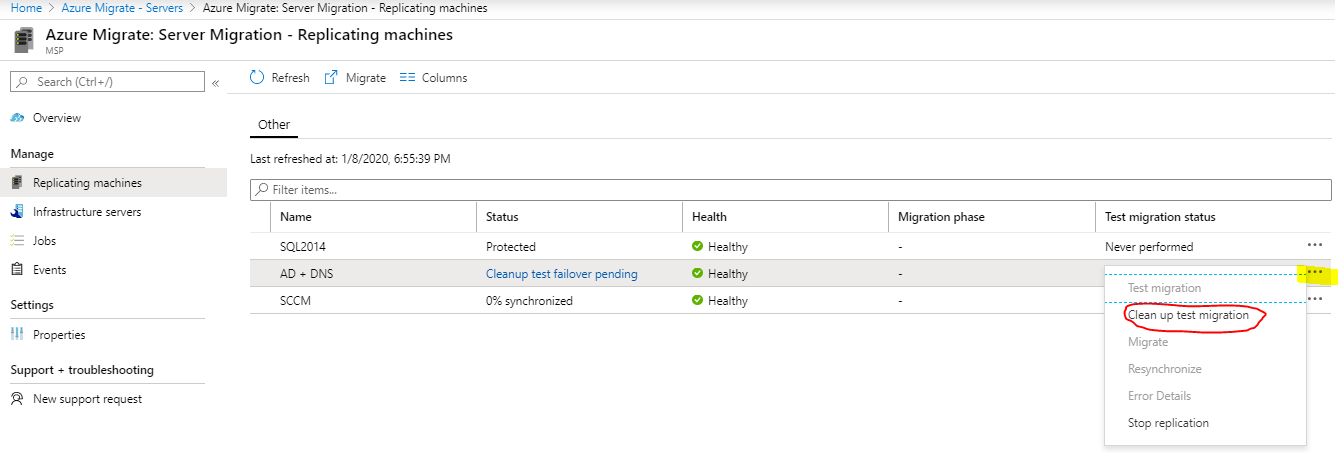
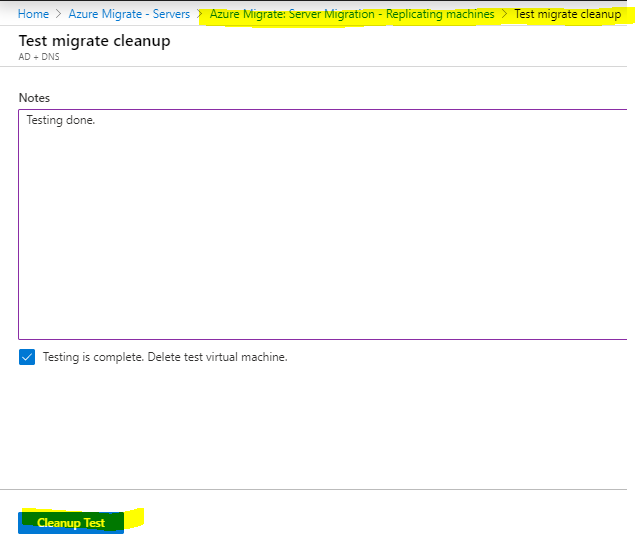
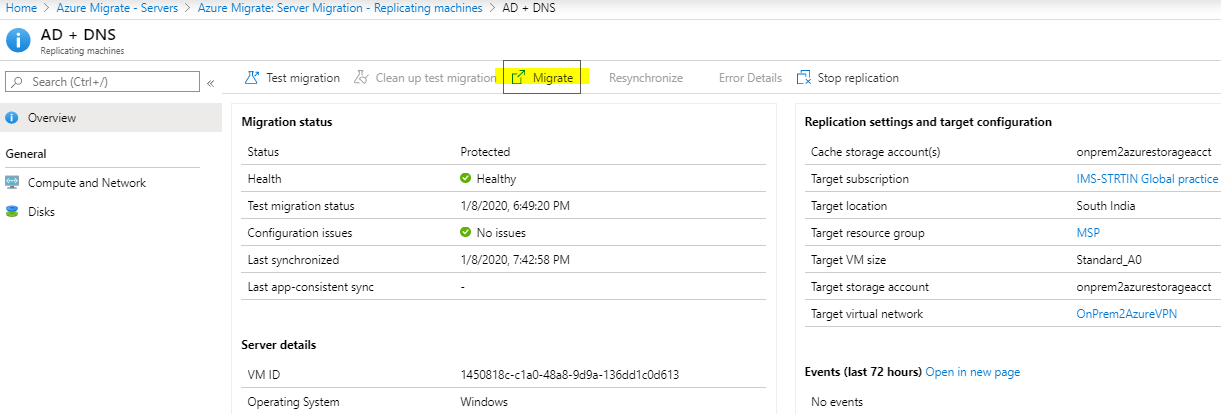
**g. ** Once test migration is successful, we will have to do Clean-up of the test failover from Azure Migrate page.
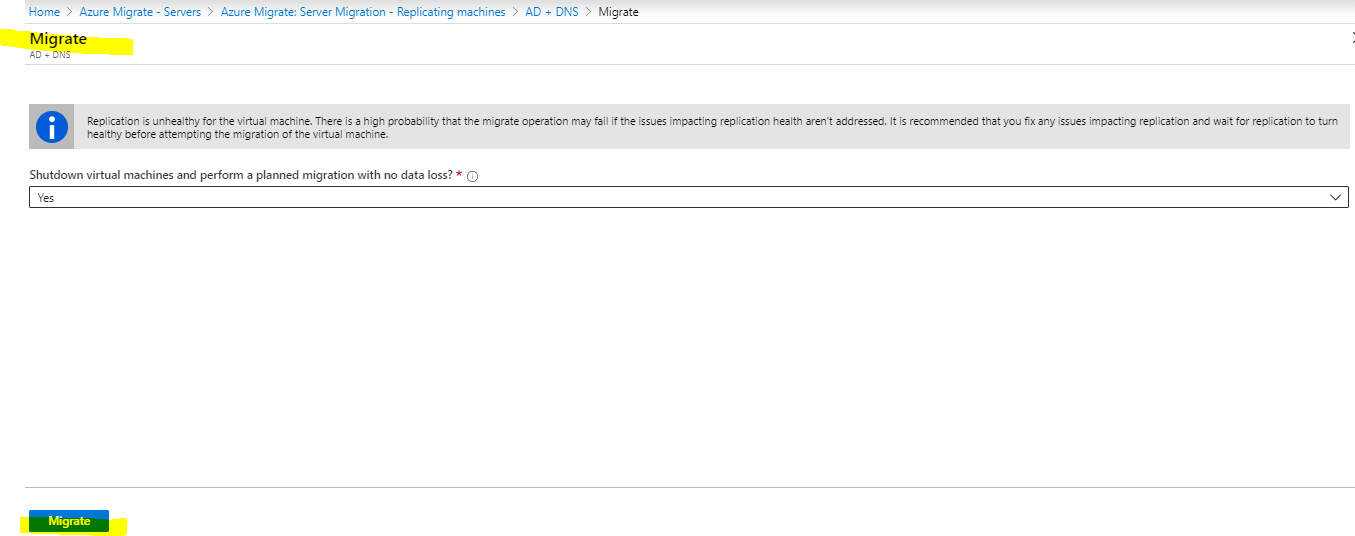
h. After the cleanup of test failover, we will move to do the actual migration and select Migrate button inside the VM page.
Now Once you click on Migrate button, you will see your Selected On-premise vm will be migrated to Azure Cloud and your On-premise vm will be in Shutdown state in your Hyper-V console.
Your on-premise VM is successfully migrated to Azure Cloud.
