SharePoint Online: How to configure Promoted links web part in SharePoint modern page?
Today we’ll discuss about the promoted links/web part in modern SharePoint page and focus on the following topics, the promoted links web part does not work the way it works in classic page.
What are promoted links in SharePoint?
Promoted links help us(of course one need to be a SharePoint Administrator role) to build attractive user friendly navigation in the site home page. This feature lets us create links to a content which we want to feature. We can assign images to the links and easily organize them from the Promoted Links List, which is automatically created when you add the app. It is a great way to spice up your site, make it more user-friendly for your end users. It is also known as “SharePoint Tiles”
Simple example of promoted links is Getting started web part. If we create a classic SharePoint site by default the getting started web part will be added to the home page:
What is the use promoted links in real time?
Lets say we have department specific document libraries named as Finance, Human Resource, Legal and Procurement, each department has certain specific documents into their respective libraries. Now user wants to navigate to these document libraries from the site home page and the links should be configured with the relevant images(logo) for more user friendlier – then promoted links web part is the way to go. Now coming to the implementation part – it is very straight forward to configure in classic SharePoint page but there is no direct way to configure this webpart in SharePoint online modern page(this is purpose of writing this article). In classic SharePoint if we create a promoted links list and add entry to this list, then if we add this promoted links web part in the home page, we can achieve the above scenario.
How can we use promoted links in SharePoint modern page?
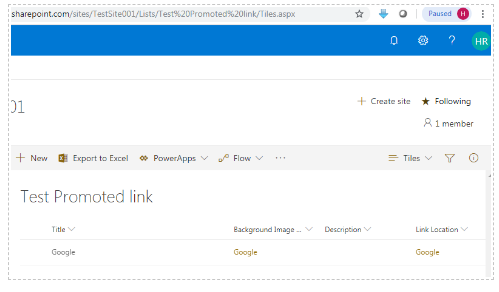
Already created a promoted links list in our site with a sample links entry.
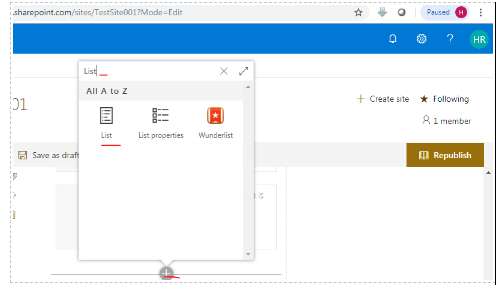
Now we will try to configure this promoted links list as a webpart in our site home page. Open the page in edit mode from top right corner, click on the + button to add the new web part in the page, search with “List” then we'll be getting the following items.
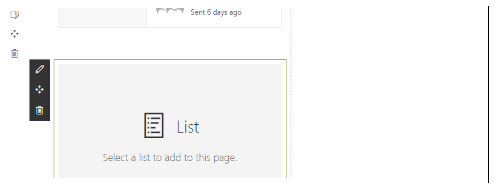
Now click on the “List” as highlighted, we will be rendered to the below section.
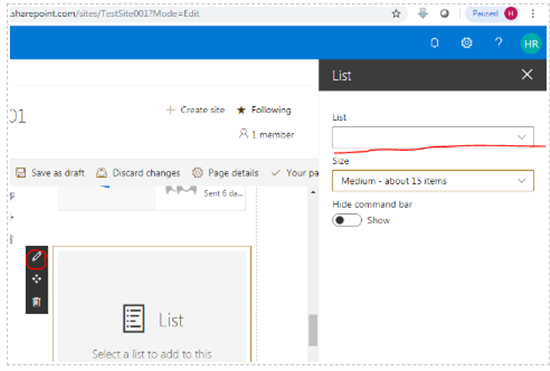
Click on the edit web part button then we’ll be getting the “List” drop down list, there we cannot see the “Test Promoted Link” list in the drop down.
As per this SharePoint user voice It is confirmed that we cannot use the promoted link web part in SharePoint modern page.
Then** what is the alternate way to achieve the same?**
This is not exactly same but the closest thing to “old” promoted links is “Quick links” web part in modern SharePoint page.
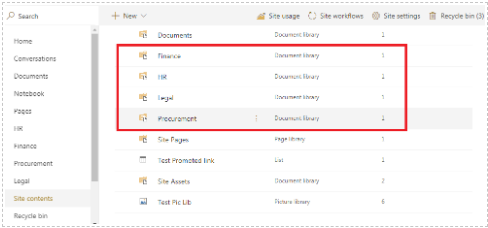
Lets say we are going to configure the links for Human Resource, Finance, Legal and Procurement and for these we have created separate libraries.
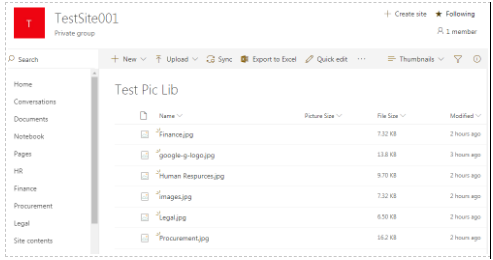
And also we have uploaded some relevant images(logo) to the “Test Pic Lib” picture library.
Now we have the prerequisites ready – lets configure these inside the “Quick links” web part.
Open the site home page by clicking the edit button from top most right corner or direct from the url like below:
https://sp.sharepoint.com/sites/TestSite001/?Mode=Edit
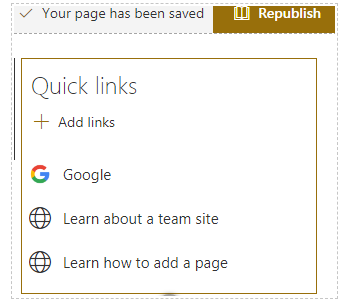
By default in a modern site there will be a “Quick Links” Web part, we can add links there or we can add a new “Quick Links” Web part, now we are going to add a link in an existing web part and rest all link we can do yourselves. Click on “Add links” from the Quick links web part.
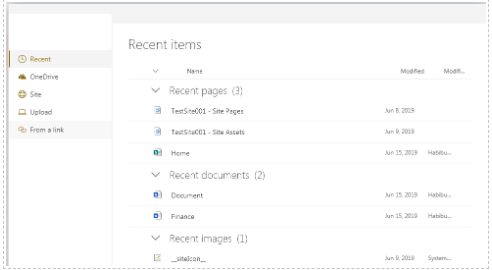
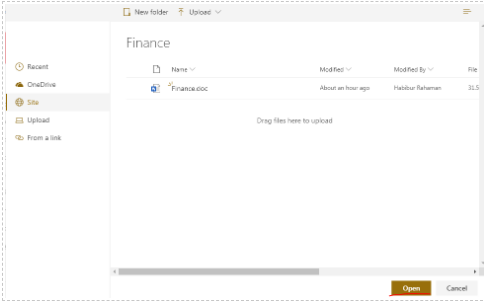
Then we will be getting this page.
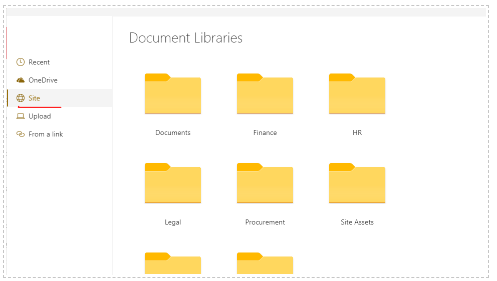
Now select your link as per your requirement, here we have selected site, however you can select any of these.
Select Finance (as an example), then click on Open.
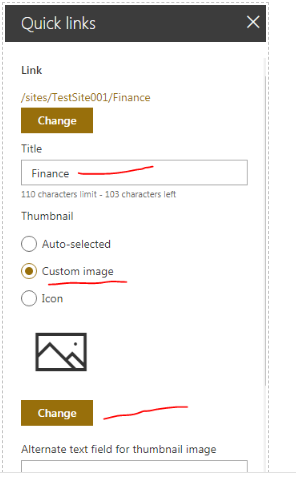
Now in the configuration window – Give the title as you like and select “Custom Image” radio button then click on “Change” button
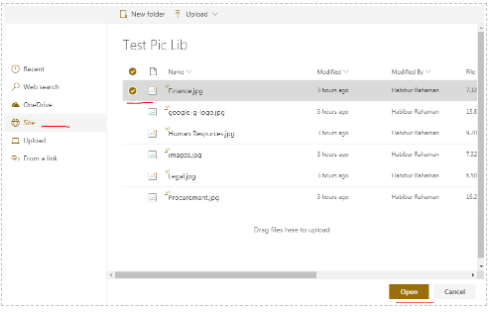
After clicking the “Change button select the respective picture(logo) from the picture library and click “Open” button.
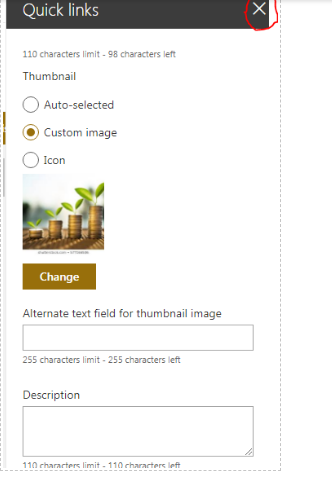
Now we can see the below window. Here we can give the alternate text and description (not mandatory)
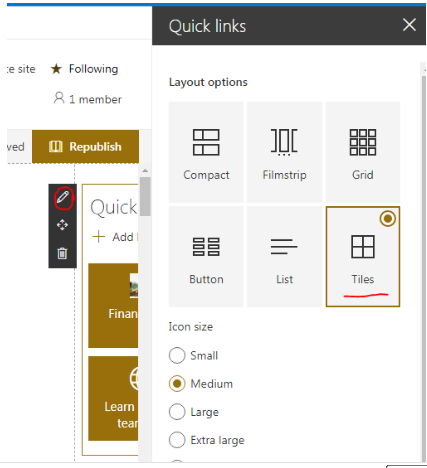
Finally we can change the layout of web part to tiles or as you need from the below available options:
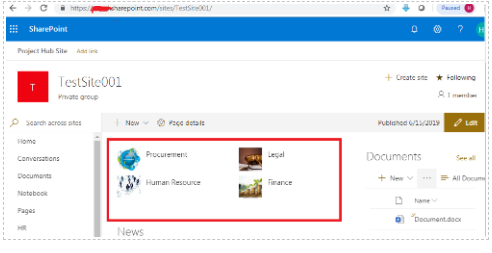
Finally promoted links in the site home page look like below:
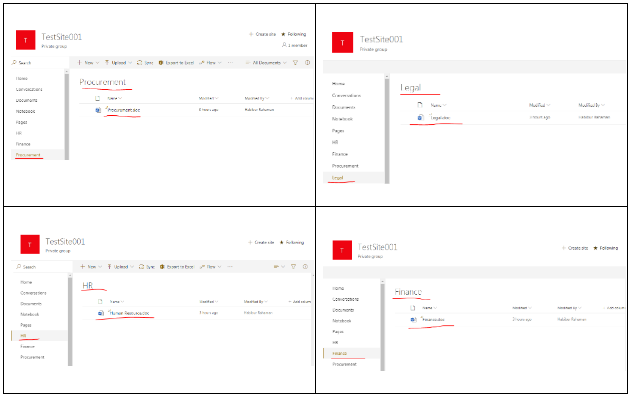
Example of use cases:
Now if we click these image “Procurement” , “Legal”, “Human Resource” and “Finance we’ll be landing in respective location.
Summarize: what we had here?
In this article we have learned what is promoted links/web part and how to configure this in modern SharePoint site.
References:
See Also:
- https://social.technet.microsoft.com/Forums/en-US/6e706d0d-3a90-40ca-8e74-db5191673a49/add-an-promoted-link-in-the-homepage?forum=onlineservicessharepoint
- https://collab365.community/editing-your-promoted-links/
And remember that you can always edit the TN Wiki articles, update the content and improve it.

