Project Web App Troubleshooting: Status Manager
Managing projects in PWA is fantastic, but from time to time you can encounter some features to be… well, weird. That is the case for Status Manager.
A little background first
When a user that was assigned to a task updates it and sends it to be approved, by default we assume that it will be routed to the Project Owner right?
Wrong. The user that has the privilege to approve or reject the update is called the “Status Manager” for that task. This feature is incredibly helpful when managing complex projects where the PM cannot oversee approving or rejecting updates from different resources. The PM can rely then on different status managers to review and approve task updates.
How does it work?
Once a project schedule exists, the status manager needs to open the project for editing and set the value for status manager in the tasks he/she will be status manager.
The problem is that this operation needs to be performed by the status manager. Another user cannot set this value for another user.
Well, that’s not entirely true and in this article, I’ll show you how to set this value for another user. By the way, I would need to ask the new status manager to perform certain updates but with the process I’m going to show you, there’s no need to bother my status managers.
Prepare the scenario
For this process you will need to use Project Server permissions mode. If you are using SharePoint permissions mode it will not work and you will need to use the “by design” process.
Also, you need to ensure that the status manager is a user that has PM permissions. This will be required since that status manager will need to update the project schedule.
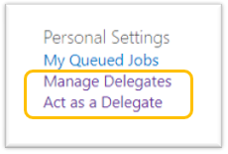
To make sure you are using Project Server permissions mode, go to PWA Settings and you will find the delegates options:
Share the project with the status manager
This can be performed in several ways. The status manager maybe already has access because he/she is part of the project team or the RBS is configured in a way that the status manager can access the project as a PM.
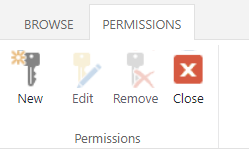
If the status manager is not able to access the project, you can create a specific permission accessing the Project Permissions button in the ribbon in the Project Center.
Click on New.
Select the user (or users) and select the permissions. At least you should enable “Open the project within Project Professional or Project Web App”, “Edit and Save the project within Project Professional or Project Web App” and “Publish the project within Project Professional or Project Web App”.
Create a new delegate
Navigate to the PWA settings page and click on “Manage Delegates”
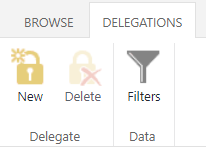
Click on “New” to create a new delegate.
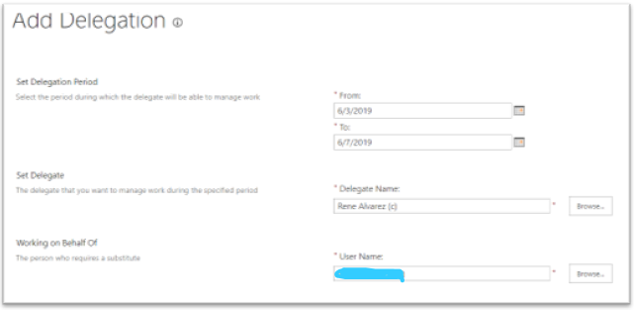
Set the date range for the delegation. Set yourself as the delegate and select your status manager as the “Working on Behalf Of” value.
Once it’s created, you will see the permissions for the new delegate:
Start a delegate session
Now you will use the delegate to enable the user to be a status manager.
Go to PWA settings again and select “Act as Delegate” and select the status manager from the list.
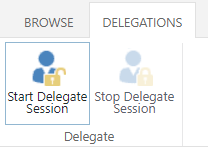
Click on “Start Delegate Session”
You will see a yellow bar indicating that you are inside a delegate session.
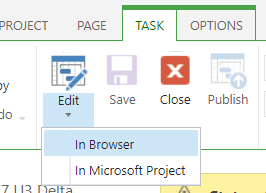
Now using the web browser, edit the project schedule.
Create a new task that you can safely remove later.
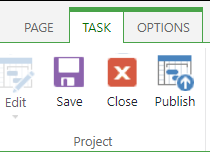
Save the project schedule (it is not necessary to publish it).
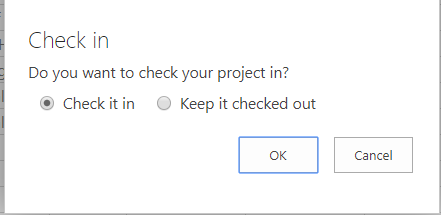
Then close and check in your project.
Stop the delegate session
In the yellow bar, click on “here” word to stop the delegated session.
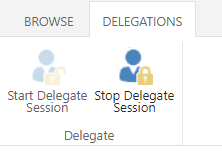
Click on “Stop Delegate Session”
Last part. Set the status manager
Now go to Project Pro with your own user, open and check out the project schedule.
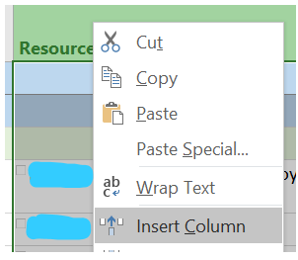
Insert a column and search for the column “Status manager”
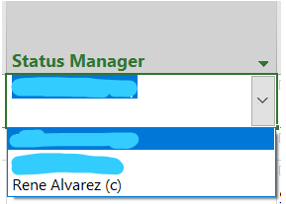
In this new column you will be able to select the status manager since the user has been marked as an enabled status manager.
Just update the required tasks (or all the tasks if needed) with the correct status manager.
Delete the task you added previously, Save & Publish your project and that’s it.
