Azure IoT: Connect MXChip simulator to IoT Hub
Set up MX Chip simulator
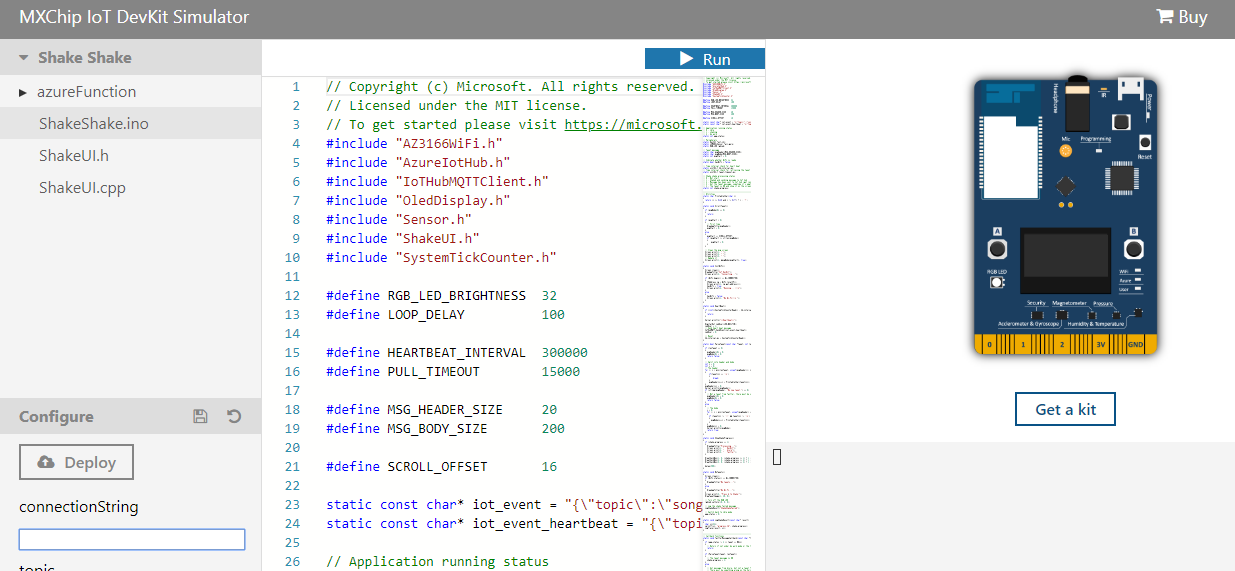
There is a browser-based simulator for you to try MXChip IoT DevKit. We can access through the following URL: https://azure-samples.github.io/iot-devkit-web-simulator/
This MXChip simulator is pretty much like the real MXChip IoT DevKit so we can use it for testing purposes.
Azure IoT Hub Setup
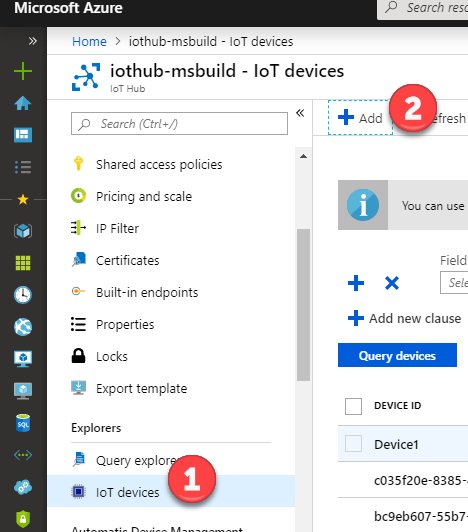
Go to the Azure Portal and select the Azure iot hub and add a new device. We assume you previously created an Azure IoT Hub:
Now provide a name for the device, in this case "TechNet-WikiDevice" and checkbox the Auto-generate keys options as shown below, then click "Save":

Once provisioned, go to the device details and copy the connection string on the simulator:
Connect the MXChip IoT DevKit to IoT Hub
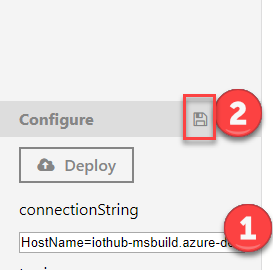
Go back to the MXChip IoT DevKit simulator and paste the connection string and click save
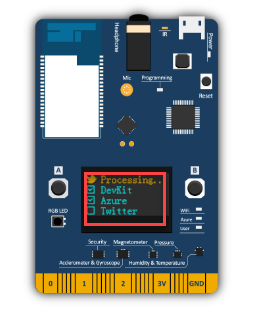
We will see that the device is now connected to the Azure IoT Hub:
Verify the connection
Now go back to the Azure Portal and click on the Device Details and click on Message to device:
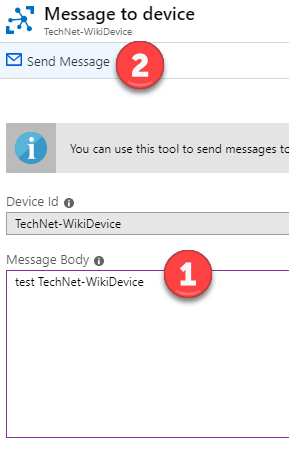
Now provide a sample message and click on send:
If successful, a notification that the message was sent will appear:
Be sure to select the "Get started" option in the Simulator page:
Also we can check on the Simulator page that messages are being sent to the IoT Hub from the MXCHIP simulator:
Last we can verify on the overview blade that messages are coming in:
Other Languages
Spanish (es-MX): https://social.technet.microsoft.com/wiki/contents/articles/52906.azure-iot-conecte-el-simulador-mxchip-a-iot-hub-es-mx.aspx
