Azure Bot Service: Building a bot

Introduction
Azure Bot Service provides components for testing, deploying, managing and making bots, including the Bot Framework SDK for developing bots and its administration for connecting bots to channels. Developers can create bots that use speech, understand natural language and answers, and more.
Bots provide an experience that feels less like using a computer and more like dealing with a person or at least an intelligent robot. Bots are a lot like modern web applications, living on the internet and using APIs to send and receive messages.
Create new Azure bot service
Step 1: Log in
Log in to the Azure portal (your Azure Account).
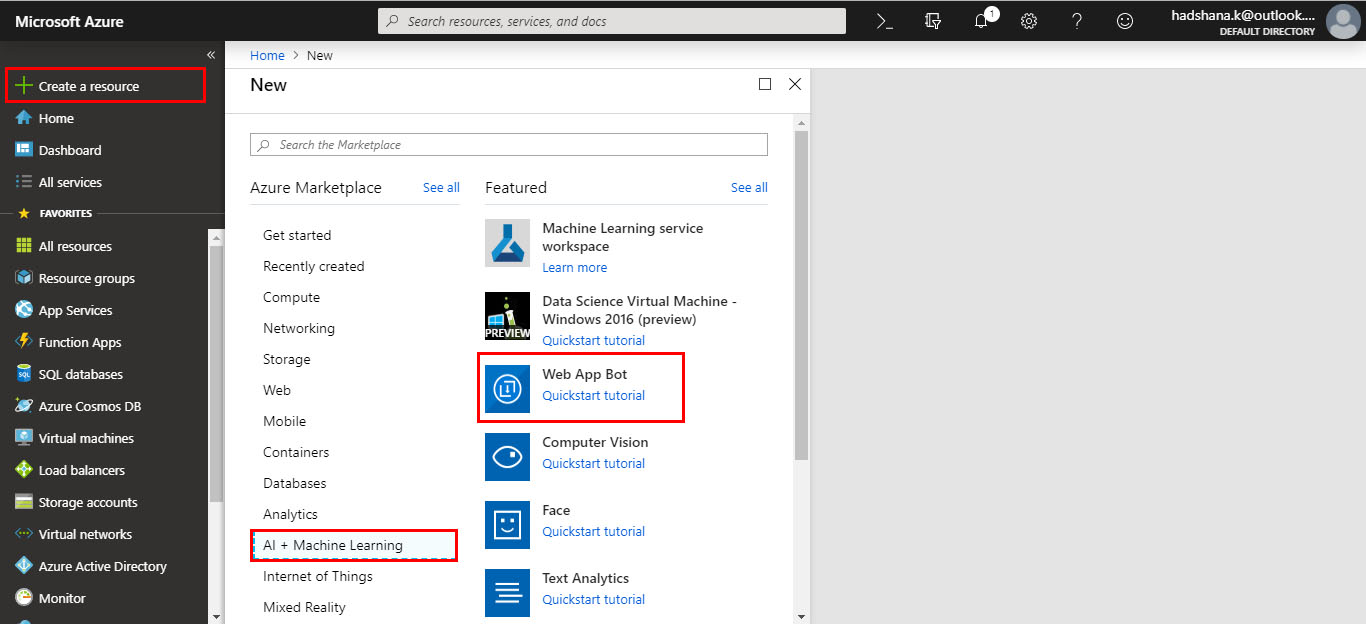
Step 2: Click on the “Create new resource”
link in the Azure portal and select/click >>> “AI + Machine Learning” (option)>>> “Web App bot”.
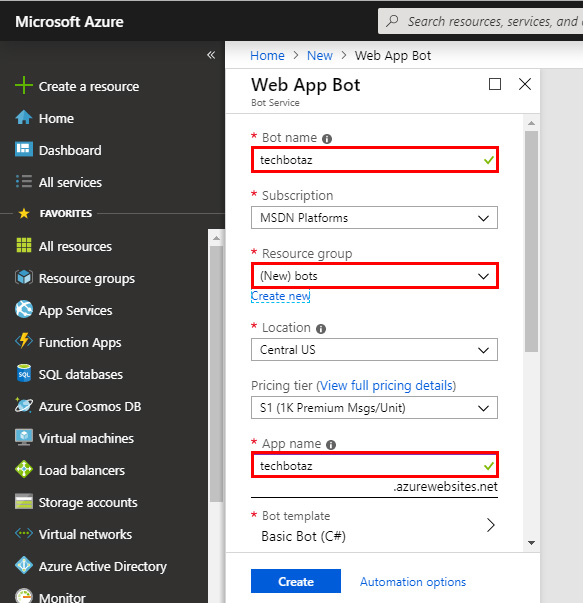
Step 3: The Web App Bot (Blade) opens up.
Fill out the information about the Web app bot.
Step 4: After this, click the Bot Template;
check the SDK versions (SDK v3, v4) then select “Basic Bot”; click Okay to continue.

Step 5: App service plan
If you want to create an App service plan, create a**“New app service plan”.** Click Okay to continue.

Step 6: From fill
Fill out the form with valid information and click the “Create” button.

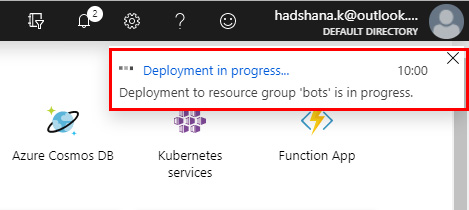
Step 7: You will see the following “Deployment in progress” message
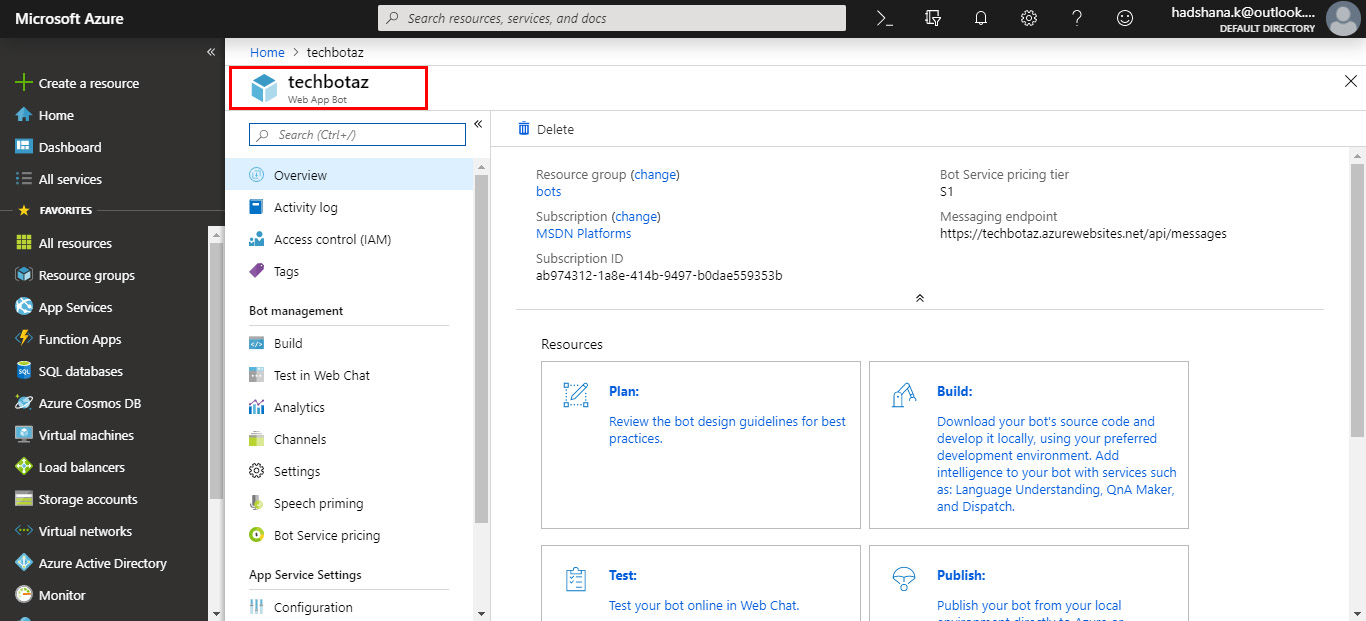
Step 8: Once successfully deployed,
open the Web App bot (Created). See the details of the created bot
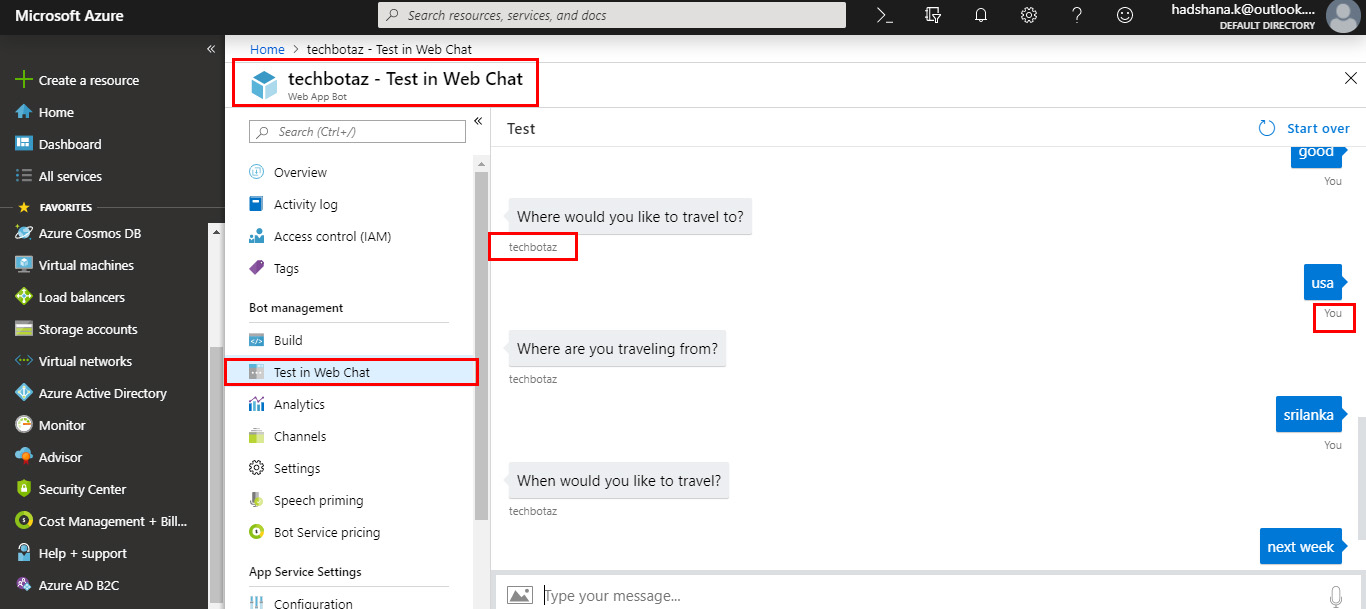
Step 9: When opened, in the Bot management section,
click on the “Test in Web Chat” option. It will load and connect to the** **chat with your bot. See the example bot (chat).
Step 10: Deployment
And, it is time for deployment using "GitHub" or "OneDrive".

Step 11: Finish OneDrive deployment
We’ve successfully completed the OneDrive Deployment process….

Step 12: Finish Github Deployment
Finally, we have successfully completed the **Github **Deployment process

Summary
In this article, we learned how to building a bot using Azure Bot Service. In my next article, I will cover the next step of this series.