PowerShell Core: Installation on Ubuntu (Bionic Beaver)
What is PowerShell?
It is a Shell based utility that helps to automate tasks. It is now used widely by admins and developers in their day to day activities like managing their teams, operating systems, active directories, SharePoint farm. This utility quietly replacing the executables in Microsoft environments.
What is PowerShell Core?
It is an open source utility version of PowerShell, that is currently evolving and expanding its footprint to all the areas including Office 365, Azure and other cloud environments. It works on most of the operating systems, unlike PowerShell which is targeted only to windows.
Ubuntu
Ubuntu is a Debian package from Linux, a most popular free operating system for public and OpenStack clouds and the best operating system for embedded Linux for IOT. The version of ubuntu that have been used in this article to demonstrate is Ubuntu 18.04 also called as Bionic Beaver
The installation of PowerShell Core is similar across most other Unix and Linux based systems.
Understanding the Terminology
Debian File
.deb is a compressed set of Debian software package file. It is an installable package, which can be double clicked and installed in a ubuntu environment or can be used with the terminal command line for installation.
.NetCore Runtime
.NetCore is an open source, general-purpose development platform maintained by Microsoft and development community from .Net Community in GitHub. Runtime supports the execution of the applications created with .Netcore in operating systems like Windows, Linux, and MAC
GNU Privacy Guard (GPG/ GnuPG)
It is an asymmetric method of encryption involving public and private keys. It is a free implementation of OpenGPG standard, this link can be used to know more details on the same.
Installation
Installation of PowerShell Core involves the following steps
1. Downloading the Debian
All the Microsoft related packages for Ubuntu is available in the package named packages-microsoft-prod.deb. It is very important that the package that must be downloaded should follow the correct ubuntu version.
wgethttps://packages.microsoft.com/config/ubuntu/18.04/packages-microsoft-prod.deb
wget – it is a non-interactive command line utility that helps to download from the web and works mostly wit all the internet protocols
2. Installing the GPG keys
sudo dpkg -i packages-microsoft-prod.deb
| Name | Details |
| Sudo | Runs as superuser and prompts for the password |
| Dpkg -i | Registers and installs the gpg keys |
3. Update
The following command updates the package with a list of packages that are needed for upgrading and the new arrivals. Here is a wonderful link to have more information on it.
sudo apt-get update
| Name | Details |
| Sudo | Runs as superuser and prompts for the password |
| apt-get | installing updating and cleaning packages (depending on the parameter) |
| update | Updates the list of packages |
4. Installation
Running the below command helps us to install PowerShell Core with all the prerequisites in place, please note that you should have a proper internet connection.
sudo apt-get install powershell
this link can be used to know more details on the same.
PowerShell Session
To start a PowerShell session from any terminal we should use the following command
pwsh
To stop the PowerShell session use the below command , this only exits the session not the terminal window
exit
To summarize here are the steps required to install PowerShell core and start the powershell session
wget https://packages.microsoft.com/config/ubuntu/18.04/packages-microsoft-prod.deb
sudo dpkg -i packages-microsoft-prod.deb
sudo apt-get update
sudo apt-get install powershell
pwsh
Uninstalling PowerShell Core
The following command helps to remove PowerShell from the operating system
sudo apt-get remove powershell
But for a clean uninstall we have to run the below commands as well , these would remove aspnetcore ,the debian package that have been downloaded and other softwares related to microsoft if any installed
sudo apt-get remove aspnetcore-runtime-2.1
sudo apt-get remove packages-microsoft-prod/bionic
sudo apt list --installed | grep -i microsoft
this link can be used to know more details on the same.
Execution of Sample Script
The following details would help us to understand on how to execute powershell scripts on ubuntu/linux or unix operating systems.
Script
For the runthrough we will use the script that deletes the Resource groups from Azure Environment. The script can be downloaded from this link.
Below are the important snippets that helps with code execution
Installing the Module
As the script targets PowerShell Core for Azure , it needs to install the Az module
$module = Find-Module Az
If($module -eq $null)
{
    Install-Module -Name Az -Force -AllowClobber
}
Note:AZ vs AzureRM : AZ module works on PowerShell Core -while AzureRM targets to PowerShell. Since the area of interest is PowerShell Core, we are installing AZ module.
Connecting to Azure Portal
Connect-AzAccount
This line of script helps in connecting through the Azure portal, this statement when executed in ubuntu.
Deleting the Resource Group
The following snippet fetches the resource group by name and deletes it
$resouceGroupName = Get-AzResourceGroup | where {$_.ResourceGroupName -eq $resourceGroupName}
if($resouceGroupName -ne $null)
{
    Remove-AzResourceGroup -ResourceId $res.ResourceId
    Write-Host "The resources with the $resourceGroupName has been deleted"
}
Execution
All the script executions require to open up the terminal.
The execution steps include entering the powershell session , loading the scripts and invoking the function , which are shown below in the respective order.
pwsh
. ./DeleteResources.ps1
Delete-AllResources
The function when invoked tries to connect to azure account which involves the following steps
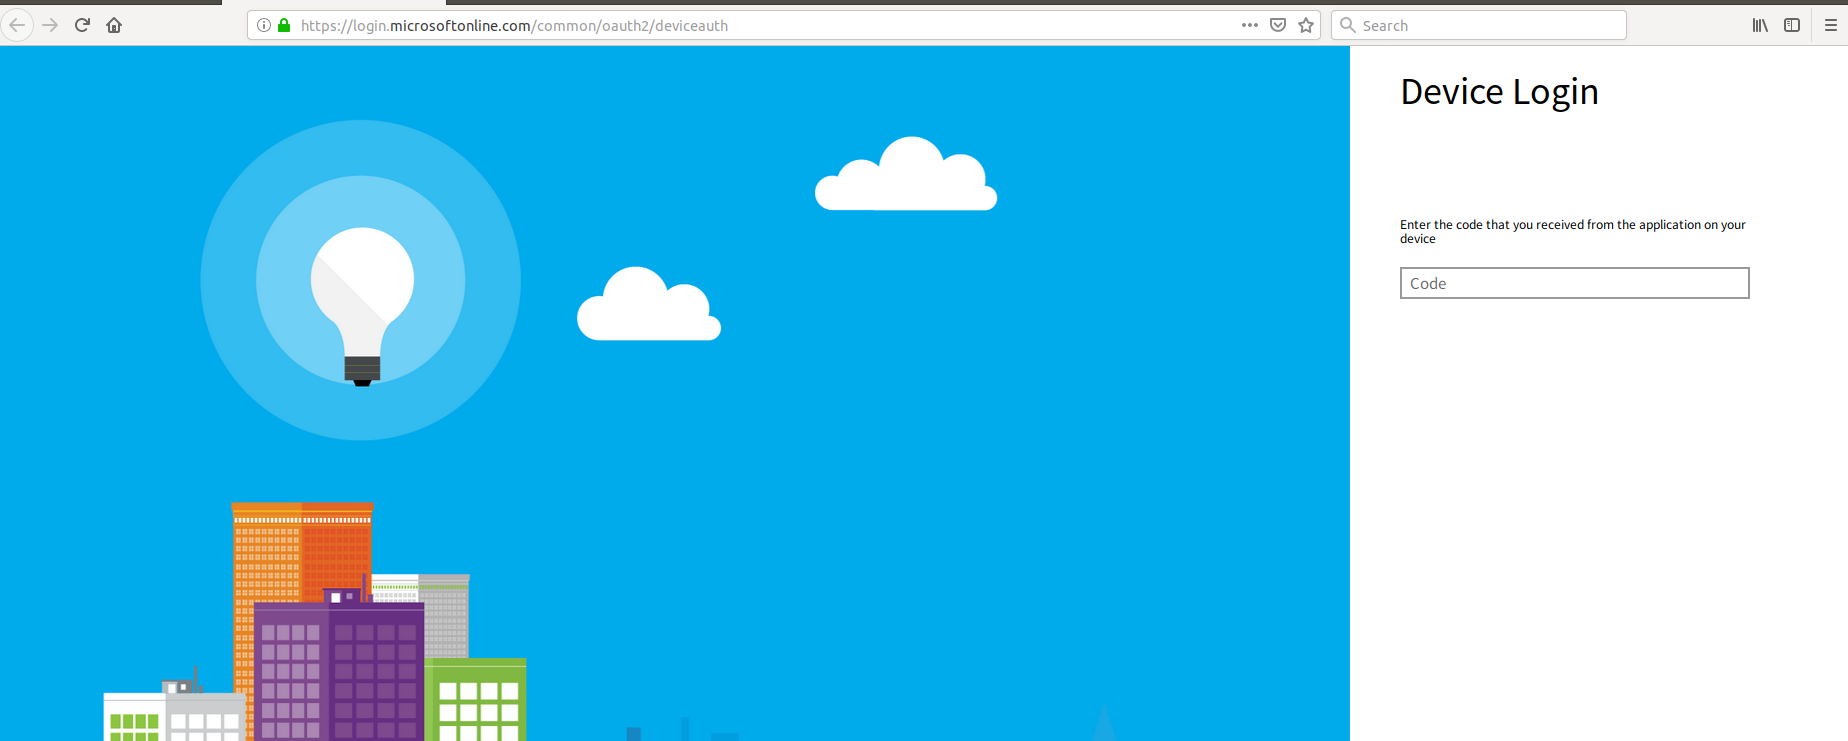
The terminal shows a message consisting of a URL and a code,

User must open the URL in the browser and enter the code specified
 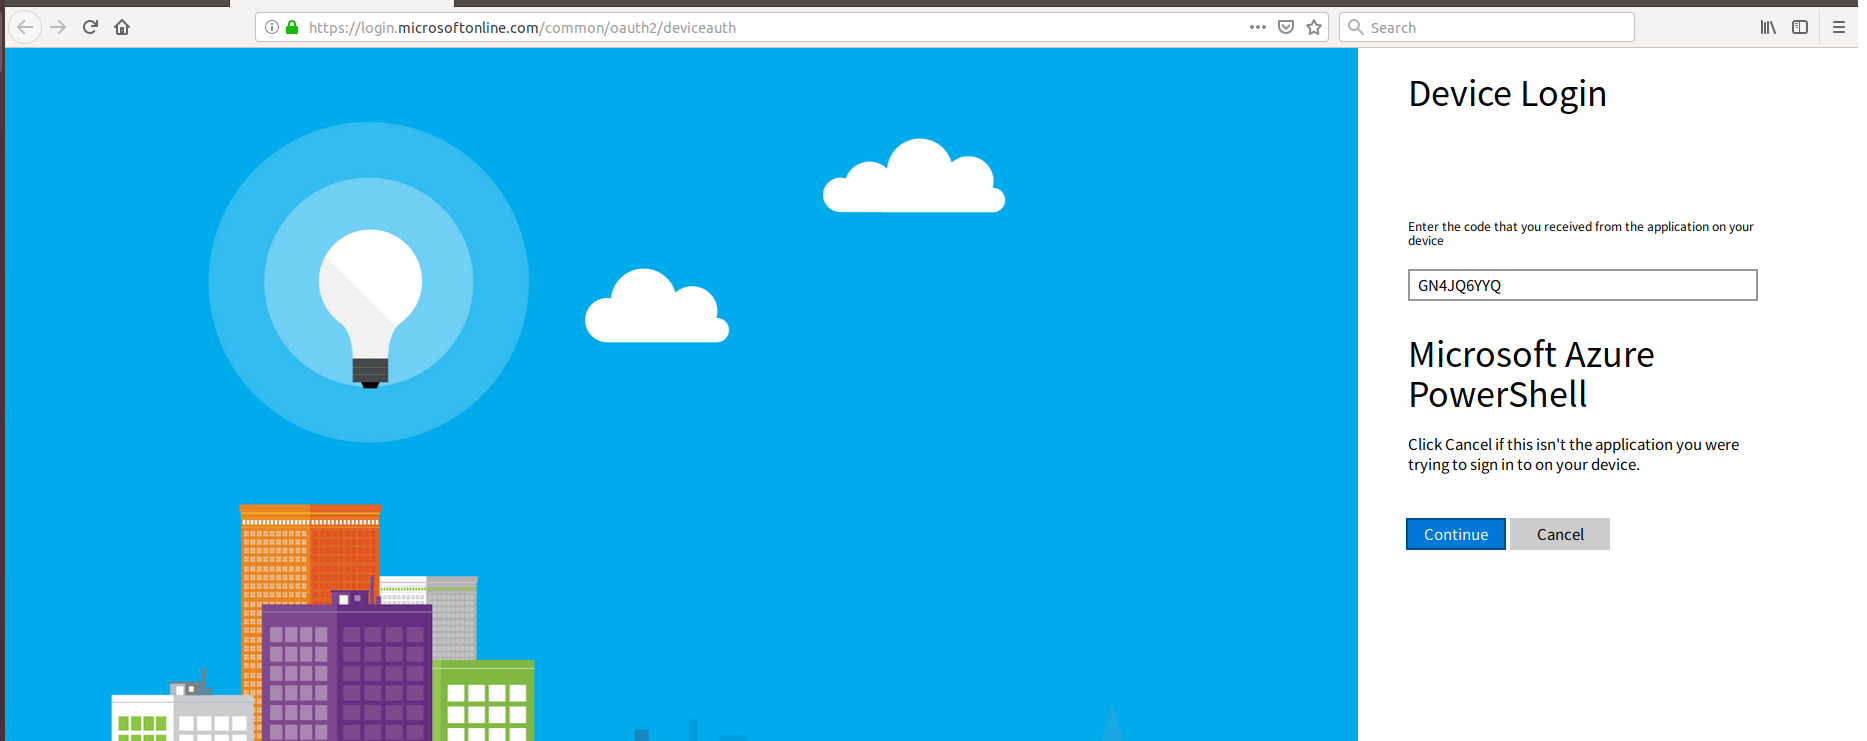 |
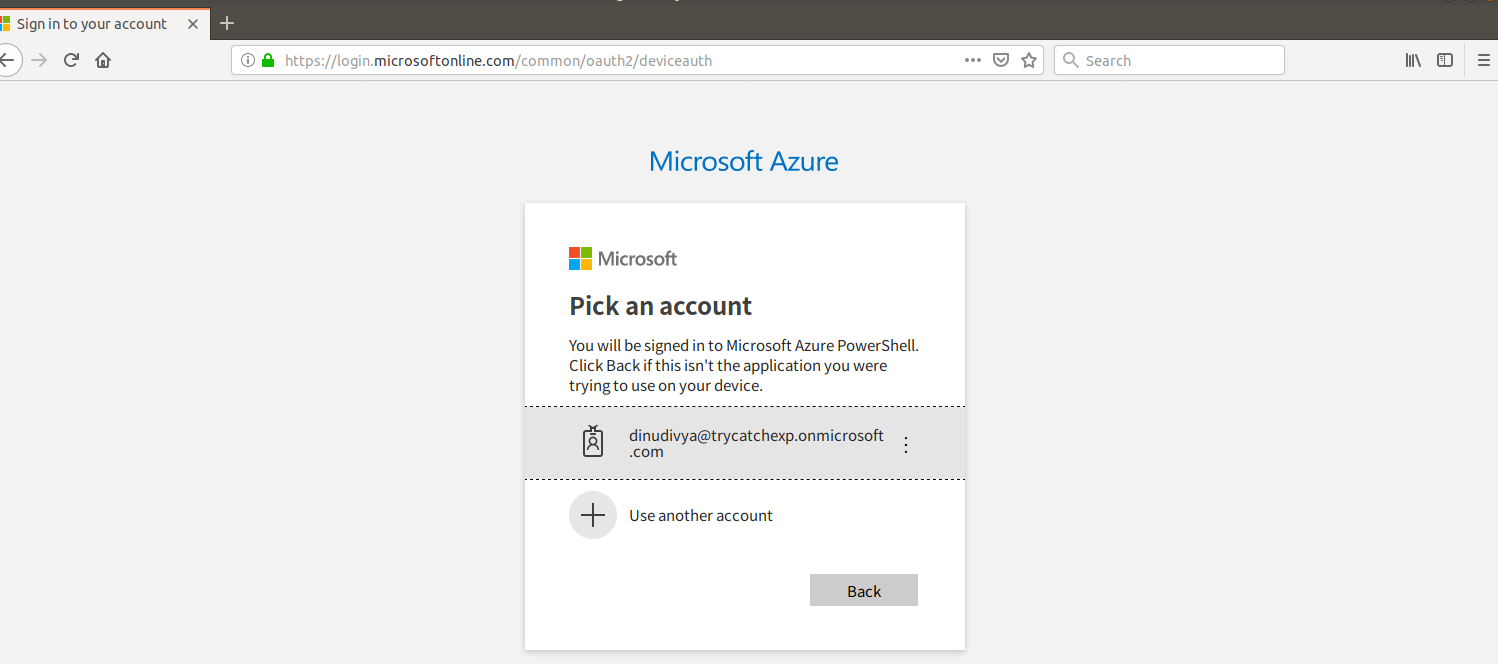
User must click on continue once the device is authenticated which would follow by the sign in page,on to which the Azure username and password has to be entered.
 |
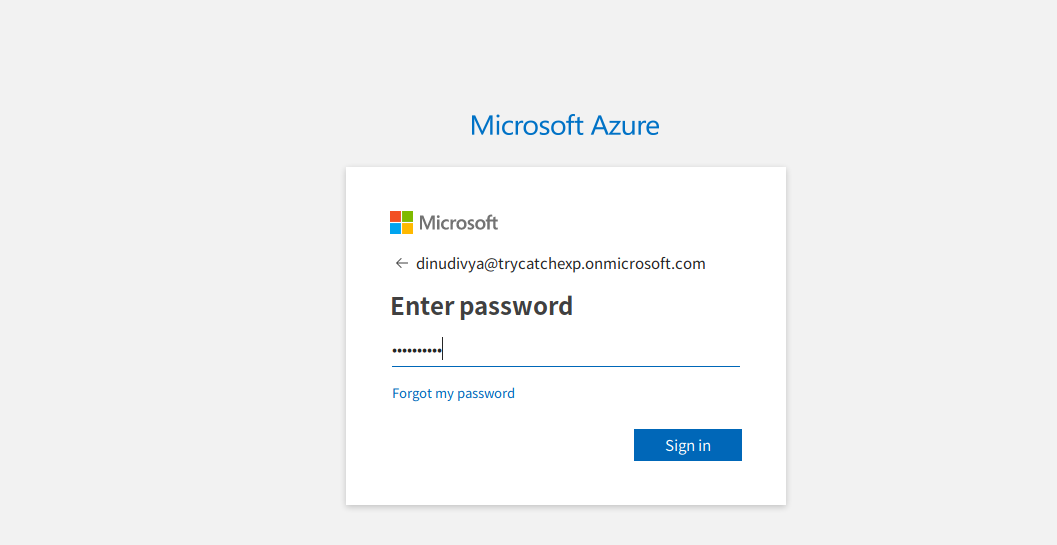 |
And then click on sign in to proceed further
The browser now shows the following window, after which it resumes the script execution from the shell
Execution of the above script prompts for resourcegroup deletion
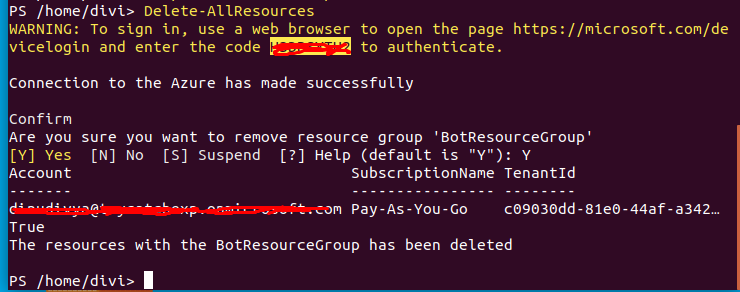
this link can be used to know more details on the same.
Issues & Resolutions
| Issue 1: | PowerShell: Depends: libicu52 (libicu60) but it is not installable |
| Description | The following packages have unmet dependencies: PowerShell: Depends: libicu52 (libicu60) but it is not installable E: Unable to correct problems, you have held broken packages. |
| Resolution | This would appear if you have downloaded the incorrect version of packages-microsoft-prod.deb |
| Issue 2: | The following packages have unmet dependencies |
| Description | dotnet-runtime-2.2 : Depends: dotnet-runtime-deps-2.2(>= 2.2.4) but it is not going to be installed |
| Resolution | This might appear if you are trying to install dot net core manually and have downloaded the incorrect version of packages-microsoft-prod.deb |
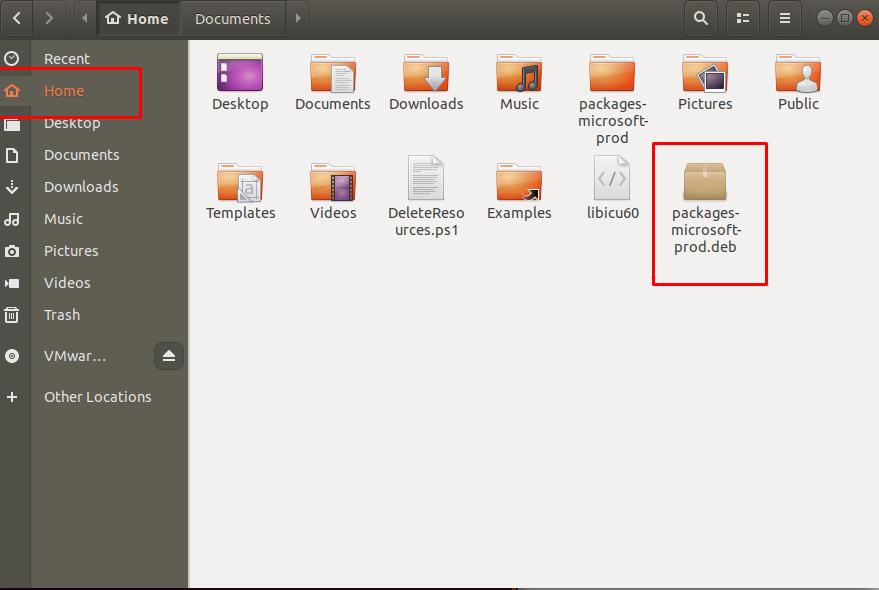
Note: Before re-downloading, ensure that older ones packages are deleted. The downloaded packages can be found in the home directory
 |
