SharePoint Framework Solutions: Consume AAD secured API
Introduction
This articles explains how to consume custom API secured with Azure Active directory (Azure AD) in SharePoint framework solution.
Important : Further, this articles explains the step considering that the Azure AD is part of same tenant where SharePoint resides, i.e. user from other tenant cannot consume this API.
Theory
After the up gradation of SharePoint Framework (v 1.6) , one can now easily call MS Graph API or Custom API without need to configure ADAL JS or to follow the procedure to perform Allow implicit flow as its happens behind the scene.
Getting Started
This article is split into there main subdivision
- Create a Custom API secured with Azure AD.
- Creating SPFx webpart to call Custom API using AADHttpClient
Create Custom API secured with Azure AD
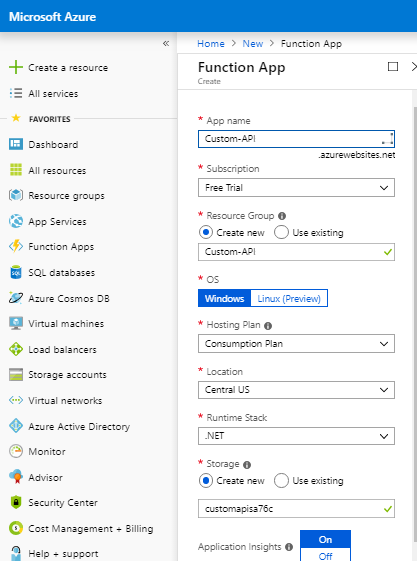
Login to Azure Portal  and click on "Create a Resource". Select "Serverless Function App".

Provide a name to Azure function app and other details. Here it is "Custom-API**"**. Click on Create. It will take a while to create a Azure Function App.
Create HttpTrigger Function
Open the Azure function app created. Click on the plus symbol, select HttpTrigger. Select Anonymous as Authorization level & Click on** Create**.
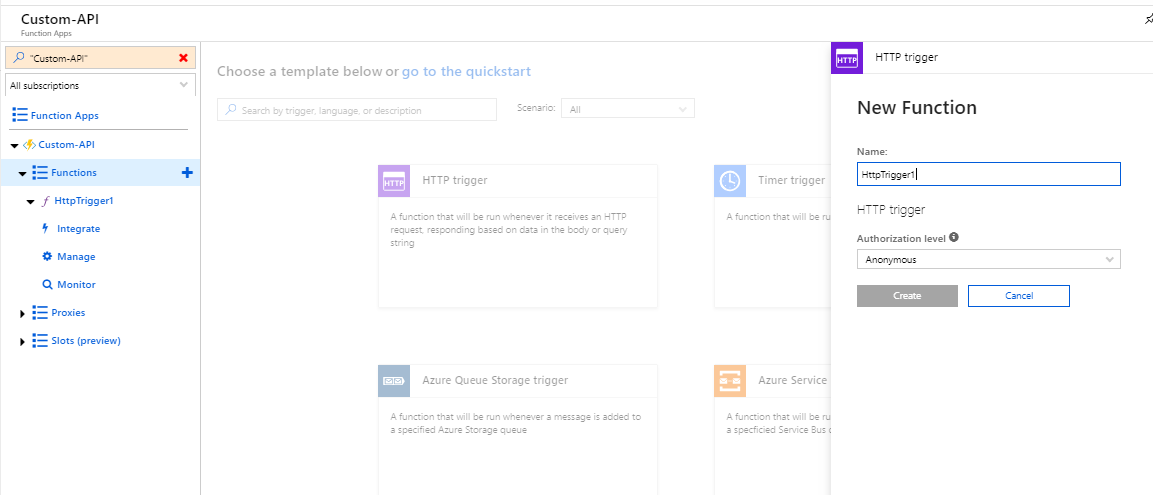
On successful creation of function, a default set of code should appear. The reason for making the authorization level as Anonymous as we will make it secure with Azure AD authorization access.
Copy & Replace the below code with the pre-defined one in run.csx file. Click Save.
#r "Newtonsoft.Json"
using System.Net;
using System.Text;
using Newtonsoft.Json;

public static async Task<HttpResponseMessage> Run(HttpRequestMessage req, TraceWriter log)
{

    Employee employee=new Employee
        {FirstName = "Ramakrishnan",
        LastName = "Raman"};
    var json = JsonConvert.SerializeObject(employee, Formatting.Indented);

    return new HttpResponseMessage(HttpStatusCode.OK)
    {
        Content = new StringContent(json, Encoding.UTF8, "application/json")

    };
}

public class Employee
{
    public string FirstName { get; set; }
    public string LastName { get; set; }
}
Note: The above code is just an example, which returns an employee name. This can be any API which return a value.
Click on "Get Function URL" and copy\save it as it is required in upcoming steps. Refer below screen shot.

Secure API with Azure AD
Select the Azure function app created in previous step and click on Authentication/Authorization link present under Platform feature.
Enable App Service Authentication and select "Login with Azure active directory", performing this will result in blocking of anonymous calls the custom api created.
Further select Azure active directory from the list of Authentication providers.
A re-direction to Azure active directory settings slide should occur. Upon re-direction, select Express as the management mode & select Create new AD App on secondary management mode.
Click OK and Save the settings.

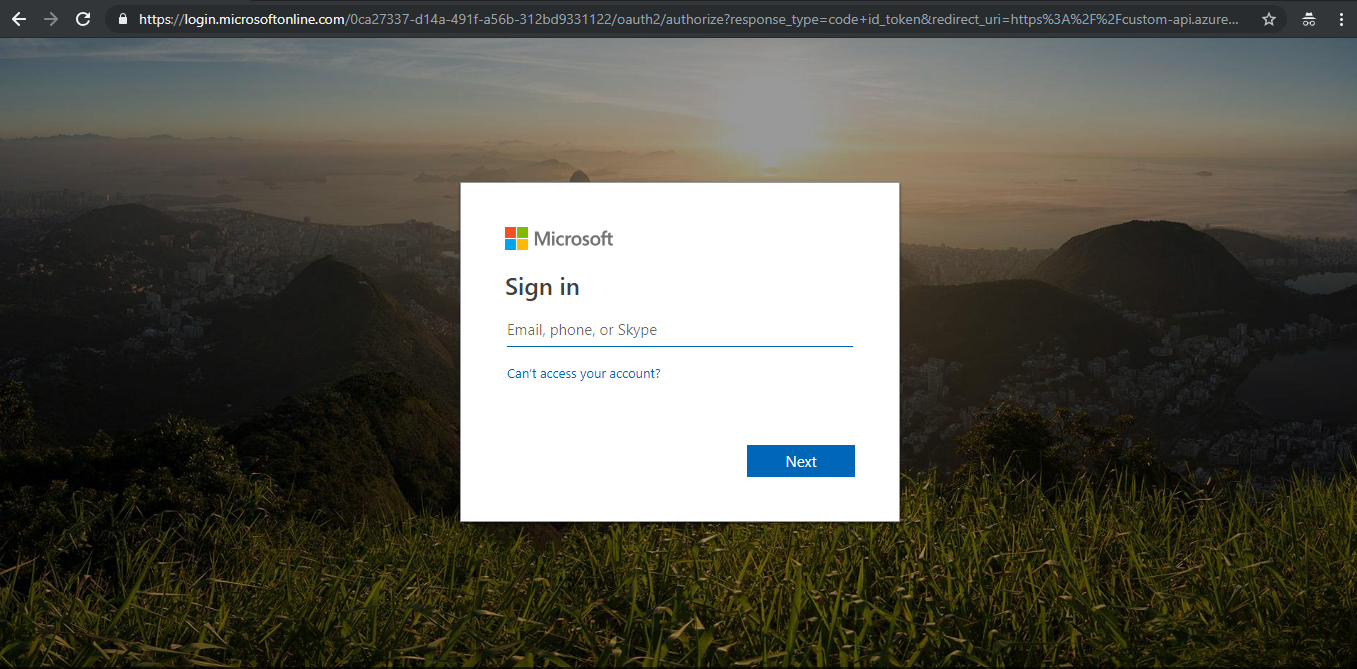
To check if the API is secured successfully, try to access API by accessing the link copied in previous step. If the API is secured successfully, users should be redirected to Azure AD login page.
Get Azure AD App ID & Enable CORS
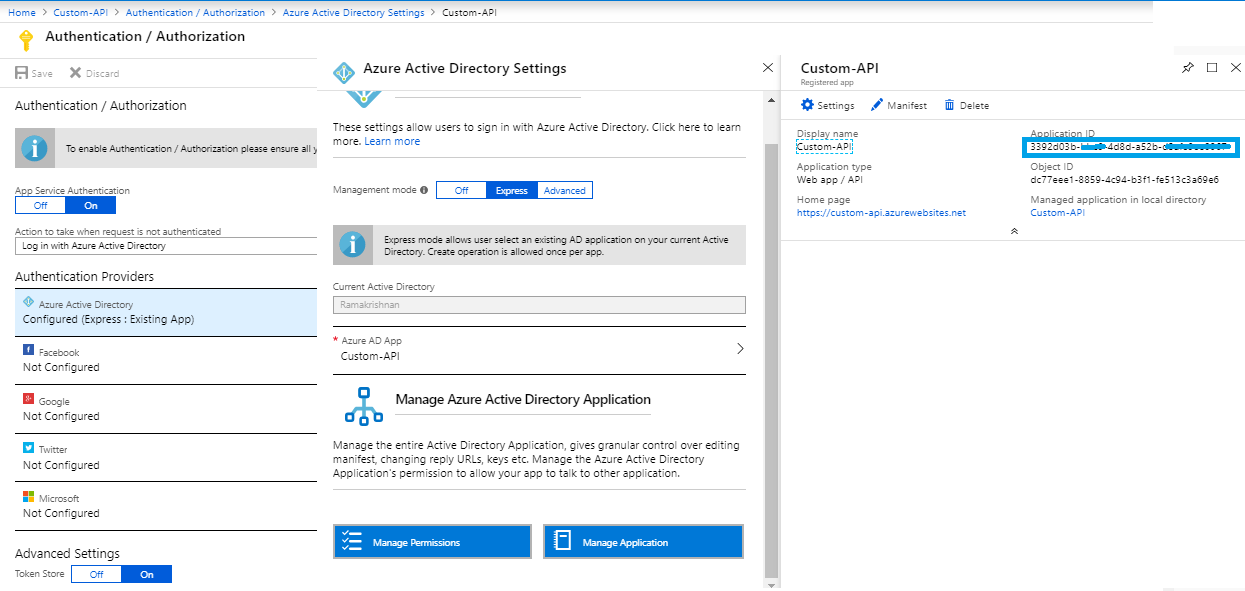
Click on the Azure function app, navigate to Authentication link under Overview tab. Click on Authentication.
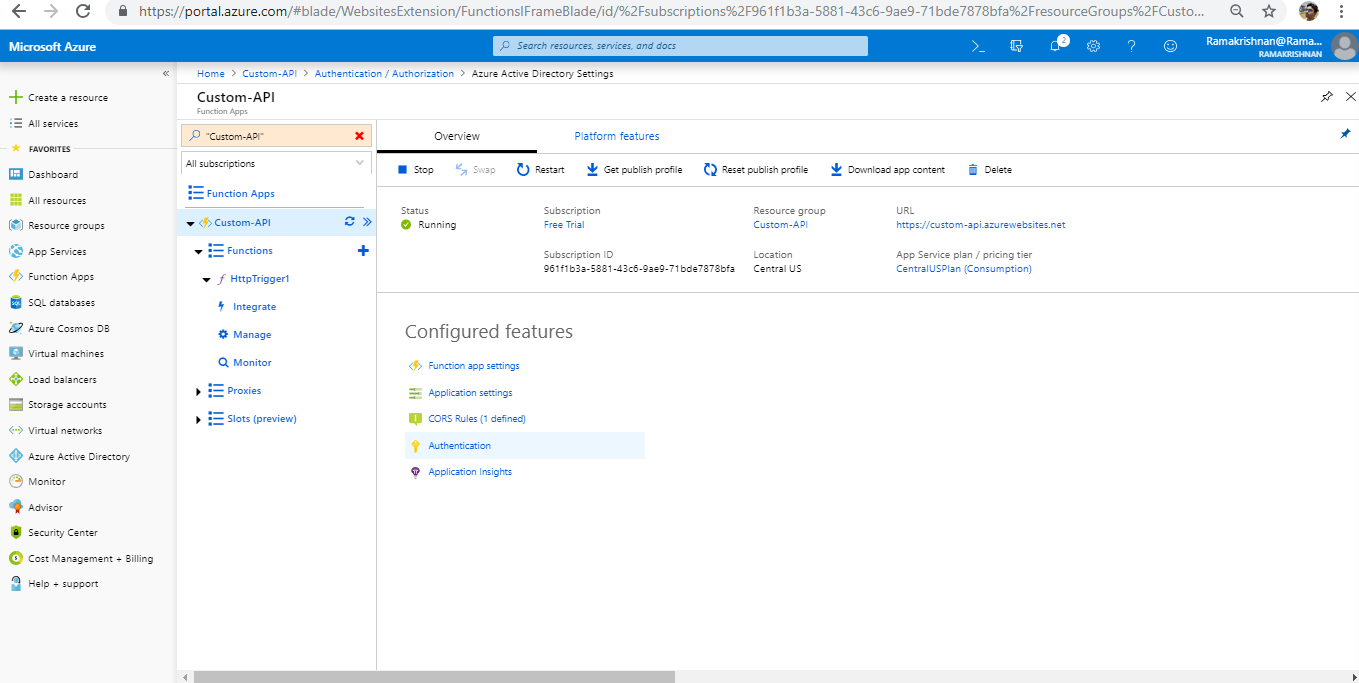
Select Azure Active Directory & Click on Manage Application. Make note the Application ID (Client ID).
Create a SPFx webpart to call Custom API
Create SPFx web part
Kindly refer this article to know the pre-requisite for creating SPFx web part. Also note that, the SPFx version should be 1.6 to utilize the AADhttpClient (Consume AAD secured API).
1. Open Windows Powershell.
* Note: If SPFx solution already exists and only web part needs to be added to an existing solution, then directly jump to Point 5.
*
2. Create a folder inside a directory by entering the below command, here for example
md SPFxAADCustomAPI
- Go Inside the folder by entering the command
cd SPFxAADCustomAPI
4. Create a web part by entering below command
yo @microsoft/sharepoint
**
**
Specify the following :
- Solution Name - SPFxAADCustomAPI** **
- Target - SharePoint Online only
- File Location - Use the current folder
- Allow tenant admin to deploy the solution to all Site Immediately without running any feature deployment or adding apps in sites - Yes
- Which client -side component- Web part
- WebpartName - SPFxAADCustomAPI
- A description - SPFxAADCustomAPI Description
- Framework- No Javascript framework

- Once the project is created open it in Visual Studio Code using the below command.
code .
Call API using AADHTTPClient
6. Open the package-solution.json file present under config folder.
Add the below key value under solution file.
"webApiPermissionRequests": [
      {
        "resource": "Custom-API",
        "scope": "user_impersonation"
      }
    ]
Here by specifying the resource as name of Application API and scope as user_impersonation as API is secured with Azure AD.
- Replace the existing UI present in the render function of SPFxAADCustomAPI.ts located under Solution -> src -> webparts .
private userName: String;

  public render(): void {
    this.context.aadHttpClientFactory
    .getClient('3392d03b-bbe9-4d8d-a52b-dxxxxxxxxxx7')
    .then((client: AadHttpClient): void => {
      client
      .get('https://custom-api.azurewebsites.net/api/HttpTrigger1?code=1PfBUkFRK19pJOnZfp96aR8oGHhMRLUnsNjzOdzWDvPuUgzj2aSWCA==', AadHttpClient.configurations.v1)
      .then((res: HttpClientResponse): void => {
        res.json().then(json => {
          console.log(json.FirstName);
          this.userName = json.FirstName + " " + json.LastName;
          this.domElement.innerHTML = `
          <div class="${ styles.spFxAadCustomApi }">
            <div class="${ styles.container }">
              <div class="${ styles.row }">
                <div class="${ styles.column }">
                  <span class="${ styles.title }">Welcome to SharePoint!</span>
                  <p>Hello ${this.userName}</p>
                </div>
              </div>
            </div>
          </div>`;
        });
      });
    }, err => console.log(err));


  }
here in the above code, we get the client access token by passing Application ID (noted in the previous section) to the AadHttpClient and after receiving, we make call to our custom API to retrieve the employee name in this case.
Package the solution & upload to app catalog
- Build the package by running the below command in windows powershell and to check if there is no error.
gulp build
- Run the below command to generate script required to run the webpart.
gulp bundle
- Run the below command to create the solution package under SharePoint\Solution folder
gulp package-solution
11. Upload the **sp-fx-aad-custom-api.sppkg **package present under Project > SharePoint > Solution, to app catalog.
As soon as the package is uploaded, following message stating that the webpart needs Custom-API & user_impersonation permission which needs to be reviewed and approved by tenant admin.
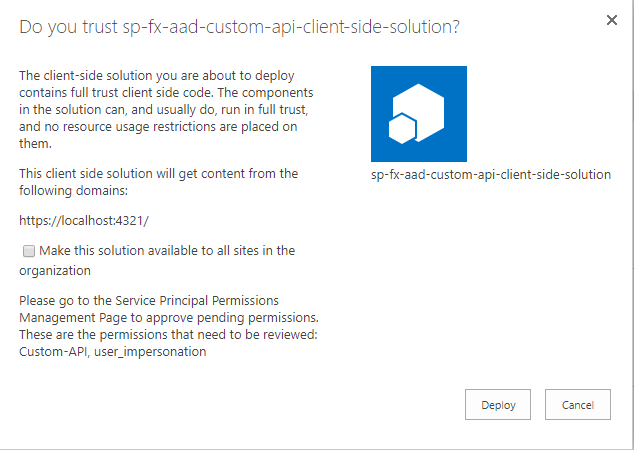
- Click on Deploy and check the column App Package error message if the package was deployed without any issues.
Grant Permission to Access MS Graph Resources
13. Go to SharePoint Admin Center (https://<<yourdomain>>-admin.sharepoint.com), click on the "Try the Preview" if it is a classic mode. Navigate to API Management. Register the Application by approving the requested resource.

Important : Above activity can be performed by Global admin. Once approve, any custom script in the tenant can consume this resource.
To know more on what happens behind the scene when a tenant admin approves a request, check this article
Conclusion
Once the Add-in\App is added to the desired site collection & this SPFx webpart is added to a page, the employee name received via AAD secured API is printed(greeted) in the webpart. see below screen shot of the webpart & API response received.

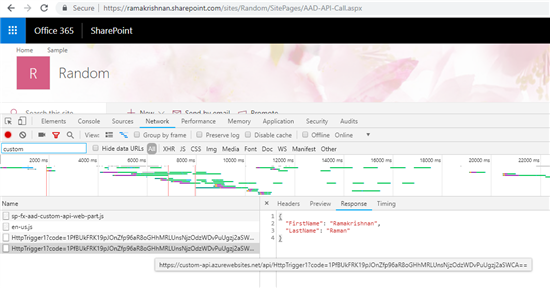
Thus in this article, we have seen how to consume AAD secured API in SharePoint Framework Solutions.