Windows 10:How to configure Speech Recognition
Introduction:
Speech Recognition allows you to control your PC with your voice alone. You don’t need a keyboard or mouse. Configuring Speech Recognition in Windows 10 version 1809 is simple. In this wiki article, it will be discussed on how to configure it.
Steps to follow:
- Plug in your Microphone to your system. If you are using a desktop PC then plug into the rear audio (mic) port.
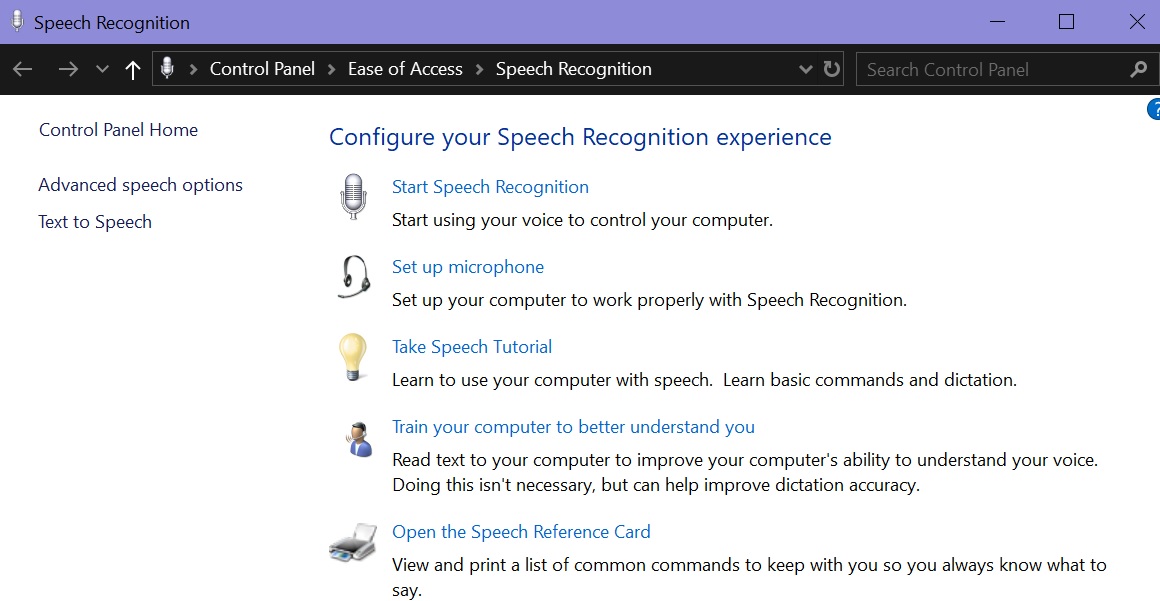
- Open Control Panel in Category view.
- Click Ease of Access.
- Select Speech Recognition.
- Select Set up Speech Recognition.
- Select the Headset Microphone.
- Make sure that the Microphone is properly placed. Keep the following things in mind:
- The Microphone should be positioned about an inch away from the mouth.
- * Make sure the mute button is off.*
- Do not breath as that will interfere with Speech Recognition.
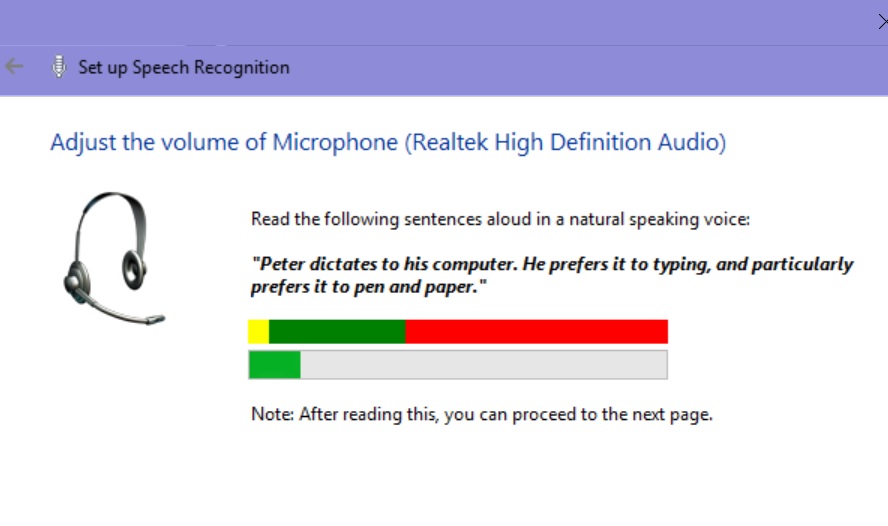
- You have to read the sentences shown on screen and have to adjust volume accordingly. So that the reading will be clear, loud and distinct.
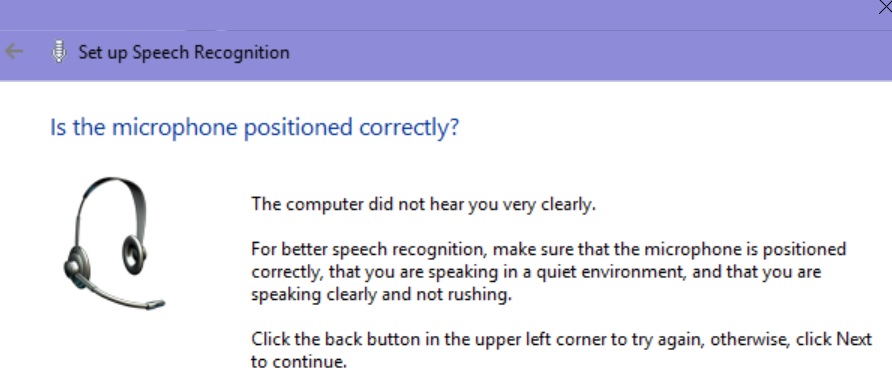
- If the Microphone is not properly placed it will ask you to repeat the speech.
- If you like you can allow your PC to review documents and email in your Search index.
Choose an Activation Mode:
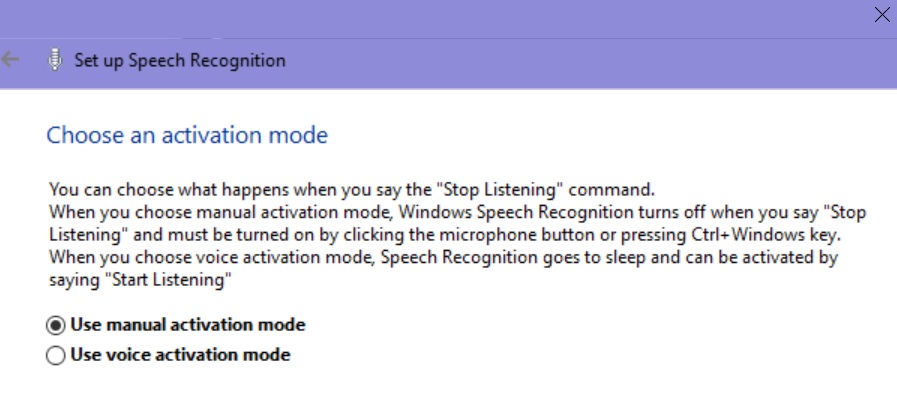
- Activation modes may be manual or voice activation mode.
- If you select manual activation mode, speech recognition can be turned by clicking on the microphone button or pressing the Ctrl+Windows key. If you like to turn off then say "Stop Listening". In voice activation mode, speech recognition goes to sleep and can be started just by saying “Start Listening.”
- For a hassle-free Speech Recognition you can print out the Windows Speech Recognition commands.
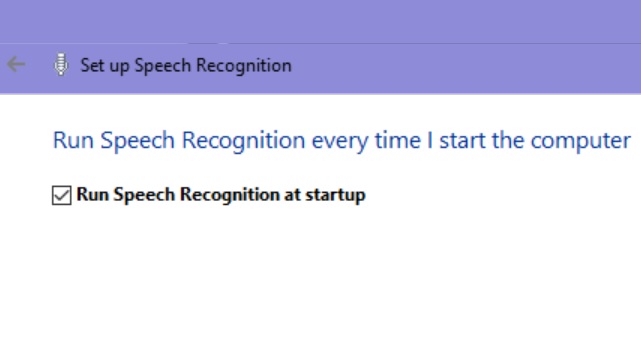
- If you like to run Speech Recognition every time you start computer then put a check against Run Speech Recognition at Start Up.
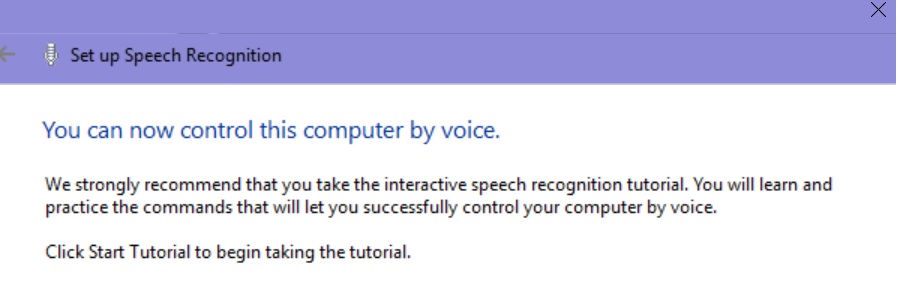
- You are all set to use Speech Recognition in Windows 10 version 1809.
See Also:
