Windows 10: Set up a PC as a kiosk
Introduction:
Along with Windows 10 version 1809 Microsoft has introduced access configuration, which allows device administrators to easily set up a PC as a kiosk or digital sign. The simple step by step mode takes the user to create a kiosk account that will automatically sign in when he starts his system.
Step by Step Instructions:
- Open Settings
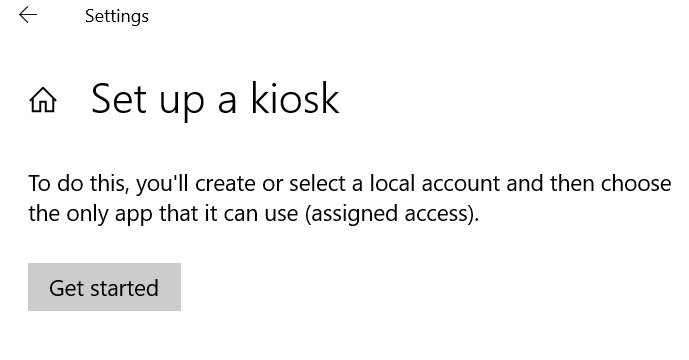
- In the Search box under Settings type Kiosk or,assigned access. In fact, when a user will start writing assigned then Set up a kiosk (assigned access) option will appear automatically.
- Select it.
- Click Get Started under Set up a kiosk.
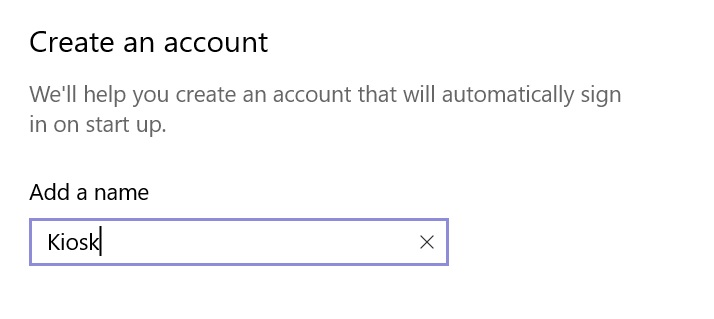
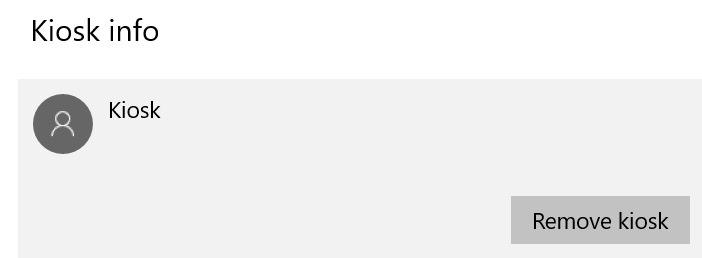
- Create an account that will automatically sign in on startup.
- Add a name eg. Kiosk
- Click Next to continue.
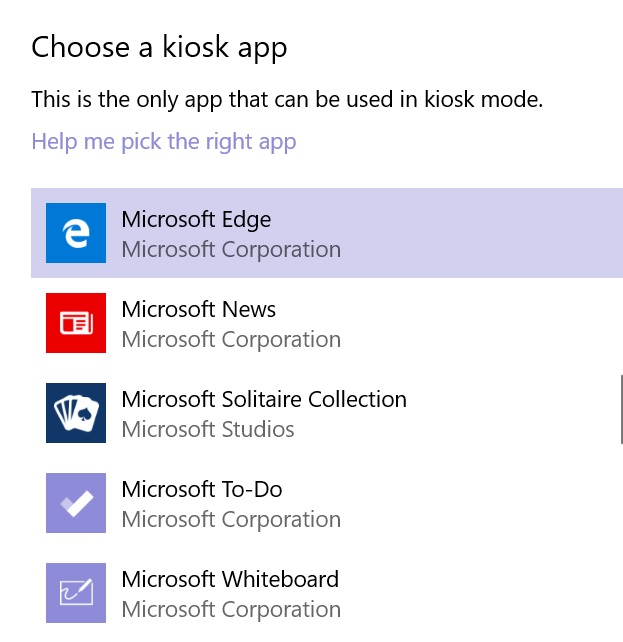
- Select Microsoft Edge as a kiosk app.
- Click Next.
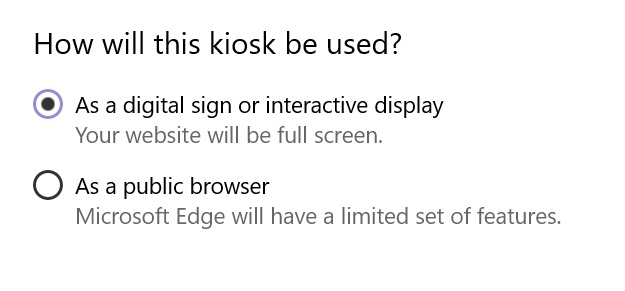
- The single-app Microsoft Edge kiosk mode types include:
- Digital / Interactive signage devices: A specific site in full-screen mode that runs InPrivate browsing mode.
- As a public browser: It is publicly accessible and run a limited multi-tab version of InPrivate browsing in Microsoft Edge.
- The multi-app Microsoft Edge kiosk mode types include:
- Public browsing devices are publicly accessible and runs a multi-tab version of InPrivate browsing mode with limited functionality.
2. Normal mode devices run a full-featured version of Microsoft Edge
- Select As a digital sign or interactive display.
- Click Next.
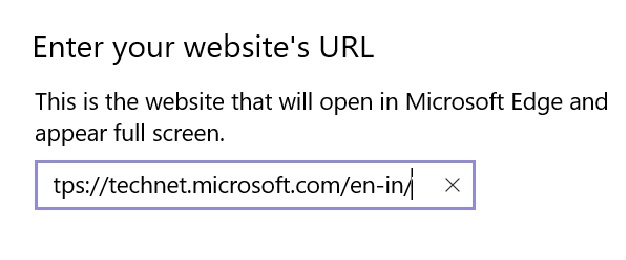
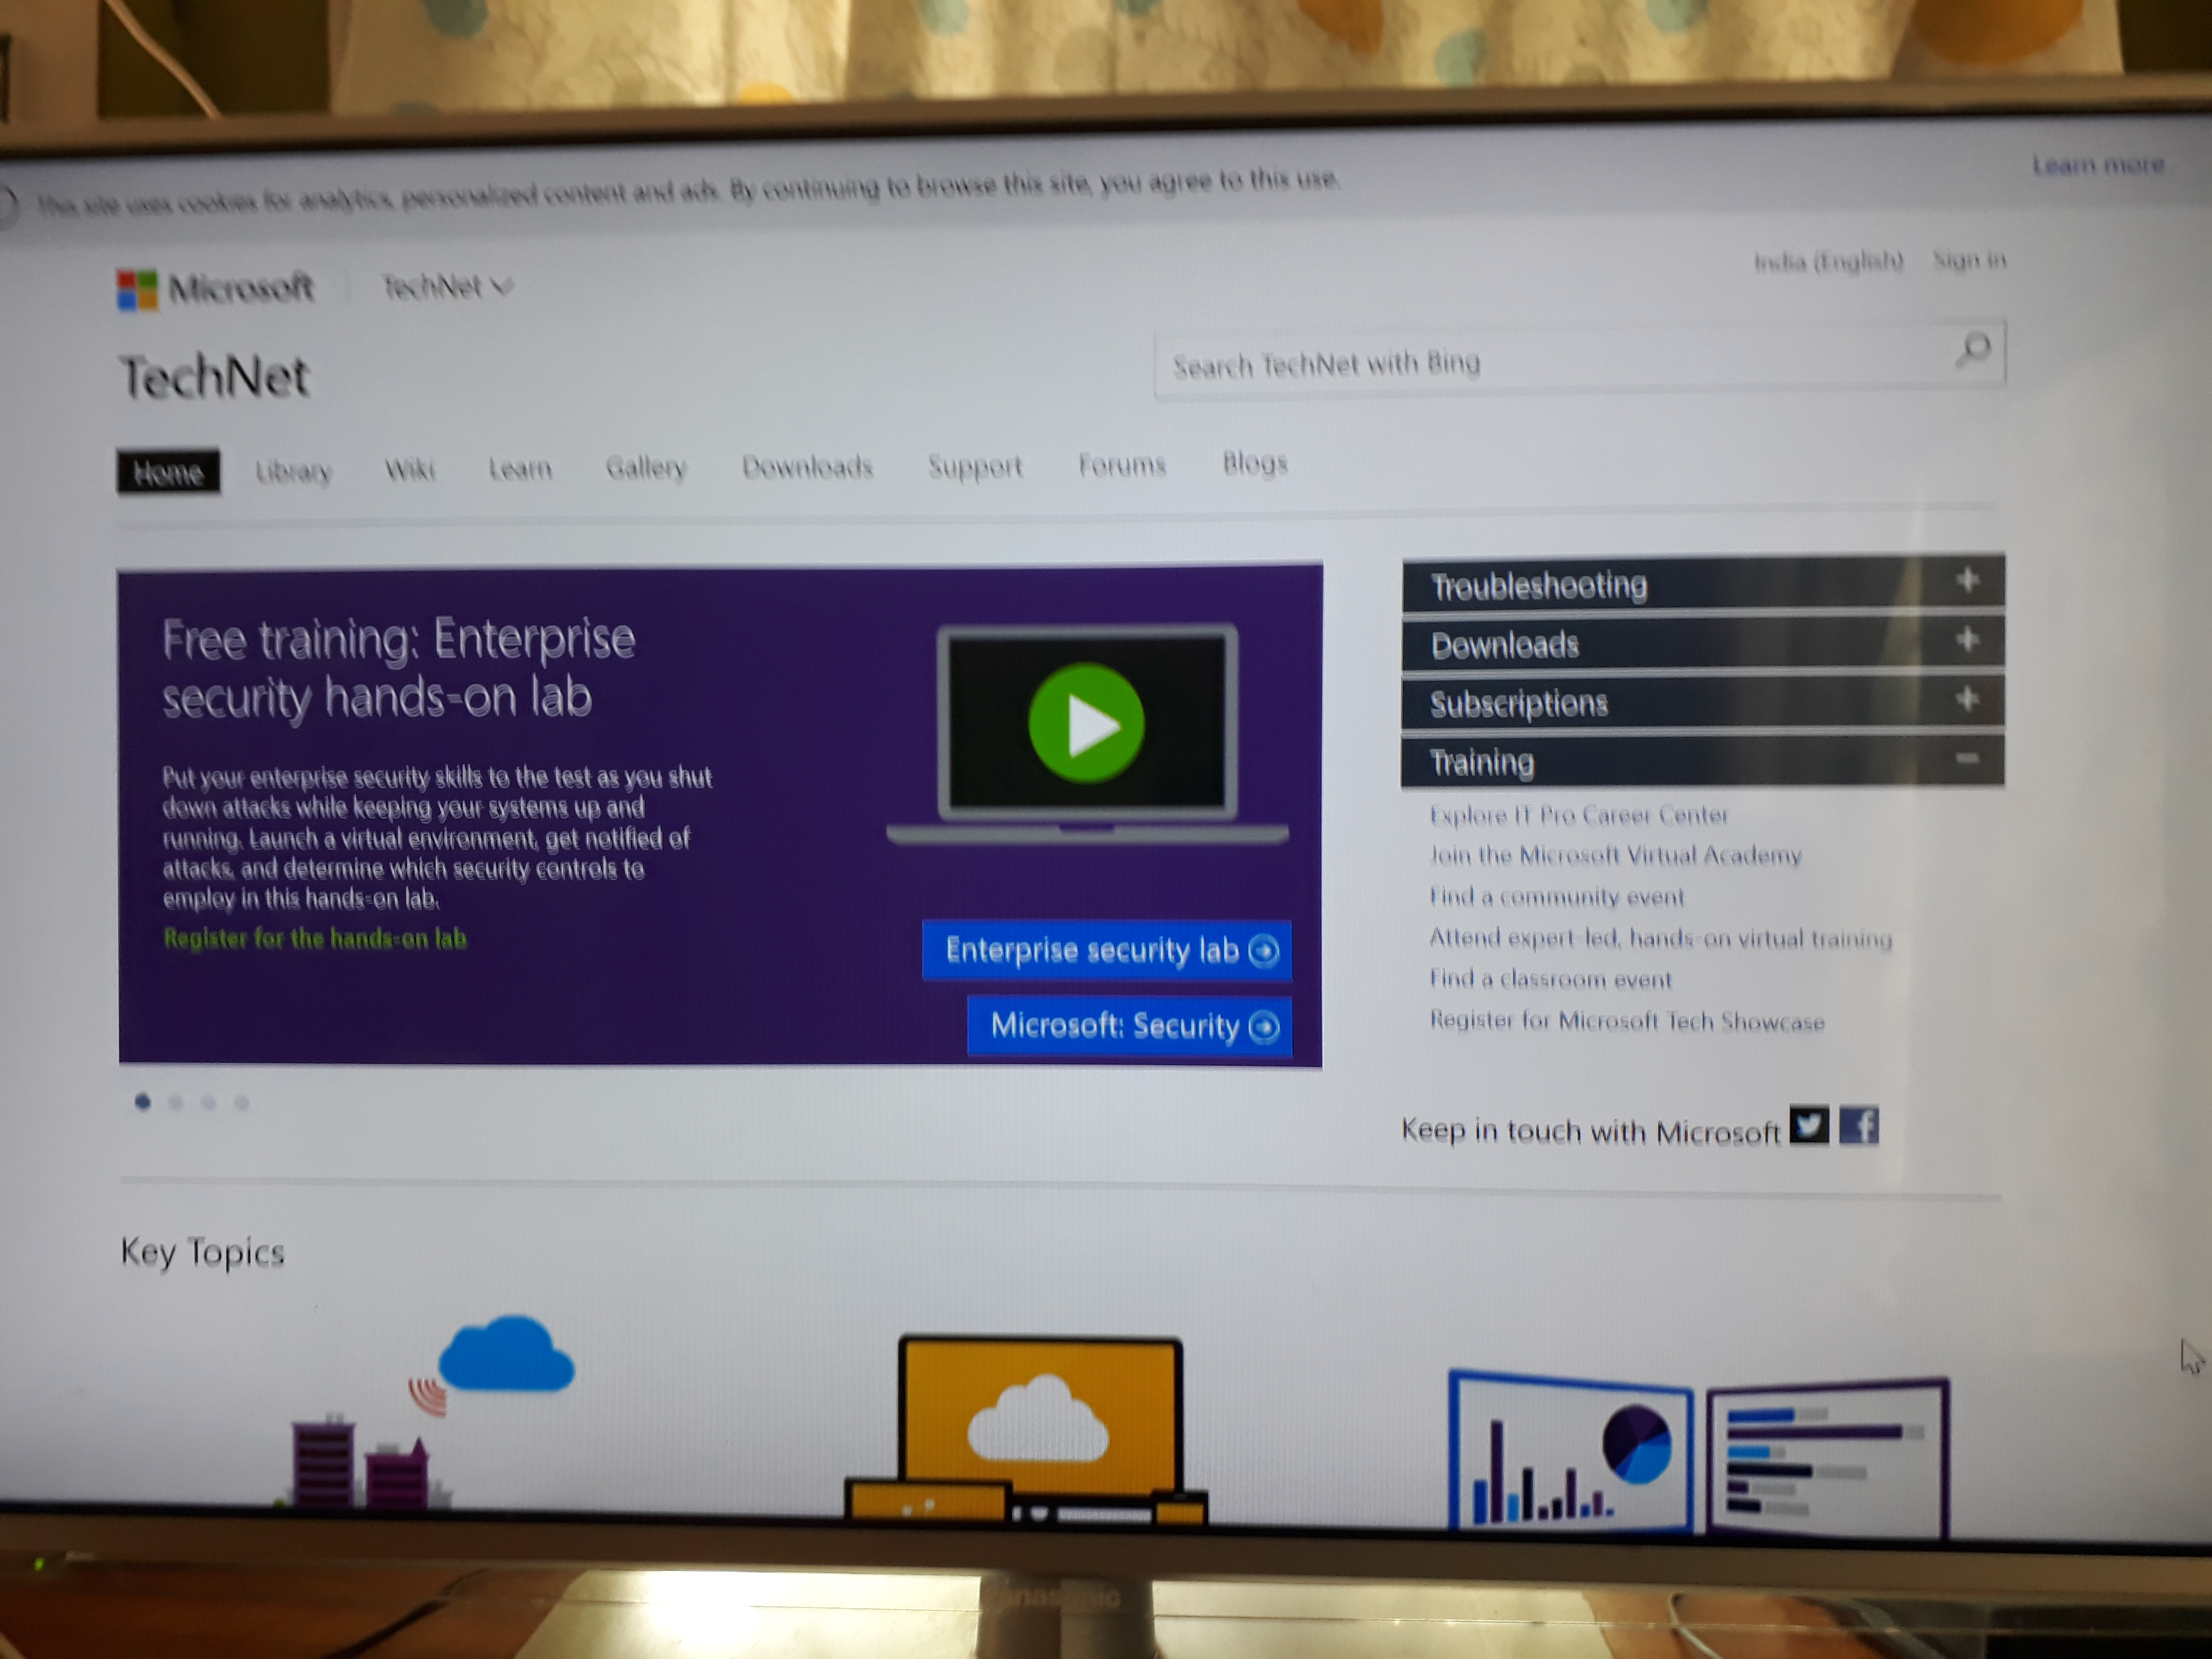
- Put the URL name in the box.
- Click Next.
- A pop-up message will appear “You’re done!”
How to launch:
- Click on your Accounts name
- Select Kiosk
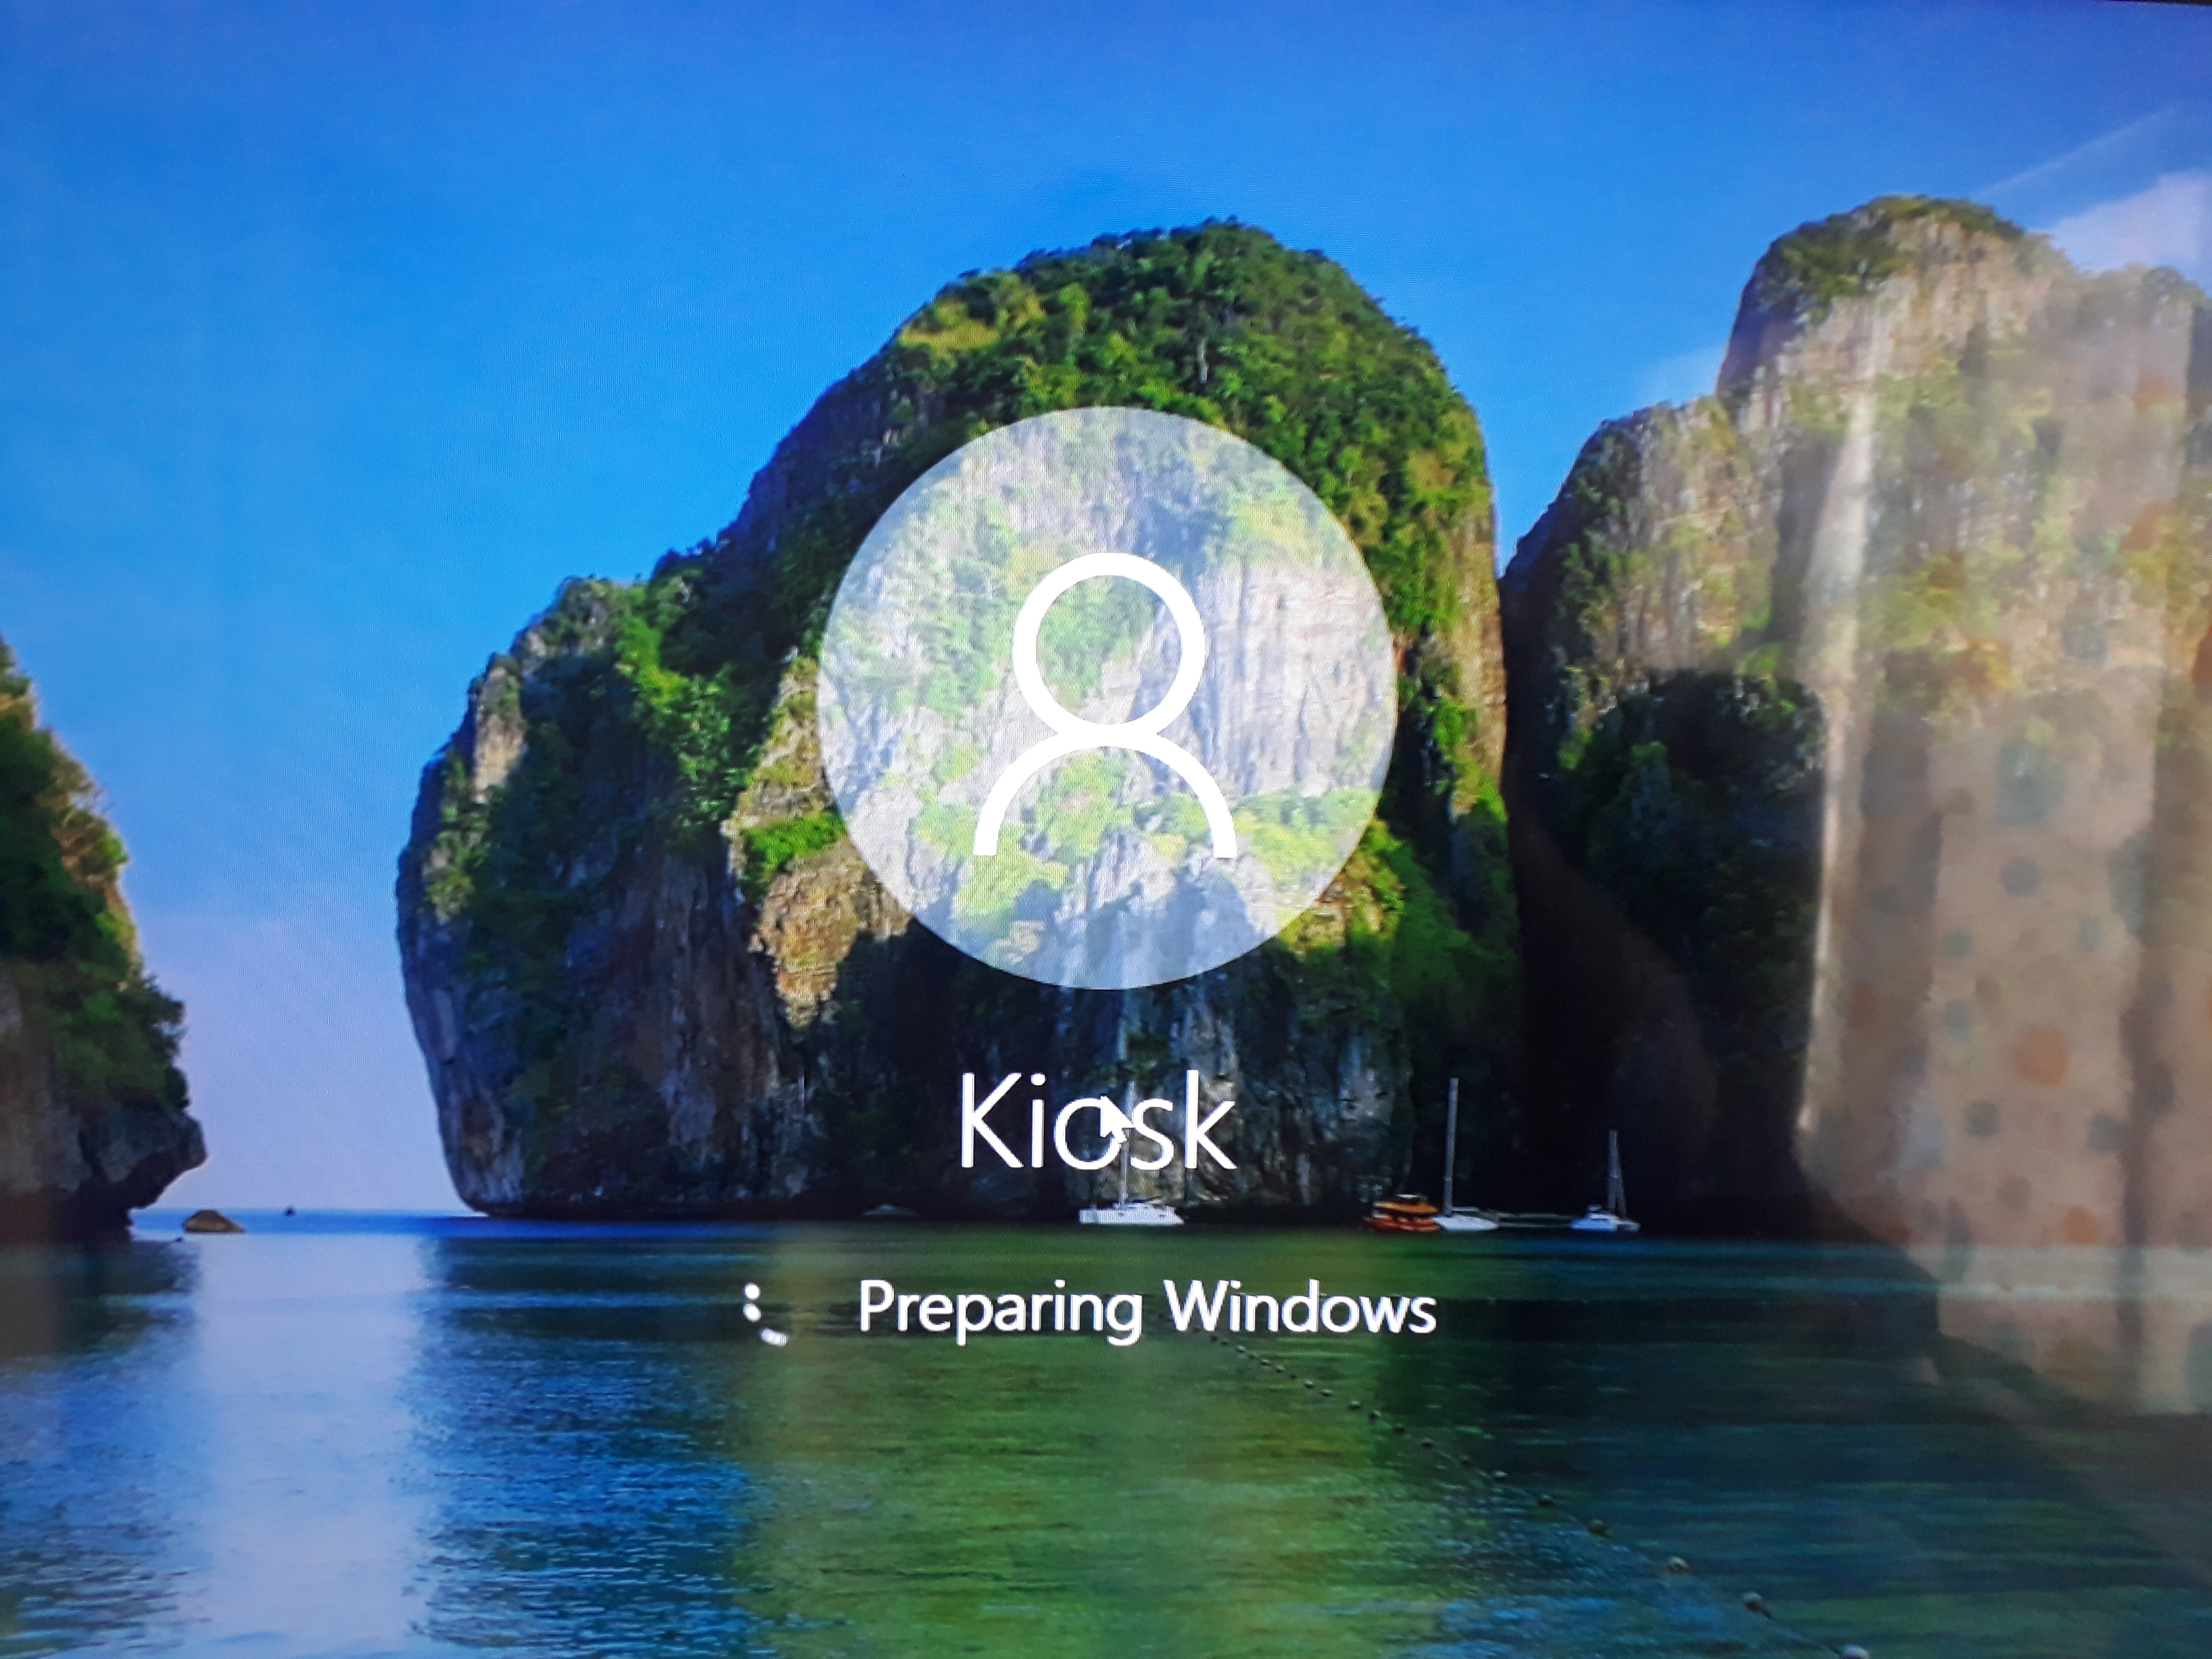
- Sign in to Kiosk mode.
- If you like to go back to your default Microsoft Account:
Press CTRL+ALT+DEL keys to exit Kiosk mode.
See Also:
What's new in Windows 10, version 1809 for IT Pros

