Microsoft Photos: How To Trim A Video Clip
Introduction:
Microsoft Photos is a part of Windows 10 ( Version 15063.0 and above;launched with Fall Creators Update). With Microsoft Photos we can organize, edit and share our memories. Movie making is easy, we can pick a theme, pick a soundtrack, add text or sub-titles, add filter or 3D effect or, automatically generate a movie with one click. Our story telling becomes so vivid with Microsoft Photos. But as usual nothing becomes final if we don't remove the unnecessary scene during shooting a video. In this WiKi article we will discuss how to trim a video.
What is Trimming?
This is a process by which you can remove the unwanted content at the beginning or end of the clip, or both.
How To:
- Select any video clip with .mp4, .mkv, .avi, .mov, MPEG, mpg, mts,.wmv or .3gp extension.
- The following video extensions are not supported: vob,flv,webm.
- Right click and choose to Open with Microsoft Photos.
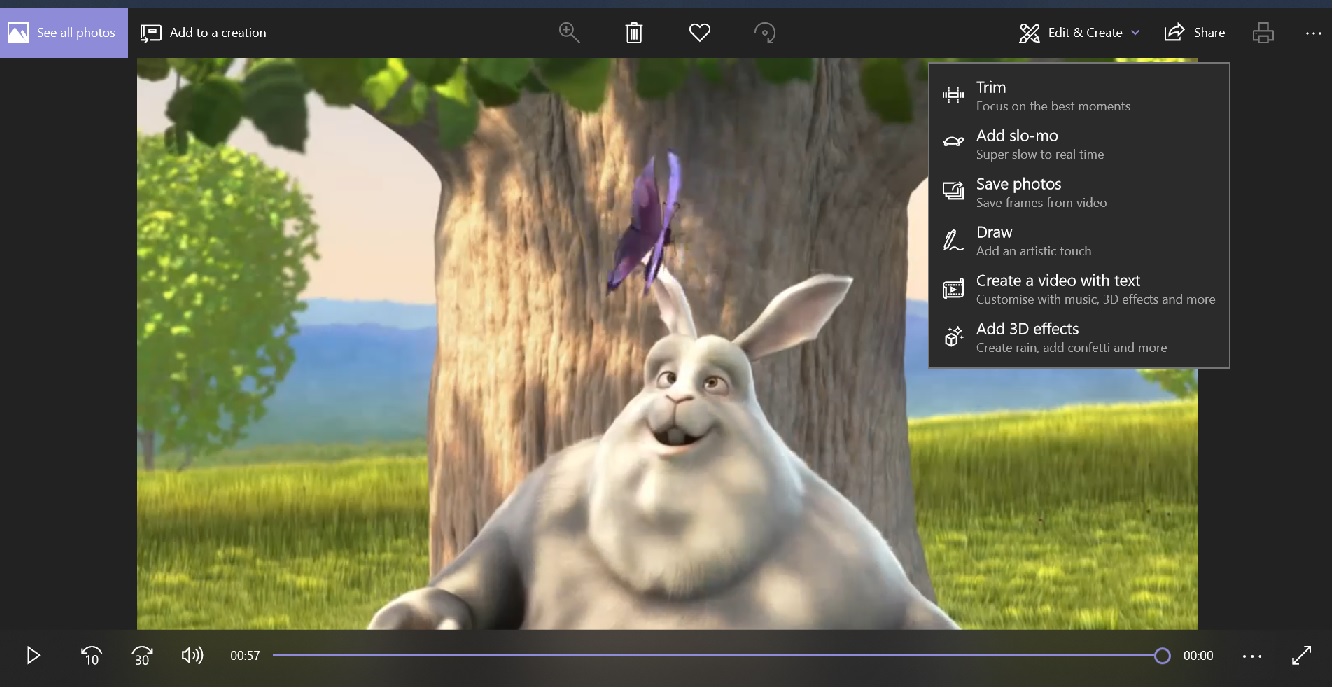
- Click Edit & Create
- Click Trim.
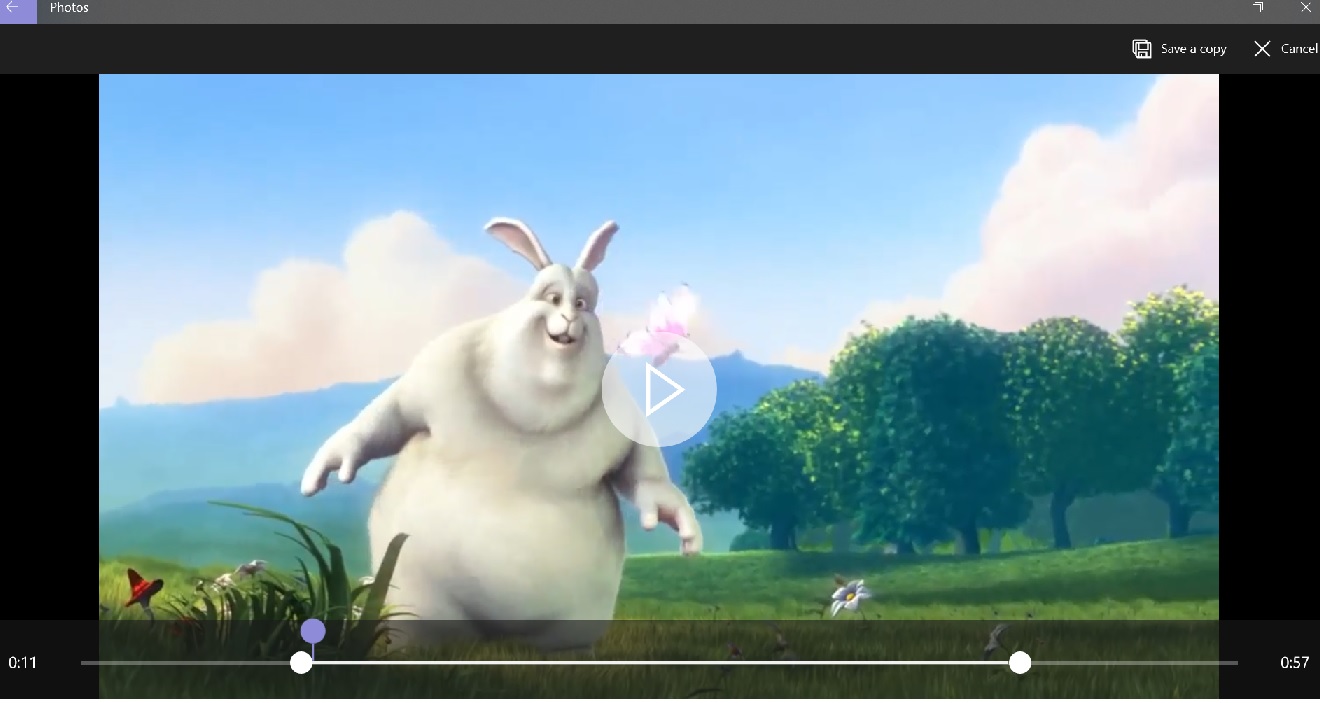
- Set the Starting Point and End Point on Timeline of the video. This will help to remove the unwanted portion of the video clip.
- Click Save a Copy.
- By default, it will be saved as a .mp4 extension to Pictures Folder.


