SQL Server Troubleshooting: Database corruption & recovery simulation
Introduction
Quite often DBA's need a sample corrupt database to learn or play around but how often do you get such sample online?
There are few blogs which can provide you with sample corrupt database or backup file but not everybody may know about it. In such case would it not be nice to be able to corrupt your own test database.
This article would show you how you can corrupt a SQL Server database using Hex editor tool.
Test scenario
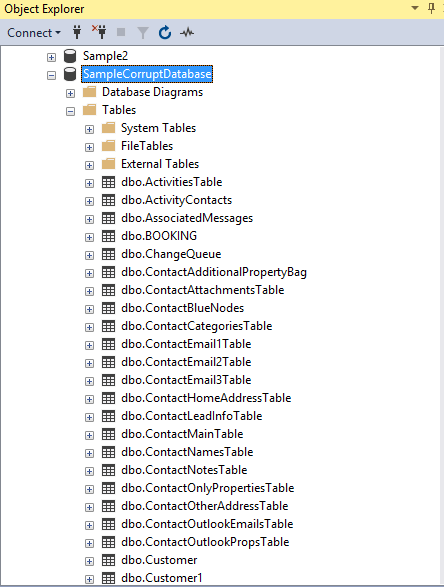
We have a SQL Server 2016 database named `SampleCorruptDatabase` on which the test would be performed. You can choose any database you like from your environment.
 Caution Caution |
|---|
| This test is for demo purpose and please do not perform this test on the production database. |
And ,
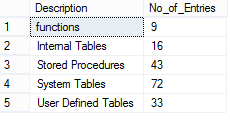
The database has the following count of objects
In the sample database, the table DBO.BOOKING looks like:
It can easily be seen that primary key clustered is defined on the booking ID. Now, it’s time to corrupt this database.
To start the process of corrupting the database the tool which can be used is Hex editor, it is the widely used and available as xvi32 Hex Editor. It is a great tool that you just need to download and run. In this, installation of the tool is not required as a user can directly run this tool on production environment safely. It will not change anything in the Windows registry. When you download and extract the software it looks like:
After that, right-click on XVI32 and select Run as Administrator
Now, we need to open the database in Hex editor. And, for the same you need to first take database offline from SSMS otherwise you would not be able to open it in Hex editor.
Get the MDF file location and extract it offline. The location of MDF file location is required to open it in the hex editor.
Sp_helpdb SampleCorruptDatabase
go
The above command will give you the location of MDF and LDF file locations. Now, go ahead and take database offline
alter database [SampleCorruptDatabase] set offline
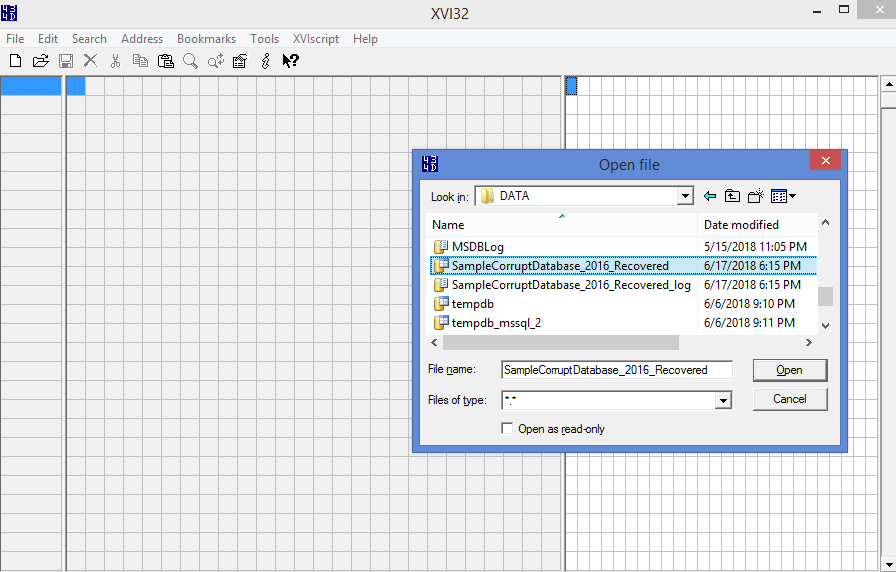
Now, go to Hex editor and click on File and open MDF file
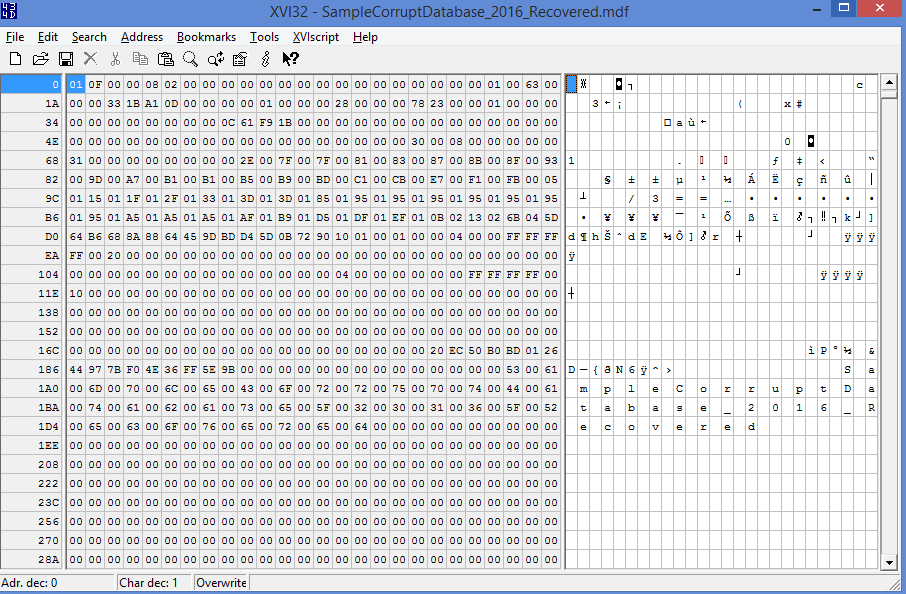
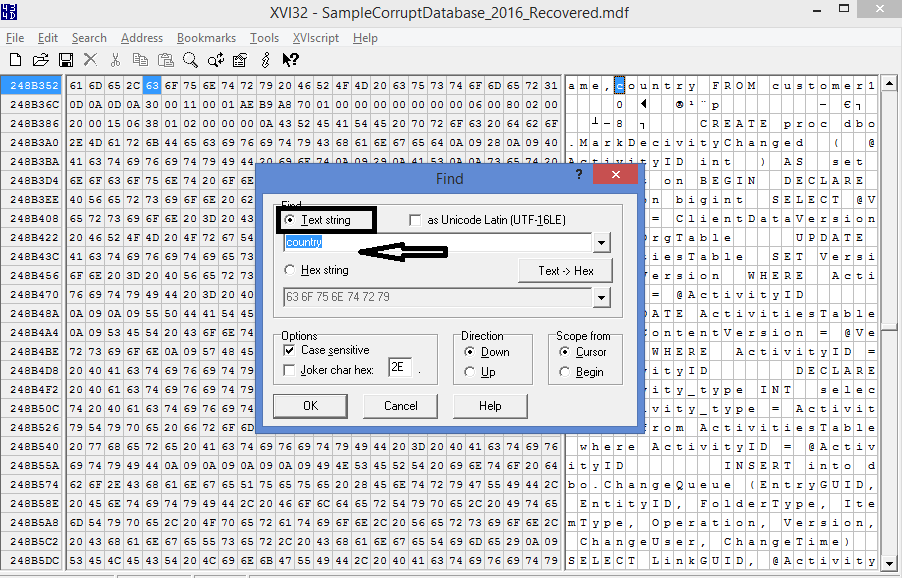
It start reading the MDF file and display something like below:
Now, click on the Search and Find box will pop-up. Select Text String and write Country >> click OK. You can search for any table name or column name in your test database.
Now, click on DELETE to physically delete something from the database. You can move keyboard arrows up and down and delete whatever you feel like. When you are done, click on the File and Save. It will corrupt the database and cannot be recovered because of lack of this information.
After that, go ahead and bring the database online
Let us see if we can use native TSQL commands to bring database online.
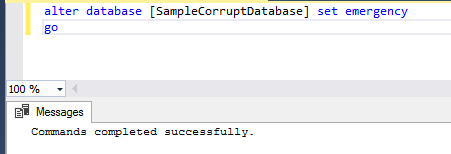
alter database  [SampleCorruptDatabase] set emergency
go
It works and commands complete successfully
Refresh the SSMS and see the database in emergency mode
When you try to open the database which is in emergency mode, you will get following message:
Now, you can also try to recover database by running checkdb repair_allow_data_loss. Let us try the same;
alter database  [SampleCorruptDatabase] set single_user
go
dbcc checkdb(N'SampleCorruptDatabase',repair_allow_data_loss)
This will fail again saying cannot rebuild the log.
Here, we are left with suspect database that cannot be opened. If you face such situation do not worry, SysTools Recovery software will help you.
Note
SysTools recovery Software team asked me to review there product as an MVP. I do not speak or represent SysTools recovery tool, if you have any questions it should be directed to them. This article tries to show to DBA's out there who does not have facility of expert recovery agent, are not able to get help/raise ticket from MS or for some who doe not have time to find the both and want quick recovery.
How Does SysTools SQL Database Repair Tool Help in Recovering Corruption in SQL Server?
We will first go ahead and download the trial version from the website and install it. You can purchase the full product from the website or by calling support numbers. Since SysTools asked me to review this product, I was provided with the full version. After successful installation, you will get an icon on your desktop.
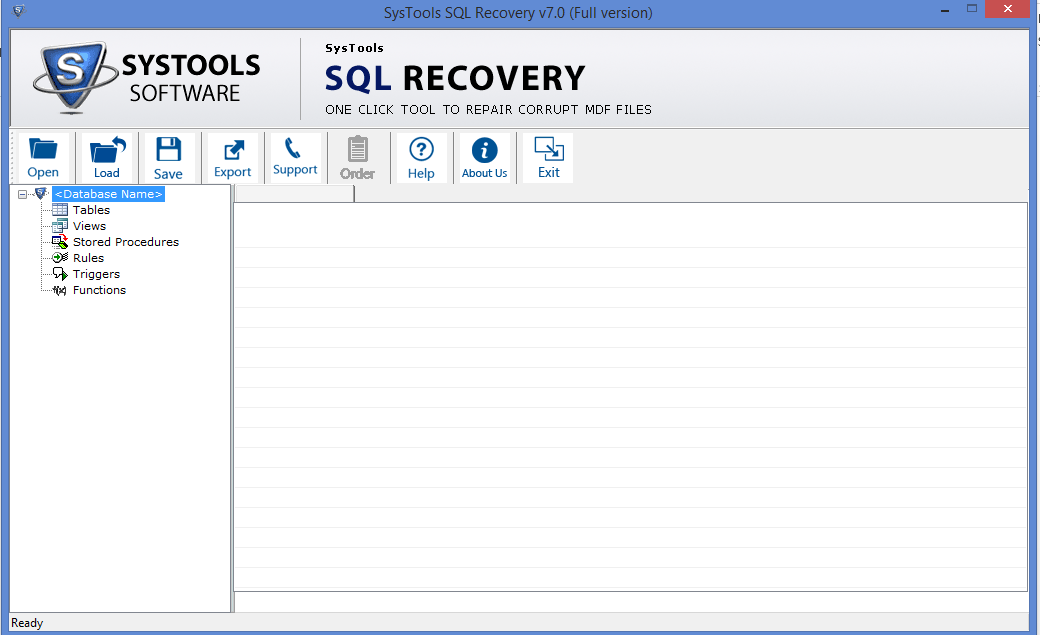
As you launch the application by clicking on the icon, the main screen of the tool would look like:
Now, to open the suspect MDF file, you need to first take it offline in SSMS. If you are unable to do so, make sure you put database back in the emergency mode and then it should go offline.
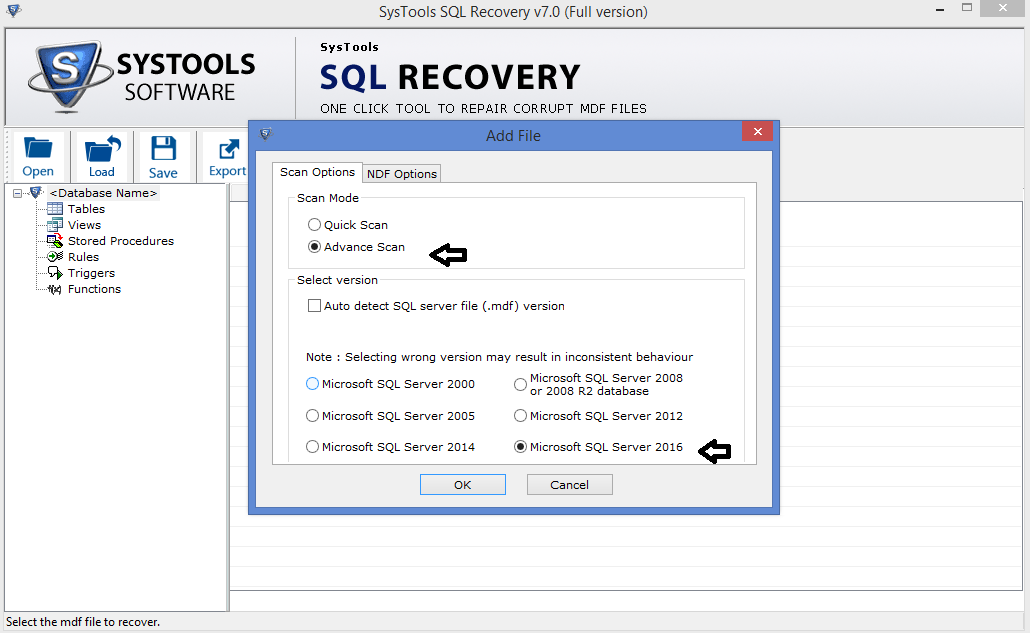
Next, to open MDF file, click on the Open button. Below window will pop up. Select Advance Scan option. Uncheck the Auto Detect SQL Server file option and manually select SQL Server 2016
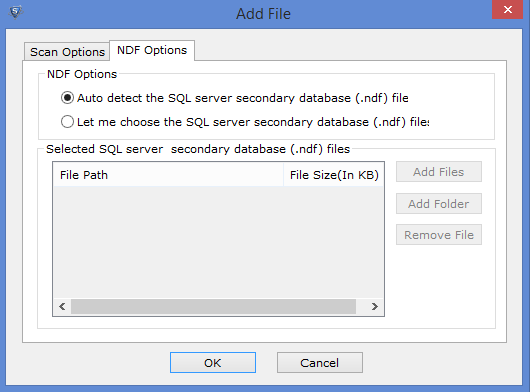
If the database has one or more NDF files, then click on the NDF Options tab. Here, you can either choose Auto detect feature or manually give location of NDF file. Then, click on the OK button
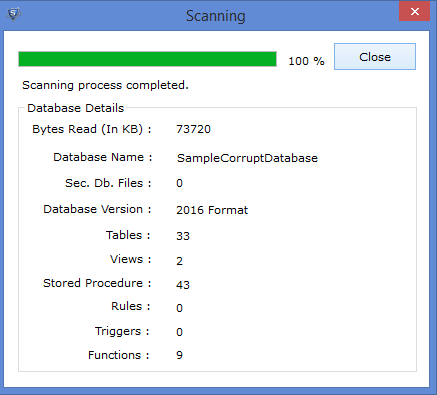
As you click on the OK button, the scanning process will start. When it is completed successfully, click on Close button. It will ask Would You like to save scanned file, you can give YES/NO depending on your requirement.
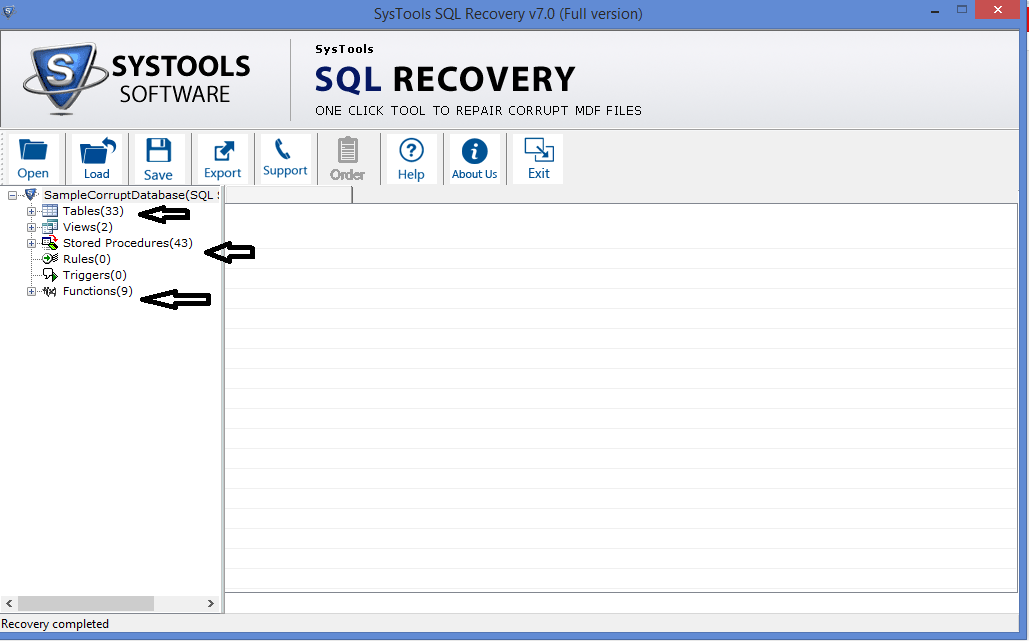
The software will list the recovered data in the left pane of the screen. You can see recovered tables, functions and views. You can expand each then and check all the recovered database objects.
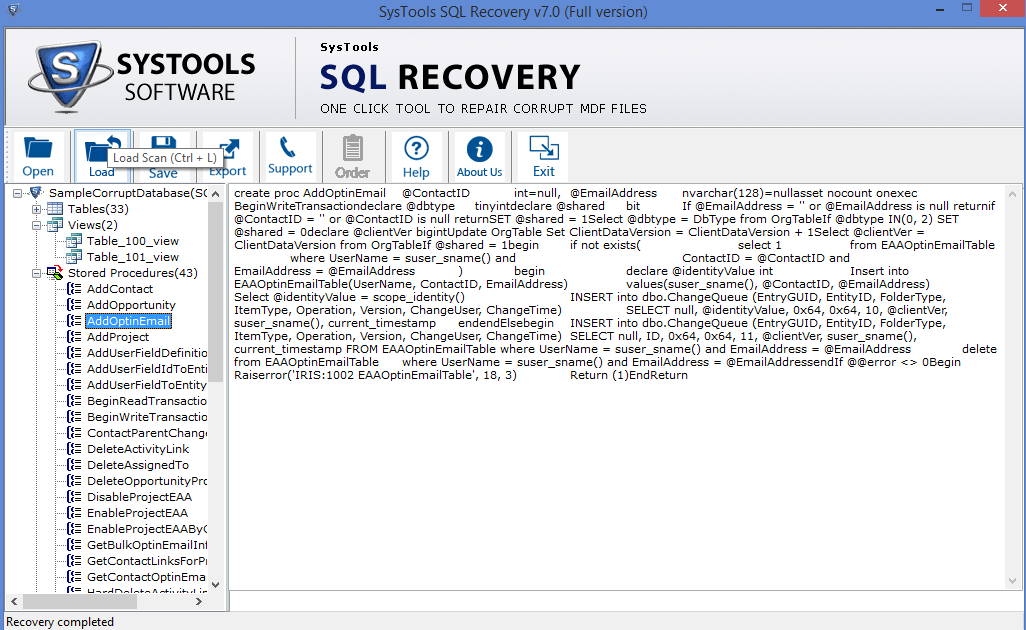
Click on any of the recovered object and you will get a preview of your recovered data:
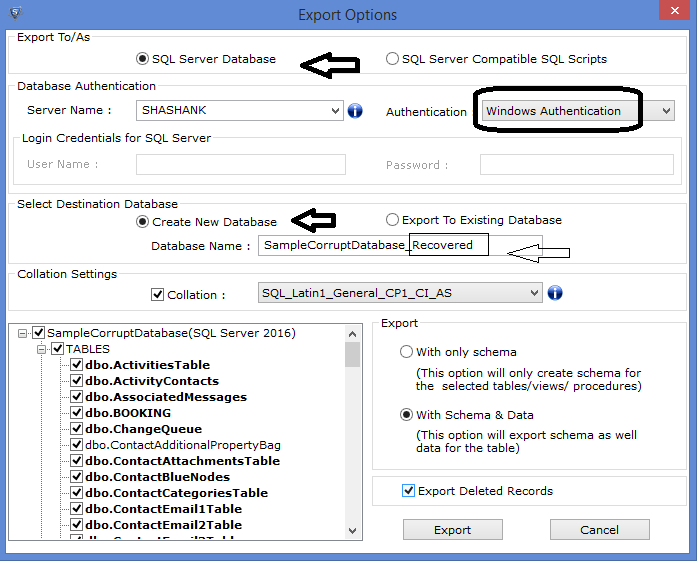
Now, you would like to quickly export it to your current SQL Server. For the same, click on Export option. You will see below screen
- We will export it as SQL Server database, you can choose SQL Script option also if you like.
- Choose the Authentication mode you will use to connect to the database.
- Create a new database on the instance and that database would be the <name of original database_recovered>.
- For export, select with Schema and Data option
- Click on Export button
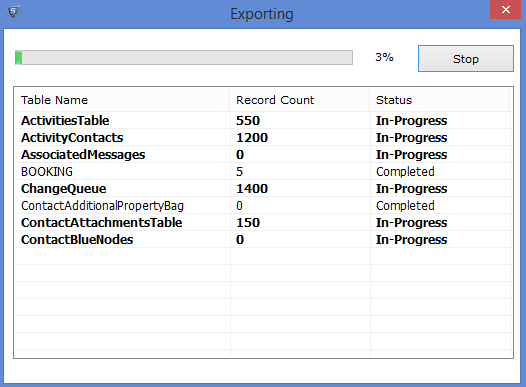
The software will begin the Export process.
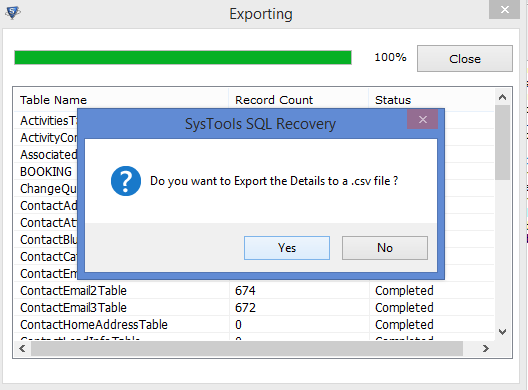
As the export process completed, it will ask you to save Export Details as .csv file. Choose desired option
Now, go to SQL Server instance and you would see database named SampleCorruptDatabase_Recovered.
You can access it and can see all the objects. To make sure it is corruption free, run DBCC CHECKDB.
Conclusion
We did experiment to make database corrupt and recover successfully by using SysTools SQL Recovery Tool. A wise selection is what all you need to make your SQL Server Database accessible. I hope this article shared some knowledge on corrupting a SQL Server database and then recovering the database from suspect state.

