SQL Server Alerts and Email Operator Notifications
Most of the administrators need proper notification and alerts from their critical Servers such as Database Server and DBs backup jobs free space & health alerts. This topic describes how to set notification options in SQL Server 2017 by using SQL Server Management Studio. I will walk through the step by step process of configuring mail and one sample alert for weekly schedule backup. You can use the same procedure for early release of SQL Server.
Database Mail
First setup database mail with a profile name which best suits to your Server Infrastructure. The profile can be named anything but in this configuration, I have used Any Name you can Choose. If you wish to use a different profile name just change this accordingly.
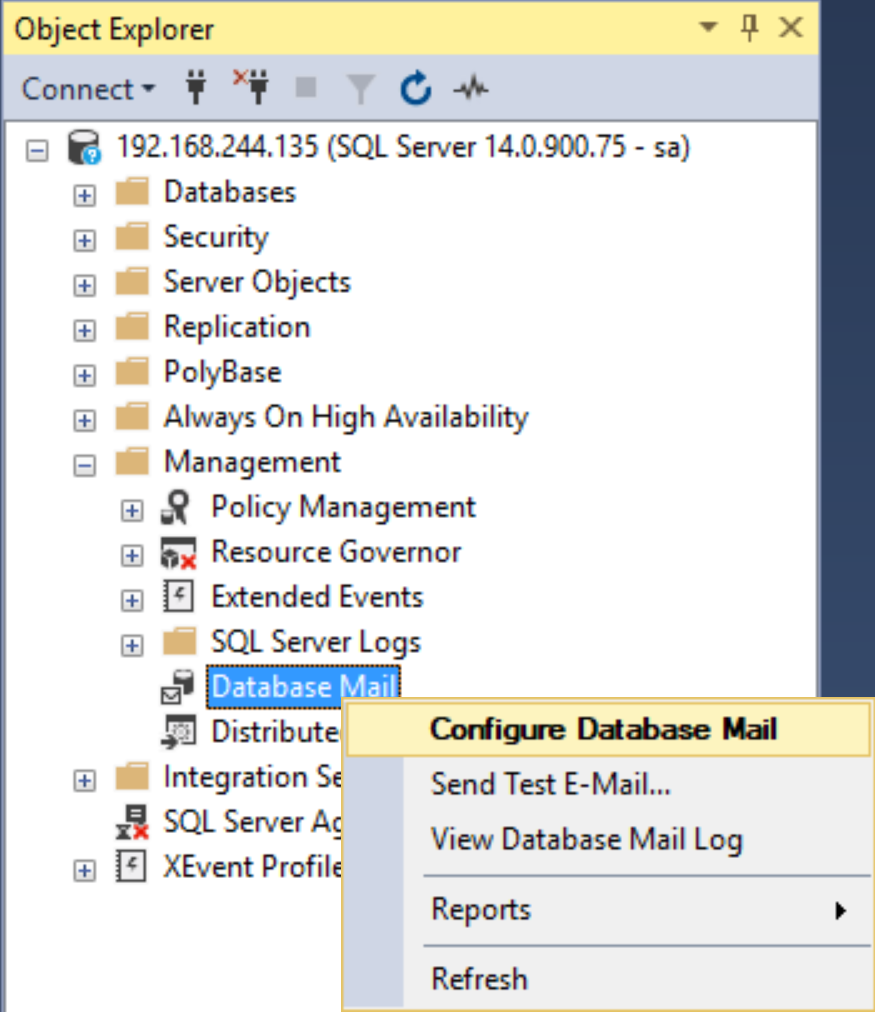
Go to SQL Server management console, under Management Folder Right Click on Database Mail.
Click on Configure Database Mail option
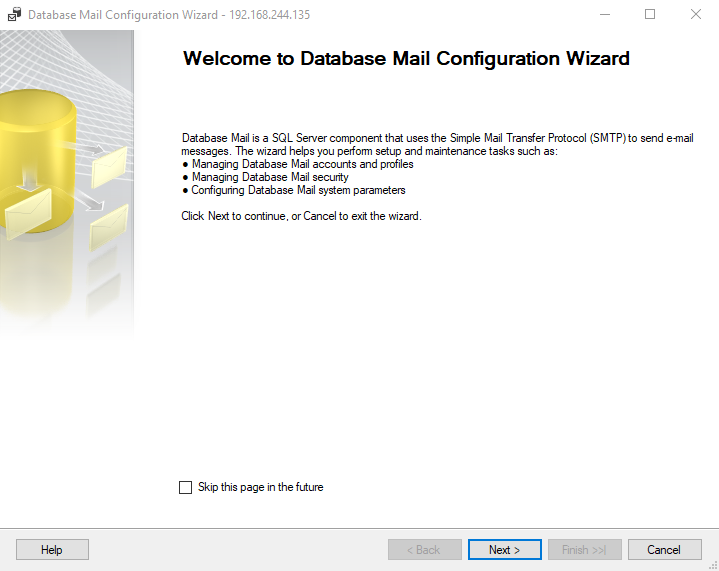
The Database configuration wizard opens to the Welcome page where we click on Next.
In the Select Configuration Task page, since we are configuring Database Mail, select the first option, set up Database Mail by performing the following tasks and click on
Next Note: After pressing Next, if Database Mail has not been enabled previously, a message will pop up saying: The Database Mail feature is not available. Would you like to enable this feature? Clicking on Yes will enable this feature.
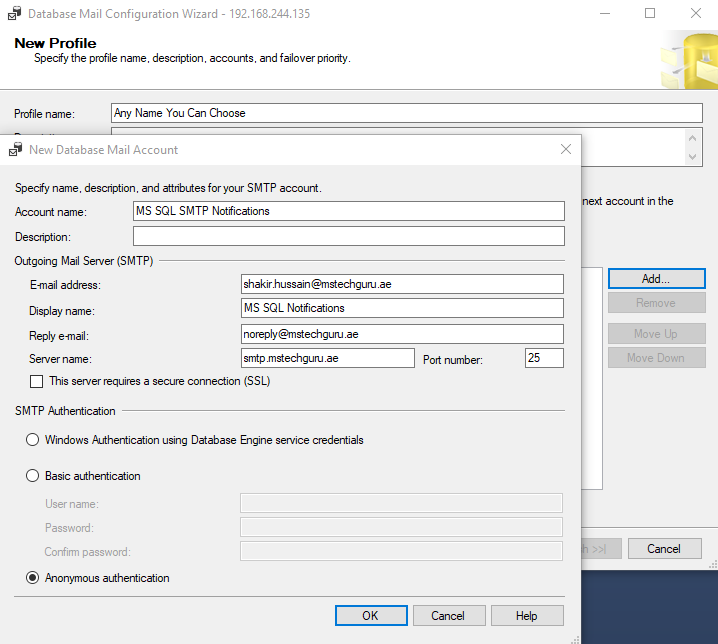
In the New Profile page, we will put the Profile name and optionally, Description, and after that click on Add.
In the New Database Mail Account page, we are going to create a new Database Mail account containing the information for sending email to an SMTP server.
Under E-mail address we input the email address that email notifications are going to be sent from. Under Display name we input the name which will be shown on email notifications sent. Under Reply e-mail, optionally we can input the email address where replies to email messages sent from this account will be sent. It can be the email of the database administrator, or it can be left blank.
Give the SMTP resolvable name or IP address so that SQL can send emails to the SMTP server. Note:- If your SQL Server is on another VLAN and the inter VLAN routing is done by your Firewall than you have to open port 25 for this SQL Server.
After that we have created a new account which can be then seen under SMTP accounts. At this point we can create more accounts which can be sorted by priority in case that some of the accounts fails to send the email notification. After that, we click on Next onto the next page.
Under the Manage Profile Security page, we have two tabs, Public Profiles and Private Profiles. In the Public Profiles tab, we configure the account that will be available to any user or role with access to mail host database (msdb) to send email notifications using that profile. In the Private Profiles tab, we select the users and which profiles they can use, and after that we click on Next to continue.
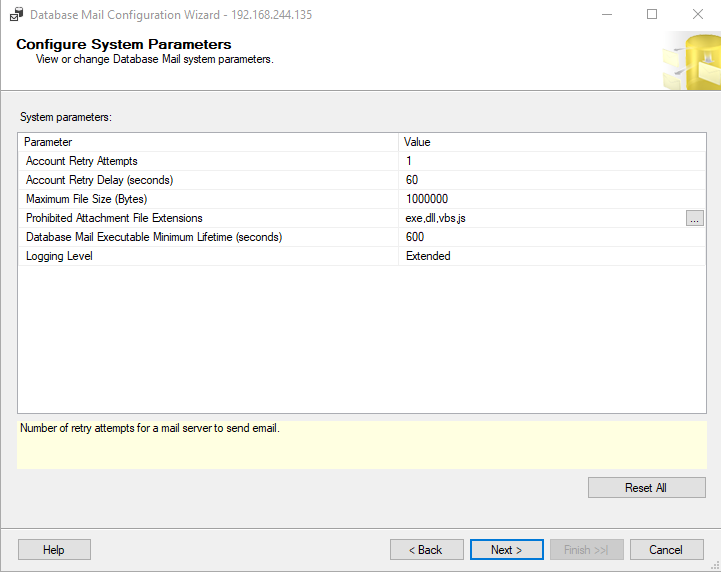
In the Configure System Parameters page, we can adjust some of the parameters for the emails.
After that, we click on Next
In the Complete the Wizard page, we can overview the configuration which will be completed. If everything is set up properly, we can click on Finish to complete the wizard.
Configure SQL Server Agent to use Database Mail
In the Object Explorer, expand a SQL Server instance, right click on SQL Server Agent and click on Properties
In the SQL Server Agent Properties window, select Alert System from the navigation tab to the left. To the right, check the box near Enable mail profile, for the Mail system set Database Mail, for Mail profile set the profile we created and after that click on OK. After that, restart the SQL Server Agent service.
Click OK
Creating an Operator
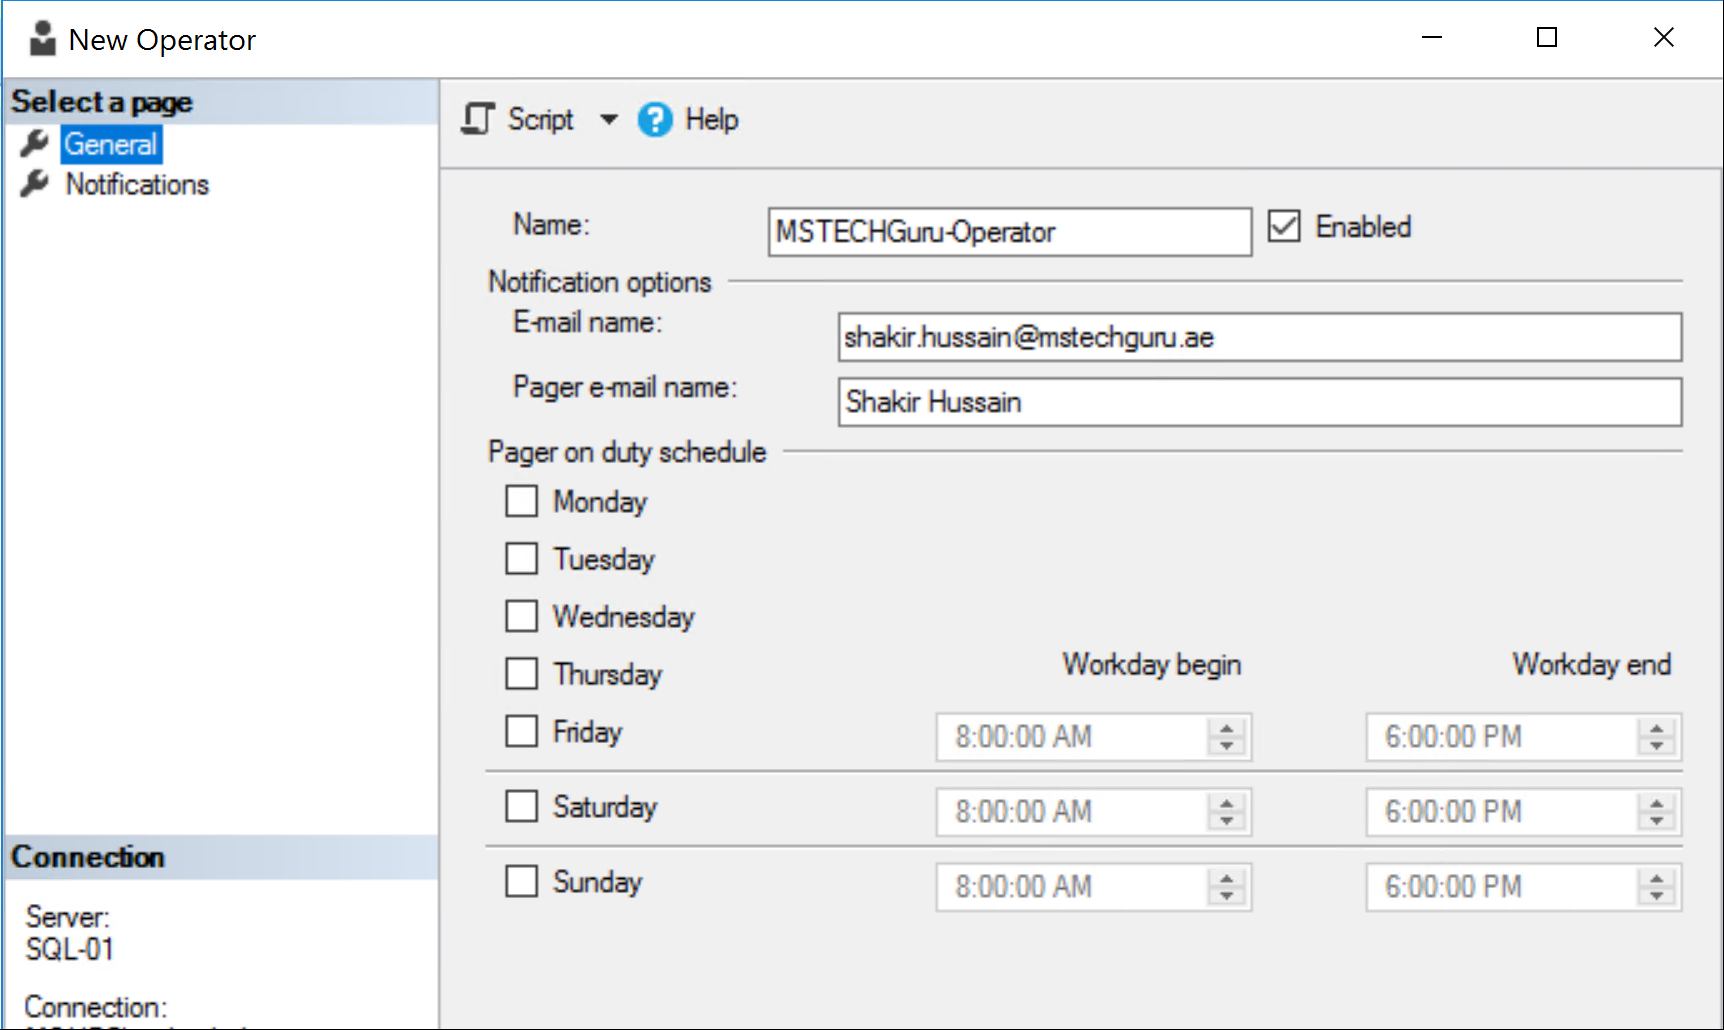
As with enabling Database Mail, creating an operator is a process which can only be accomplished by a member of sysadmin fixed server role. To create an operator, expand the SQL Server agent node, right click the Operators folder and select New Operator.
In the New Operator window, under General tab, enter the Name for the operator and operator’s email address under E-mail name under Notification options. Also make sure that the Enabled checkbox is ticked. Click afterwards on OK to confirm the creation of the new operator.
Click Ok to continue.
At this point you have to restart service of SQL Server Agent, right click on SQL Server Agent and click on Start to start the service. In the window that appears, asking whether we are sure to start the agent, click on Yes and the service will proceed to start.
Let’s create the new job to use this email as notification.
Give any name to your Job, Go to Notification area and select your operator which we created earlier in Email section and select when the job complete option against it.
When the job succeeds notifies the operator via email notification if the backup job has completed successfully, When the job fails notifies the operator via email notification for backup jobs if the job has failed and When the job completes notifies the operator via email notification for backup job when the job is completed, successfully or not. After selecting that, press OK to update the already created job.
Click Ok to continue.
Email notifications for Backup jobs using Maintenance Plans
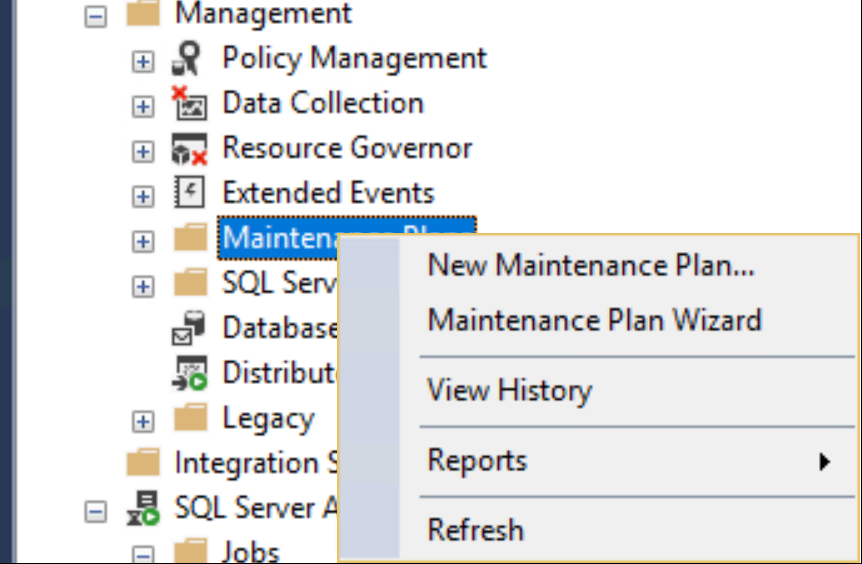
First open SSMS. Expand the node for the server you are using, after that expand the Management folder, right click on Maintenance plans and select Maintenance Plan Wizard.
Click Next to continue the wizard.
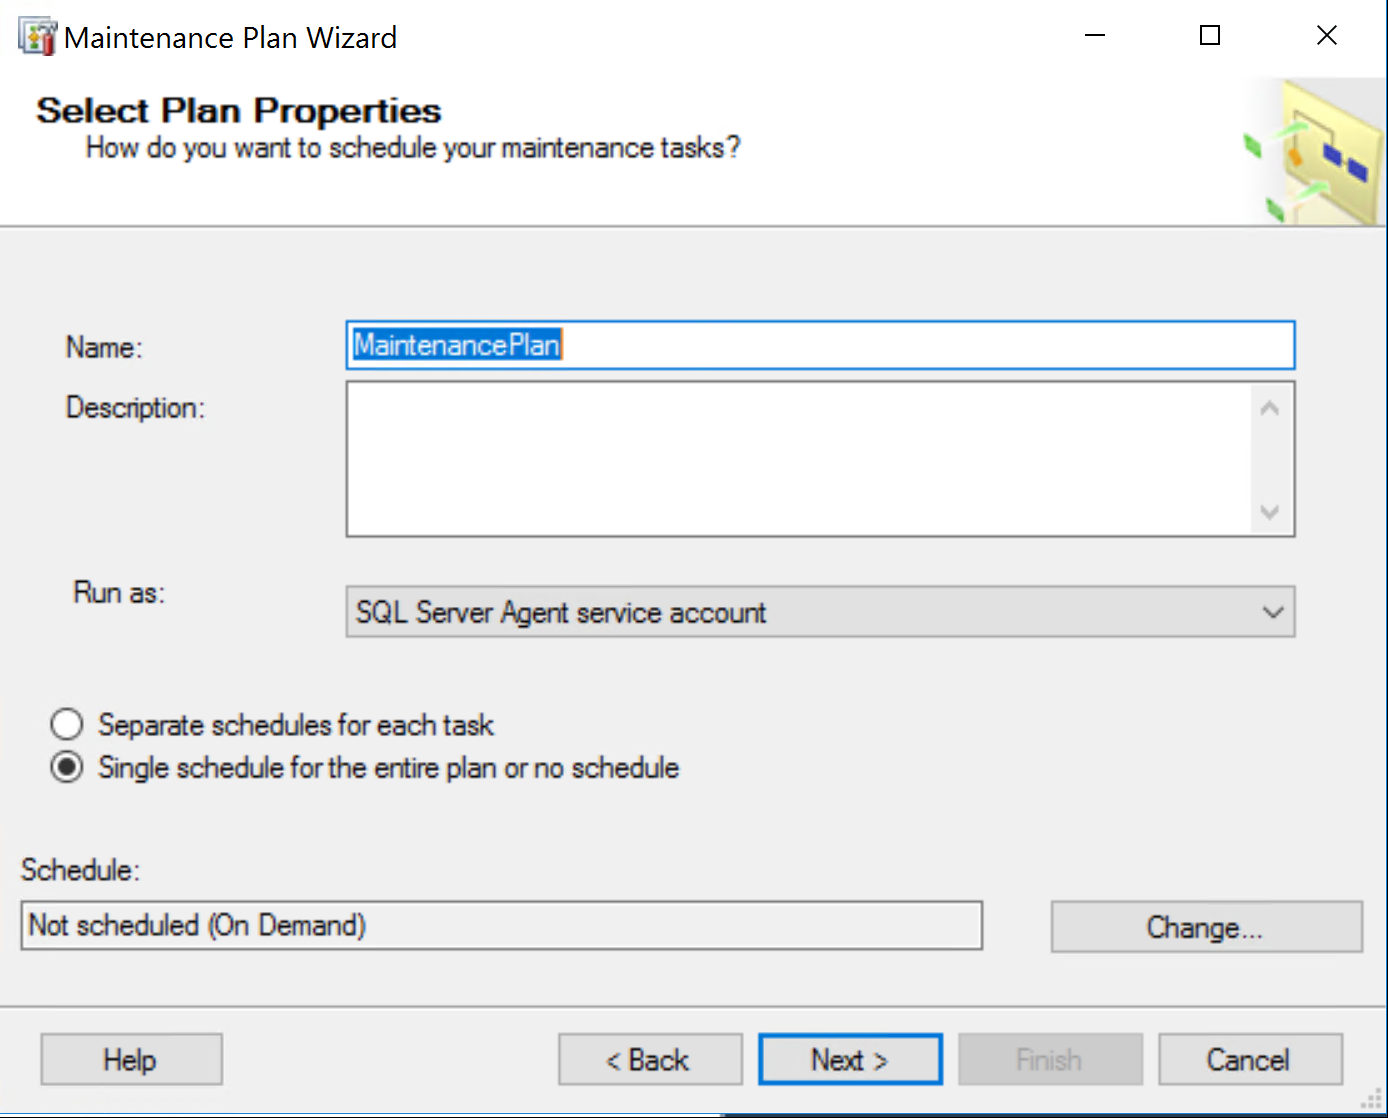
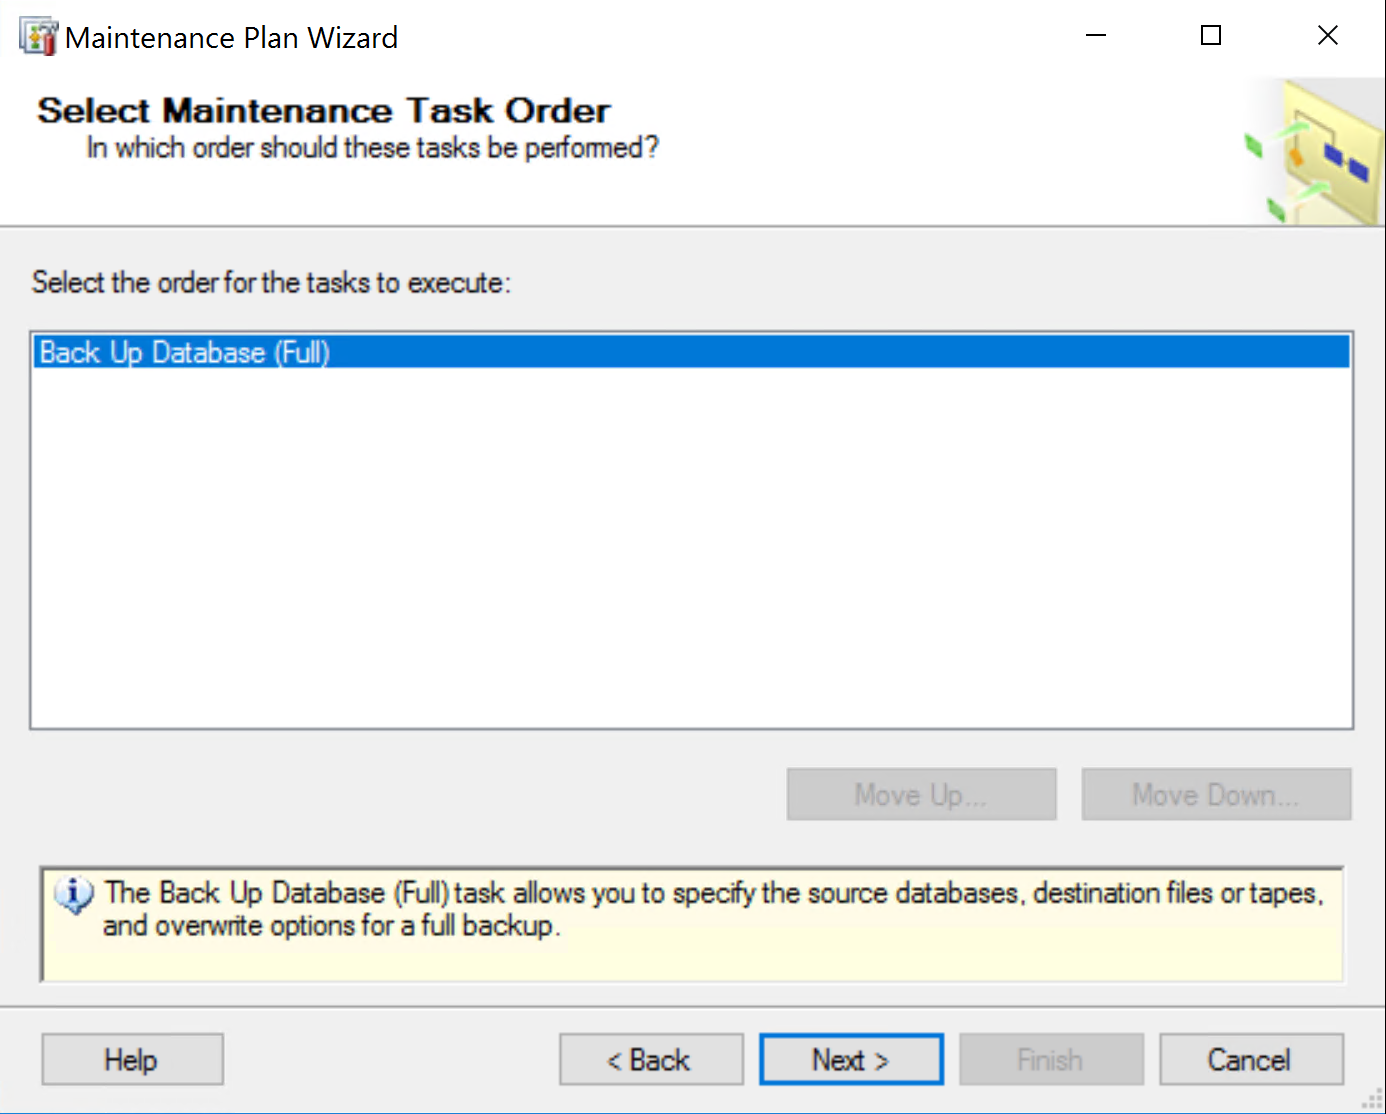
You can give any name to your plan such as backup plan etc. Select the maintenance task as Back Up Database (Full) and Click Next
Click Next
Choose the databases from the drop down menu you want to take the backup.
Choose the databases from the drop down menu you want to take the backup.
Choose the backup destination such as Disk Tap or URL
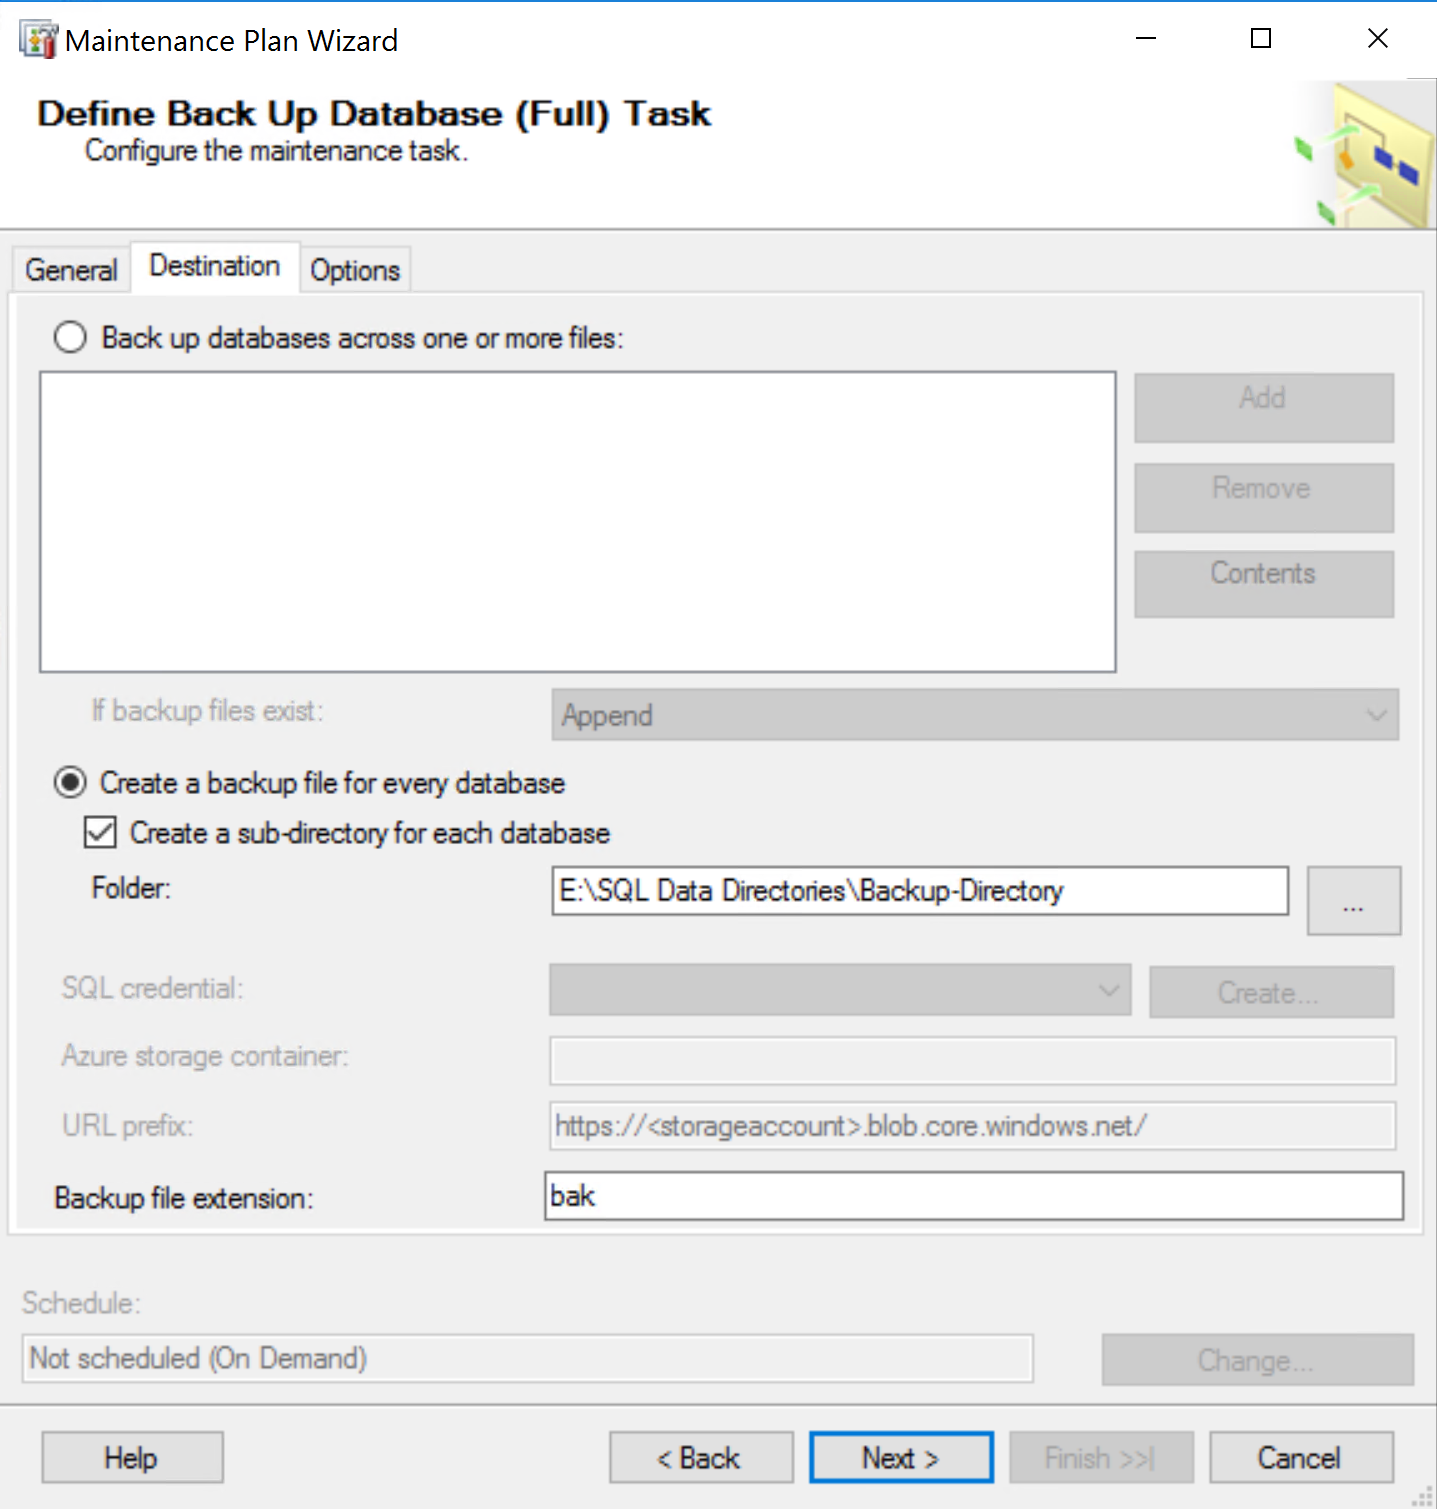
In Destination Tab you can select path of your disk
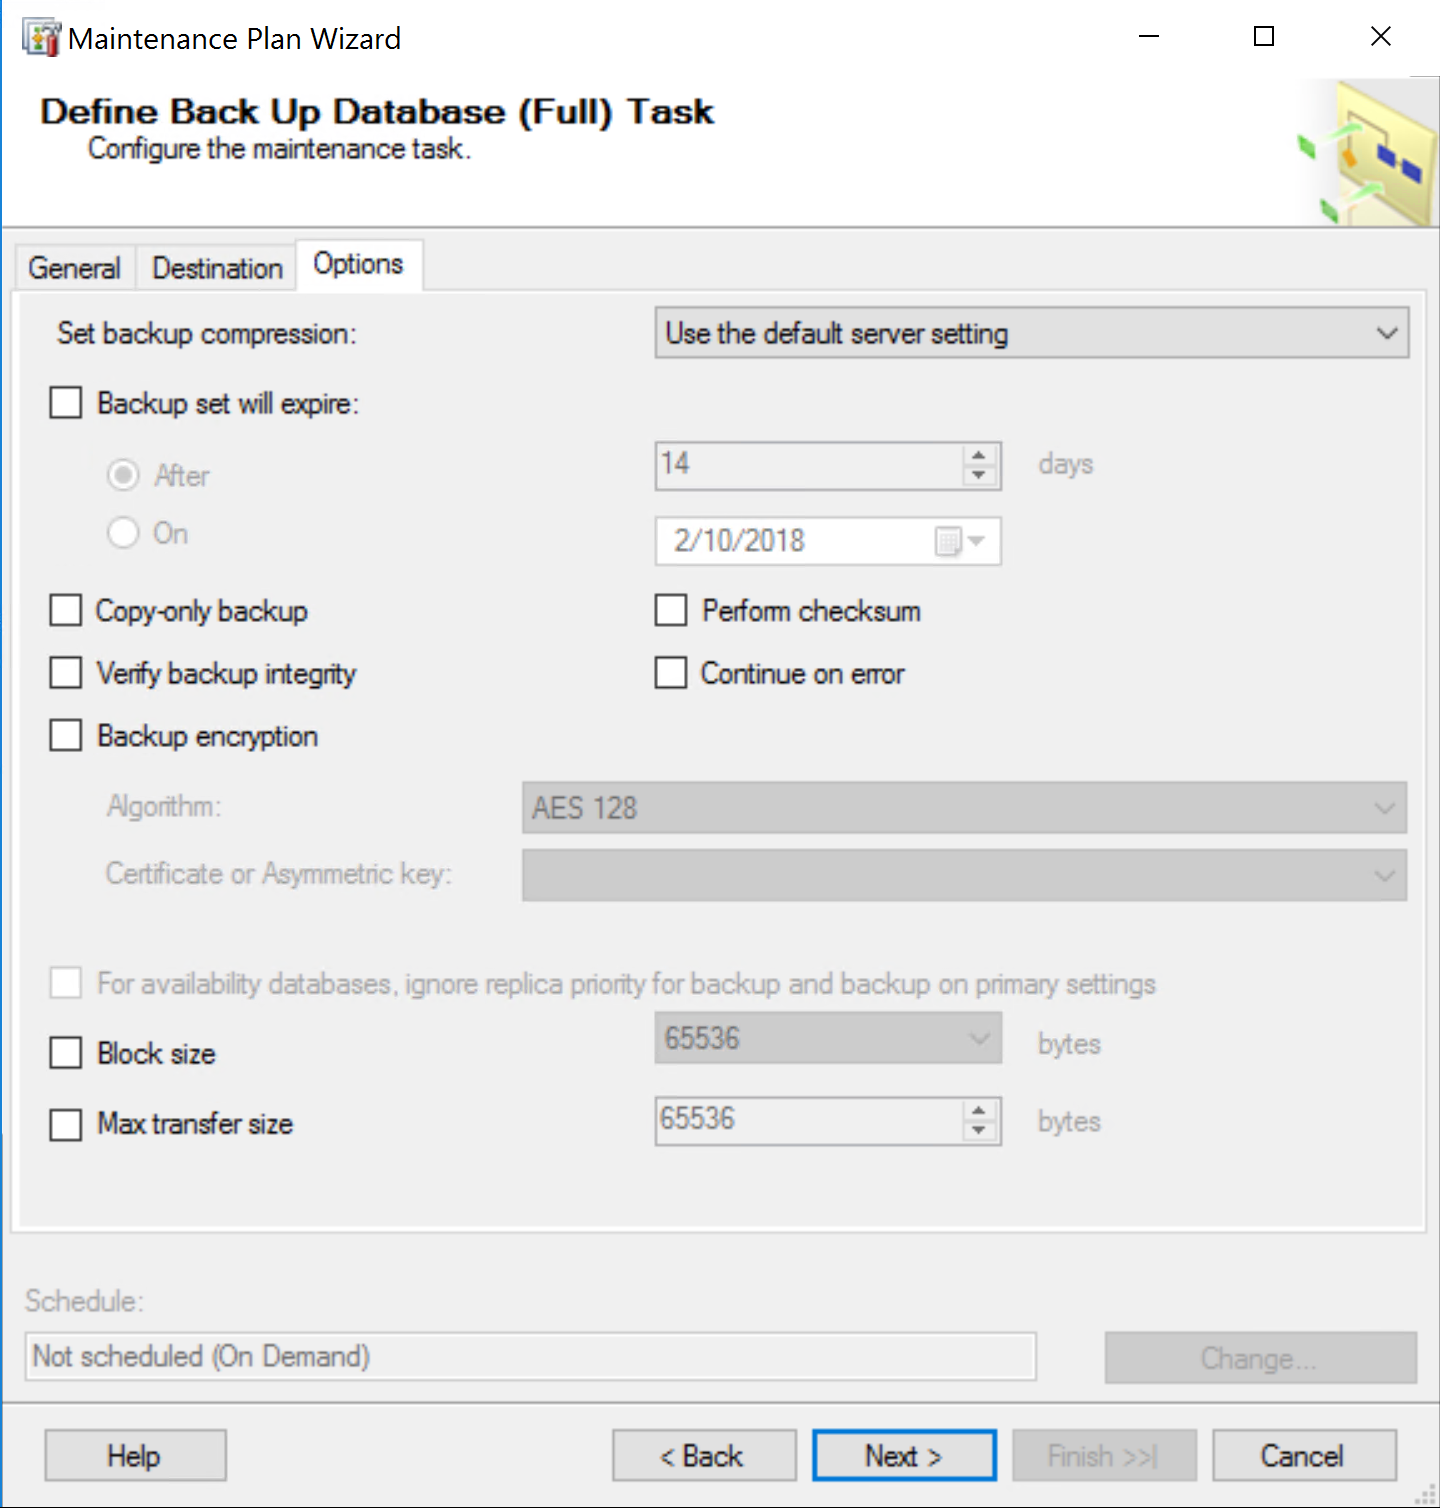
In Options tab you can configure other setting as per your requirements.
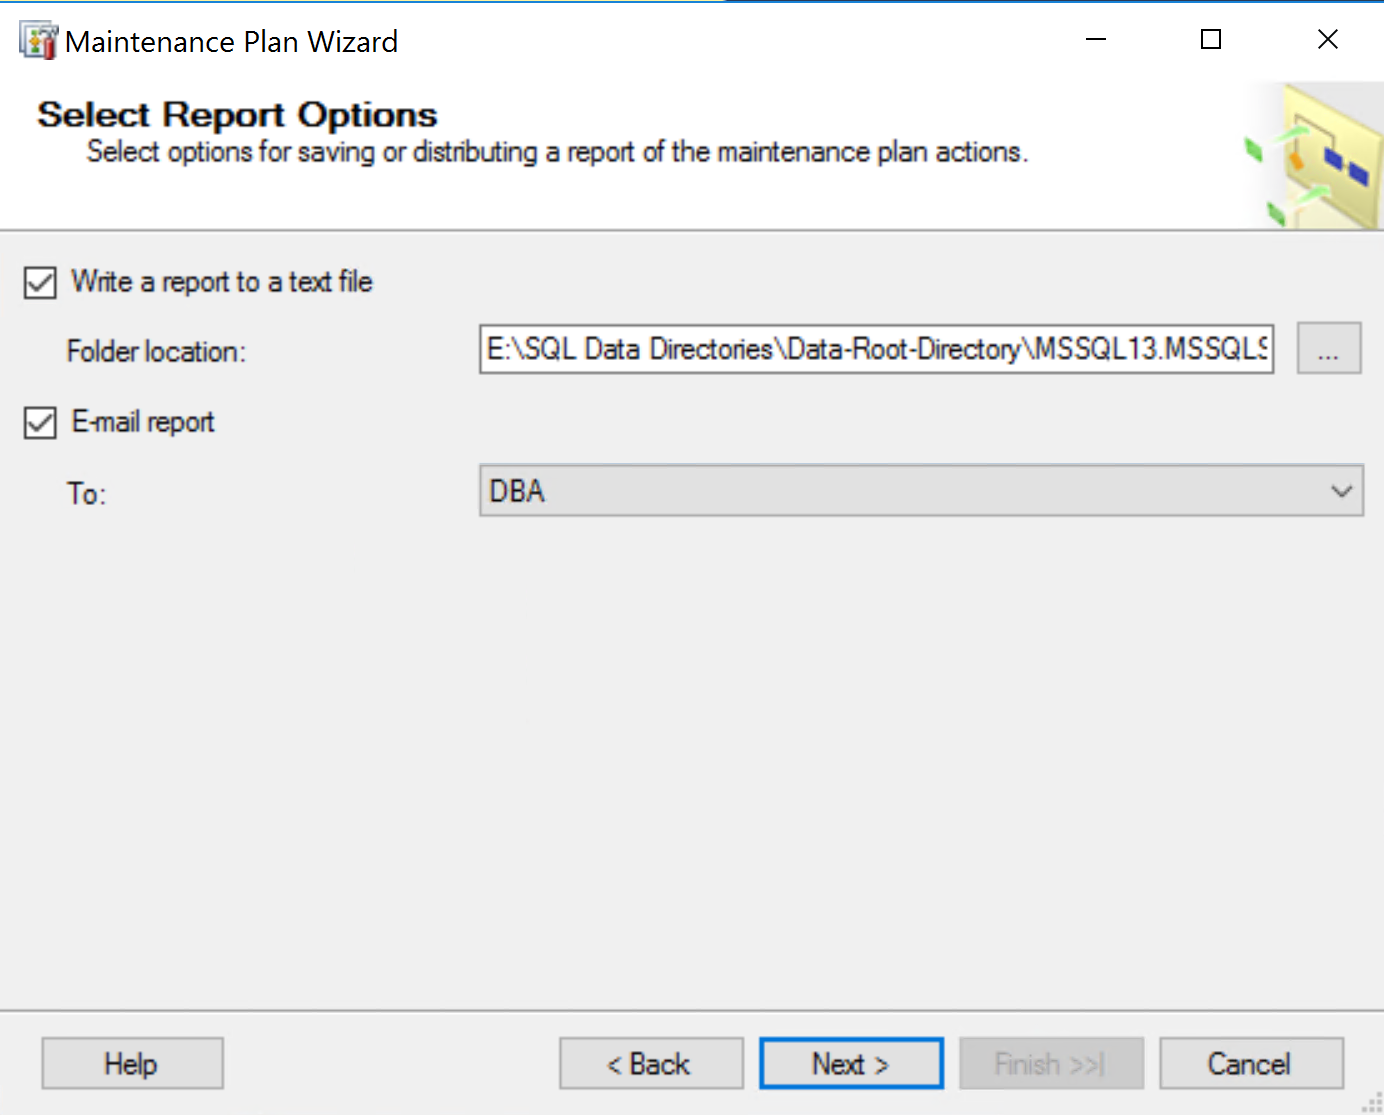
In the Select Report Options, we choose whether we would like to have a text file report of the maintenance plan actions written, as well as setting up the email notification for backup job we are creating. In the To: dropdown menu, we select which profile to use for email reports. Since we have only one profile created, we choose that one for the reports. Afterwards, click on Next
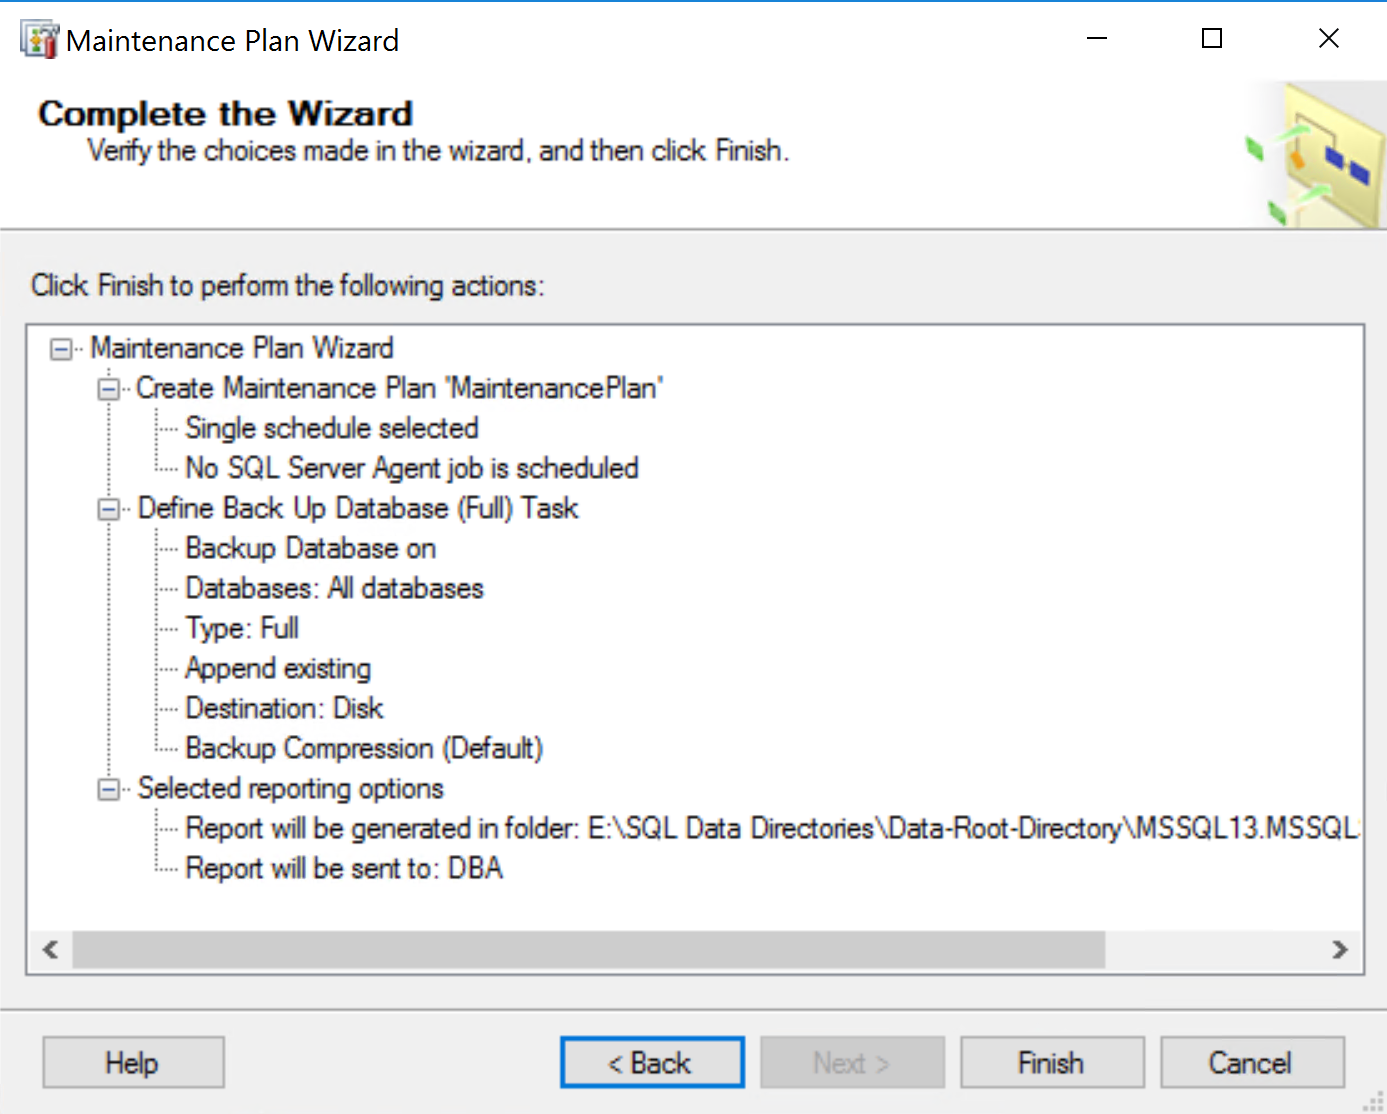
In the Complete the Wizard page, we review the plan, if anything is not as intended, we can go back to change that. In case everything is as intended, press Finish to create the plan
After pressing Finish, the plan will be created and we are going to be presented with an overview of completed tasks. Click on Close to finish the Maintenance Plan Wizard.
At this point we have completed the configuration involved in setting up Mail SMTP notification from DB Servers and notification for backup jobs and other alerts you can configure. A sample output email message is as below.
