Exchange 2016 - Installing Exchange on Server 2016
In this tutorial, we will be looking at installing Exchange 2016 CU7 on Windows Server 2016.
Take note that you can install Exchange 2016 CU3 and up on Windows Server 2016. Prior versions of Exchange 2016 can be installed on Windows Server 2012 and 2012 R2.
We will cover the following steps:
**Take Note, you need to install everything in order as per the list below, failing to do so can result in a server not wanting to continue with the installation**
- Installing the Prerequisites
- Install Windows Updates
- Microsoft KB Article KB3206632 (This KB should be installed with Windows Updates Automatically)
- UCMA RunTime Installation
- Installing Exchange 2016
- Post Installation Tasks
- Testing your New Exchange 2016 Server
Prerequisites:
Install-WindowsFeature NET-Framework-45-Features, RPC-over-HTTP-proxy, RSAT-Clustering, RSAT-Clustering-CmdInterface, RSAT-Clustering-Mgmt, RSAT-Clustering-PowerShell, Web-Mgmt-Console, WAS-Process-Model, Web-Asp-Net45, Web-Basic-Auth, Web-Client-Auth, Web-Digest-Auth, Web-Dir-Browsing, Web-Dyn-Compression, Web-Http-Errors, Web-Http-Logging, Web-Http-Redirect, Web-Http-Tracing, Web-ISAPI-Ext, Web-ISAPI-Filter, Web-Lgcy-Mgmt-Console, Web-Metabase, Web-Mgmt-Console, Web-Mgmt-Service, Web-Net-Ext45, Web-Request-Monitor, Web-Server, Web-Stat-Compression, Web-Static-Content, Web-Windows-Auth, Web-WMI, Windows-Identity-Foundation, RSAT-ADDS
https://collaborationpro.com/wp-content/uploads/2017/11/ex2016a.png
As shown above, prerequisites are currently installing.
https://collaborationpro.com/wp-content/uploads/2017/11/ex2016b.png
- Reboot your server.
- Next step is to run windows updates on your Windows 2016 Server. This can take a while.
- After that install UCMA Runtime and then reboot your server.
Exchange 2016 Schema and PrepareAD Installation:
Mount/Extract the 5GB ISO file to a folder. Firstly, let’s prepare the Schema, you can do this by running the following command in an elevated prompt:
Setup /PrepareSchema /IAcceptExchangeServerLicenseTerms
Now you can PrepareAD running the following from an elevated prompt.
Setup /PrepareAD /IAcceptExchangeServerLicenseTerms
If you have an existing Exchange 2016 Server running CU7 then you can proceed straight to the installation.
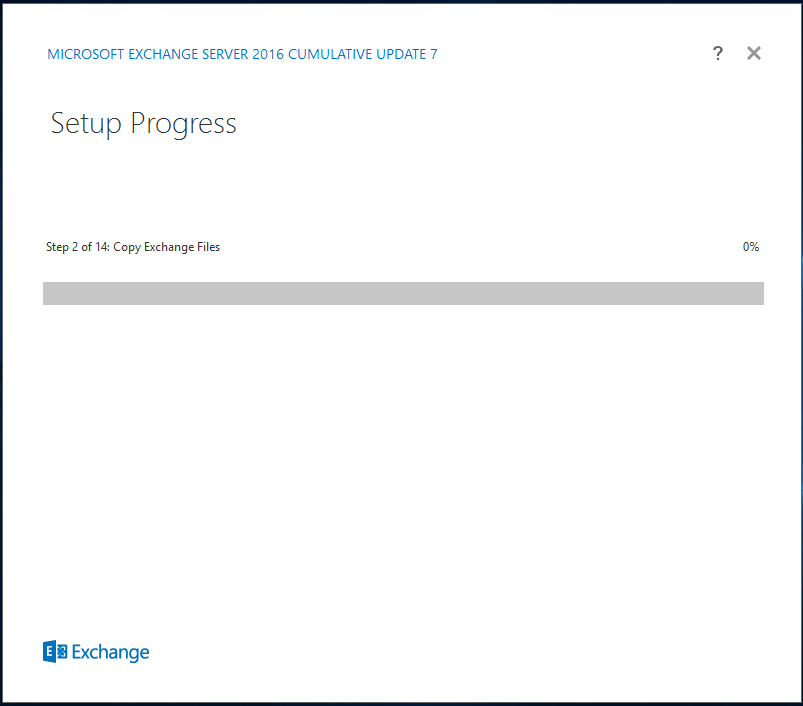
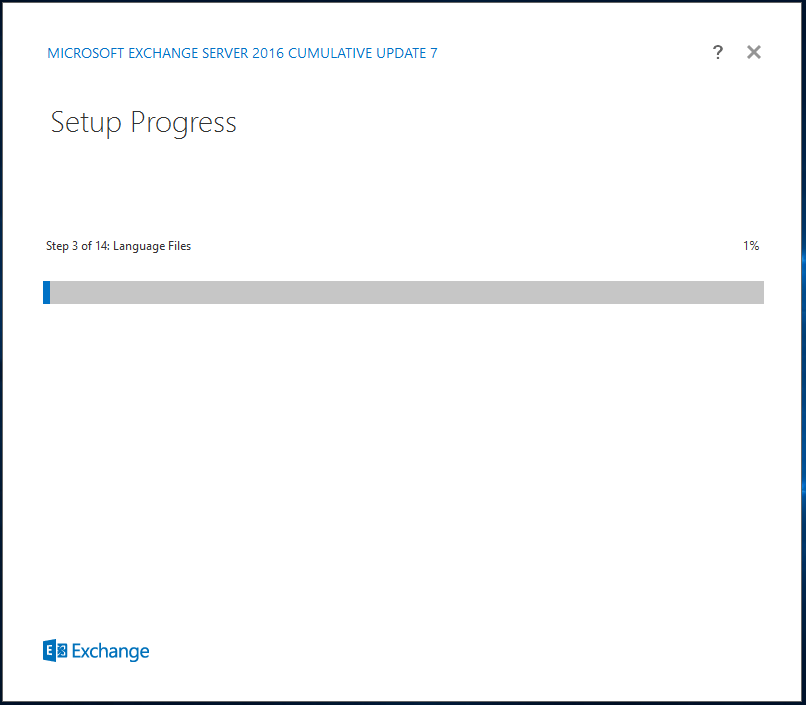
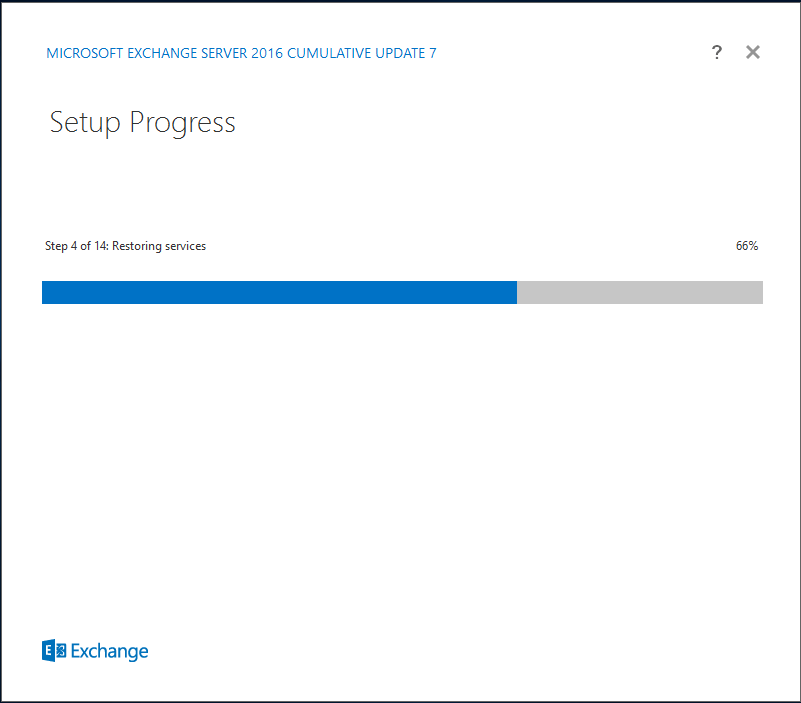
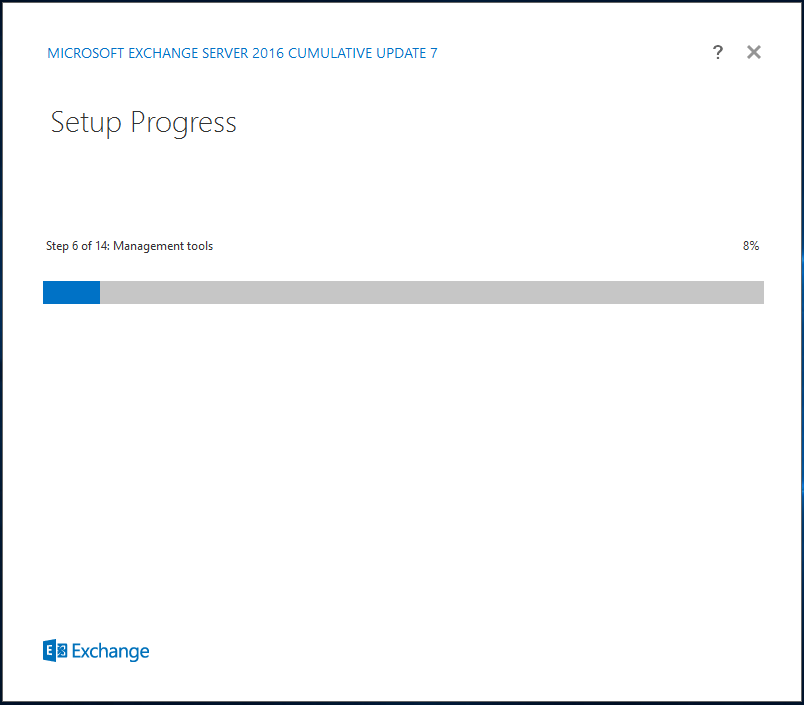
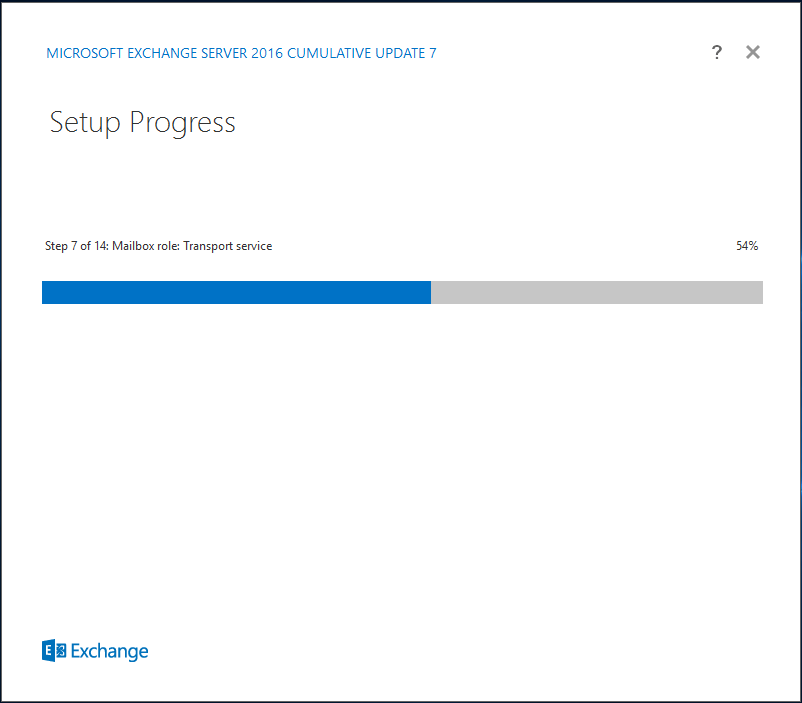
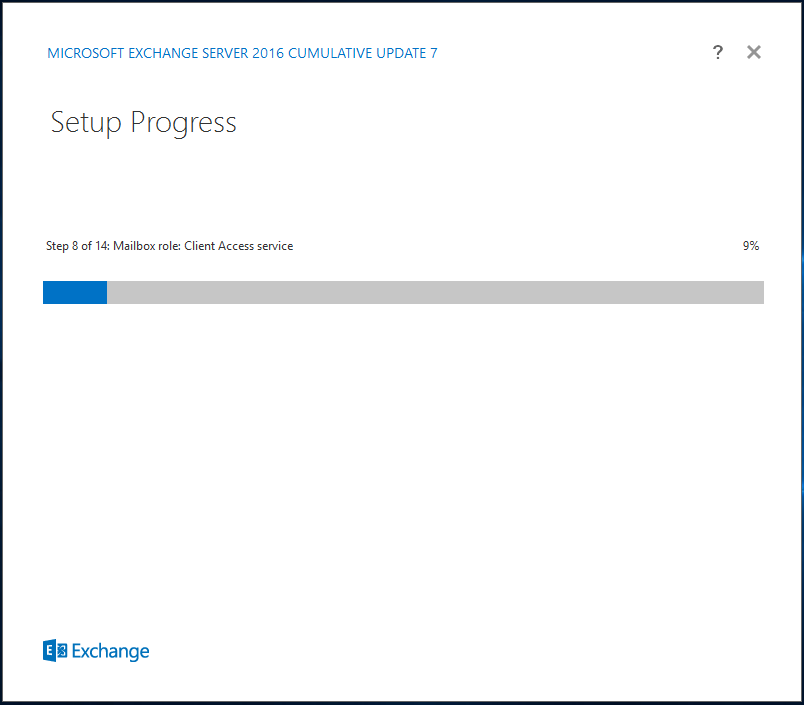
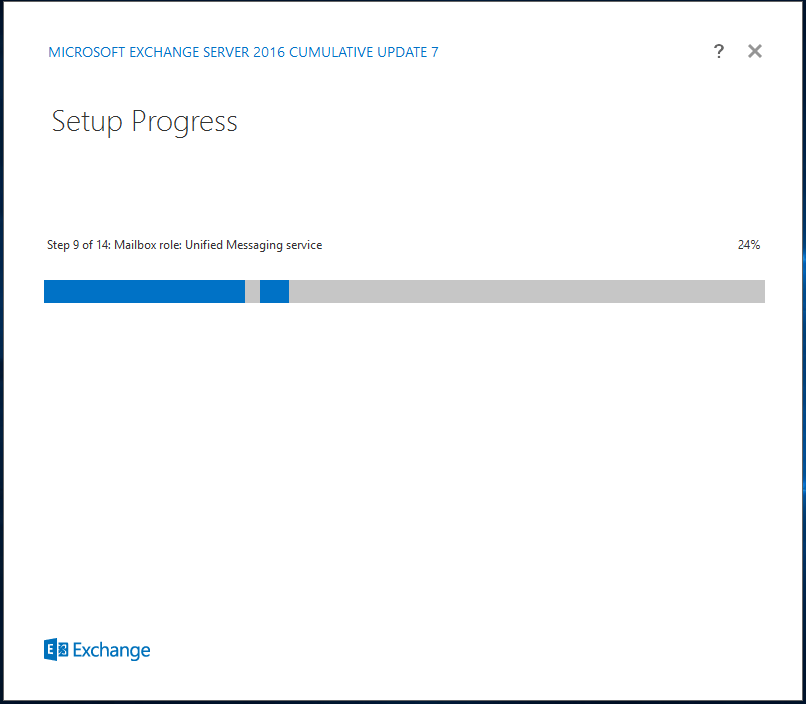
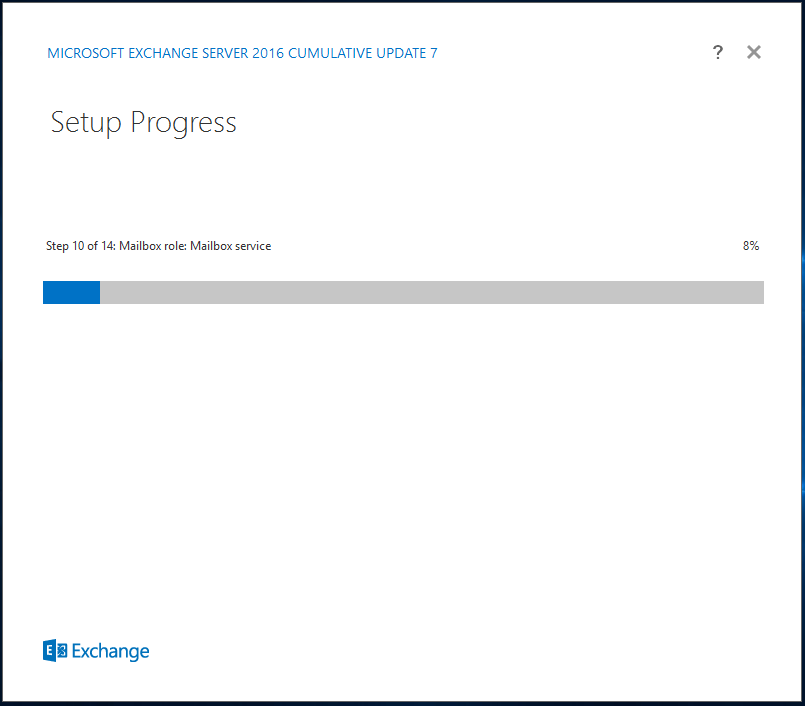
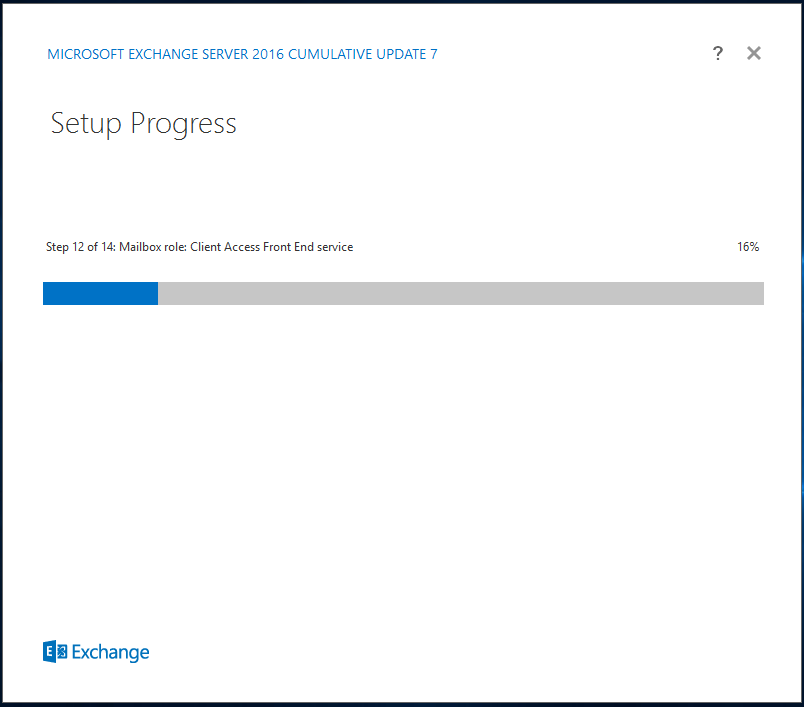
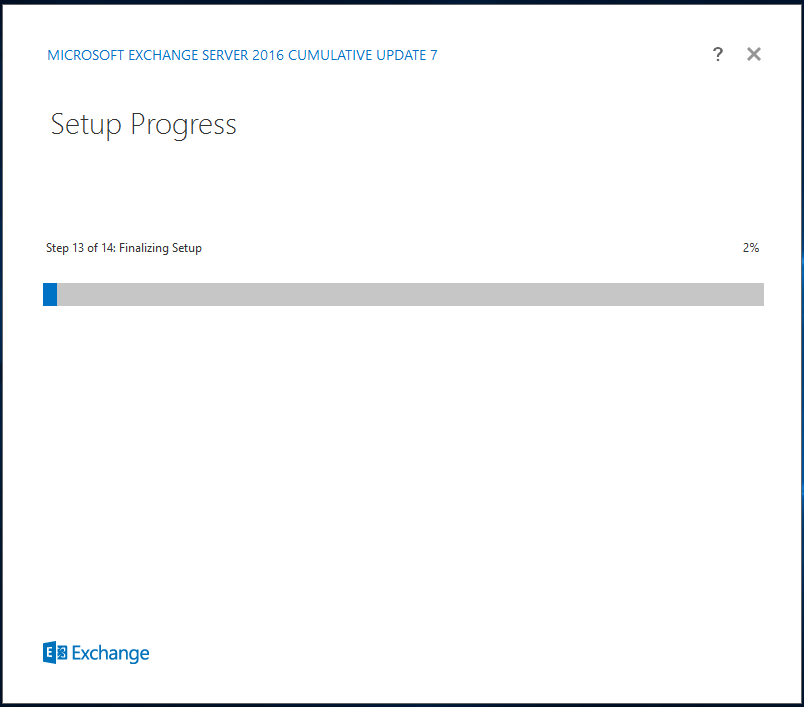
Exchange 2016 Installation:
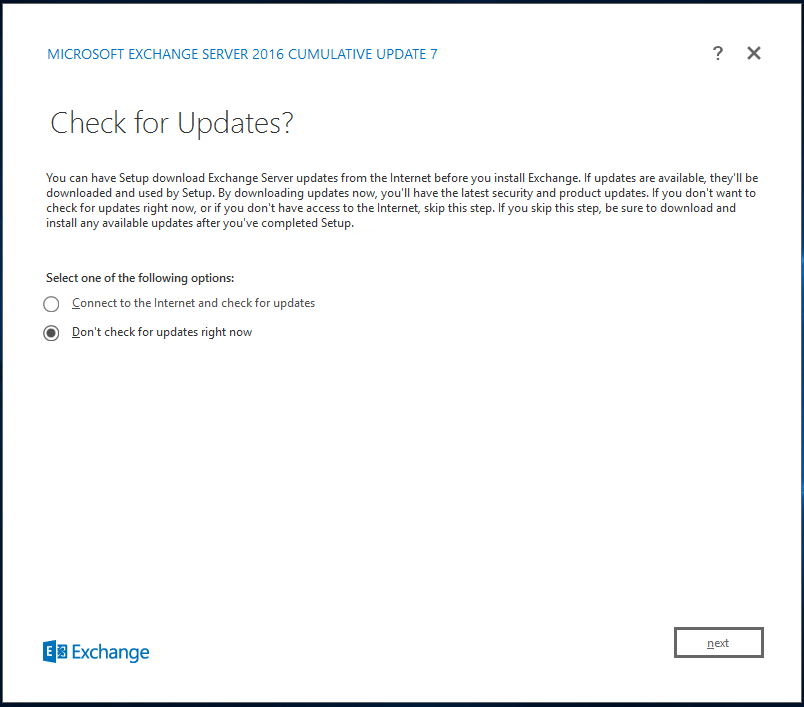
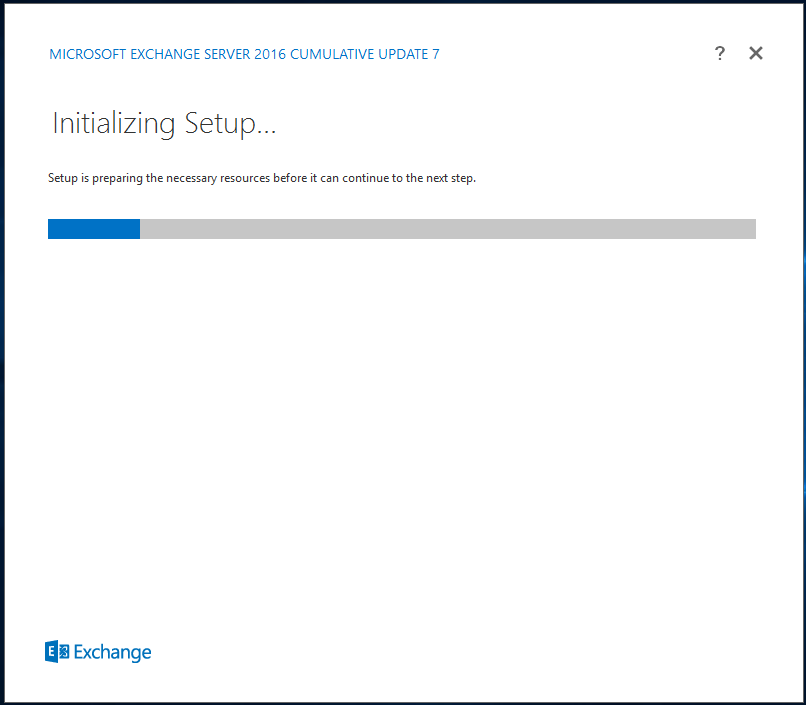
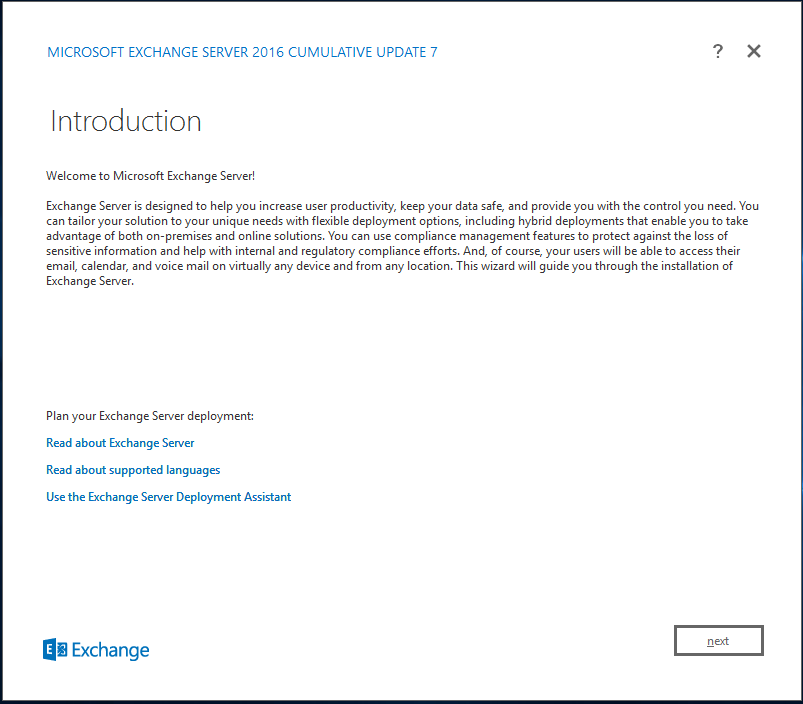
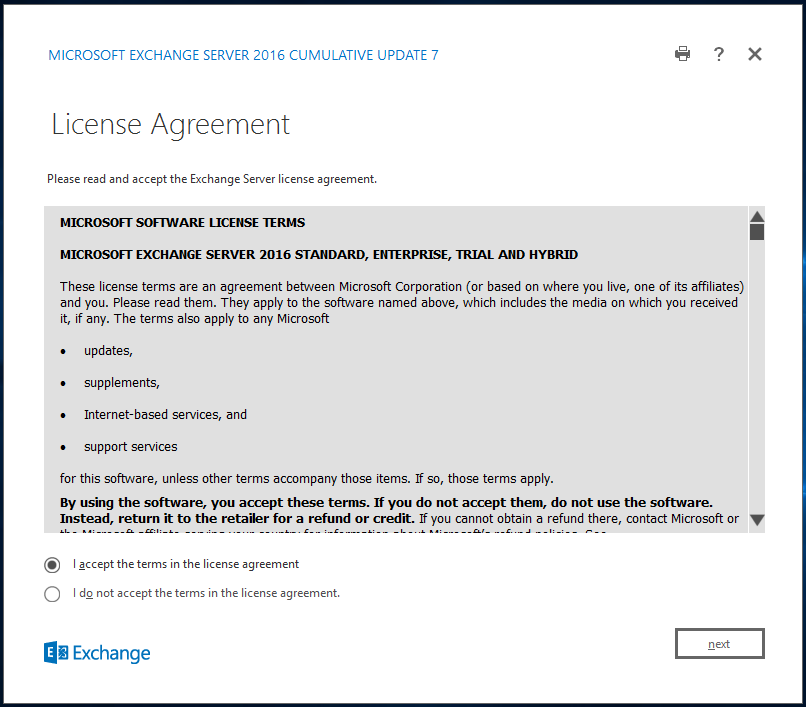
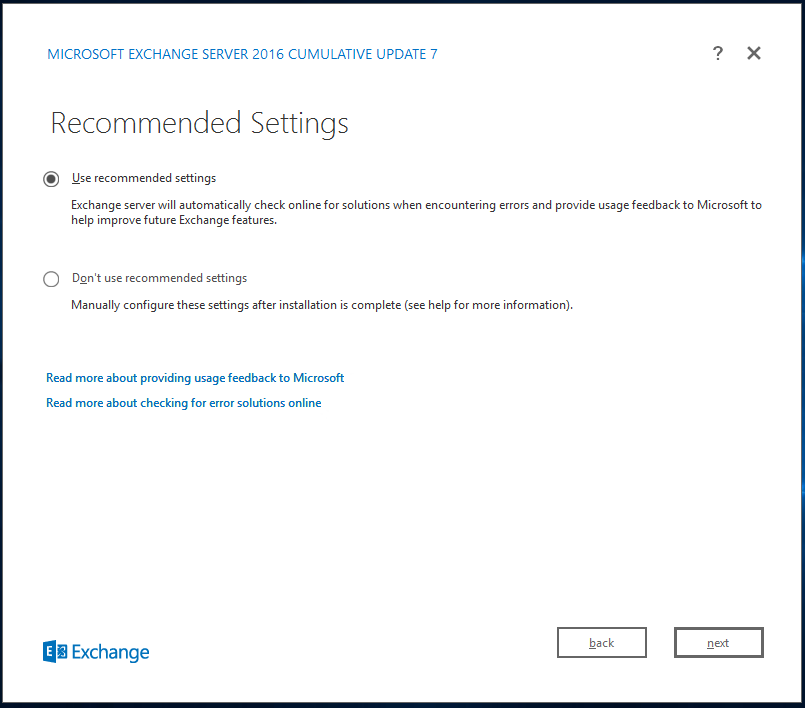
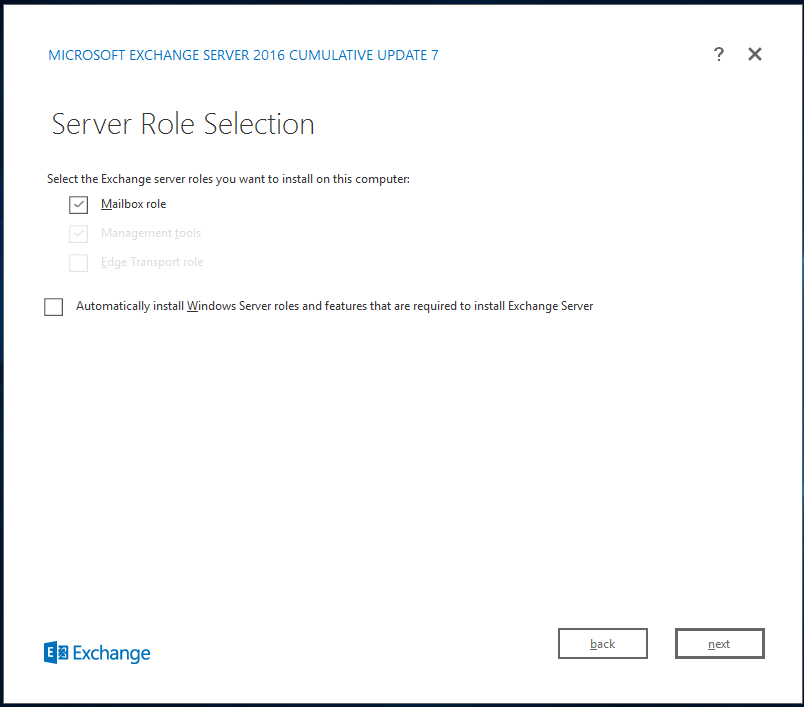
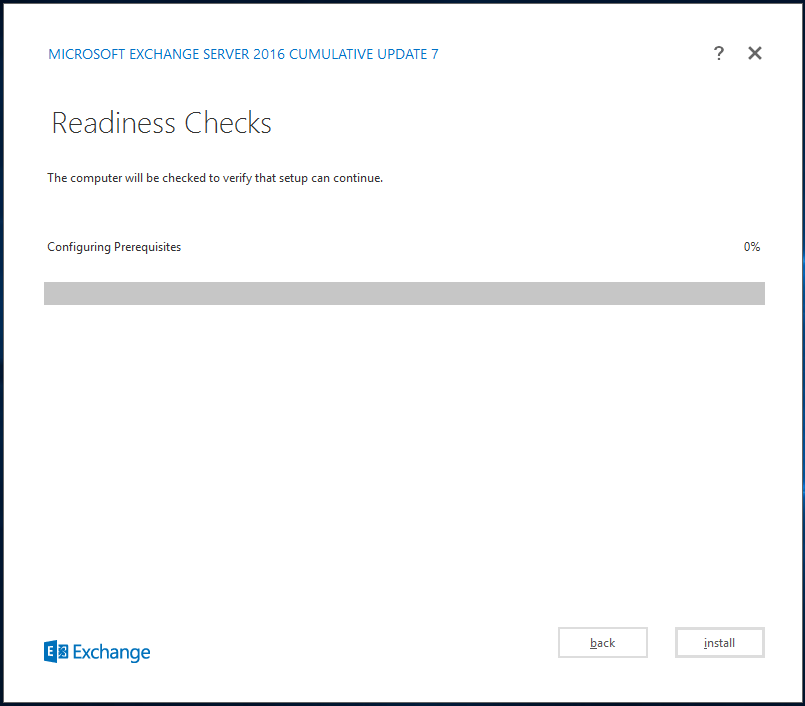
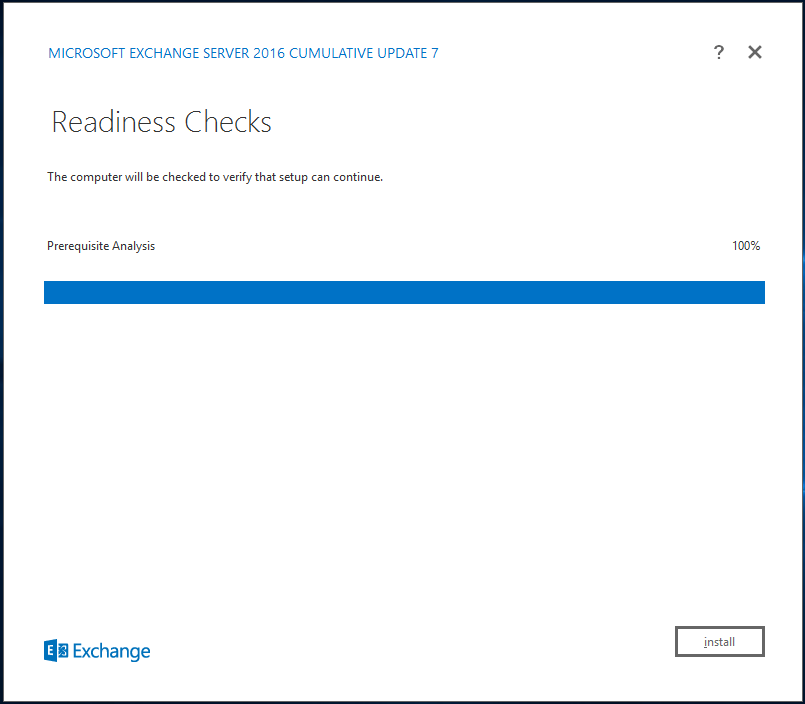
Below are some screenshots of the installation:
https://collaborationpro.com/wp-content/uploads/2017/11/1-1.png
https://collaborationpro.com/wp-content/uploads/2017/11/2-1.png
https://collaborationpro.com/wp-content/uploads/2017/11/3-1.png
https://collaborationpro.com/wp-content/uploads/2017/11/4-1.png
https://collaborationpro.com/wp-content/uploads/2017/11/5-1.png
https://collaborationpro.com/wp-content/uploads/2017/11/6-1.png
https://collaborationpro.com/wp-content/uploads/2017/11/7-1.png
https://collaborationpro.com/wp-content/uploads/2017/11/8-1.png
https://collaborationpro.com/wp-content/uploads/2017/11/9-1.png
https://collaborationpro.com/wp-content/uploads/2017/11/10-1.png
https://collaborationpro.com/wp-content/uploads/2017/11/11-1.png
https://collaborationpro.com/wp-content/uploads/2017/11/12-1.png
https://collaborationpro.com/wp-content/uploads/2017/11/13-1.png
https://collaborationpro.com/wp-content/uploads/2017/11/14-1.png
https://collaborationpro.com/wp-content/uploads/2017/11/15-1.png
https://collaborationpro.com/wp-content/uploads/2017/11/16-1.png
https://collaborationpro.com/wp-content/uploads/2017/11/17-1.png
https://collaborationpro.com/wp-content/uploads/2017/11/18.png
https://collaborationpro.com/wp-content/uploads/2017/11/19.png
https://collaborationpro.com/wp-content/uploads/2017/11/20.png
https://collaborationpro.com/wp-content/uploads/2017/11/21.png
https://collaborationpro.com/wp-content/uploads/2017/11/22.png
https://collaborationpro.com/wp-content/uploads/2017/11/23.png
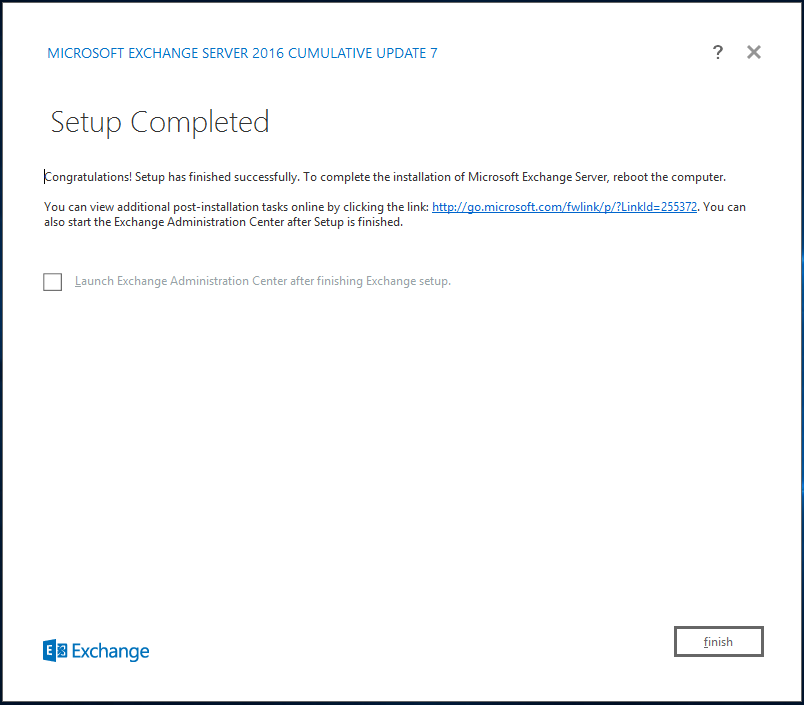
And there you have your new Exchange 2016 Server installed.
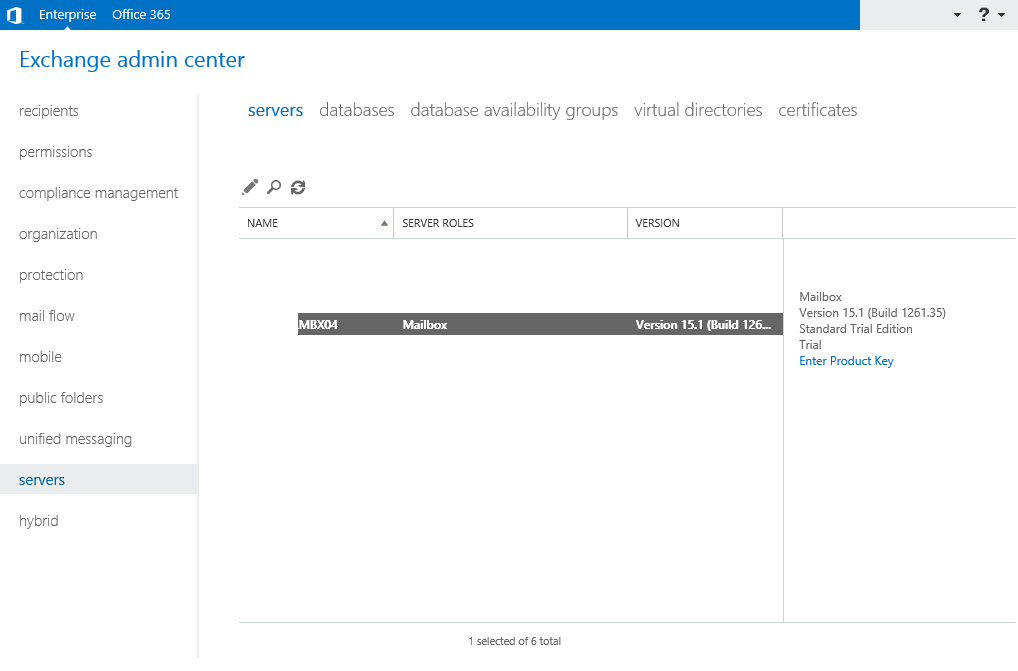
You can now reboot the server and then carry on with the post-installation tasks. (Below a screenshot of the new server.
https://collaborationpro.com/wp-content/uploads/2017/11/24.png
Post Installation Tasks:
After your installation, don’t forget to perform the following Tasks:
- Import your SSL Certificate
- Setup your URL’s – Autodiscover, OWA, ECP, etc.
- Create new Mailbox Stores or Database Copies
- Setup your DAG or add your server to another Exchange 2016 DAG
- Configure Networking on your new Server if it will be a member of a DAG.
Don't forget to run windows updates to check for any new security updates.
Testing Exchange 2016:
https://i2.wp.com/collaborationpro.com/wp-content/uploads/2017/06/OWA.png?resize=840%2C607&ssl=1
As you can see above, OWA is working using the https://localhost/owa URL, it is advisable to set up your URLs to match your certificate.
One thing to take note of, if you log in to the URL above or the ECP URL, you will be re-directed to the OWA 2010 look and feel page, you need to include ?ClientVersion=15
For more information you can view the TechNet Article here: