Note
Access to this page requires authorization. You can try signing in or changing directories.
Access to this page requires authorization. You can try changing directories.
This article shows step by step instructions about [Graduate] and debugging with Visual Studio 2017 for Microsoft Small Basic program language. The following versions of programs are used:
- Windows 10.
- Small Basic v1.2.
- Visual Studio Community 2017.
- Visual Studio Community 2013 (if possible, see Known Issues).
See also other articles for other versions.
- Small Basic: Instructions to Graduate and Debug with Visual Studio (Windows 8.1 / Small Basic 1.2 / Visual Studio 2013).
- Small Basic: How to Debug (Windows Vista / Small Basic 1.0 / Visual Studio 2010).
Install Visual Studio Community 2017
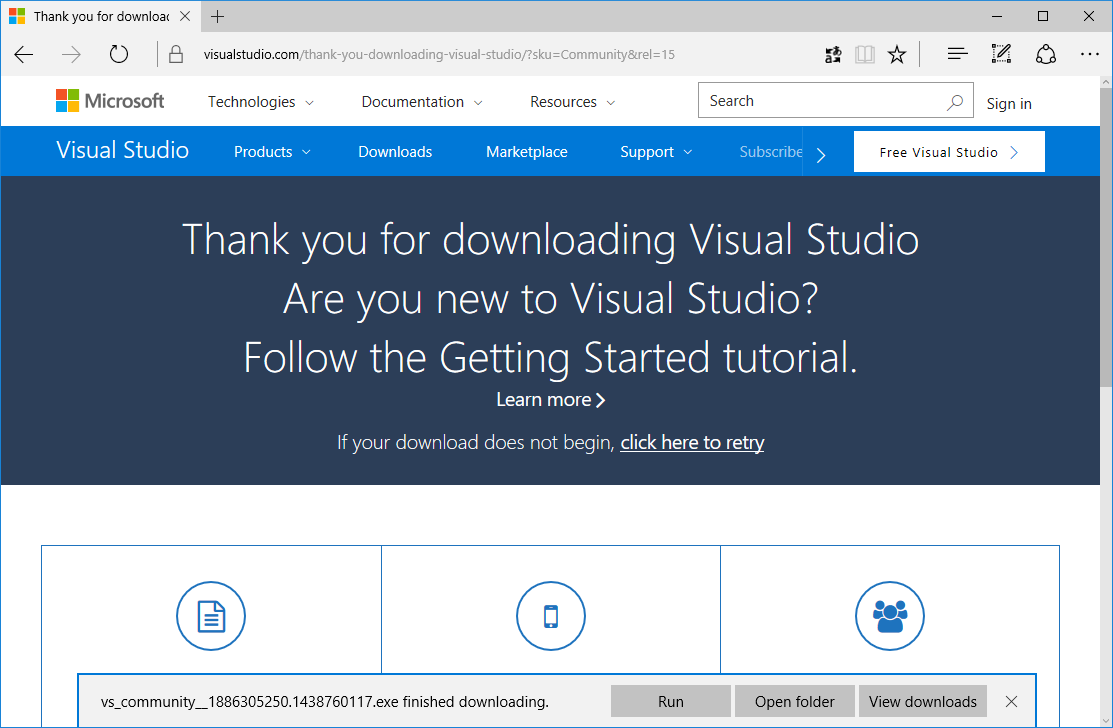
Visit https://www.visualstudio.com/, push [Download Visual Studio] and select [Community 2017] item.

Push [Save] button on the bottom.

Push [Run] button.
Push [Yes] button in User Account Control window.

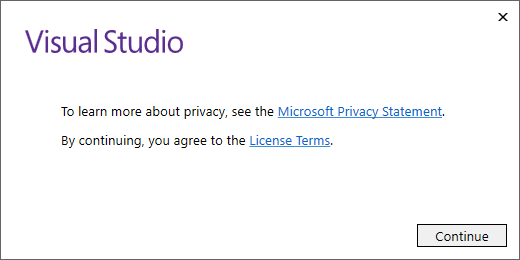
Click [Continue] button after checking Microsoft Privacy Statement or License Terms if needed.
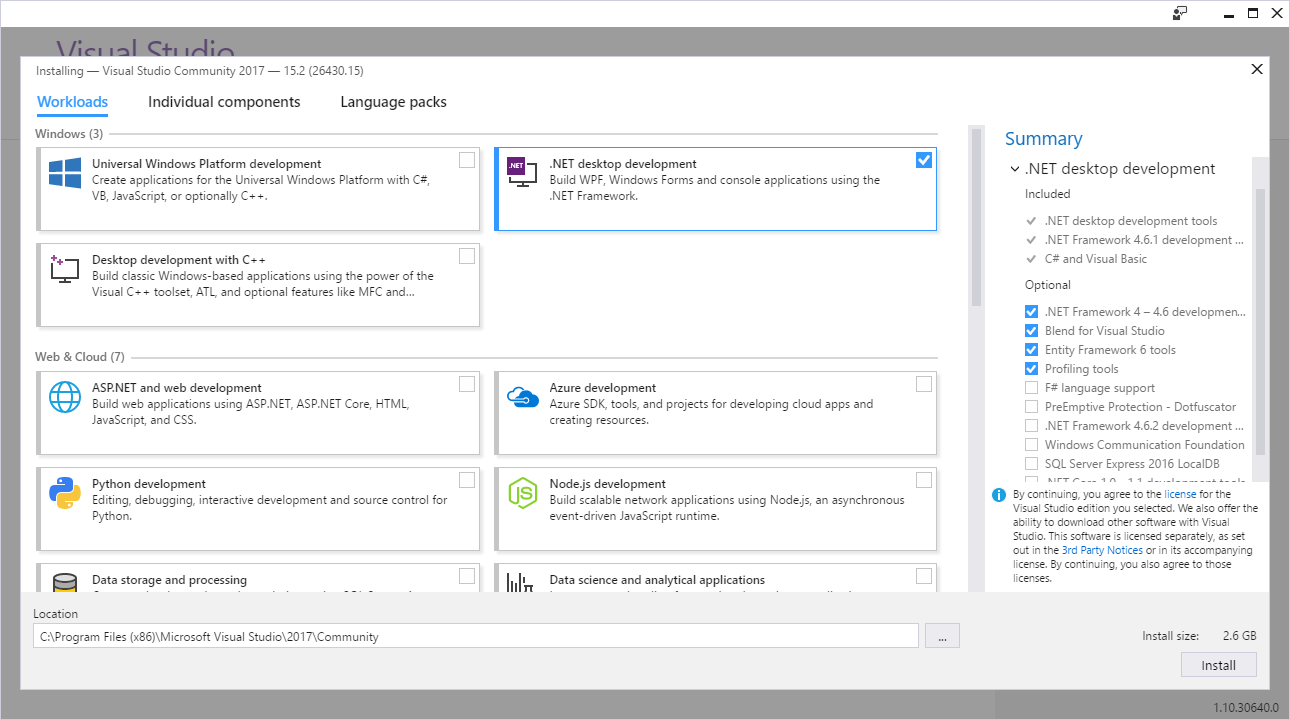
Check .NET desktop development and push [Install] button. Language packs can be selected also.
Following screen shows that Visual Studio has been installed.

Graduate
In the Small Basic Environment, with your program to be graduated, push [Graduate] button.
Export to Visual Basic
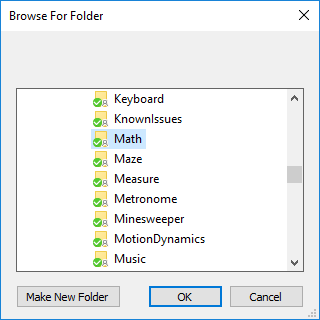
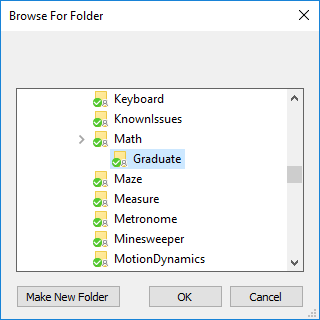
Type full path for Visual Basic program folder or select it from [...] button.

You can choose the same folder which your Small Basic program is in. A recommendation is to create a folder such like "Graduate" in the folder.
Push [OK] button.
Then, push [continue] button.

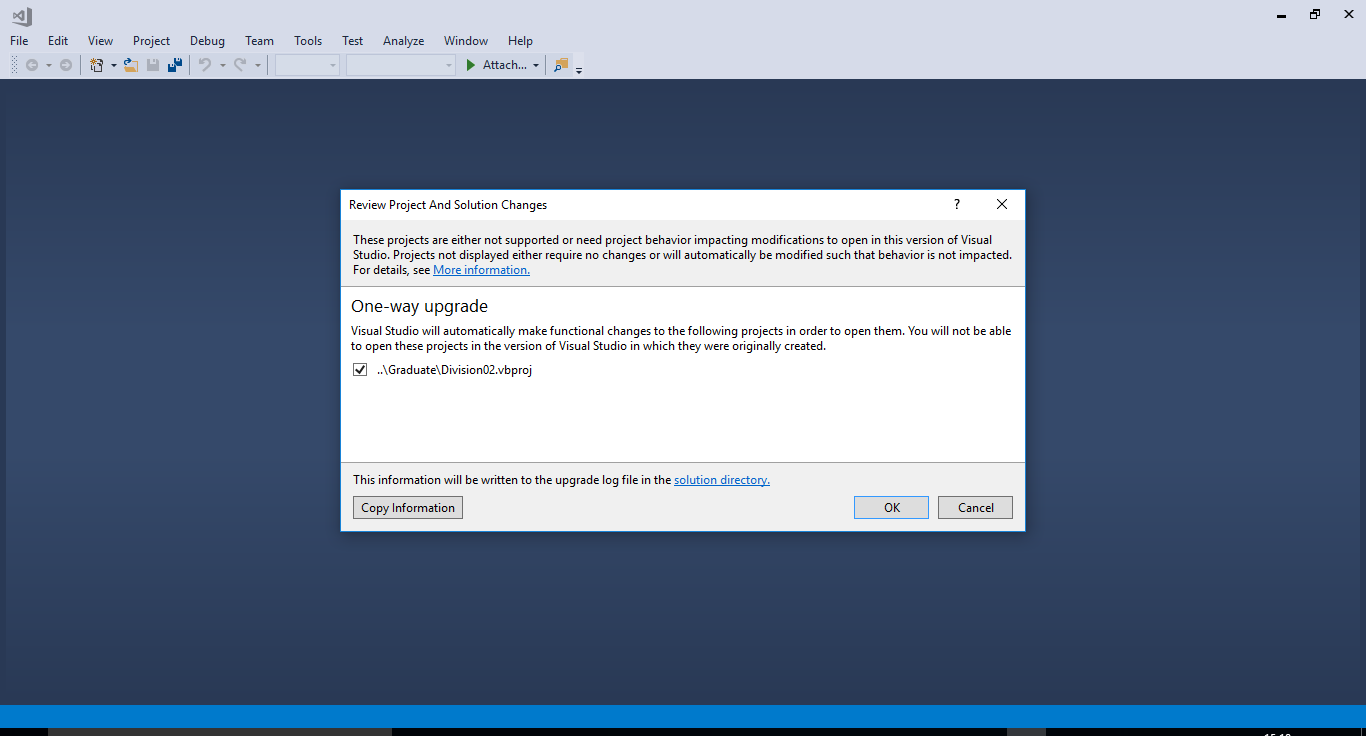
Push [OK] button when you see One-way upgrade popup as below.
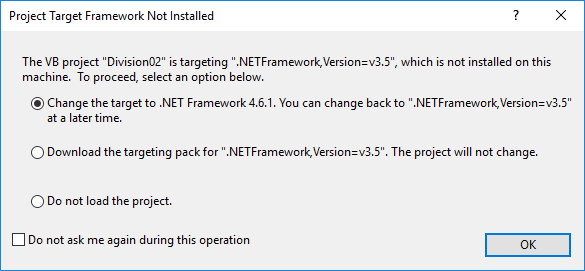
In following window, select 'Change the target to .NET Framework 4.6.1. You can change back to ".NetFramework,Version=v3.5" at a later time.' and push [OK] button. This setting will be changed later to .NET Framework 4.5.
Select .NET Framework
For Small Basic v1.2, you should select .NET Framework 4.5 from [Project] [XXX Properties] [Application] [Target framework].

Push [Yes] to change the target framework.

Add Reference
For the first time of the solution, you need to add Small Basic dynamic link library as the reference. Following picture shows that the object GraphicsWindow is not recognized because Small Basic library is not setup yet.

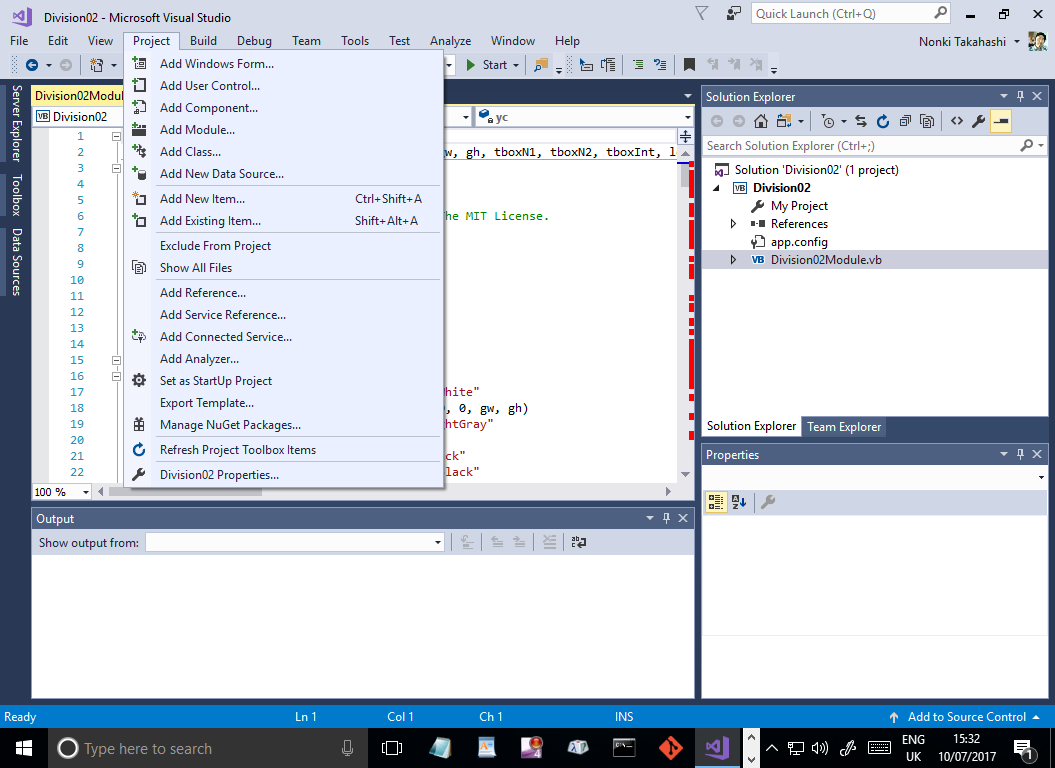
Select [Project] > [Add Reference] from menu bar.
Push [Browse] button.

Select SmallBasicLibrary.dll and push [Add] button. This library file is in your Small Basic program folder or in c:\Program Files(x86)\Microsoft\Small Basic .

Push [OK].

Cast
This action is needed for literal numbers in condition of If statement.
At first, following build error message will be shown. Then click [No] button.

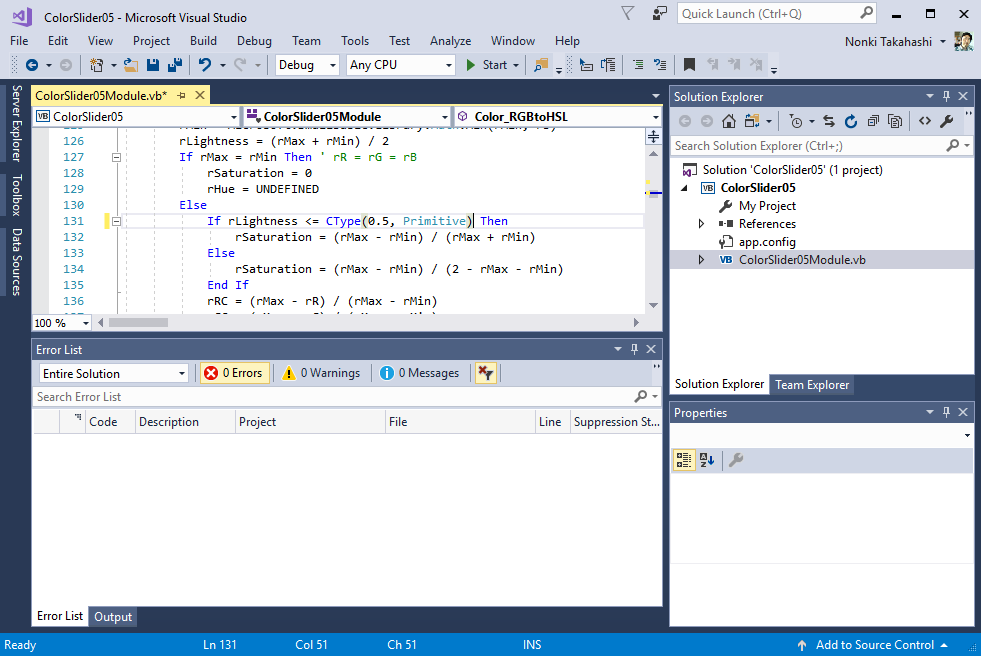
Following overload resolution failed error will be listed in Error List pane. Then click the error message. So the error line in source code will appear and selected the condition.

In this case, replace "0.5" with "CType(0.5, Primitive)" to cast. To cast means to convert variable type. This sample changes type real (0.5) to Primitive (for all Small Basic variables).
Debug with Visual Studio
This chapter introduces about instructions for debugging.
Find Symbol
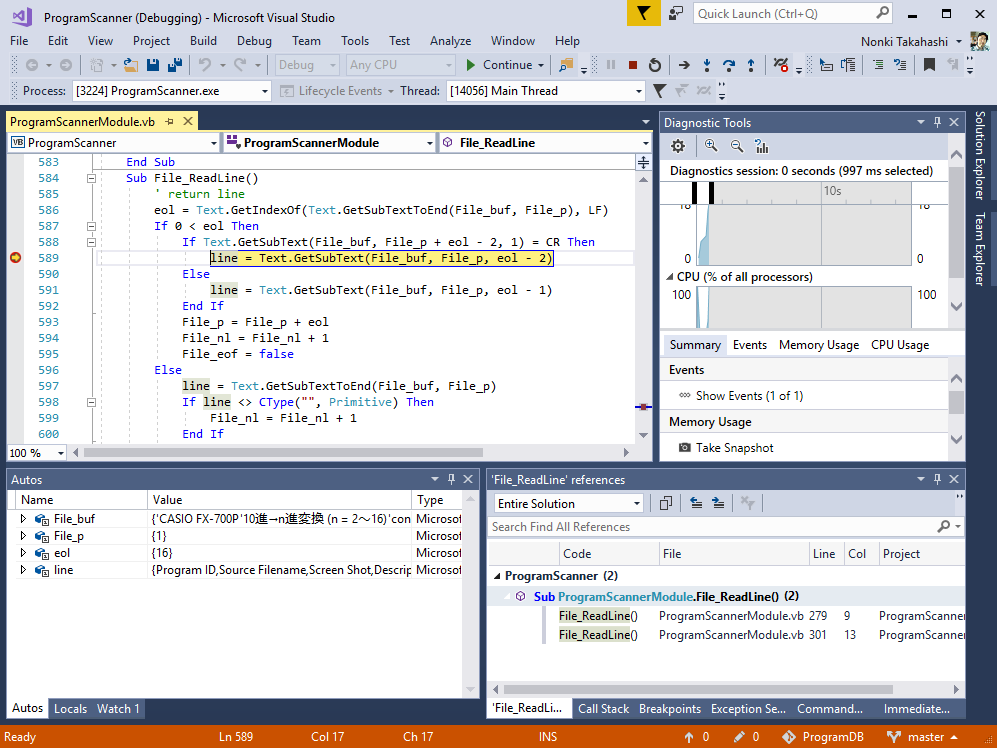
Click mouse right button so that you can see following popup. Select [Find All References] to find all references in the program.

Result of [Find All References] will be shown in bottom Find Symbol Results window. Click a line to show the source code.

Break Point
Most popular usage of debugger is setting break points to pause the program and check some values of variables. To set a break point, click left of the source code line to pause. Then you can see read circle on the line. Or you can pause the program by pushing [Break All] button.

Then push [Start] button to start debugging. Your program will be started. After some operation, the program will stop at the break point. as follows.
To continue the program, push one of following buttons. The most left one is [Show Next Statement]. This is just moving cursor to break point. The next one is [Step Into] to run one step even in subroutines. The next one is [Step Over] to run one step but not stop in subroutines . The last one is [Step Out] to return from current subroutine.

Watch
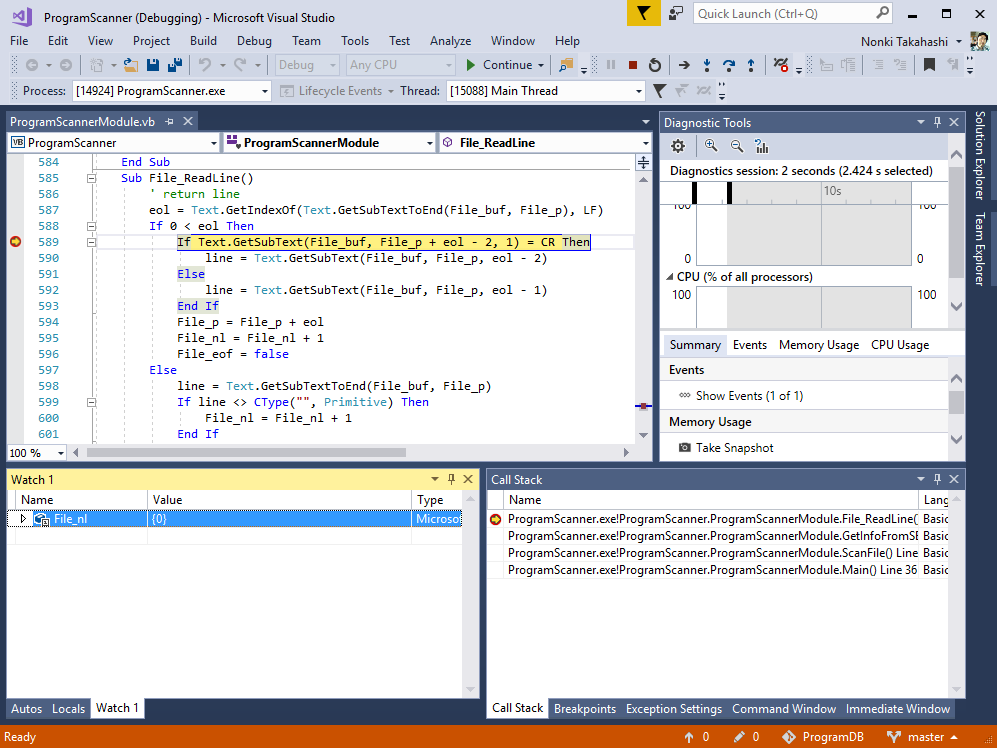
While program pause, you can watch the values of variables when you enter the names of variables in Watch 1 window. To set watch, click [Watch 1] tab, click a line below [Name] and enter the variable name. Or such as following expressions can be entered.
Text.GetSubTextToEnd(file_buf, file_p)
Text.GetLength(file_buf)
Without setting a watch, just hover the mouse over the variable name in source code.

Autos
Variables are automatically added to Autos tab as well as Watch.
Live Tree View
There is a black tools menu on your program. This menu is for Live Tree View.

The most left button [Go To Live Visual Tree] is for showing Live Visual Tree. The second [Enable selection] button is for selecting objects in the program. In Small Basic program, Controls and Shapes can be selected. The third [Display layout adorners] button is for checking layout of each object. The right most [Track focused element] is for tracking focused objects. In Small Basic program, Controls will be focused. And the bottom button is to shrink this tools menu.

The left pain is the Live Visual Tree. This tree shows objects in the program window. The node [Canvas] means the GraphicsWindow in this case.

Following picture shows that the turtle image is selected with [Enable selection] feature.

Selected object will be highlighted in the Live Visual Tree.

Clicking mouse right button on an object in the tree and selecting [Show Properties] shows Live Property Explorer. You can check the properties of the selected object.

Save Changes
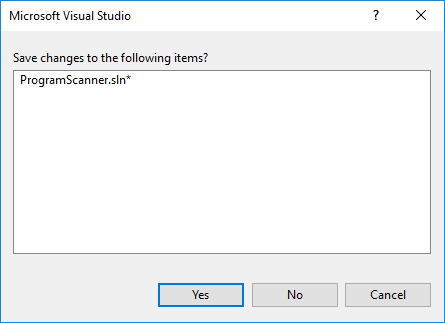
At the first closing solution (or Visual Studio), following popup will appear. Then push [Yes] button to save changes such like library reference of this solution.
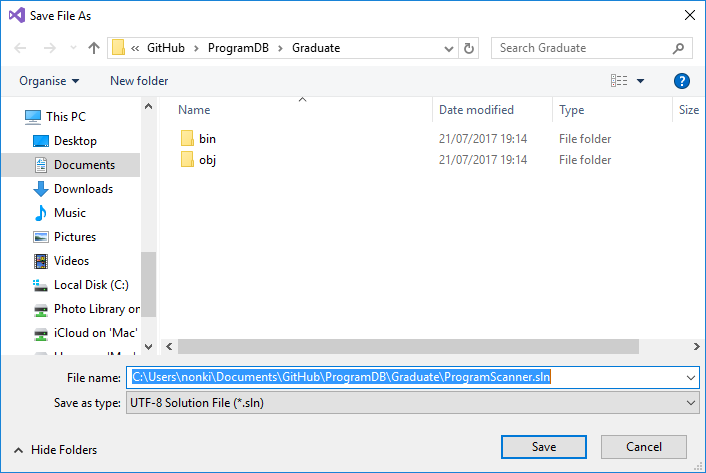
Push [Save].
Known Issues
Visual Basic Not Found
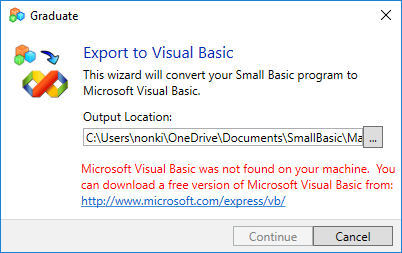
If there is no VS 2013, following error message may be come up. But xxx.vbproj file is created in the given folder. Double click the xxx.vbproj file to start VS 2017.
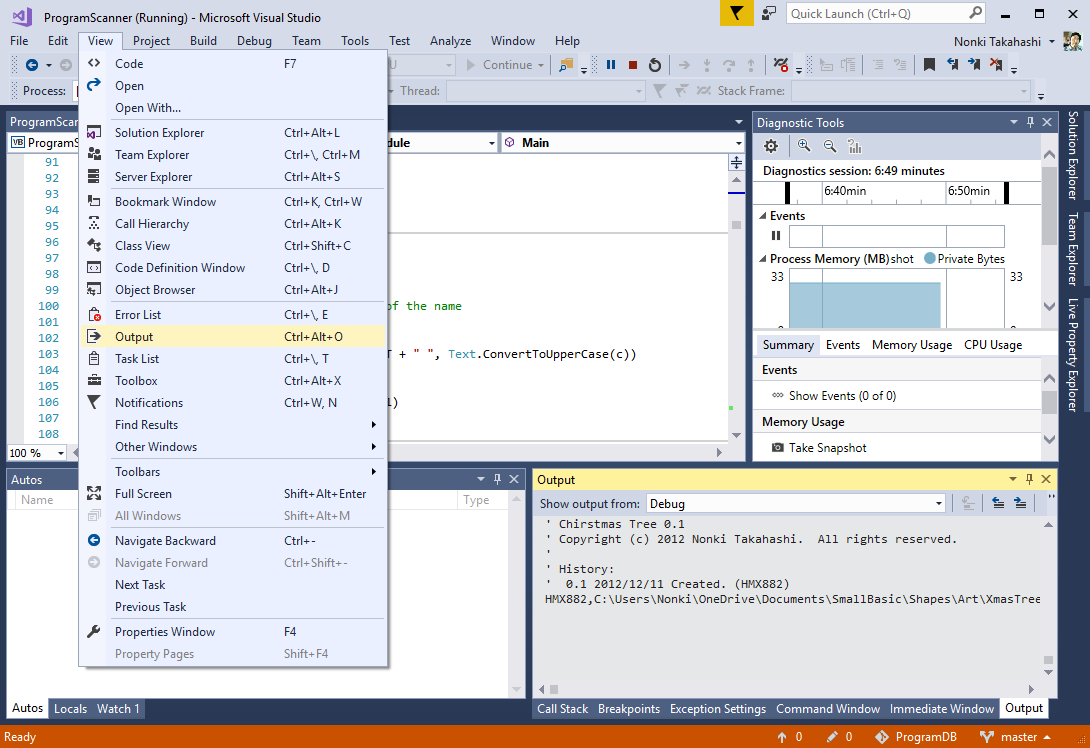
TextWindow Doesn't Work
TextWindow.Write or TextWindow.WriteLine doesn't show text within VS 2017. But the output is displayed in Output view.