Windows Server 2016 Installation
We are installing new Server 2016 OS and in the article, you can find step by step installation process.
We have a minimum hardware requirement for install Server 2016.
You can find system requirements of Server 2016 in the link.
And you can find your hardware compatibility with Server 2016 here.
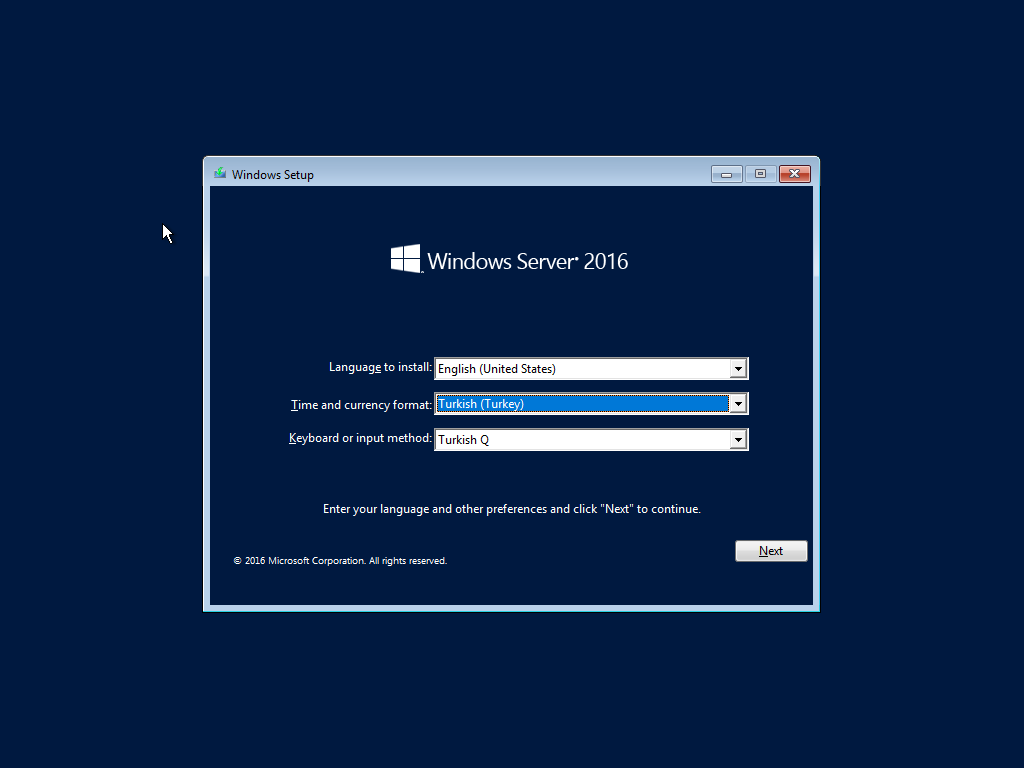
Installation started now, on this screen we can able to configure language, region and time, keyboard settings. We should configure correct settings here and then select “Next” for continue.
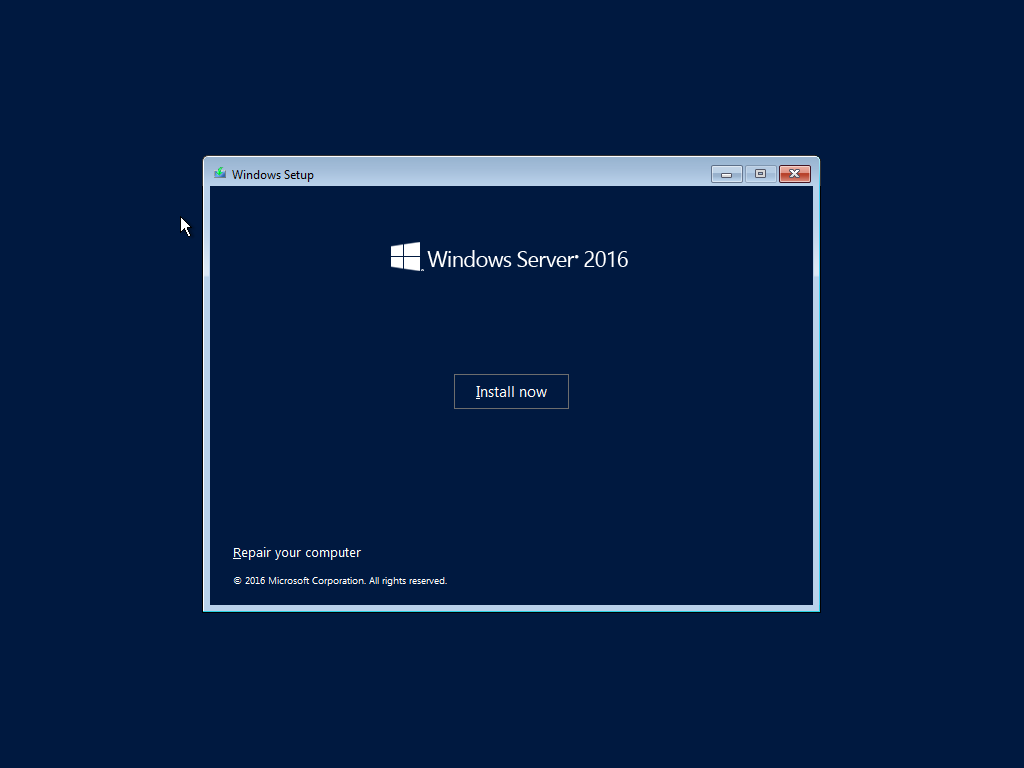
We should select “Install Now” in coming screen.
We can choose the Server 2016 version on this menu. We need Server 2016 Standard with GUI so selected “Server 2016 Standard (Desktop Experience).
Also, if you need to install Server 2016 without GUI you should select “Windows Server 2016 Standard” here. Further Windows Server 2016 has different edition: Datacenter, Standard and Essentials editions.
You can check here for Comparison of Standard and Datacenter editions of Windows Server 2016
And here detailed information about editions of Server 2016.
We can see the licence terms on this screen, select “I accept Licence Terms” then click Next to continue.
Select “Custom: Install Windows only (advanced)” here because we will do a clean installation OS. But if you need an in-place upgrade you should select “Upgrade: Install and Keep files, settings and applications” here. This option suitable for supported OS, features, services and roles. But keep in mind you should not prefer in-place upgrade for critical roles like Active Directory Directory Services, etc.
We can select and configure disc information on this screen. (You can set the installation disc, size, etc.) Used default settings here.
You can see that the necessary files are copied and the installation process is running on this screen.
The installation process is done and rebooting.
Screen showing that the necessary settings were made before the server was started.
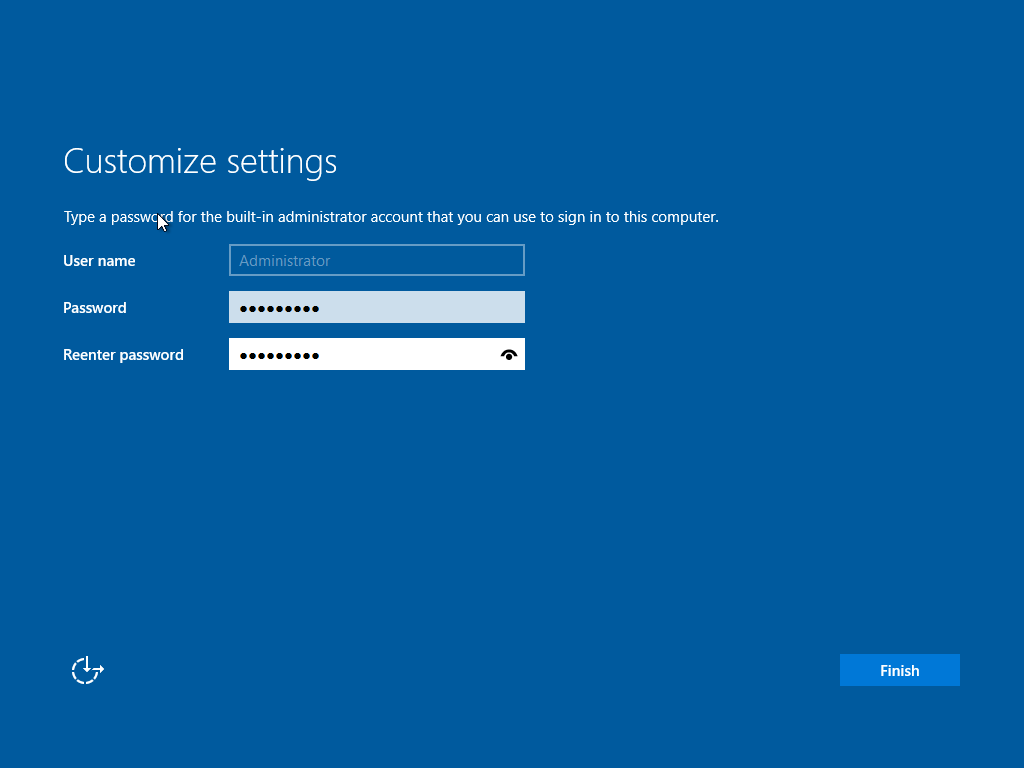
We can set a password for the local administrator account. You should configure a secure password for local admin.
On the login screen, we can login with “Administrator” account and related password.
And finally, you can see new Server 2016 interface. It’s similar to old Server 2012 interface but there are a lot of new features coming with Server 2016.
You should fully patch new Server 2016 before you add or configure roles, services.


