Office 365 PowerShell: Getting Started with User Administrative Tasks
Introduction
Office 365 is Microsoft’s cloud offering that encompasses various services including Exchange, SharePoint Online, Outlook and other On Demand Services which can be subscribed as per various licensing plans. Office 365 provides an admin center to centrally manage all the services in one place called the Office 365 Admin Centre. We can perform the administrative tasks directly from the UI as well as remotely using PowerShell.
In this article, we will see how to connect to Office 365 remotely using PowerShell to access the admin center and perform user tasks.
Prerequisites
Before getting started with the implementation walkthrough we will need to install the below software to get started with PowerShell for Office 365.
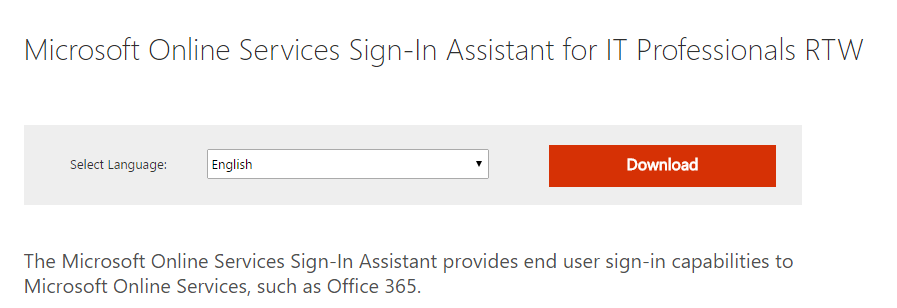
- 64-bit version of the Microsoft Online Services Sign-in Assistant which can be downloaded from here
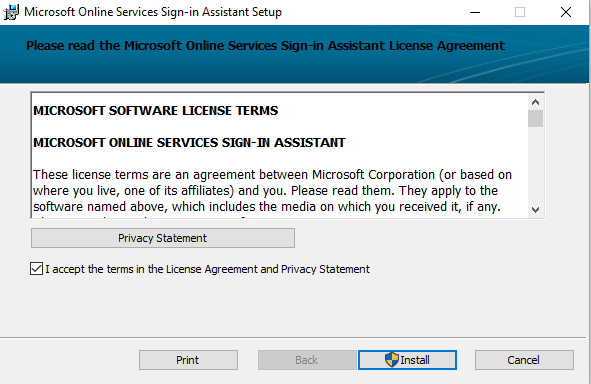
Once downloaded, install the Sign-In Assistant on the local machine.
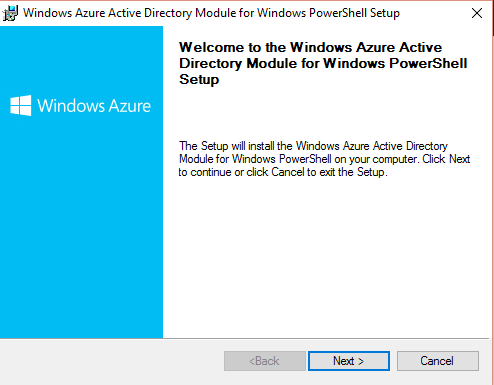
- 64-bit version of the Windows Azure Active Directory Module for Windows PowerShell which can be downloaded from here. Ensure that you install Azure Active Directory module for Windows PowerShell only after installing the above Sign-In assistant.
Spin up Azure Active Directory Module and Connect to Office 365
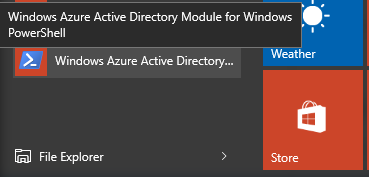
Once the Azure Active Directory module has been installed, open the installed Module for PowerShell.
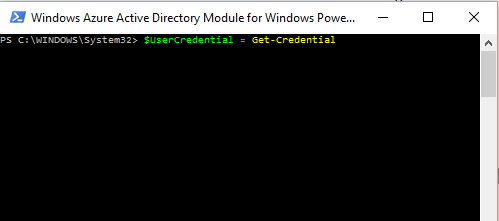
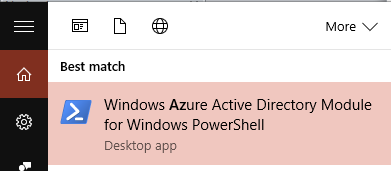
Click ‘Windows Azure Active Directory Module for Windows PowerShell’. This will open up the Windows PowerShell console with AAD module pre-loaded. Add the below command to the command line to add the user credential for connecting to Office 365.
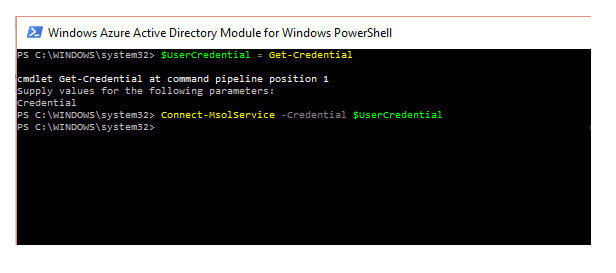
$UserCredential = Get-Credential
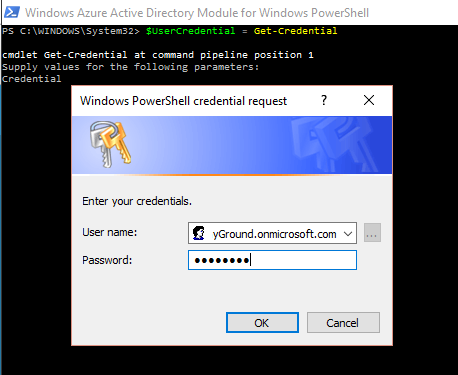
On pressing enter it will ask for the user name and password for connecting to Office 365 subscription.
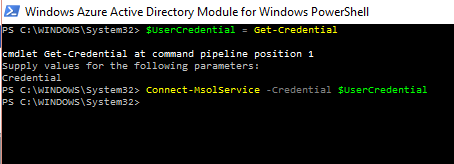
Click OK after entering the credentials. Now let’s connect to the office 365 subscription using the command:
Connect-MsolService -Credential $UserCredential
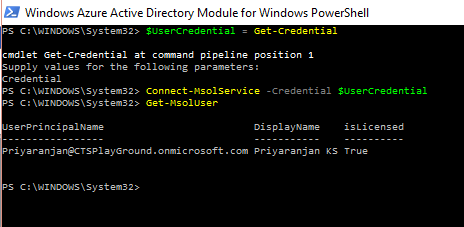
It does not return any success or failure message. So let’s check out the connection status of Office 365 subscription by running an arbitrary Office 365 cmdlet:
Get-MsolUser
It successfully returns the results. This cmdlet retrieves all users in the organization along with their user principal name and display name.
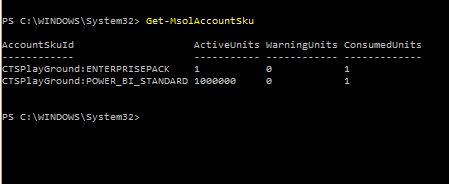
We can get to know the licensing option used by Office 365 using the command:
Get-MsolAccountSku
Similarly, we can use other administrative cmdlets for managing the various services and administrative tasks within Office 365 admin center. A complete list of cmdlets can be found here
Office 365 User Tasks
In this section, we will see how to perform the below user actions in Office 365 using PowerShell.
- Add new users
- Remove the users
- Edit User properties
Add users to Office 365
Spin up ‘Azure Active Directory Module for Windows PowerShell’.
Run the below commands to connect to Office 365 subscription.
$UserCredential = Get-Credential
Connect-MsolService -Credential $UserCredential
Now, you can add a new user to Office 365 subscription using the below script:
New-MsolUser -DisplayName <``DisplayName``> -FirstName <``FirstName``> -LastName <``LastName``> -UserPrincipalName <``Account``> -UsageLocation <``CountryCode``> -LicenseAssignment <``AccountSkuID``> [-Password <``Password``>]
Eg: New-MsolUser -DisplayName “John” -FirstName “John” -LastName “Abraham” -UserPrincipalName “John@CTSPlayGround.onmicrosoft.com” -UsageLocation “US” -LicenseAssignment “PlayGround:ENTERPRISEPACK” -Password “password-1”
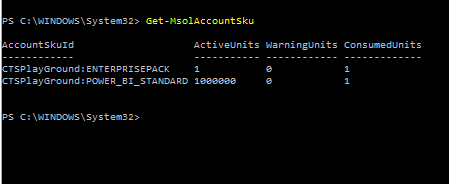
Here ‘UserPrincipalName’ will be the user name of the subscription as well as the email id. ‘Usage Location’ is basically the country code that will be assigned to the account.’ LicenseAssignment’ information can be obtained by running the script:
Get-MsolAccountSku
Remove User
We can remove the user from Office 365 subscription using the below PowerShell script:
Remove-MsolUser -UserPrincipalName “User Principal”
Edit User Properties
The user properties of an existing user in Office 365 can be edited using the ‘Set-MsolUser’ command:
Set-MsolUser -UserPrincipalName " Priyaranjan@CTSPlayground.onmicrosoft.com" -DisplayName "Priyan"
You can get an entire list of the properties of the user that can be changed using the ‘Set-MsolUser’ command from here.
Summary
Thus we saw how to get started with administrative tasks in Office 365 using PowerShell
