SCCM 1606: Step by Step Walk-through Setup
Introduction
The environment used for setting up System Center Configuration Manager is a two server farm with one server acting as the Domain Controller and the second one will act as the SCCM Server with SQL Server 2016 installation. We will install SCCM on the same server as SQL Server for the time being. We can also extend the set up to a stand-alone SCCM server and SQL Server. The installation of SCCM is primarily divided into two sections:
- Prerequisite installation
- System Center Configuration Manager Installation
Prerequisite Installation
Before installing SCCM on the server we have to set up a few prerequisites on the server else we will get a few errors during the installation of SCCM. The prerequisites that we would be setting up are:
- Install Windows ADK 10
- Create System Management Container in the Domain Controller System
- Extend Active Directory Scheme
- Configure IIS Role
- Install BITS and Differential Compression
- Install Windows Server Update Service Role
Install Windows ADK 10
If we have not installed Windows ADK 10 we will get the below error while trying to install SCCM.
So let’s get the installation file from here. Double-click the installation file and start the installer.
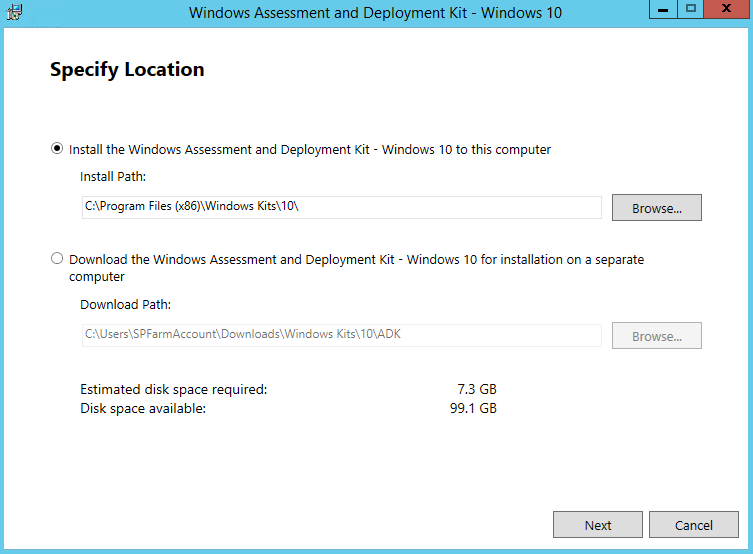
Specify the install location and continue.
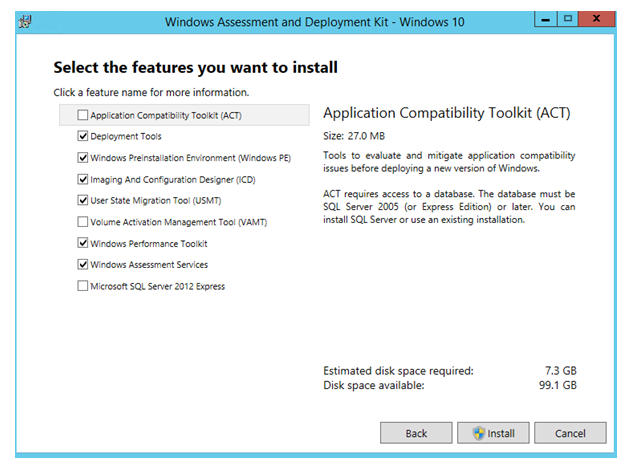
Check the required features that have to be installed, We already have set up SQL Server 2016 on the server, so let's uncheck the last option and install.
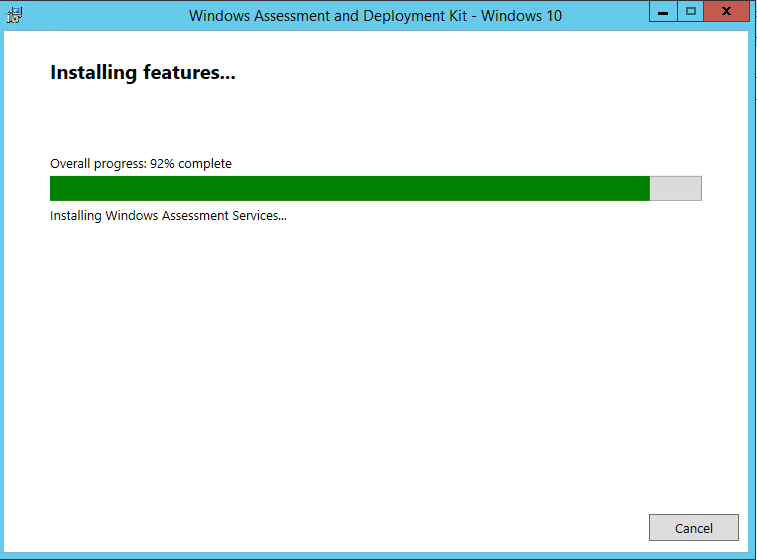
This will install Windows ADK 10 in the SCCM Server.
Create System Management Container in the Domain Controller System
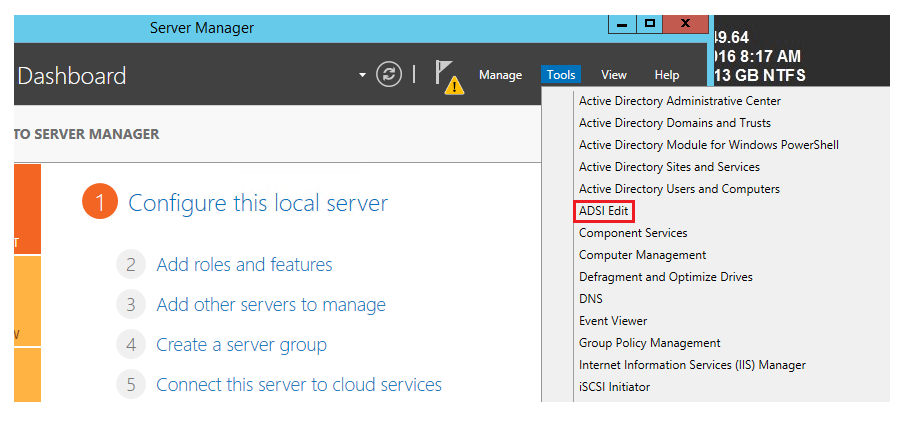
Once Windows ADK 10 has finished the installation, we will set the System Management Container in the AD Server. In order to do that, let's head over to the Server Manager and from tools select ADSI Edit.
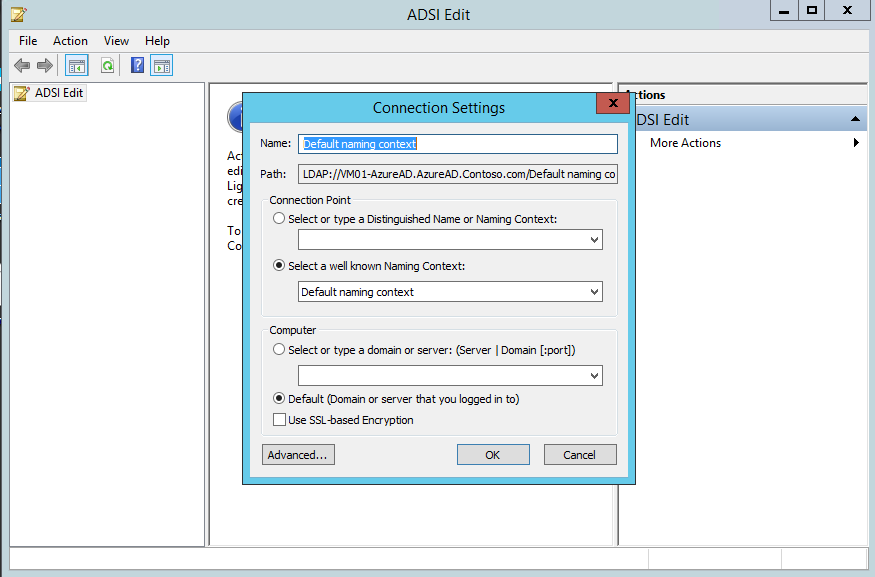
Right-click on ADSI Edit option in the below window and select Connect to. This will open up the Connection Settings window. Click OK.
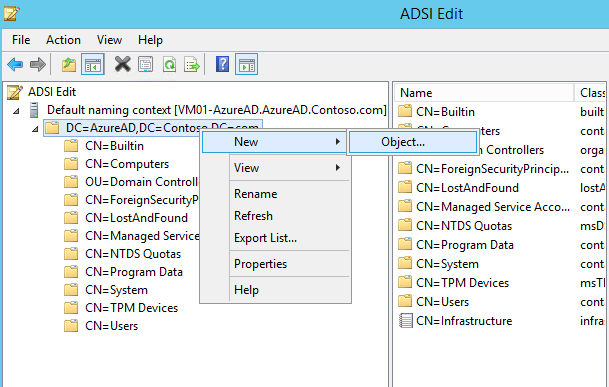
Right-click the Domain Controller name and select New->Object.
Specify the class as “container” and click Next. Don't create the container in the root directory (like the screenshot shows), but create it in the "CN=System"-Container. (Thanks to the comments which led to this mistake)
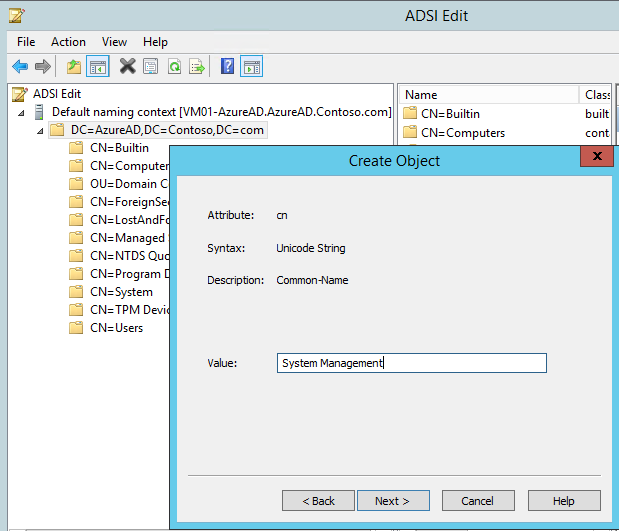
Specify the values as “System Management”.
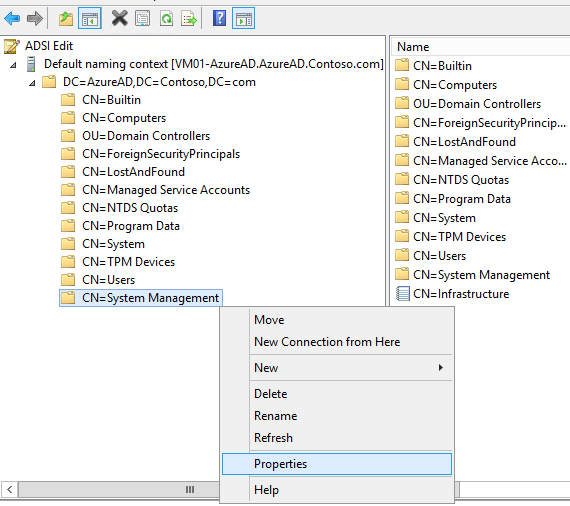
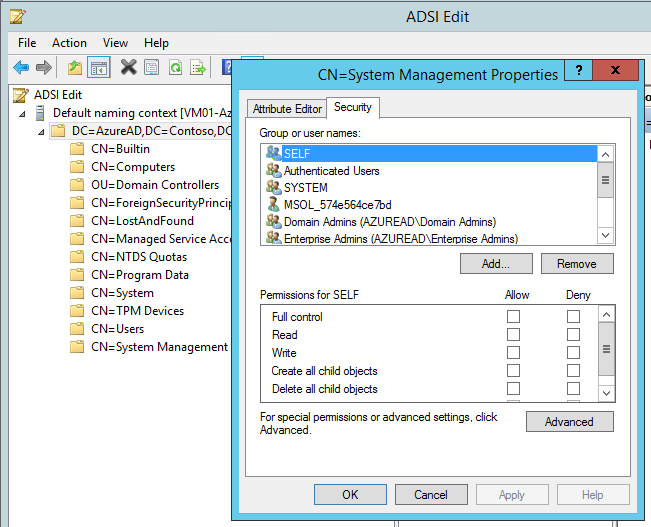
This will create the object in the AD. Now we have to assign object permissions to this container. Right-click the newly created container object and select properties.
Click Add to add the users.
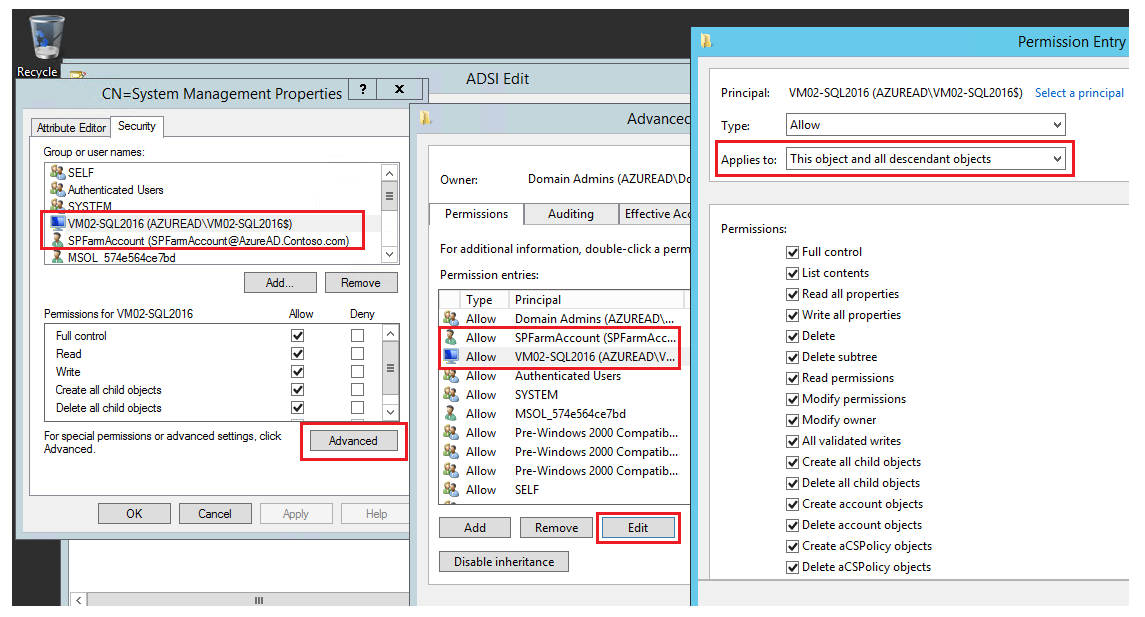
Add the Admin Account of SCCM Server (here we are using SPFarmAccount) and the SCCM Computer (VM02-SQL2016) to this container object.
From advanced settings, change the permission entry from “This object” to “This object and all descendant objects”.
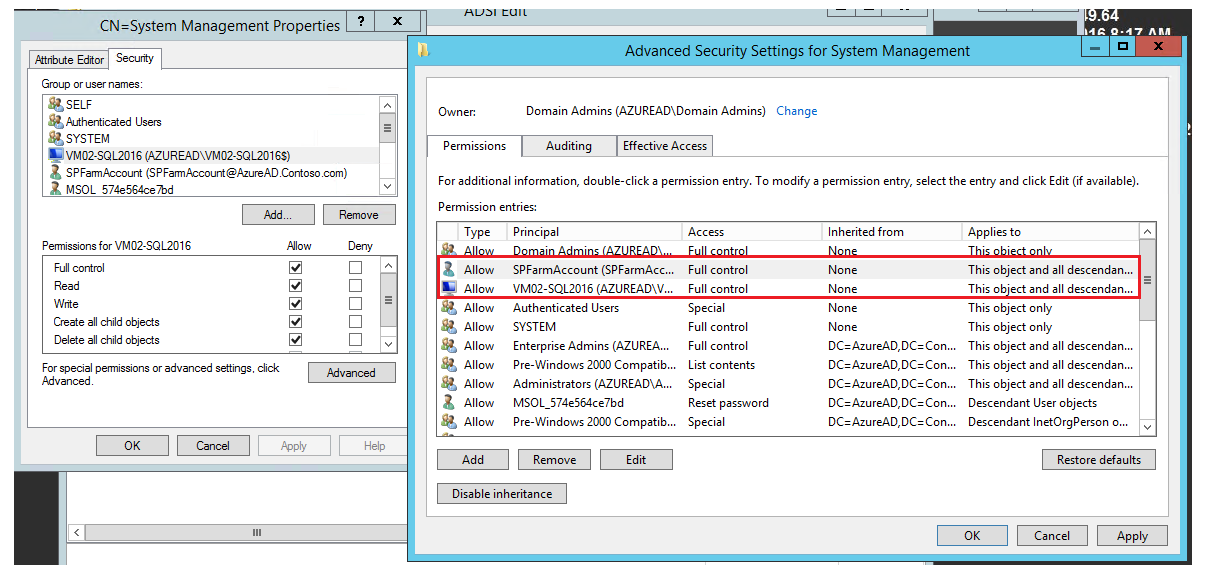
Now both SPFarmAccount and VM-2-SQL2016 has been granted Full Control to the Container Object.
Extend Active Directory Schema
Let’s download the SCCM Setup Files from here.
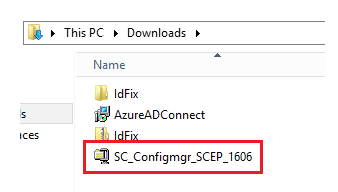
It will contain the Zip file named SC_Configmr_SCEP which should be unzipped to a drive folder.
Go inside the extracted folder to the path C:\SC_Configmgr_SCEP_1606\SMSSETUP\BIN\X64
From there, run the application extadsch
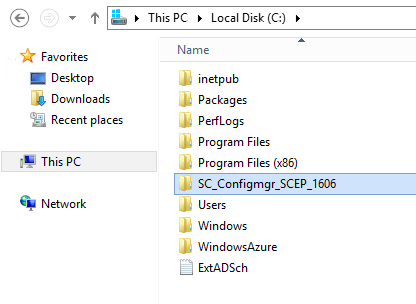
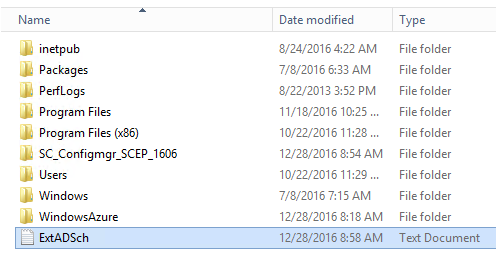
It will run the command line tool to extend the active directory schema. You can find the output file in the C Drive.
Opening it, we can see the success status of the operation.
Add IIS Server Role
From Server Manager, select Add Roles and Features option.
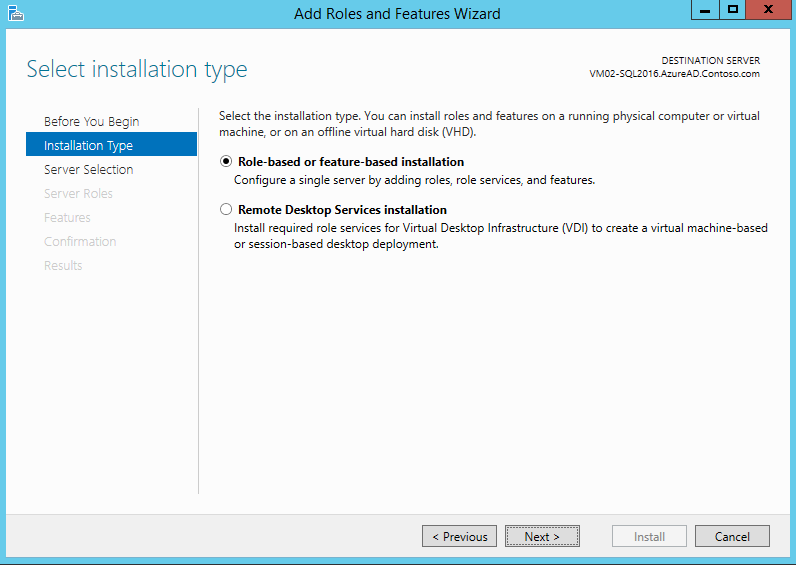
Select Role-based or feature-based installation option and continue.
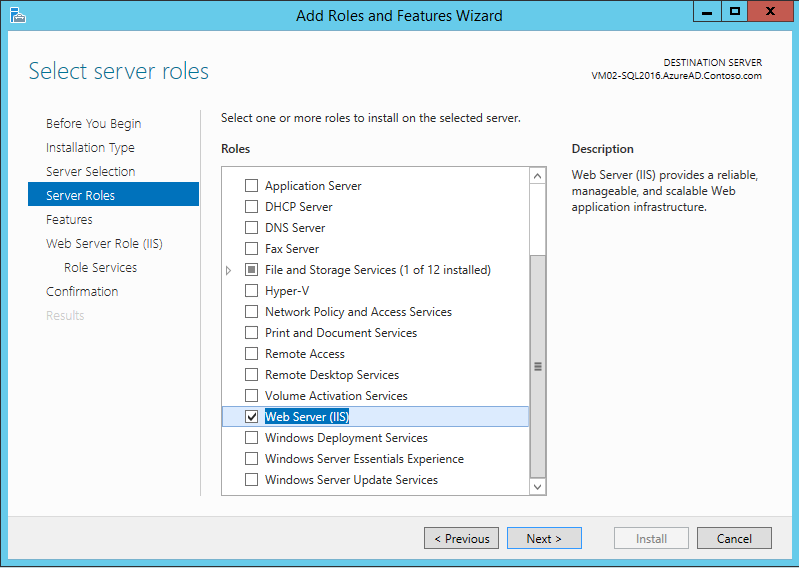
Select the Role as WebServer(IIS) and continue.
Check the Role services that has to be installed as part of Web Server IIS and proceed.
This will start the installation of the Roles in the SCCM Server. Once completed, we can close the wizard and head to the next section.
Install BITS and Remote Differential Compression features
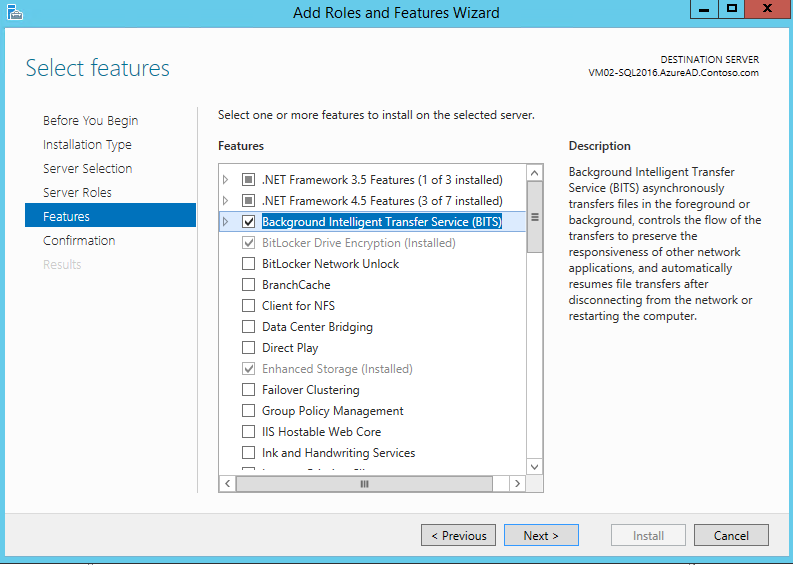
Just like we have installed Web Server (IIS), let's install Background Intelligence transfer Service (BITS) and Remote Differential Compression in the SCCM Server.
Select BITS from the Features window.
Similarly, select Remote Differential Compression from the same window.
Install the selected features by clicking on Install.
Once the installation has completed we can close the window.
Install Windows Server Update Service
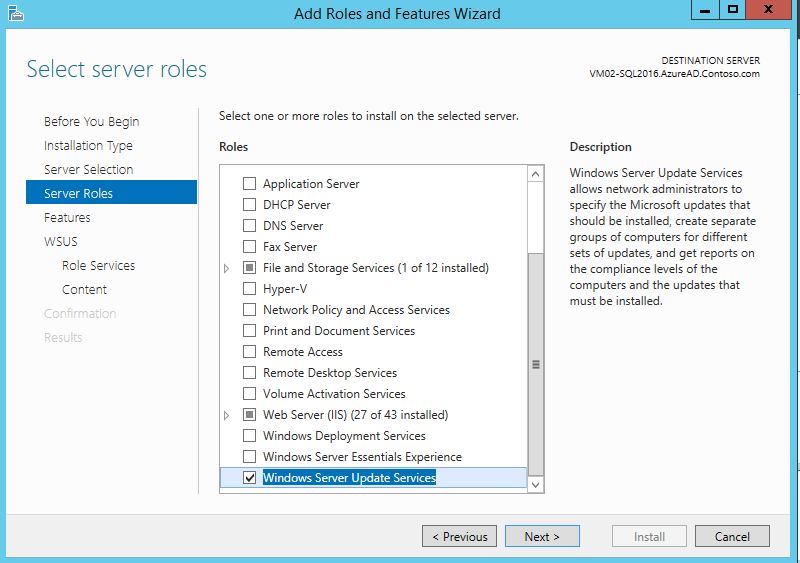
Now let’s add the last Role to the SCCM Server. It is the Windows Server Update Service Role.
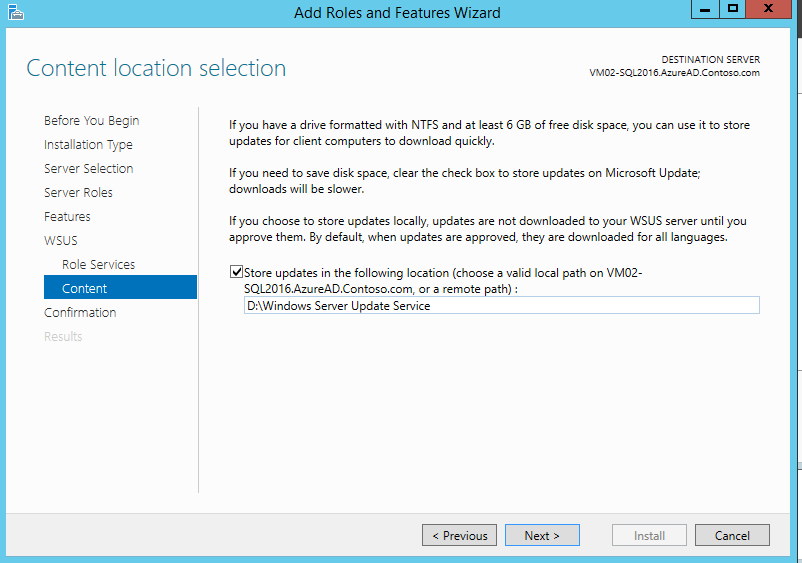
Specify the folder location where the updates will be stored.
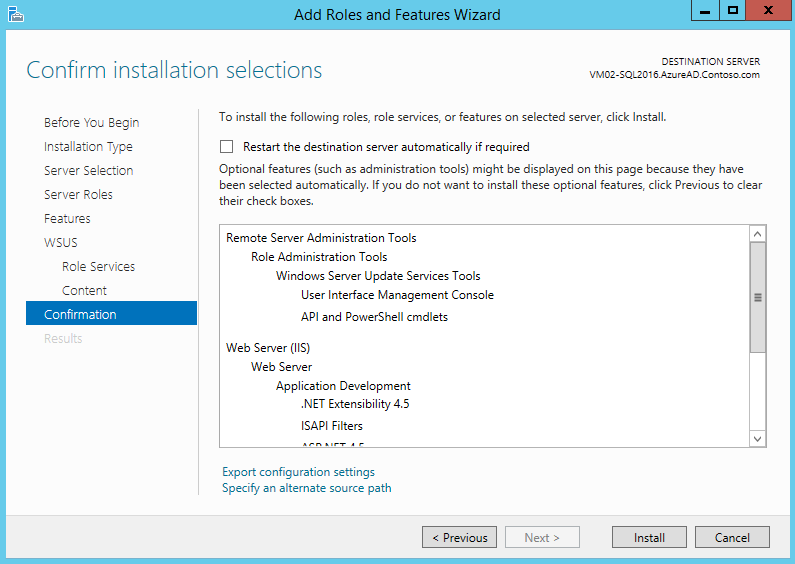
Click on Install to start the installation.
Install System Center Configuration Manager
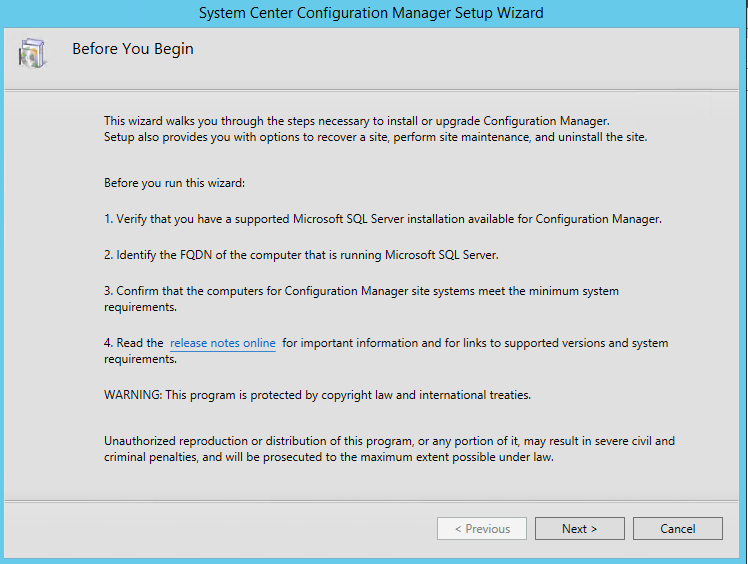
From the downloaded installation files, start the installer present in the x64 folder.
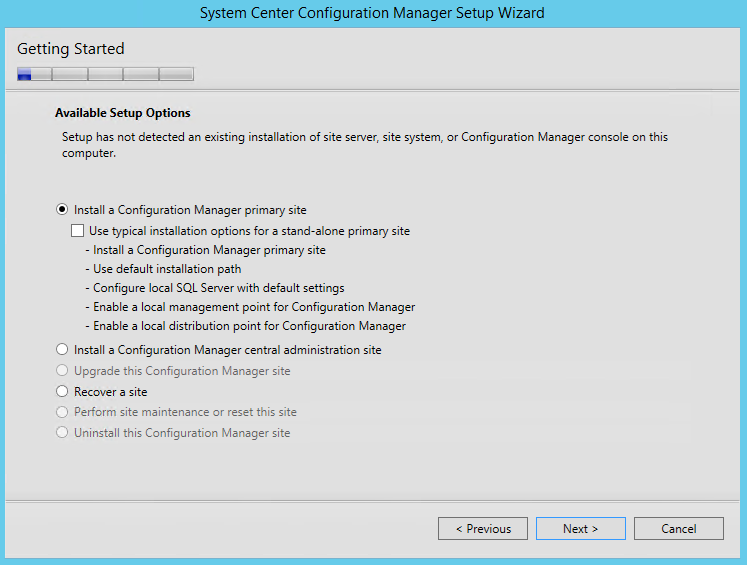
Select “Install a Configuration Manager primary site” option.
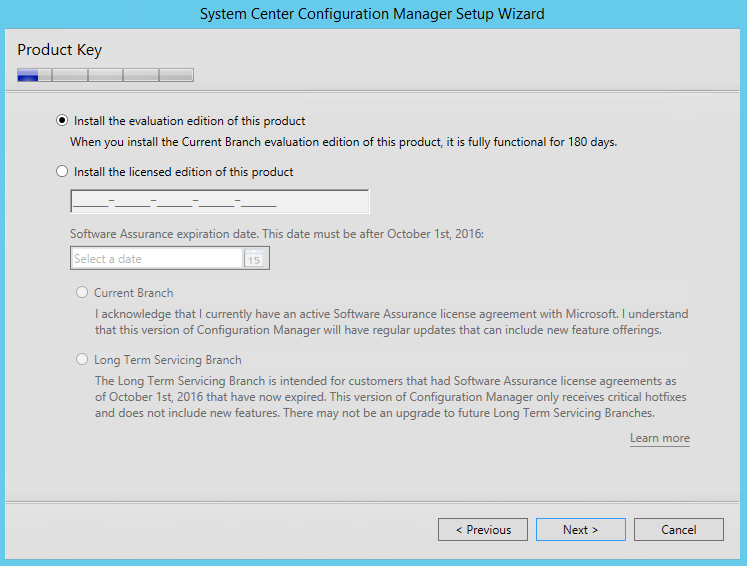
If we have the product key we can enter it, else proceed with the evaluation option.
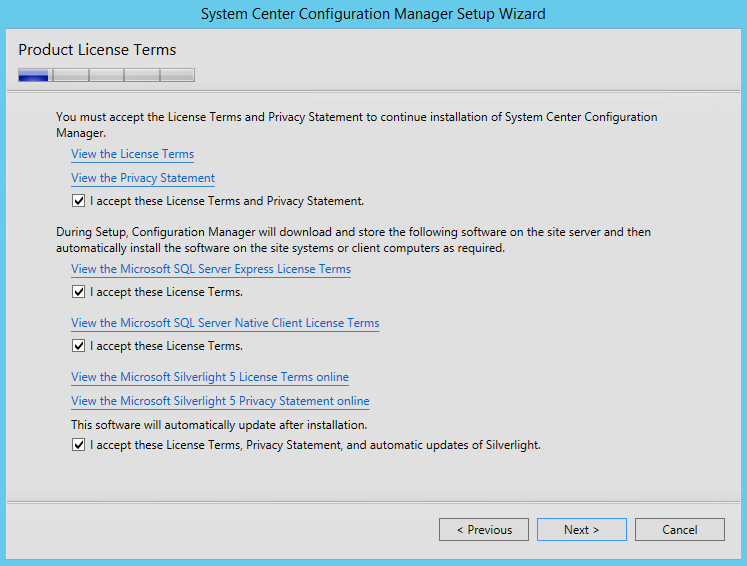
Accept the agreement and continue.
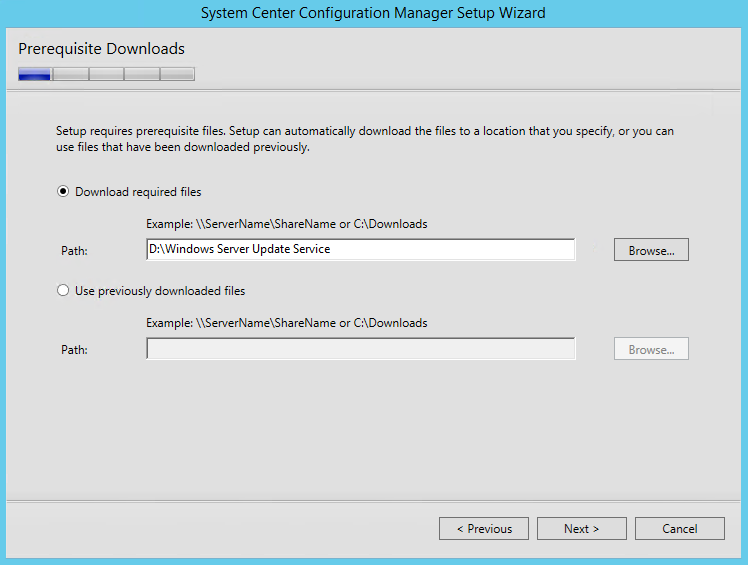
If you have already downloaded the required installation files we can specify the location of the installation media. Else we will have to download them to drive location first.
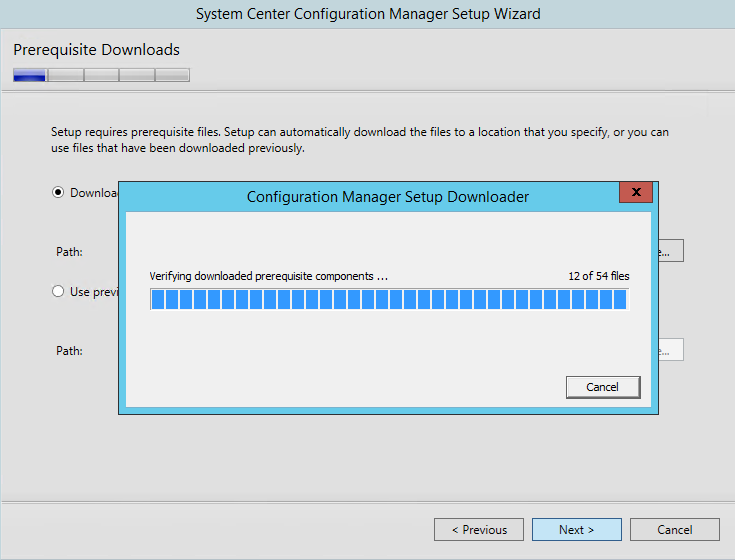
Here we will download them to a drive folder.
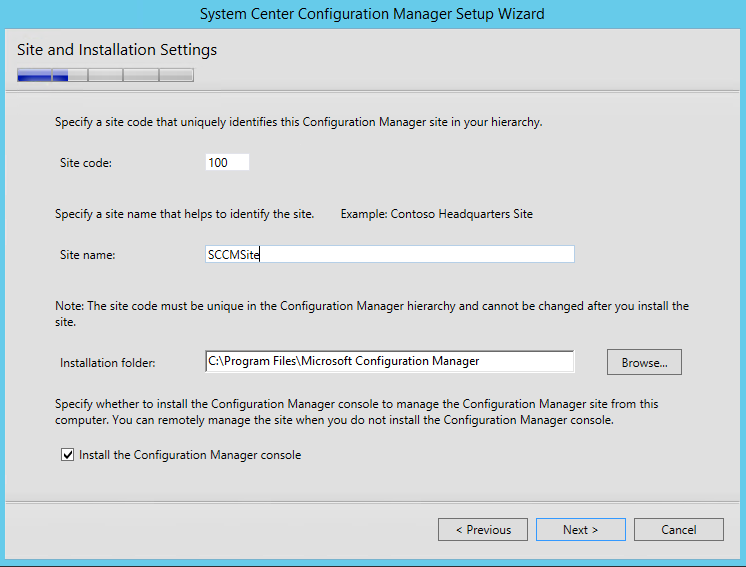
Specify the site code and site name and proceed.
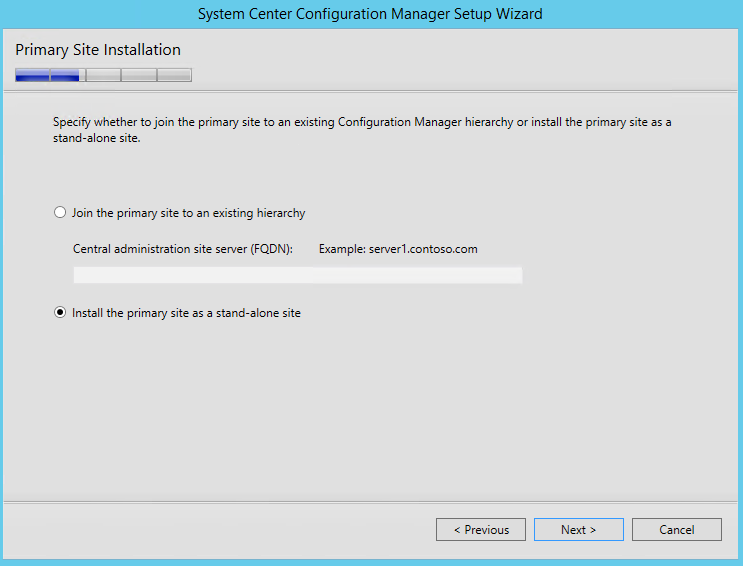
We can choose to install the primary site as a stand-alone site or add it to an existing hierarchy. Even if we chose the stand alone option we can add it to the hierarchy at a later point.
Now we have to specify the Full Qualified name of the SQL Server where the SCCM databases will be created. Since we have chosen the SCCM to be installed on the same server as SQL Server, we don’t have to change the default value.
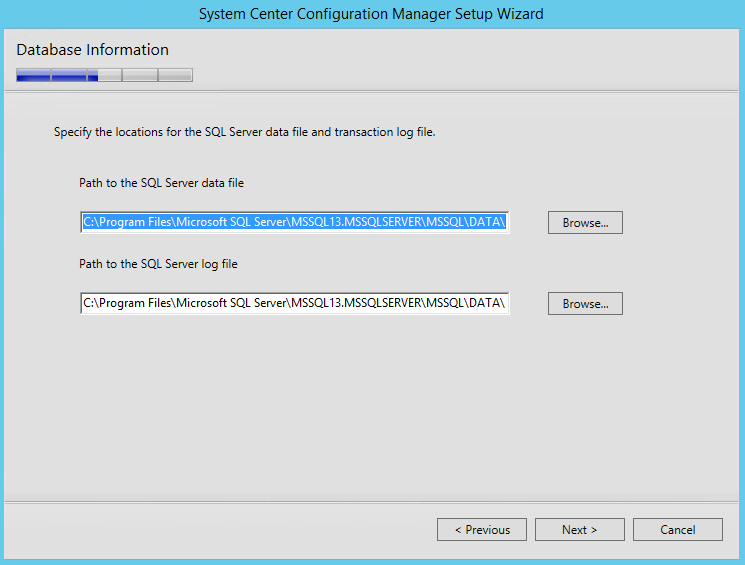
Specify the location for the SQL Server data file and transaction log to be saved and proceed.
Now we have to mention the location of the SMS provider which will be used to communicate with the site database. Let’s install it on the same SQL Server.
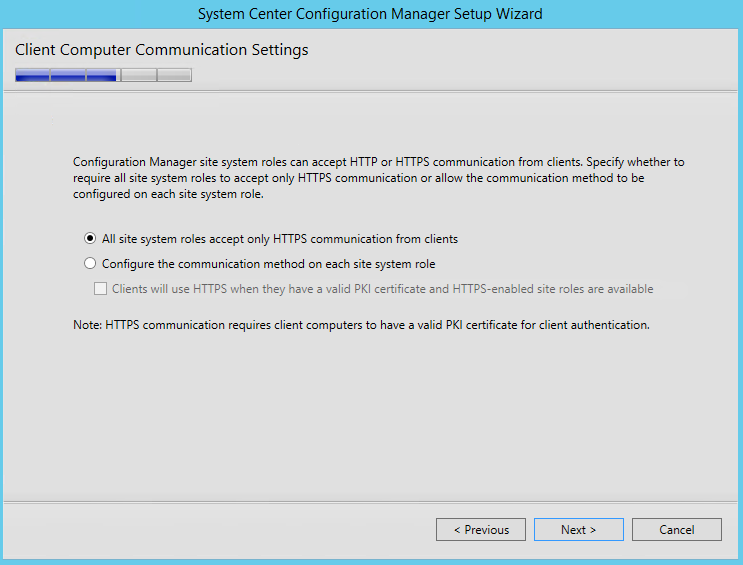
Check HTTPS communication option and proceed.
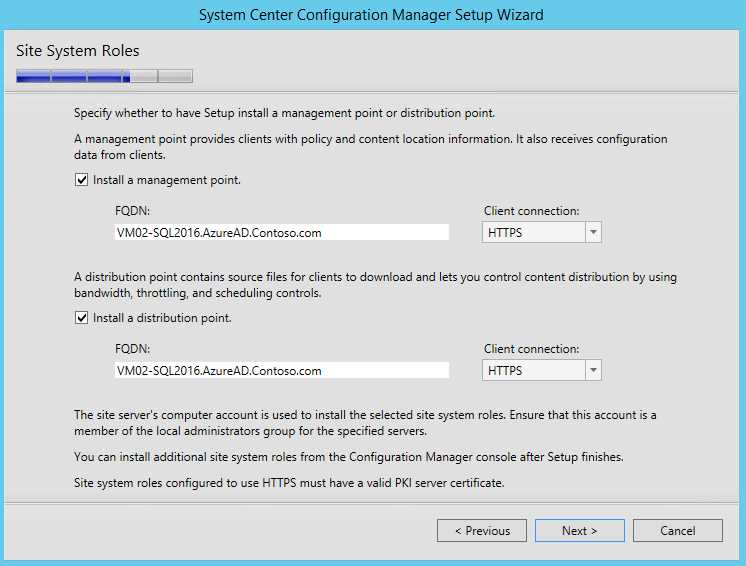
Chose to install a management point as well as installation point and proceed.
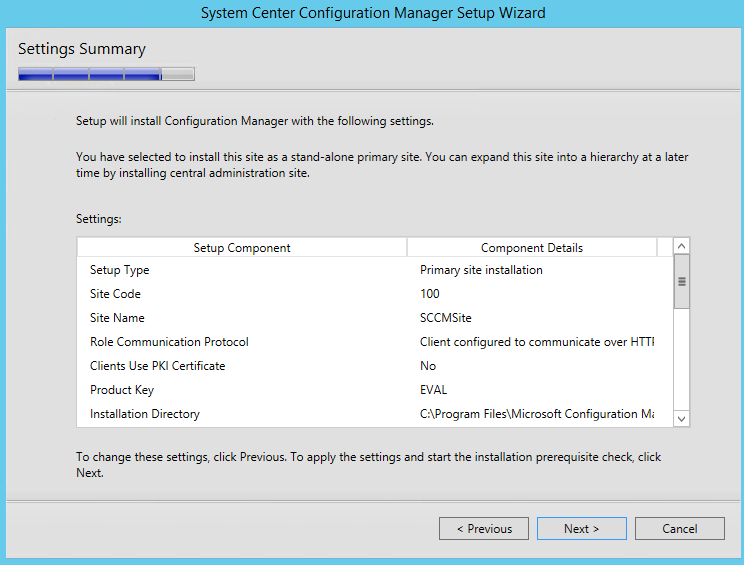
Finally, we are in the setting summary page. Click on Next to start the installation.
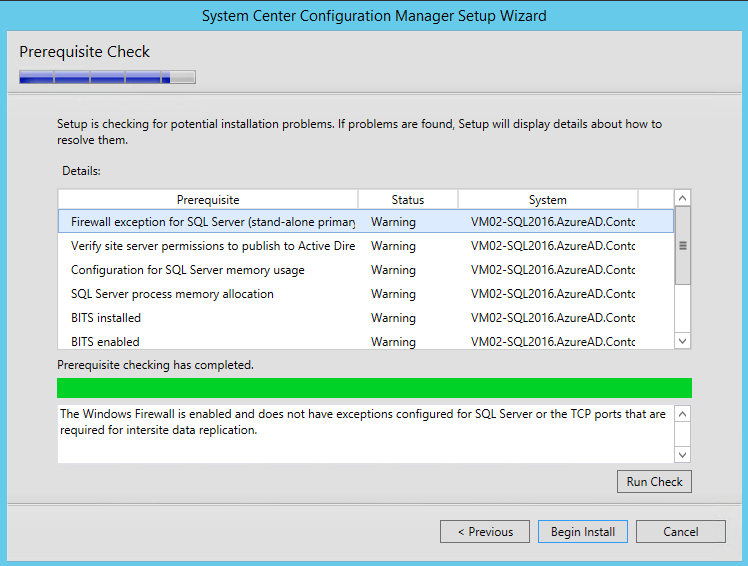
This will start the prerequisite check. Ensure that there are no errors. We can skip the warnings after checking for the severity. If there are errors we will have to resolve them before proceeding.
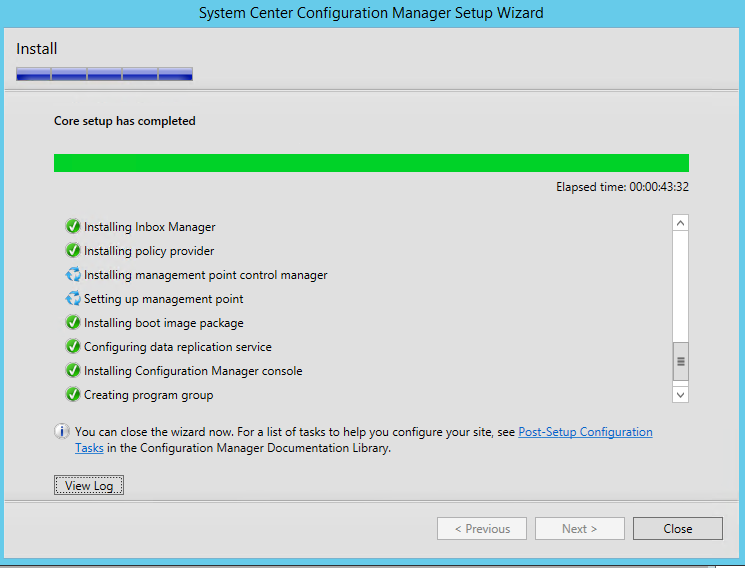
Once we click Begin Install, it would take around 45 minutes to complete the installation of System Center Configuration Manager.
Test System Center Configuration Manager
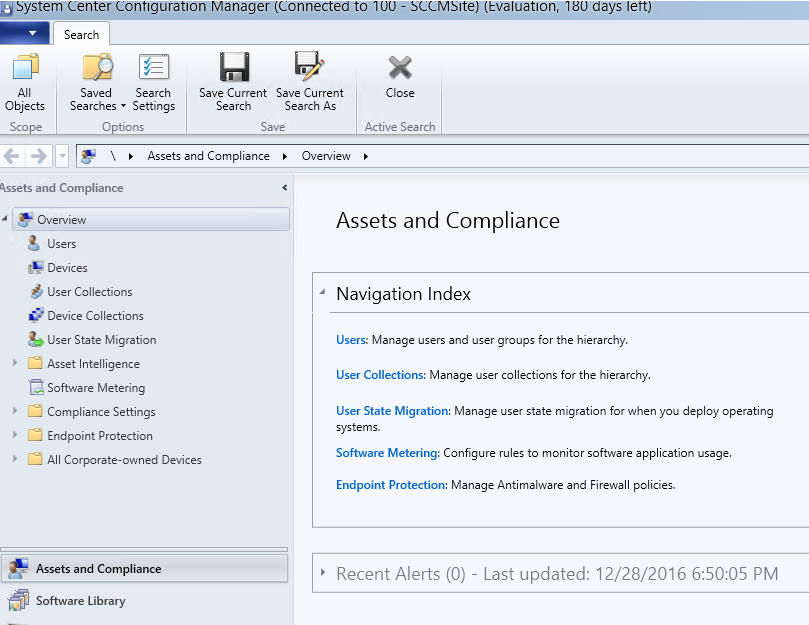
Once the installation has run to completion we go ahead and run the Configuration Manager Console.
This will open up the System Center Configuration Manager
Summary
Thus we saw how to set up the prerequisites required for setting up System Center Configuration Manager and how to set up SCCM in the Server.
See Also
This article can also be viewed from the below link:


