Note
Access to this page requires authorization. You can try signing in or changing directories.
Access to this page requires authorization. You can try changing directories.
Introduction
For creating content editor web part by using HTML is a common requirement for SharePoint. Here we are covering the steps of achieving the same for O365 SharePoint online and is applicable to SharePoint 2013.
You can use the Content Editor Web Part to add formatted text, tables, hyperlinks, and images to a Web Part Page.
IMPORTANT:
- The Content Editor Web Part is intended for adding HTML content to a Web Part Page, which may include hyperlinks. However, this Web Part is not designed to connect to a Web site. If you need to connect a Web Part to a Web site, consider using the Page Viewer Web Part.
- The Content Editor Web Part does not accept the HTML FORM element. If you need to add a Web Part that uses the FORM element, consider using the Page Viewer Web Part or the Form Web Part.
- When you enable the Multiple Language User Interface (MUI) features in SharePoint, the Content Editor Web Part displays content in the chosen alternate language. However, changes to content made in an alternative language are not reflected in the default language.
- Click here for additional details on Content Editor Web part
Download user guide
Click here to download steps by step guide
Step by step approach
1. Open site
Go the site where you want to create Content Editor web part.
2. Create library
Create Asset Library or Document Library for a repository of HTML, CSS, JS etc. resources related to the specific Content Type web part.
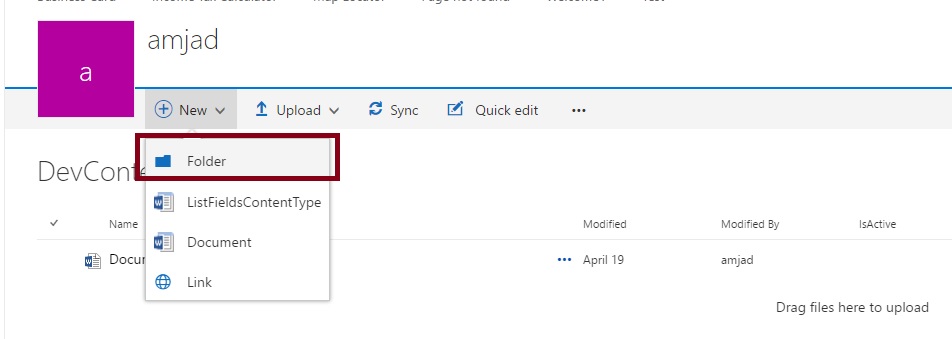
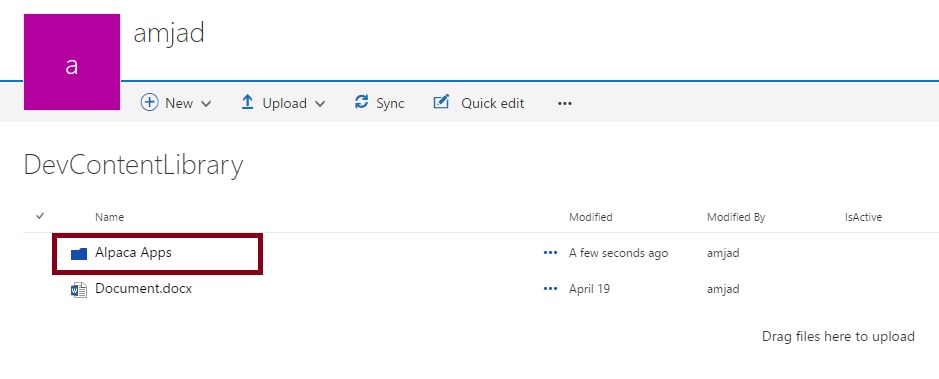
3. Create folder
Create a folder for Uploading your files of step II with the same name of web part to upload the documents.
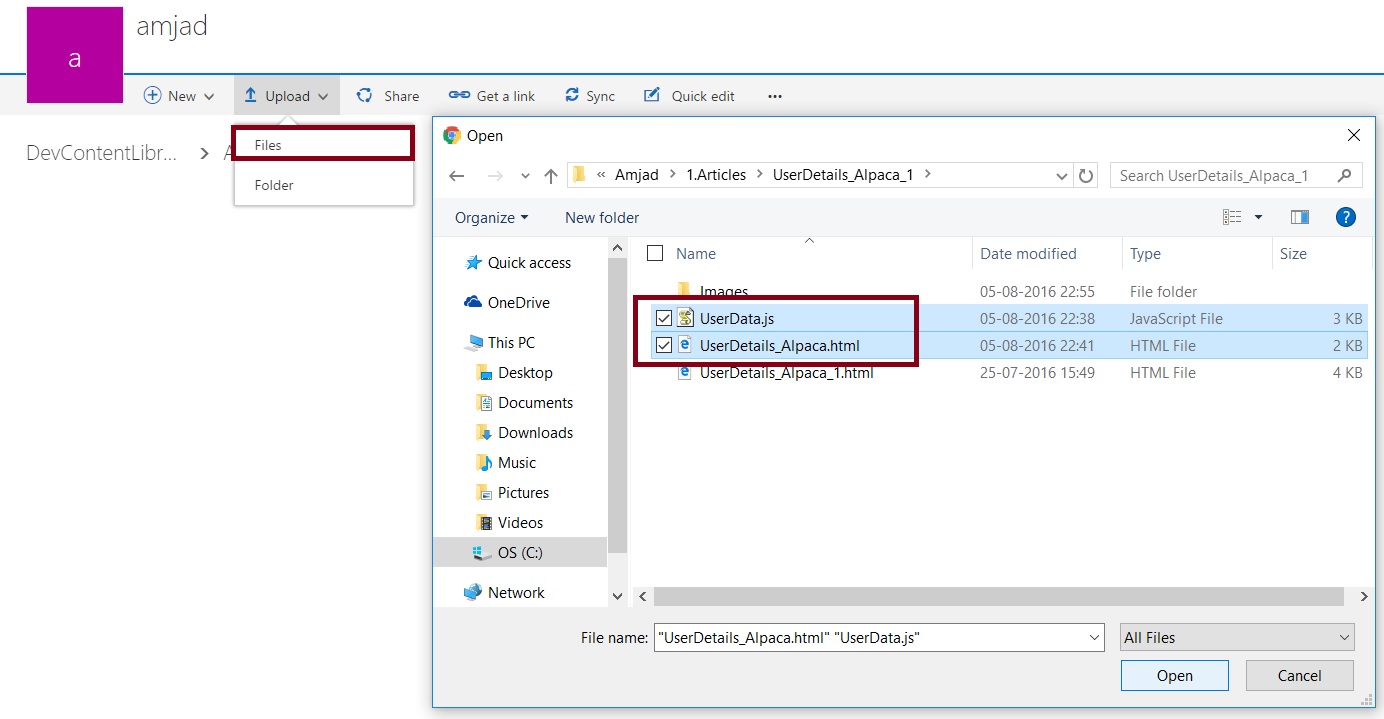
4. Upload source files
Upload the source files
5. Edit page
Edit the page where you want to add web part using steps
6. Edit properties
Edit the properties of Content Editor web part which have been added using step V
7. Copy HTML
Copy the HTML path from step 4 to the properties as below
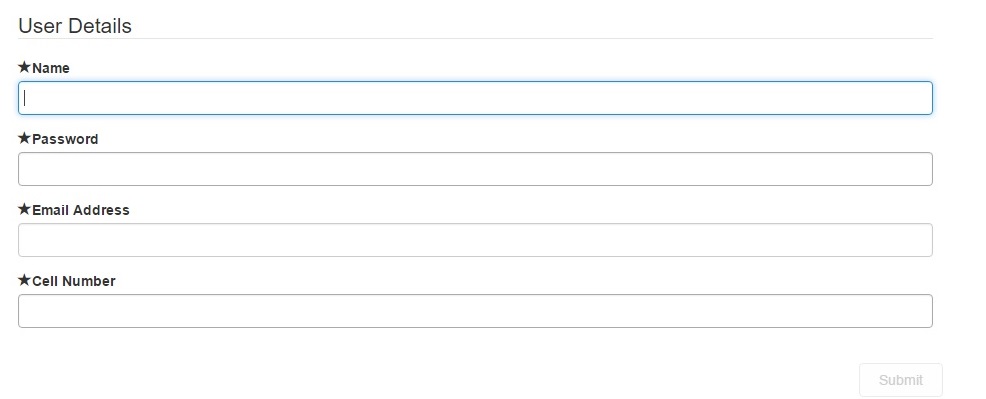
8. Web part ready
Now your web part is ready with HTML loaded


