How to Install and Manage Hyper-V Server 2008 R2 SP1
Note: This article is based on Hyper-V 2.0, and might not apply to Hyper-V 3.0 (Server 2012)
1- Installing Hyper-V Server 2008 R2 SP1
Overview
Microsoft® Hyper-V™ Server 2008 R2 SP1 is the next generation of Microsoft Hyper-V Server 2008, which is a hypervisor-based product that was first released in September 2008. It's a dedicated stand-alone product that contains only the Windows® hypervisor, a Windows Server® driver model, and virtualization components.
Prerequisites for Installation
For install Hyper-V Server 2008 R2 SP1, you will need the following specific hardware requirements by the technology:
Processor:
• Minimum: An x64-based processor with hardware-assisted virtualization. This is available in processors that include a virtualization option—specifically, processors with Intel Virtualization Technology (Intel VT) or AMD Virtualization (AMD-V) technology.
• Hardware-enforced Data Execution Prevention (DEP) must be available and enabled. Specifically, you must enable the Intel XD (“execute disable”) bit or the AMD NX (“no execute”) bit.
Memory:
• Minimum: 1 GB RAM; recommended: 2+ GB RAM
• Maximum: 1 TB
Network adapters
• Minimum: 1
• Recommended: 2 or more
Additional considerations:
• The settings for hardware-assisted virtualization and hardware-enforced DEP are available in the BIOS. However, the names of the settings may differ from the names identified previously.
For more information about whether a specific processor model supports Hyper-V, check with the manufacturer of the computer.
• If you modify the settings for hardware-assisted virtualization or hardware-enforced DEP, you may need to turn off the power to the computer and then turn it back on. Restarting the computer may not apply the changes to the settings.
Installation
The installation of Microsoft Hyper-V Server 2008 R2 SP1 will be very familiar to those of you who have installed a Windows Server 2008 R2 SP1 edition because it uses a similar wizard-driven installation.
There are some sources for deploy Hyper-V Server 2008 R2 SP1: USB, Windows Deployment Services (WDS), downloading the ISO file (for free on Microsoft web site) and burning on DVD.
- For more information about download, licensing and features, go to the following link: http://www.microsoft.com/hyper-v-server/en/us/how-to-get.aspx
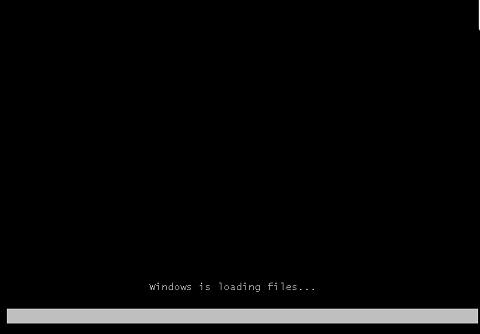
After you choose the source installation, Power-up the server and boot;
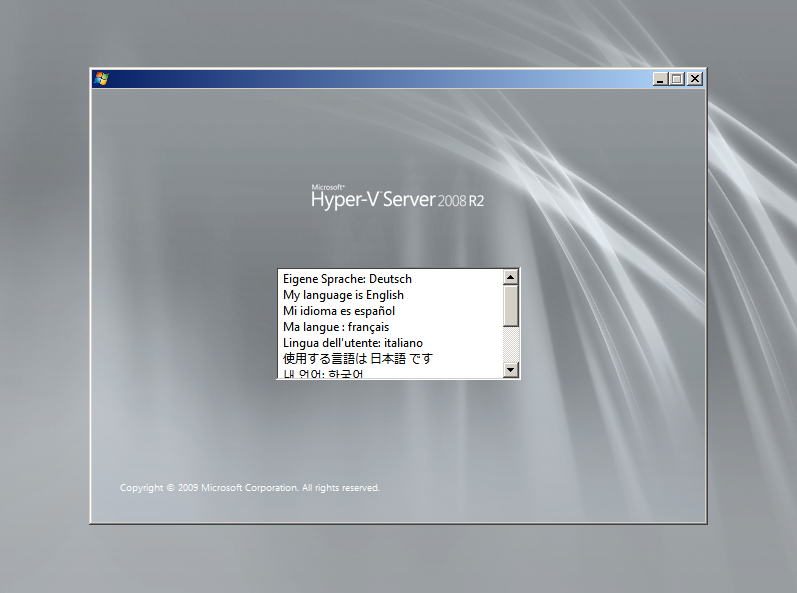
After the boot completes, you will select the language of your interest;
Select the installation language, time and currency format, and the keyboard and input language, and then click Next;
To begin the installation, click Install Now;
After you click Install now, the setup will start;
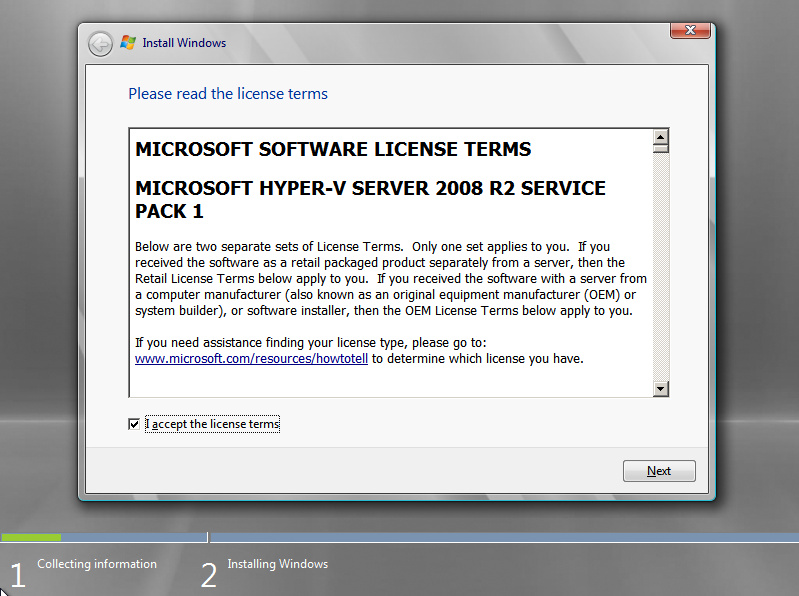
Review the license terms, select I accept the license terms if you agree to them, and then click Next;
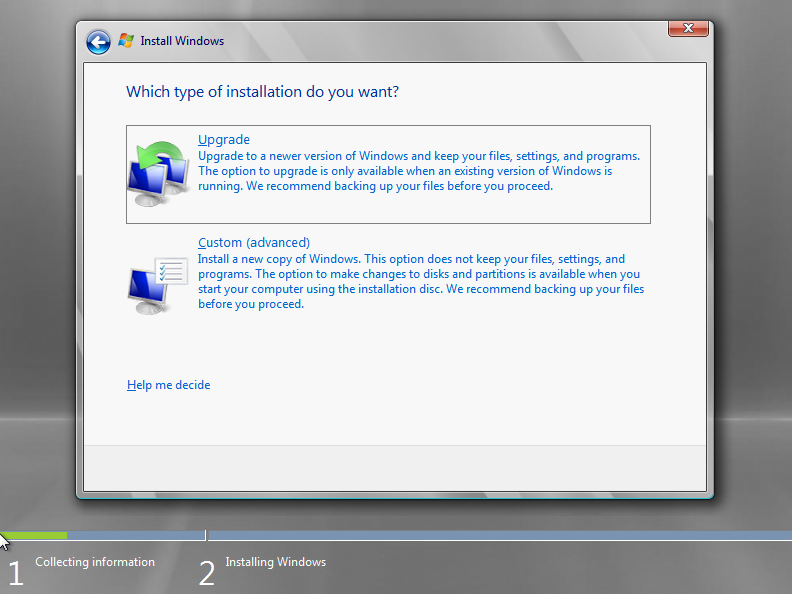
Click the Custom installation button. The Upgrade option is disabled because Microsoft Hyper-V Server 2008 R2 SP1 does not support upgrading from another version of Windows;
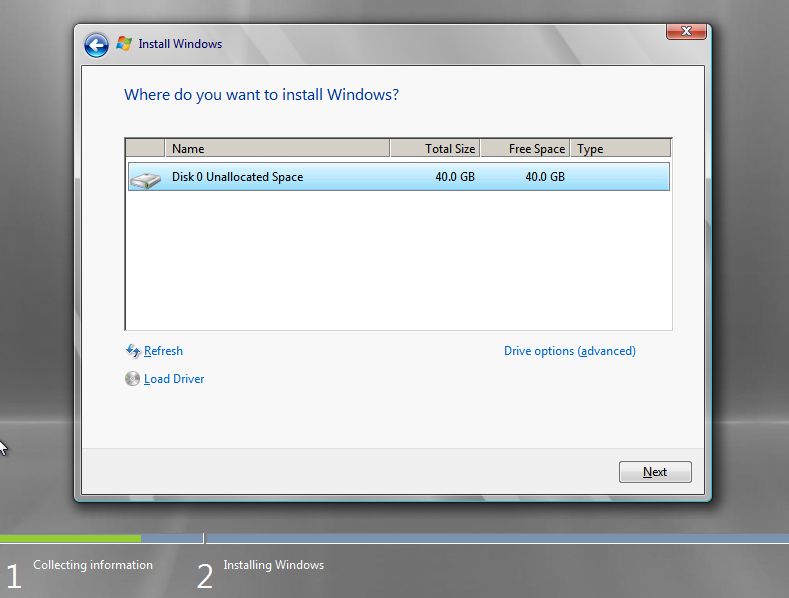
Select a disk and partition to install, and then click Next;
The installation process begins;
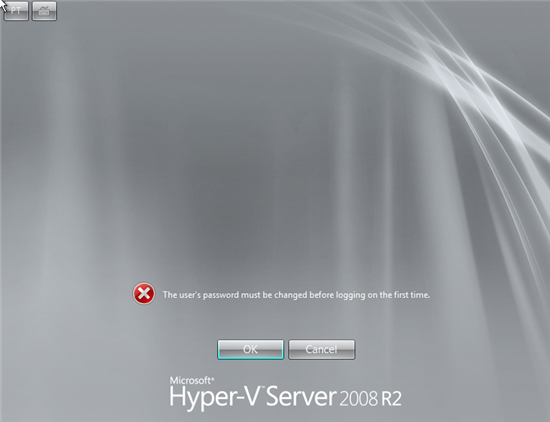
After the installation process completes, a logon screen will display. When you log on for the first time, you will be required to change the local administrator password;
After log on, a command line configuration tool automatically launches to allow you to modify the default system settings.
2- Configuring Hyper-V Server 2008 R2 SP1 for remote management
- If it is not already running, start the Server Configuration tool by typing Sconfig.cmd in a command prompt and pressing ENTER;
- If the account you have used to log on to the computer is already in the Domain Administrators group, skip to the next step. If the account you have used to log on to the computer is not in the Domain Administrators group, add the account to the Administrators group by typing 3 and pressing ENTER;
- Type the domain name and user name and press ENTER.
For example, type: domain\domain user;
- Click OK;
- In the Server Configuration tool, configure remote management by typing 4 and pressing ENTER;
- Select any of the following remote management methods. These options are not exclusive—you can enable any or all of them by repeating this step. For remote management, you should enable all of them;
Allow MMC Remote Management |
a. Type 1 to enable MMC Remote Management. b. A message appears that says: “Enabling MMC firewall exceptions and Virtual Disk Service.” c. When the process is complete, the following message appears: "Remote Management allowed for all Windows Firewall profiles.” Click OK. |
Enable Windows PowerShell |
a. Type 2 to enable Windows PowerShell. b. When the process is complete, the following message appears: “You must restart the computer to complete the Windows PowerShell installation. Restart now?” Click Yes. |
Allow Server Manager Remote Management |
Note You must enable Windows PowerShell and restart the computer before you can enable Server Manager Remote Management. a. Type 3 to allow the computer to be managed by using Remote Server Manager. b. When the process is complete, the following message appears: “Remote Server Management enabled.” Click OK. |
- You may need to restart the computer to activate the option;
- If the computer running Hyper-V Server is in a workgroup or you have any problems during the configuration, see that link: http://blogs.technet.com/b/jhoward/archive/2008/03/28/part-1-hyper-v-remote-management-you-do-not-have-the-requested-permission-to-complete-this-task-contact-the-administrator-of-the-authorization-policy-for-the-computer-computername.aspx
- If the computer running Hyper-V Server is in workgroup, use HVRemote
Managing Hyper-V Server 2008 R2 Remotely
After configuring remote management, you can remotely manage Hyper-V Server through any of the following methods:
• Use Hyper-V Manager in a Full installation of Windows Server 2008 R2.
• Use Hyper-V Manager in Windows 7 using Remote Server Administration Tools.
• Use Microsoft System Center Virtual Machine Manager 2008 R2.
• Use 5Nine Manager for Hyper-V.
Choose the option that is right for you, and then follow the steps that correspond with your choice.
Notes:
• The Hyper-V Manager Microsoft Management Console (MMC) snap-in is automatically installed when the Hyper-V role is enabled on Full installations of Windows
Server 2008 R2.
* •* The System running Hyper-V Manager Microsoft Management Console (MMC) snap-in Must be in the same domain as the Server running Microsoft Hyper-V. Cross domain permissions do not work within this MMC snap-in *
*
• If you will be using a computer with a 32-bit operating system to remotely manage a computer running Hyper-V Server that has failover clustering enabled, you must enable 32-bit support for failover clustering on the computer running Hyper-V Server. You can do this with the following command: dism /online /enable-feature /featurename: FailoverCluster-Core-WOW64
To manage from a Windows Server 2008 R2 computer
1. On the remote computer you will be managing Hyper-V Server from, enable the Hyper-V Manager MMC snap-in: On the Start menu, click Server Manager.
2. Right-click Features, and then click Add Features.
3. Under Remote Server Administration Tools, click Role Administration Tools, click Hyper-V Tools, and then click Next.
4. Click Install.
5. After the computer restarts, click the Start menu, click Administrative Tools, and then click Hyper-V Manager.
6. On the left side of the MMC window, click Hyper-V Manager.
7. From the Actions menu, click Connect to Server, select Another Computer, and then enter the name or IP address of the server that you want to connect to.
To manage from Windows 7
1. On the remote computer you will be managing Hyper-V Server 2008 R2 from, download and install the Hyper-V Manager MMC snap-in from Remote Server Administration Tools (http://go.microsoft.com/fwlink/?LinkID=130862).
2. After the computer restarts, click the Start menu, click Administrative Tools, and then click Hyper-V Manager.
3. On the left side of the MMC window, click Hyper-V Manager.
4. From the Actions menu, click Connect to Server, select Another Computer, and then enter the name or IP address of the server that you want to connect to.
**To manage Hyper-V Server remotely from Microsoft System Center Virtual Machine Manager, see the Virtual Machine Manager content:
**(http://go.microsoft.com/fwlink/?LinkID=129168).
Resources
http://www.microsoft.com/brasil/servidores/hyper-v-server/overview.mspx
http://technet.microsoft.com/pt-br/library/cc753637%28WS.10%29.aspx
