SQL 2016 Step-by-Step Guide: Installation
Introduction
SQL 2016 is a database system developed by Microsoft. Its application is diverse and is present in various business applications. The innovations of this version are that it was designed to work in the cloud with Microsoft Azure more can also be used in the On-premise mode. The characteristics product go through features such as AE - Always Encrypted to protect data, better organization of insights for a very efficient analysis of the devices, platform for hybrid cloud and hyper-scale.
Install SQL 2016
This article presents the form of installation SQL 2016.
From a media or * .iso run the installation file.
Locate the Setup file and run.
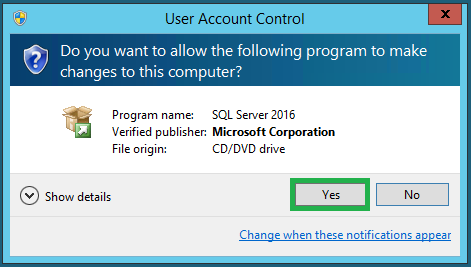
Yes, confirm the beginning of the installation process.
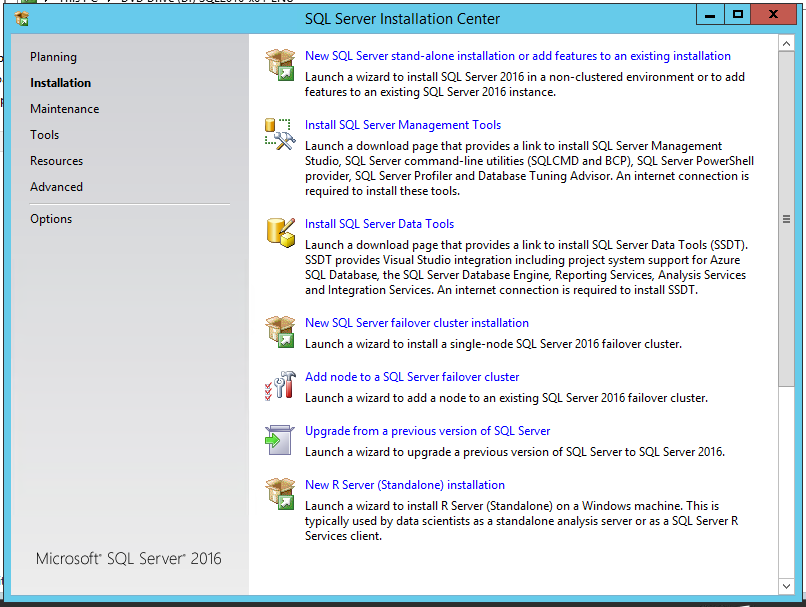
Start New SQL Server stand-alone installation or add features to an existing installation.
Wait for the start of the installation.
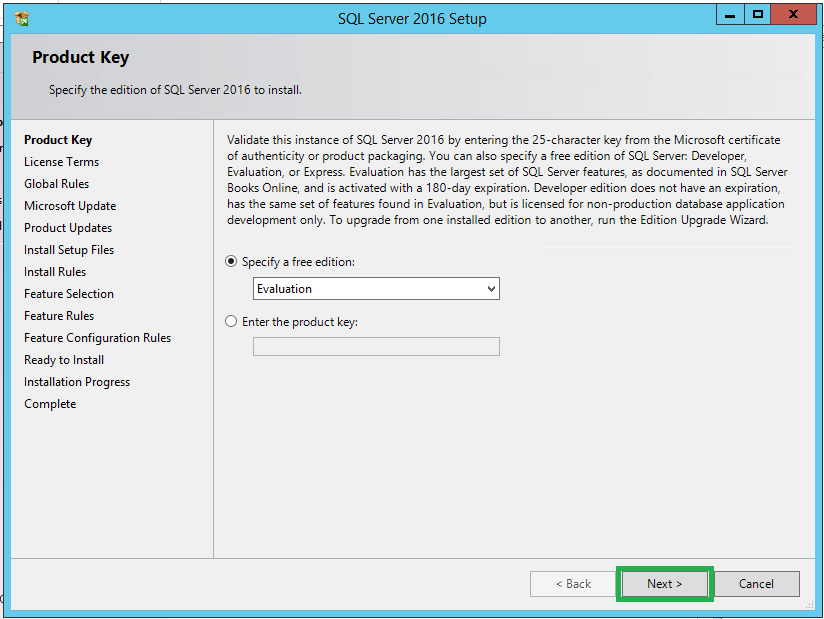
The next step aims to define authenticity and product licensing - Next.
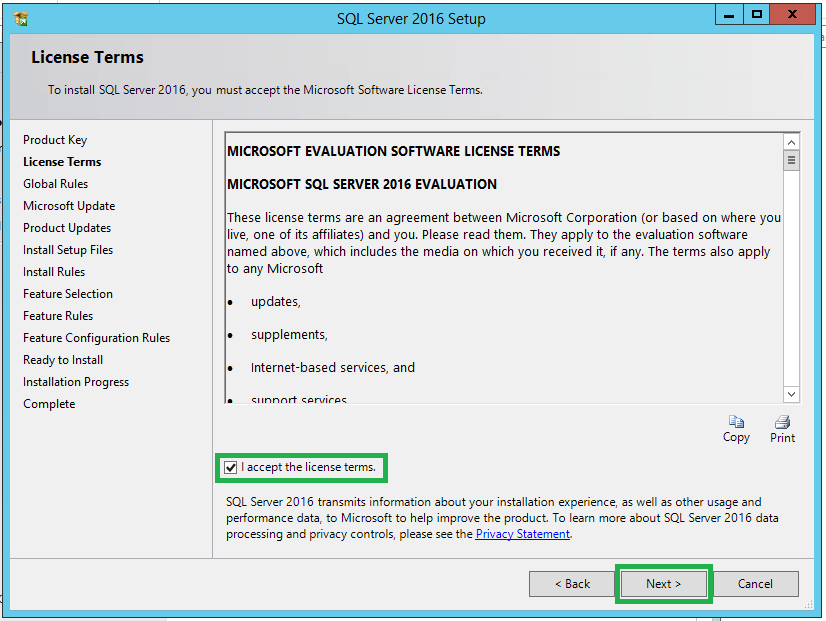
Enable option - "I accept the license terms" and Next.
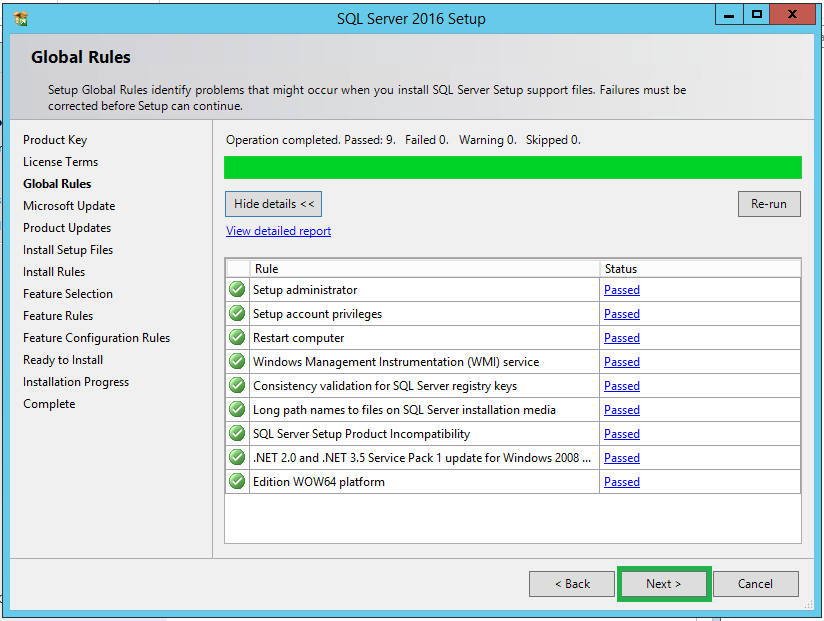
Wait for the installation requirements - Next.
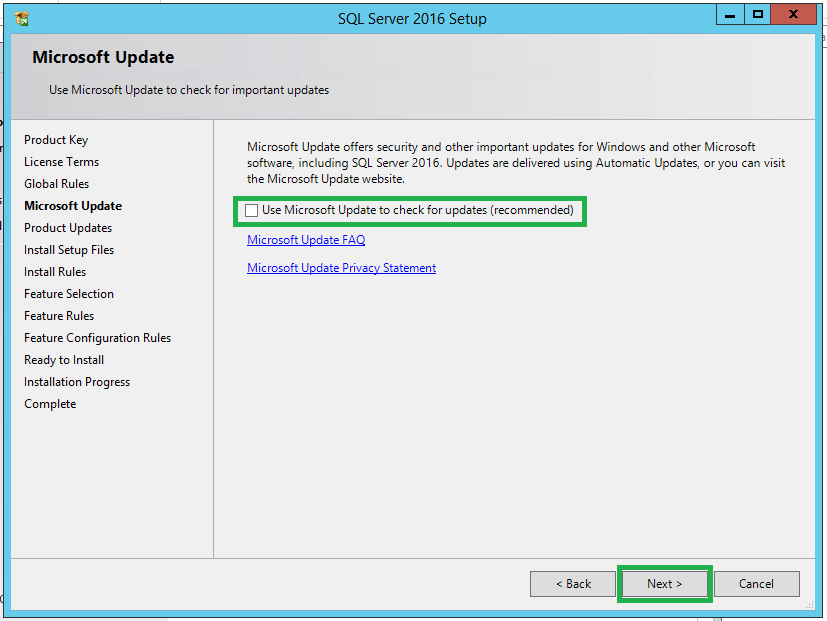
You can choose to use the update to check security. Enable according to their way of working.
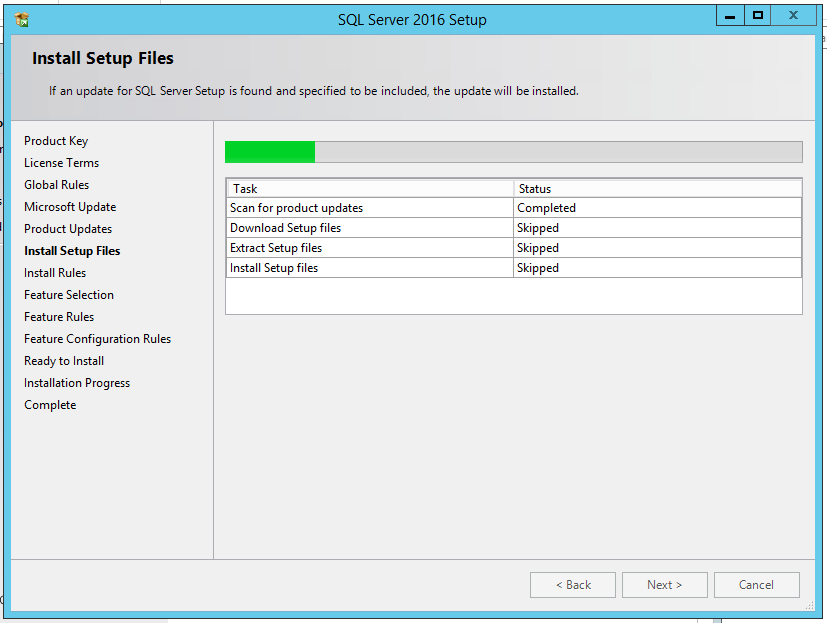
Wait for the installation process.
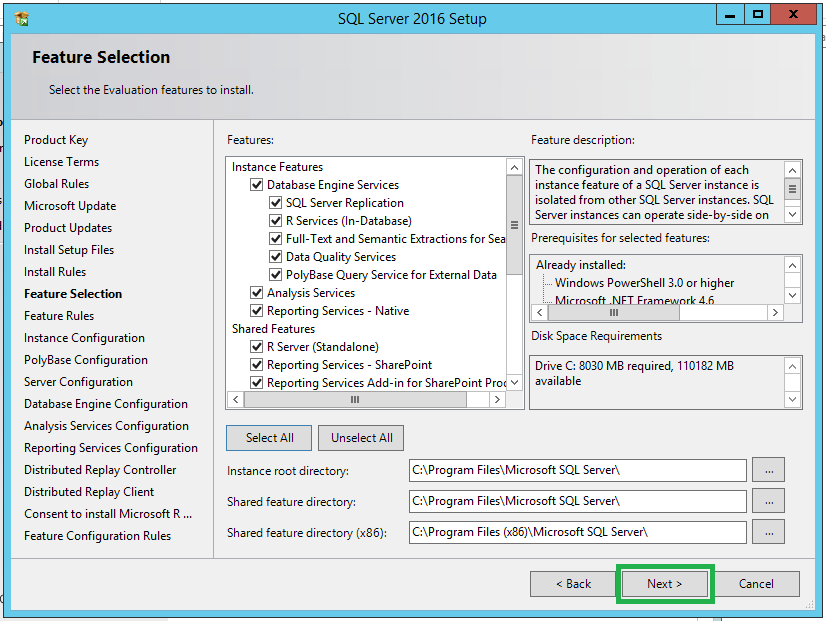
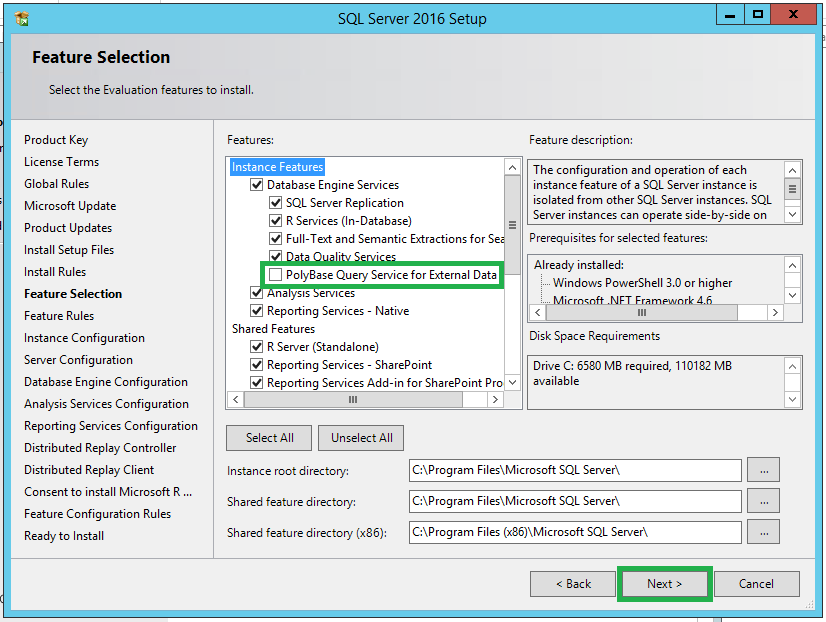
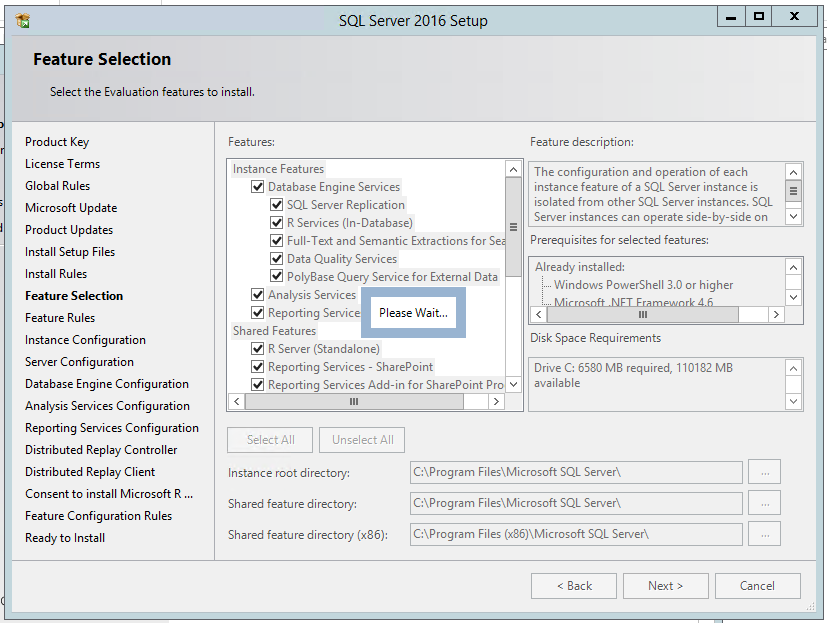
Select the features that will be used.
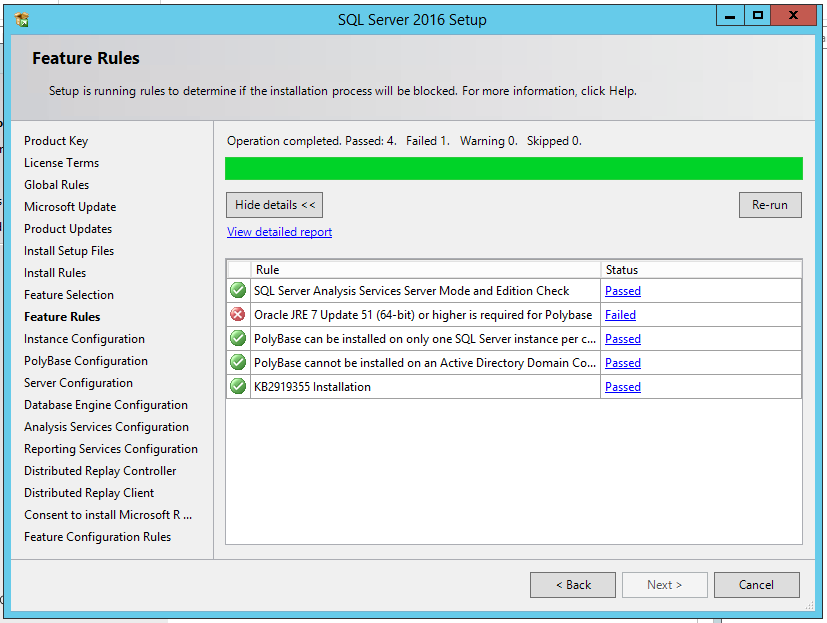
If a problem occurs in the requirements it will be informed during the installation
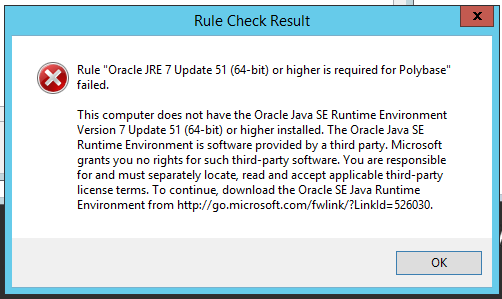
Clicking on the link Failed detailed information is displayed.
In this example, it lacked the requirement.
So it is recommended to abort the installation go to the manufacturer's website, download Java and perform the requisite installation.
After this process start SQL 2016 installation again.
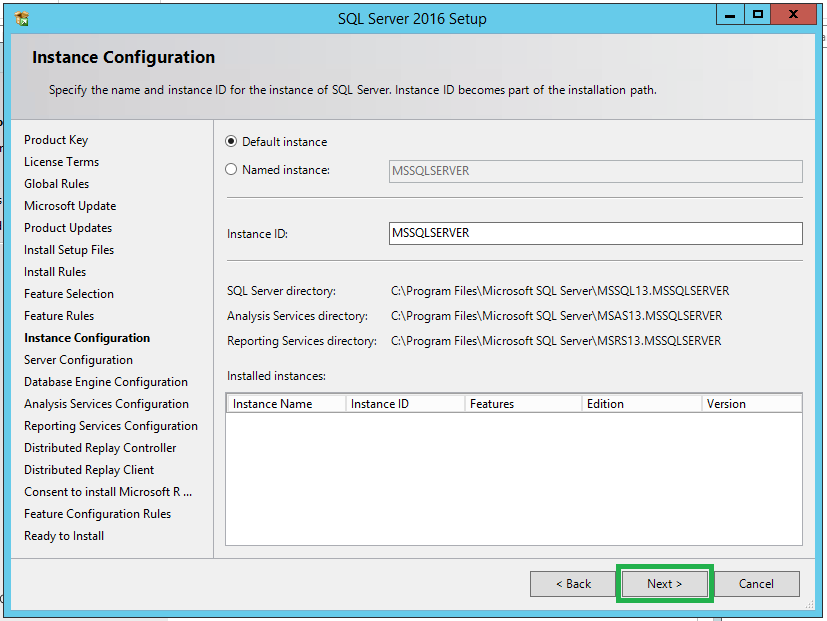
Set the type of instance to be used. You use the default instance name.
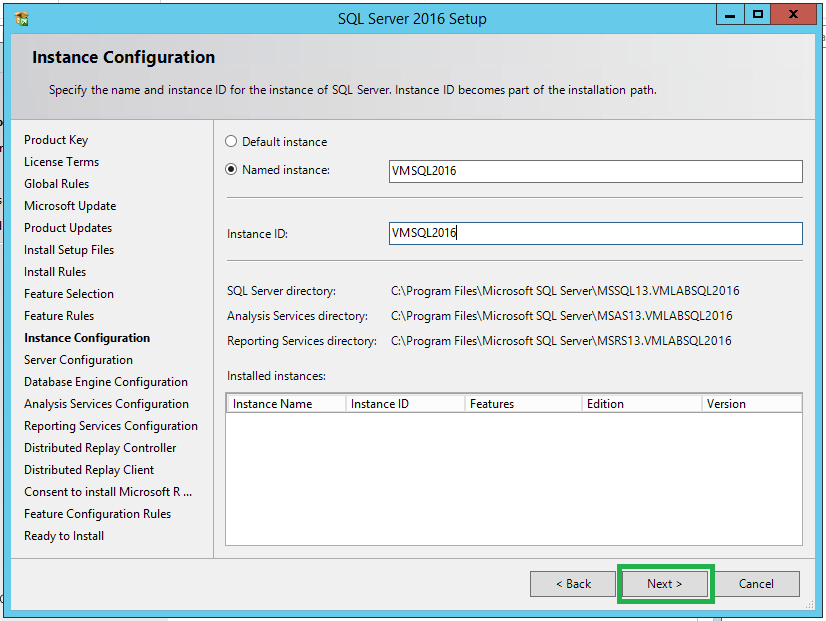
Or an instance according to your need.
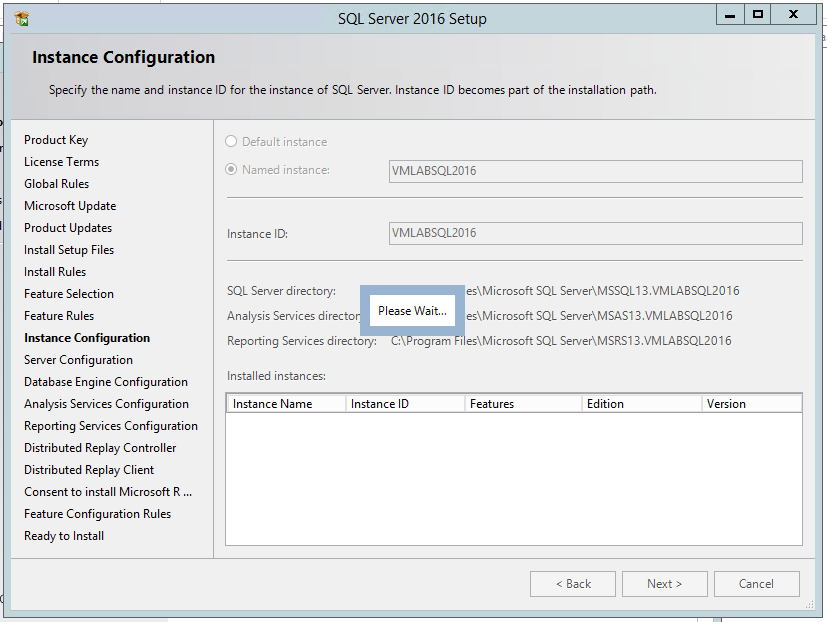
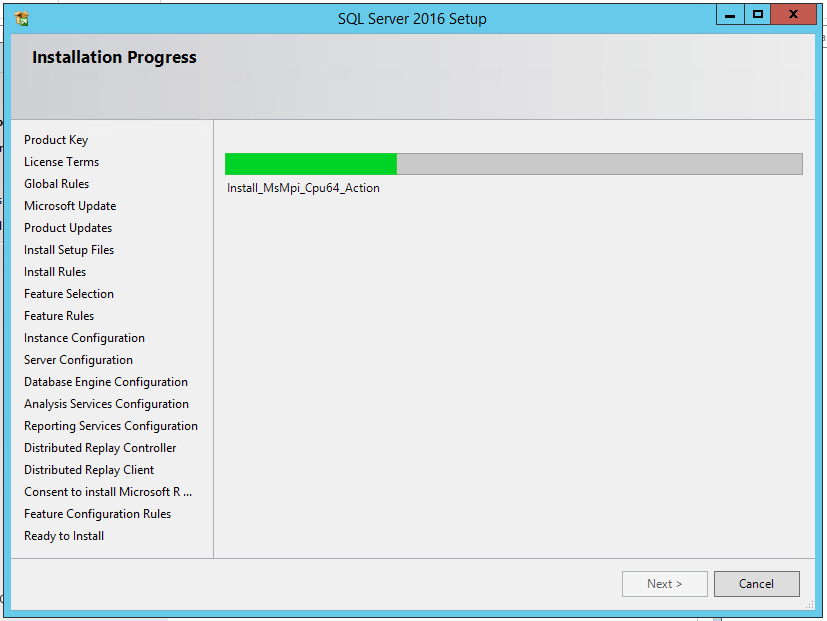
Wait for the installation process.
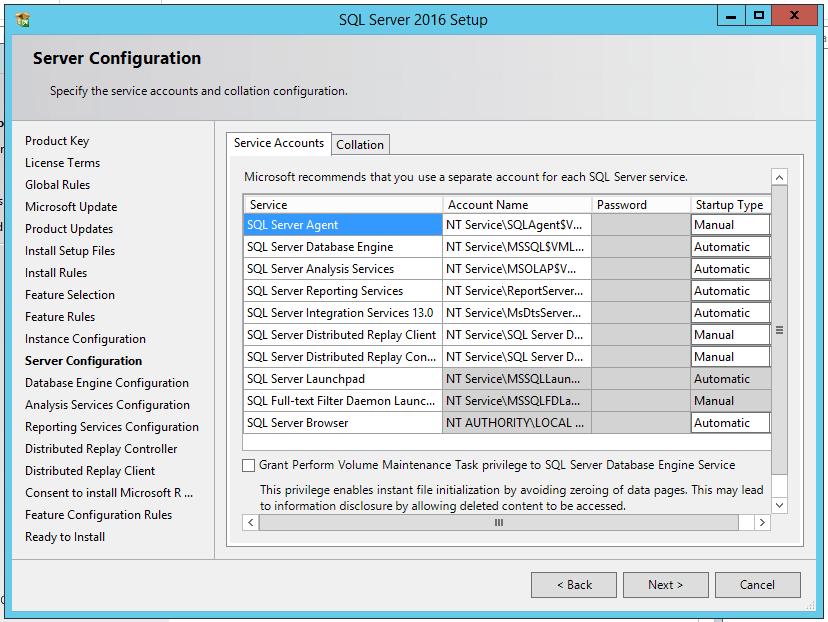
At this stage, the recommendation is to separate the functions of the service by the service account.
Set the accounts in their respective services to the defined security privileges. Next.
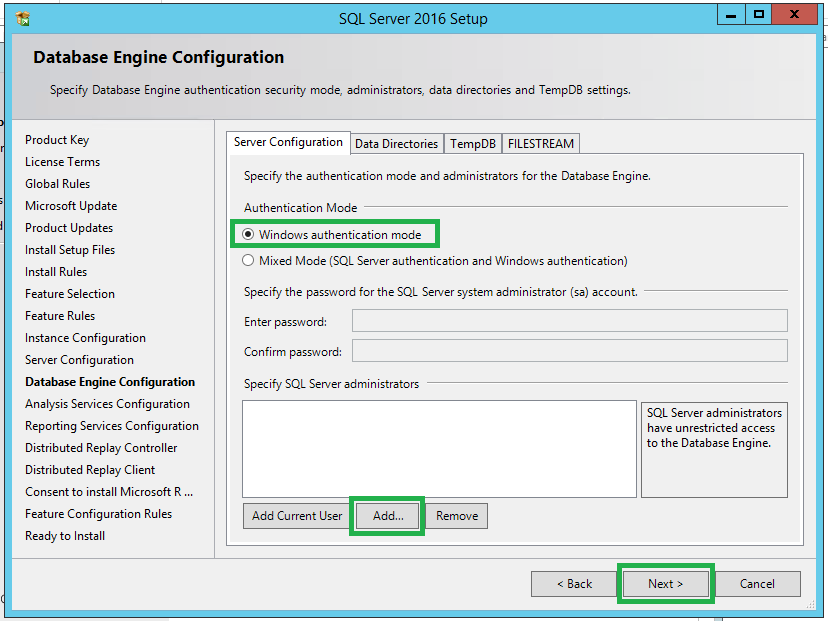
Add the Active Directory domain accounts to administrators Database.
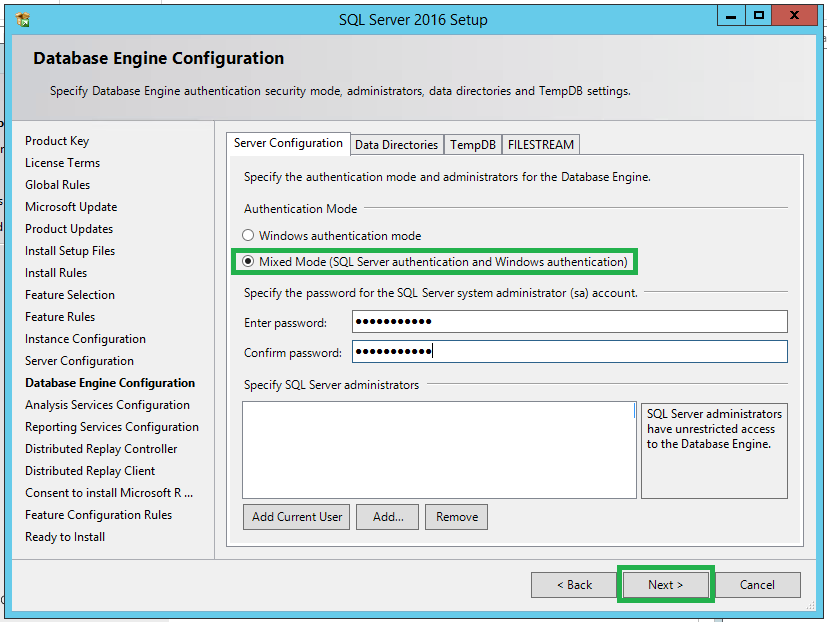
Or if you want you can also set the password for the sa account SQL2016.
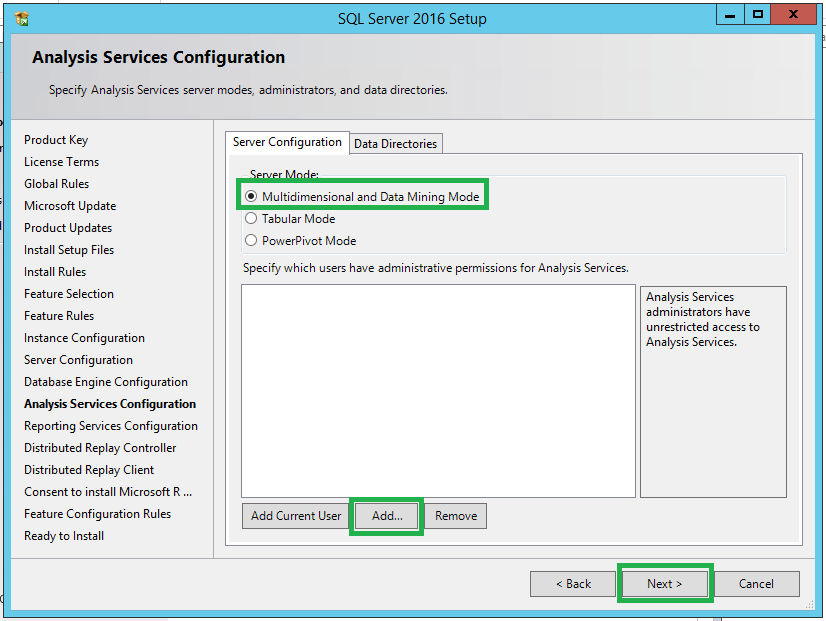
If you use the Data Mining Analysis Services service account set and the tabular format.
If you are an experienced user mode the way that is necessary for carrying out their work.
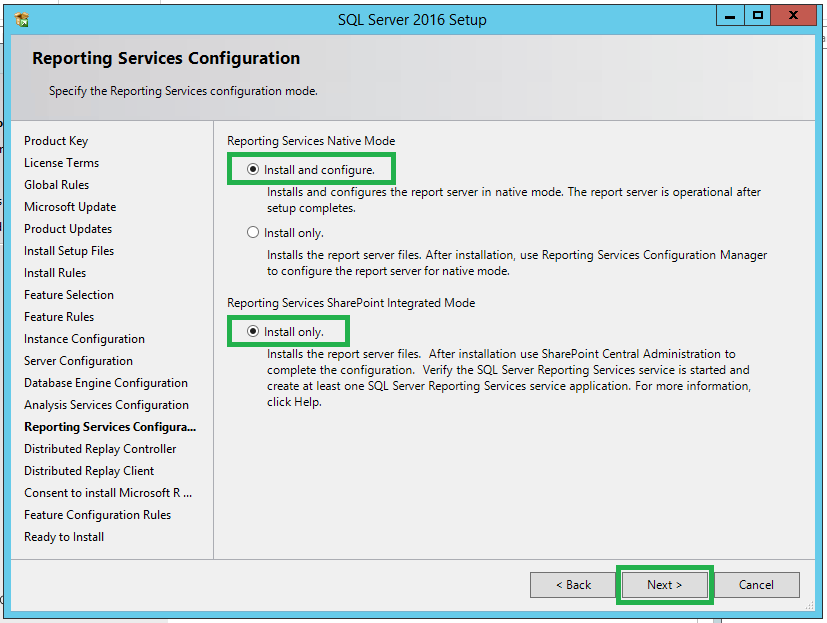
Reporting Service allows you to set up a dedicated server for your use or use it in an integrated format to SharePoint.
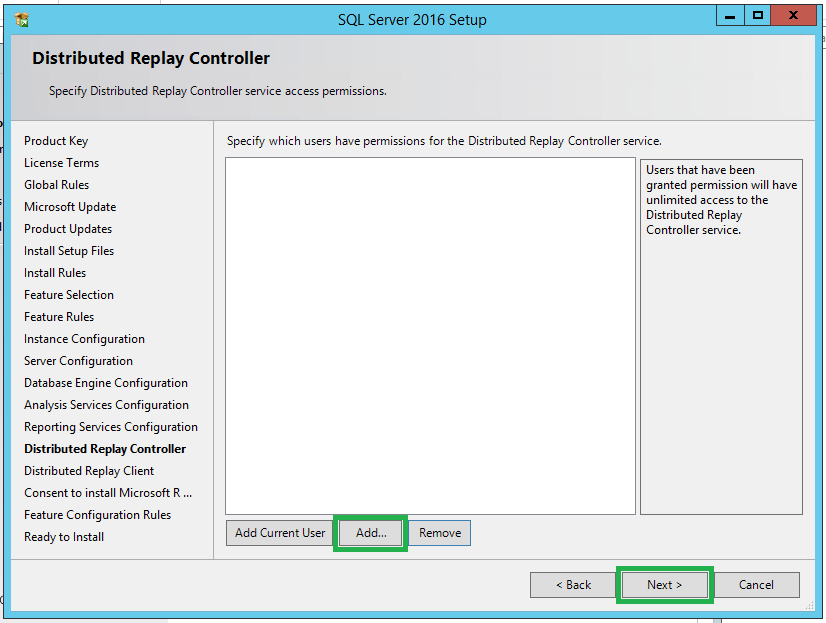
Insert account Distributed Replay Controller - Next.
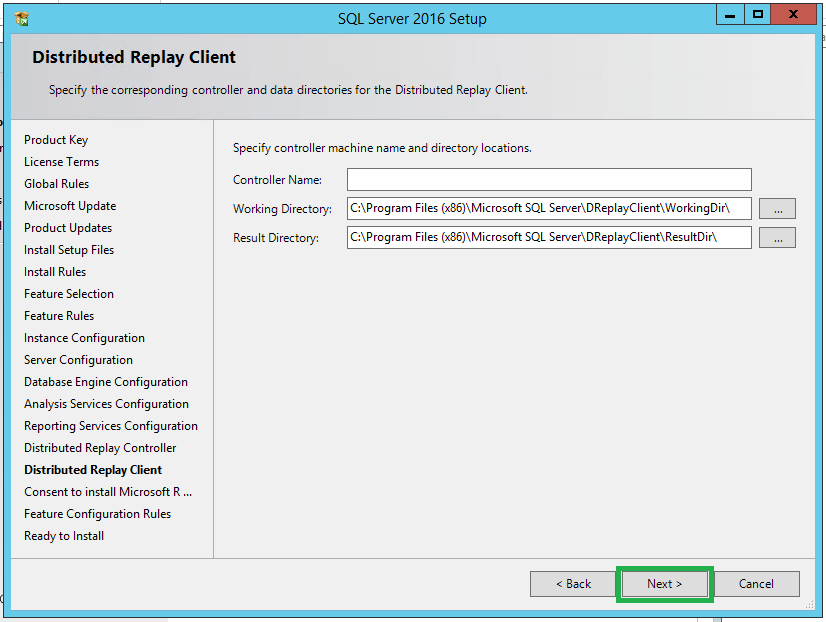
Specify controller machine and Next.
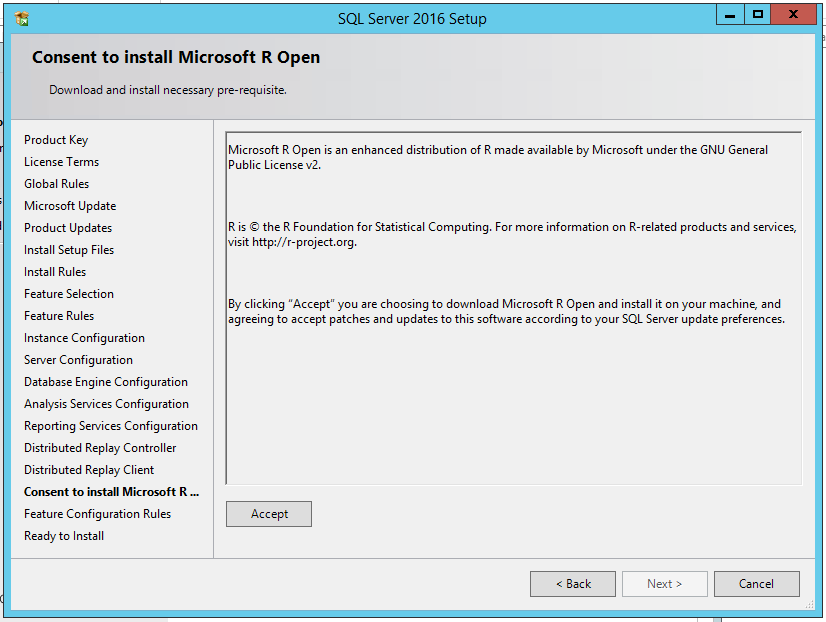
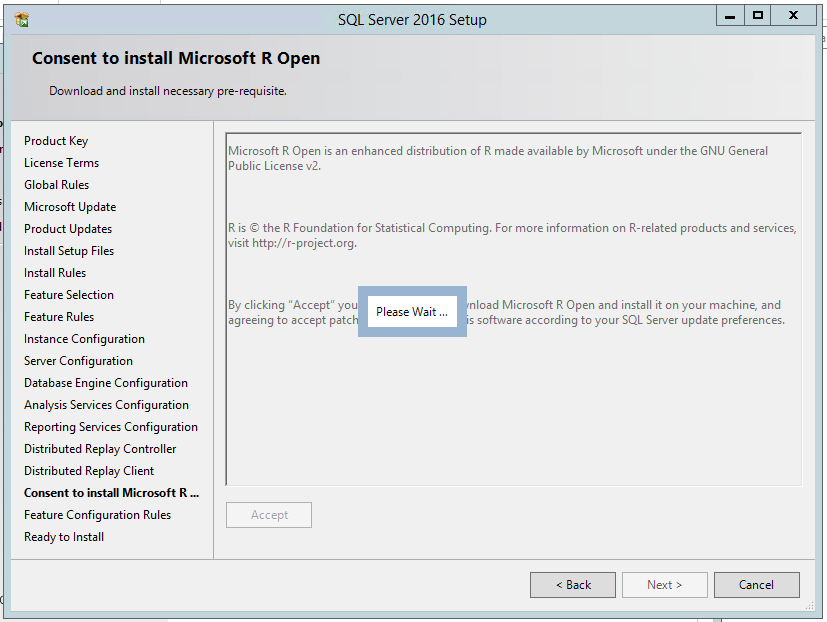
The Next button is disabled while the Accept button is not marked.
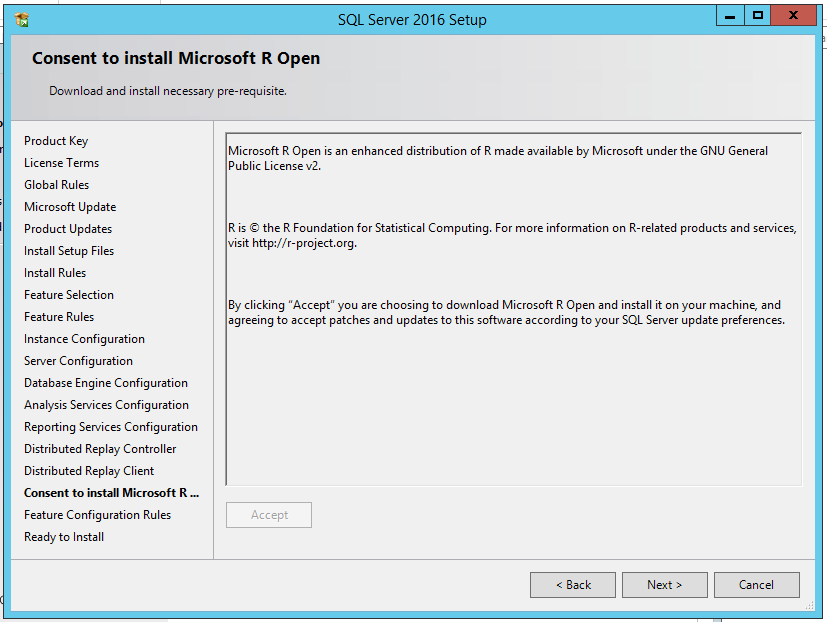
Enable Accept button and Next activate.
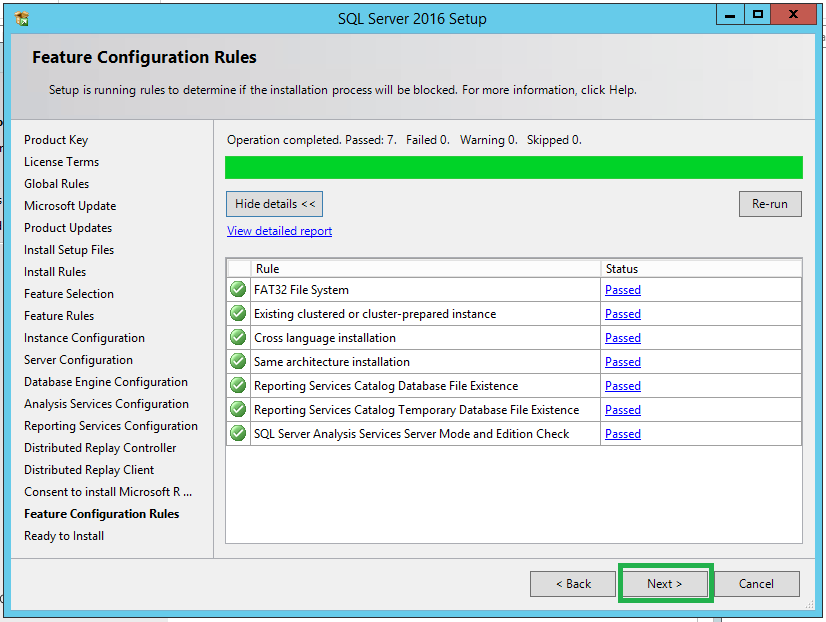
Run Next.
Make sure the rules were properly installed and go to Next.
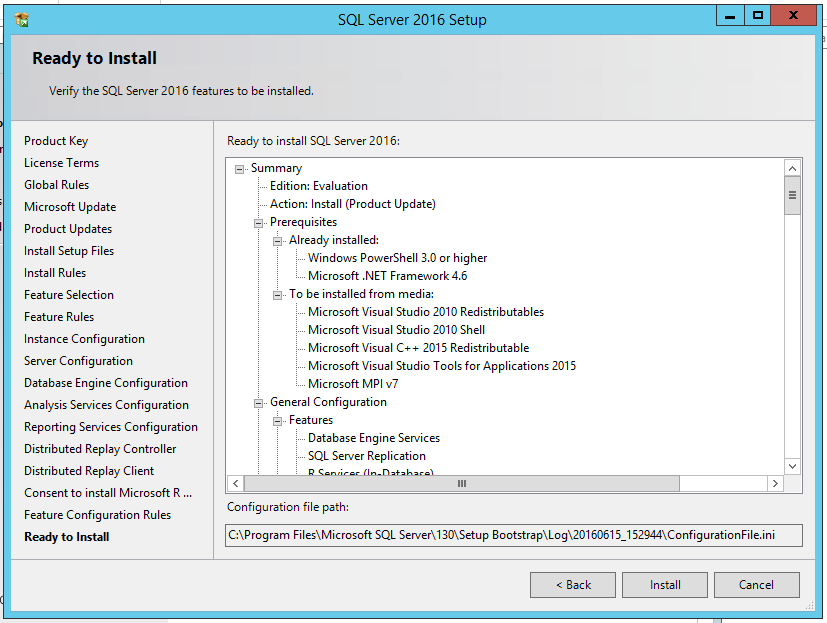
Ready to install SQL Server 2016.
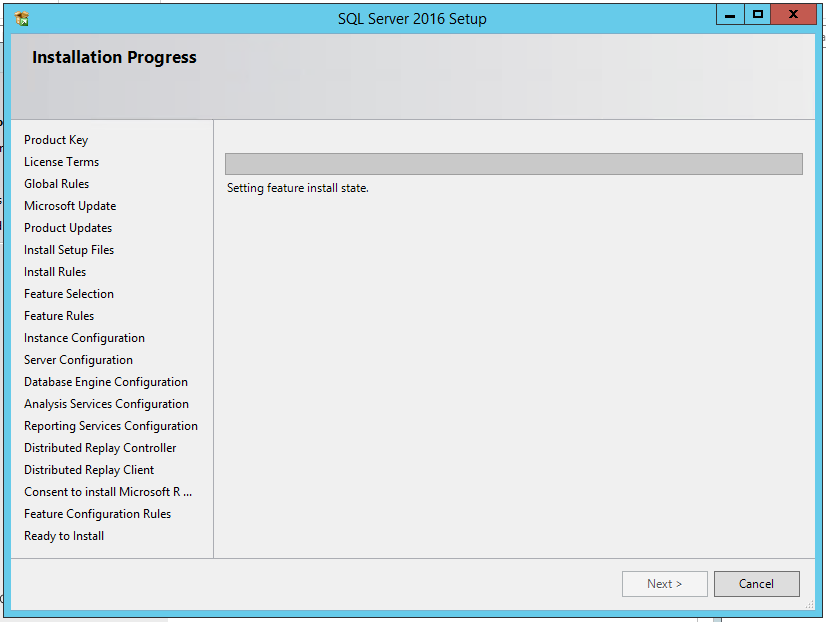
Wait for the Setting Feature install state.
Wait for the installation process.
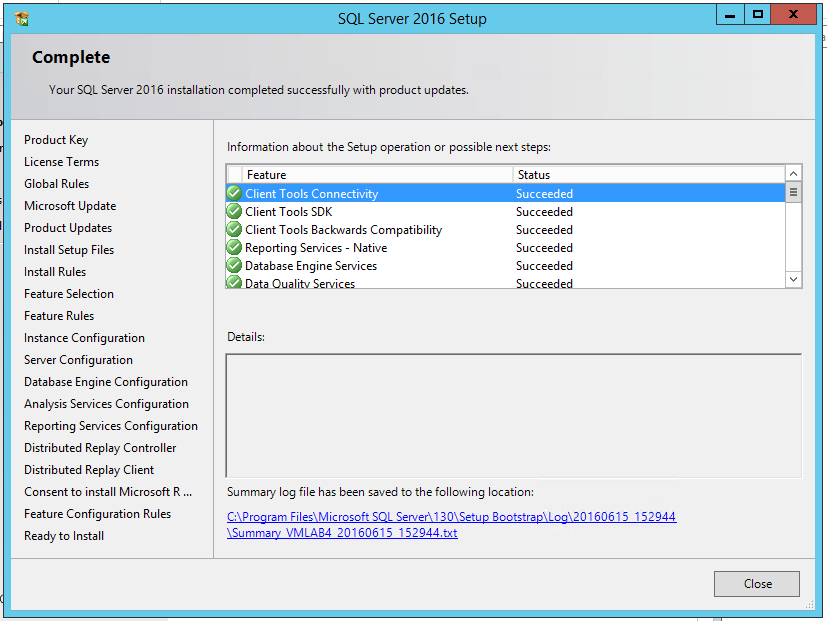
The next is the end of the installation where you can check all installation status, the log directory.
Resource and More Information
- Management Studio 2016 installation procedure
- Overview SQL 2016 detailed data can be found at https://www.microsoft.com/pt-br/server-cloud/products/sql-server-2016/
- Link download Java correction requirements: http://www.oracle.com/technetwork/java/javase/downloads/index.html
- Link to download SQL Server 2016: https://www.microsoft.com/pt-br/evalcenter/evaluate-sql-server-2016
- Hardware and Software requirements SQL Server 2016
- SQL Server 2016 Technical Documentation
- Upgrade to SQL Server 2016
- What's New in SQL Server 2016
- SQL Server 2016 Resources
- SQL Server R Services
- SQL 2016 Fórum MSDN


