Publish Your App To Windows Store
So if you have complete your app and test its all functionality and everything is going perfect then you must be felling accomplished. Because after so much hard work when you are watching your app running according to your expectations, that is really an awesome feeling which cannot be expressed in words.
So after completion of your app, the next step is to publish the app to Windows Store. There are few easy steps which need to follow and your app will be published and that what we called up and running. : - )
Let’s get started!
So far you might be testing your app on Debug Mode. So let’s change it to Release Mode as you are going to Release your app;
Now simply test your app in Release mode. This time, it would take little bit more time to compile the application.
Remember as you need to submit the app to Store so it only submits the release version. We cannot submit the debug mode app. Because as we want to give the consumer a best possible experience.
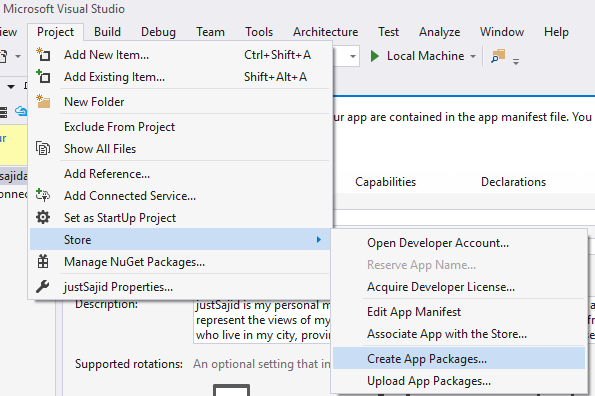
Now! Let's build the package to send to the store. Simply go to Project Manu > Sore and select ‘Create App Packages…’;
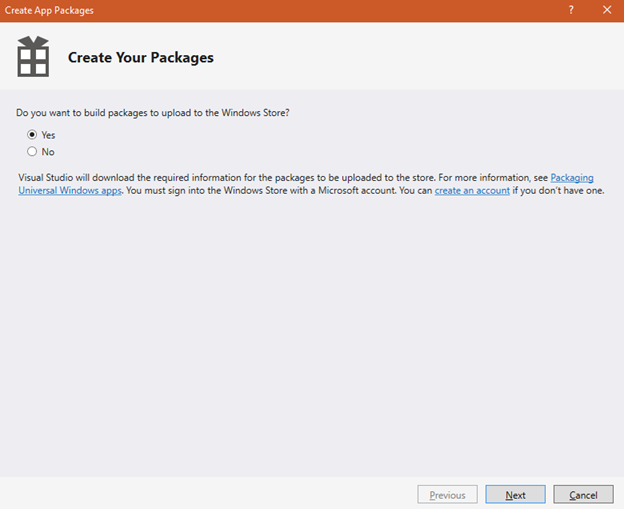
Now there are the couple of options which you can choose for your packages. Either you can build packages so you can send them to the store and then clients can acquire that apps from the store or you can also create your packages so you can side load like you have your own solution mechanism like your own private store.
So in second case you can use the ‘No’ option in that case the mechanism will be slightly different but for now, we are going with the first case.
So simply remain the option ‘Yes’ and click Next.
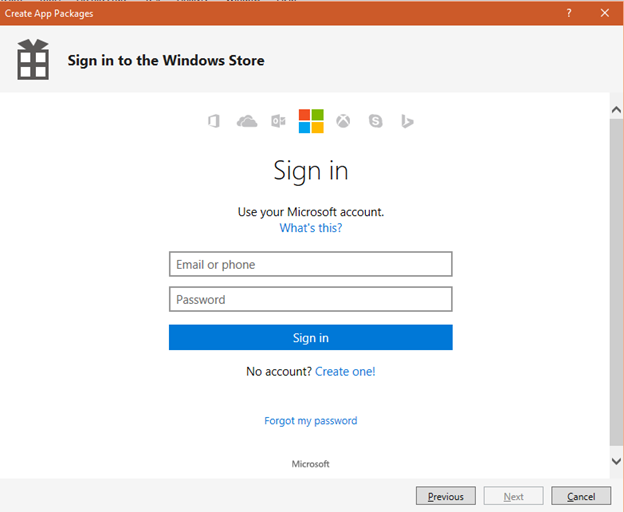
The First thing you need to do is to Sign into your windows store associated account.
Once you Sign in to your account, you will see the app name which you have already chosen for your apps.
Now simply reserve an appropriate name for your app;
It's like a buy a domain if you ever buy before. : - )
So simply select the app name and click next button.
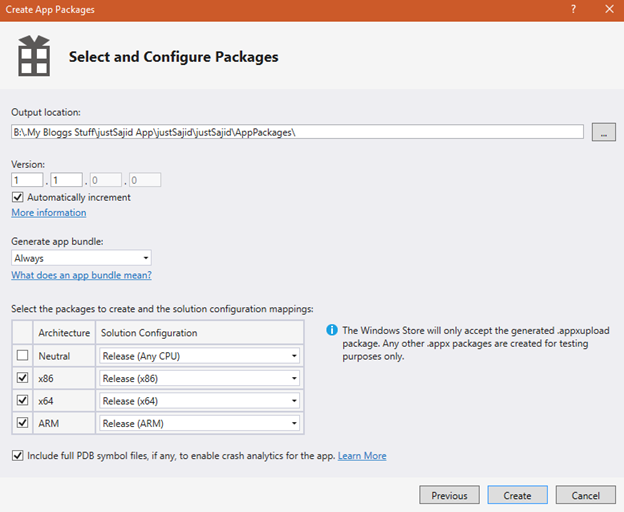
Now you will see the experience of sending a package to the store;
It’s the high recommendation that you test your app on all architectures. And submit the package to all architectures. That allows you the maximum device breath. E.g. if you don’t submit the mobile package then your mobile customer will totally be out of scope.
So after configuration packages. Simply click ‘Create’ button;
Now Let Visual Studio to create the App package for you. Visual Studio will take his time to create the app package for you so you can submit to the store.
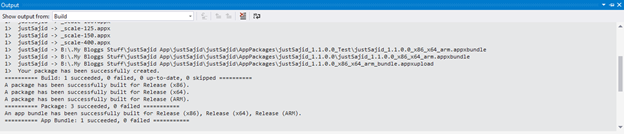
So after few minutes of magic by Visual Studio you will see the windows of app package complete;
Now if you go to the Output location you will see the appxupload package is created for you which will be submitted to the store;
You also see that it creates Test folder for you. Because if you directly want to test your app on a device then you also need a package for that.
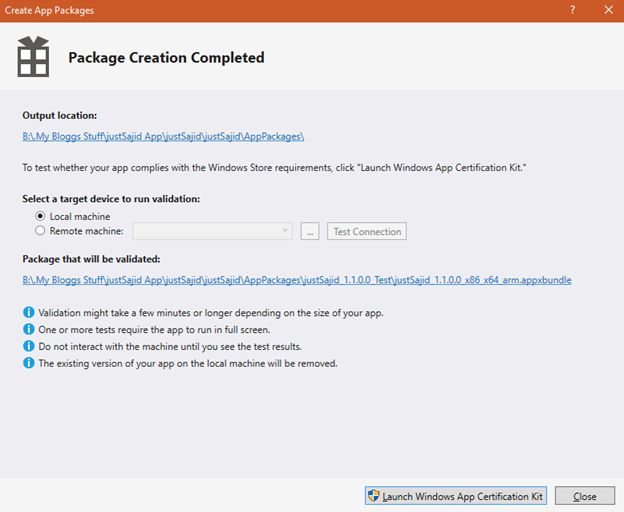
Now we can directly upload the appxupload package to the store. But! In the case of some issue, it can show some error after the app will publish. So to save from that pain. You should Run the App Certification Kit from visual studio.
What will it do, it will run a sort of the safeguard that essentially run the certification kit locally on your machine. Runs through almost the same sort of checks which the store will run. And give you a very good degree of confidence that your app is actually correct. And the chances of the success, when you submit to the store, will be much higher.
So let’s launch that Windows App Certification Kit;
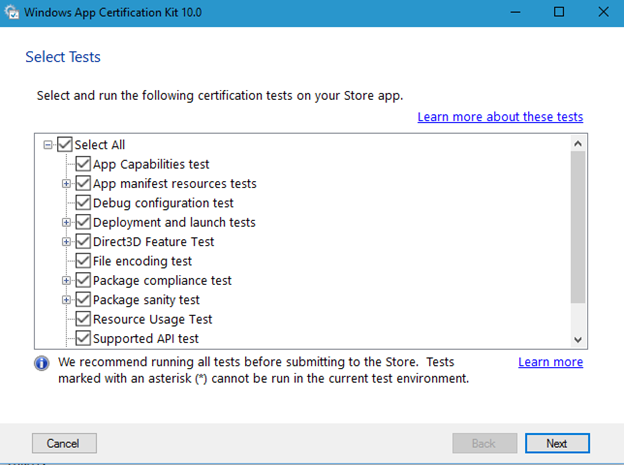
When you launch the certification Kit you will see the number of the certification Tests and it’s the recommendation that runs each of the tests before you submitted to the store and you are free to choose which one you want to test;
Now simply hit Next to run the tests.
The Windows App Certification Kit will take its time and test everything which you select for your app and from every perspective.
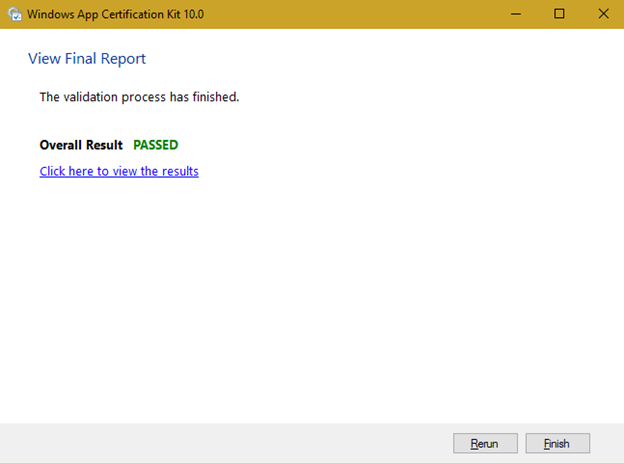
Now after completion of all tests it will show you the test report and if your app passed all tests then you will see the overall result as ‘PASSED’;
Simply click Finish Button.
So here comes the real part! Now you need to send your app package to the store.
Simply go to the dashboard of your Windows Store and select your app name which you create earlier;
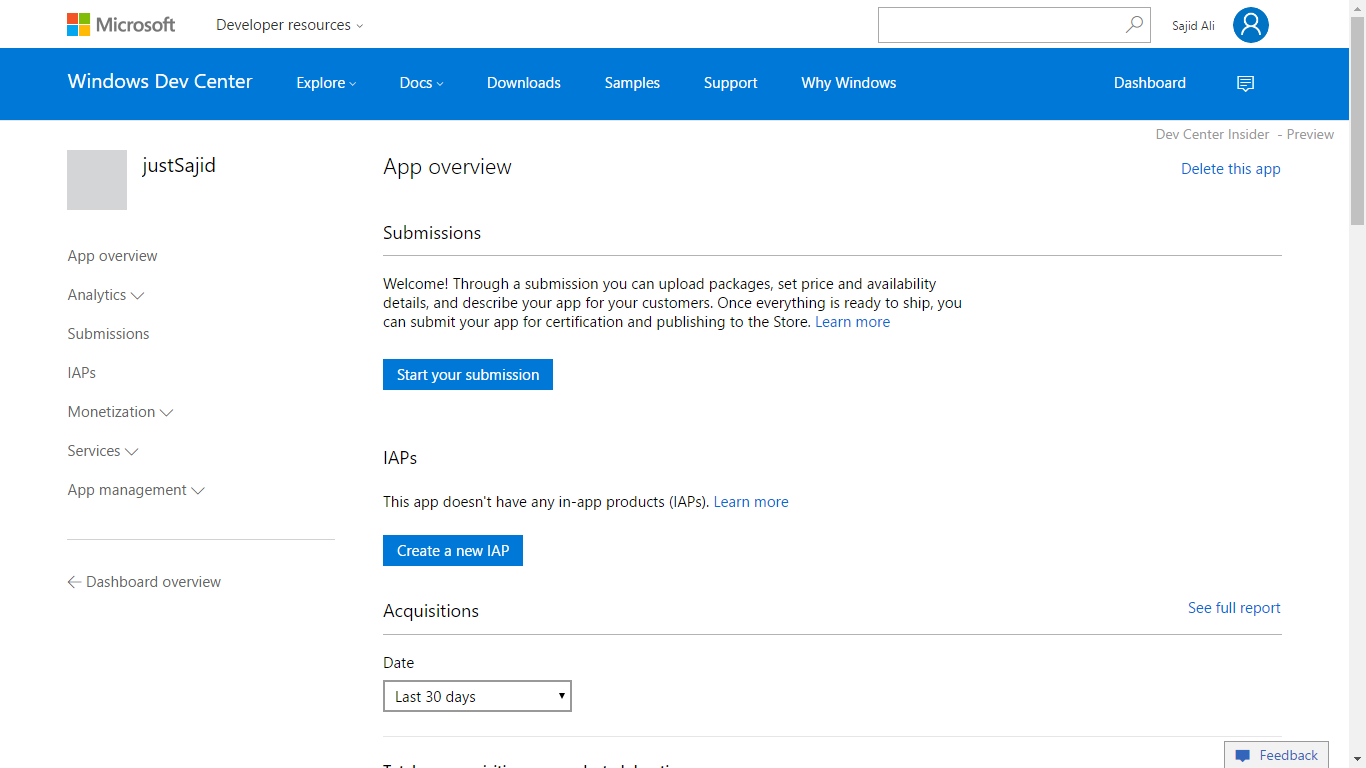
Now Simply click the “Start your submission”;
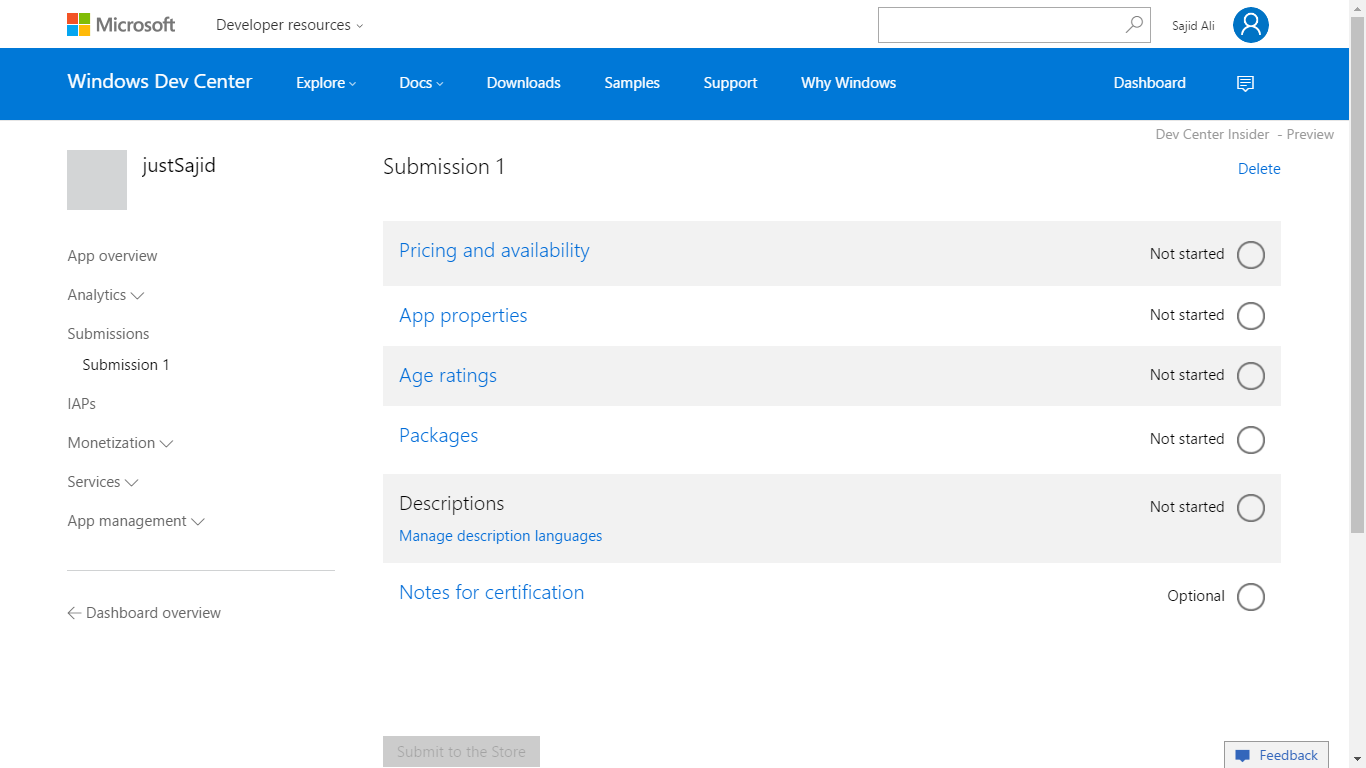
Here we need to fill filled all parts.
First, Click on “Pricing and availability”;
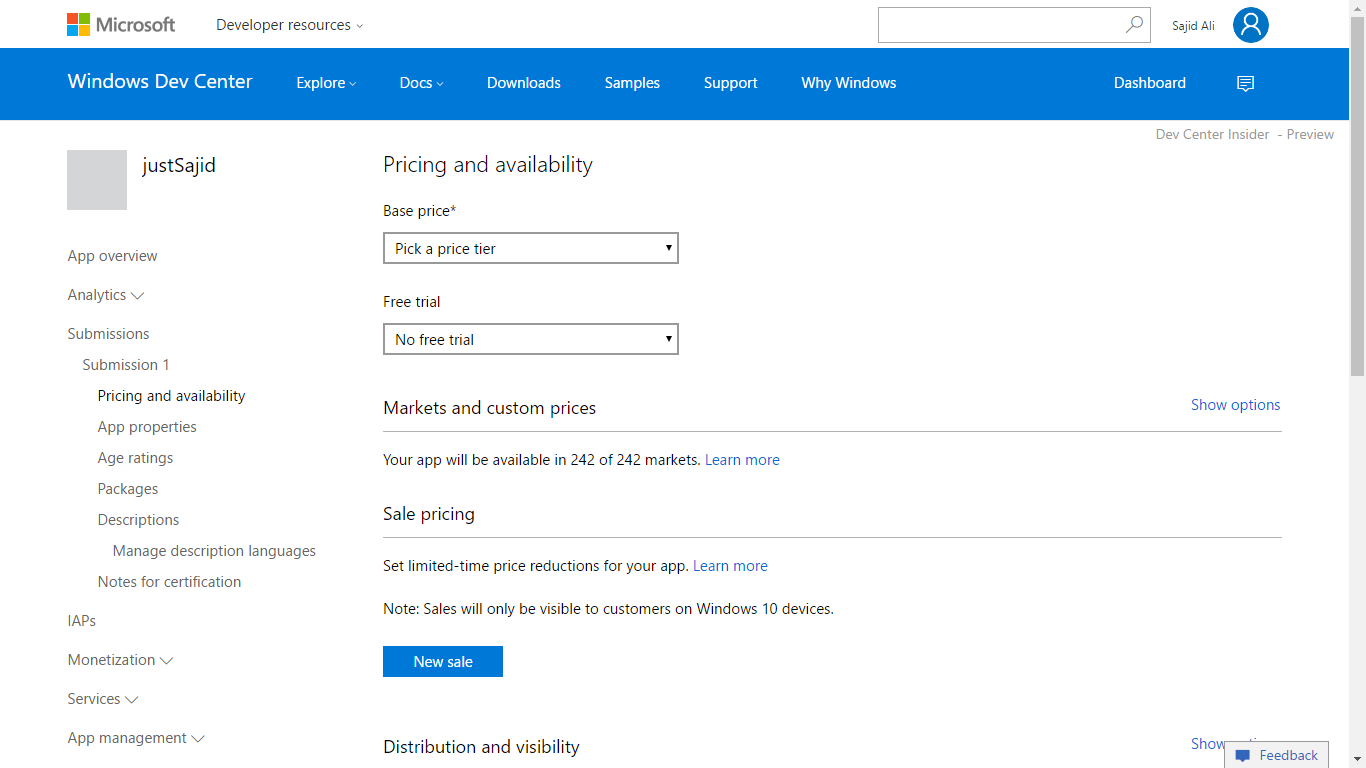
Let's fill everything one by one.
In Base Price, you can select up to Free price up to 999.99 USD.
We are publishing our app for free so we select ‘Free’.
In Free Trail option, if you are giving a free trail of your app so your user can use your app up to certain period of time then you can give free trail up to different period of time from 1 day to 30 days.
As we are giving our app free to our user. So we select ‘Trail Never Expires’;
Now, in Market and Custom Prices, you can select your app market and your target users by choosing the countries and give different prices for different countries;
As we are publishing our app for all type of users belongs to all countries and providing same free Base price, so we keep selecting all countries with the Base price.
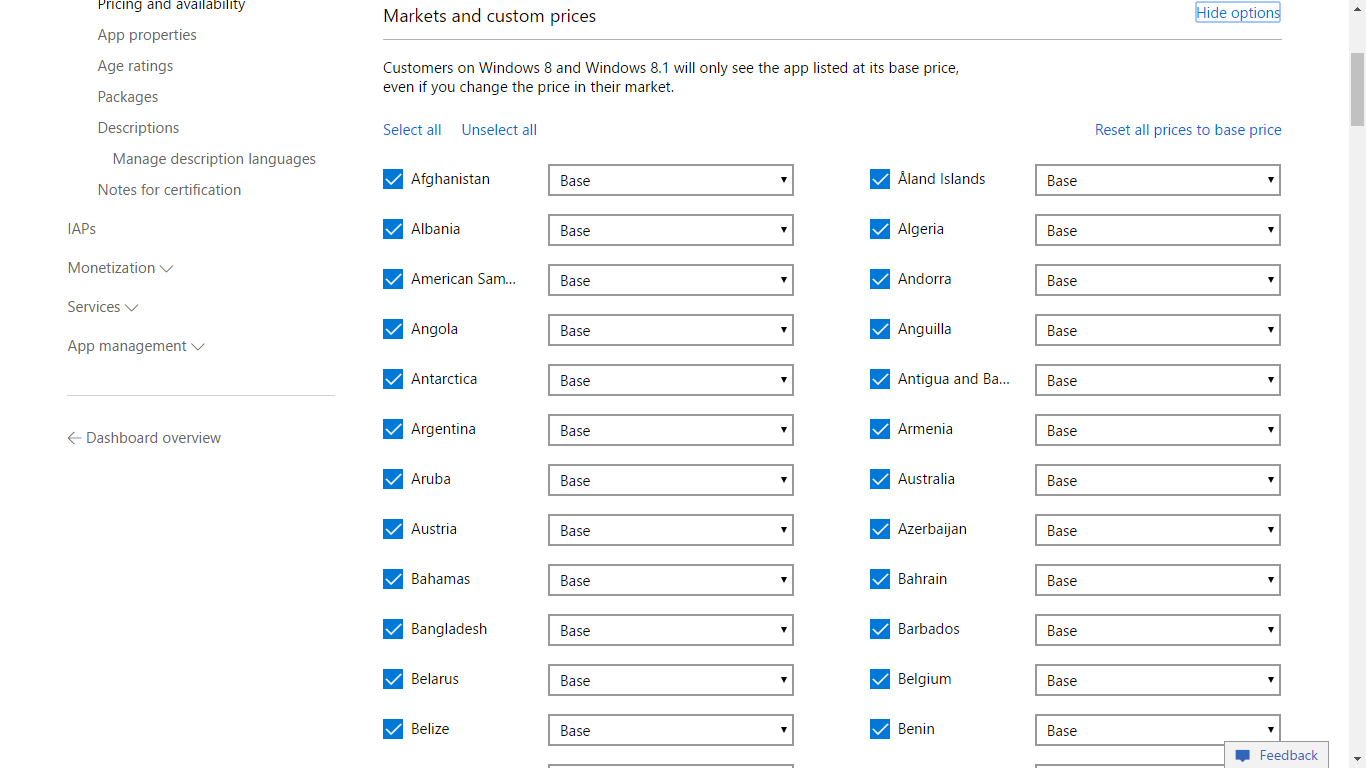
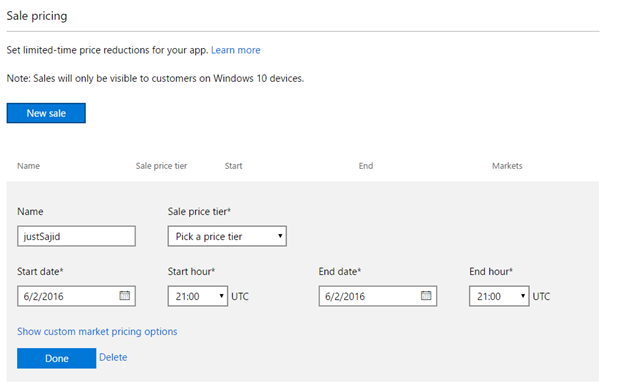
Now in Sale Pricing, you can give different types of sales to your customers.
As we are already giving the free app to our users, so we don’t need any type of sale offer for our customers.
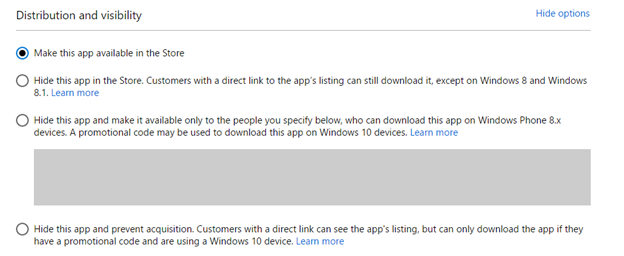
In Distribution and Visibility section you can limit the visibility of your app.
As we are targeting all type of devices so we keep selecting the default option;
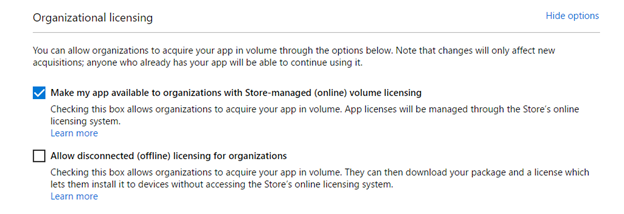
In Organizational licensing, you can allow organizations to acquire your app in volume through the options below. Note that changes will only affect new acquisitions; anyone who already has your app will be able to continue using it.
As our app do not have much concerns with that. So we are keeping it default selected.
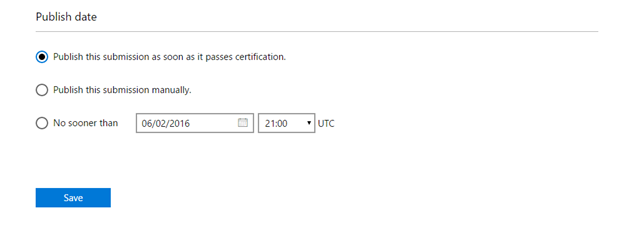
In Publish date section, you can Schedule your app publish date and time also publish the submission manually.
As we need to publish the app submit the as soon as it passes the certification. So we keep the default selection.
Now when you are done from everything on this page. Click the Save Button.
You will see the Complete will be shown at the front of the section name;
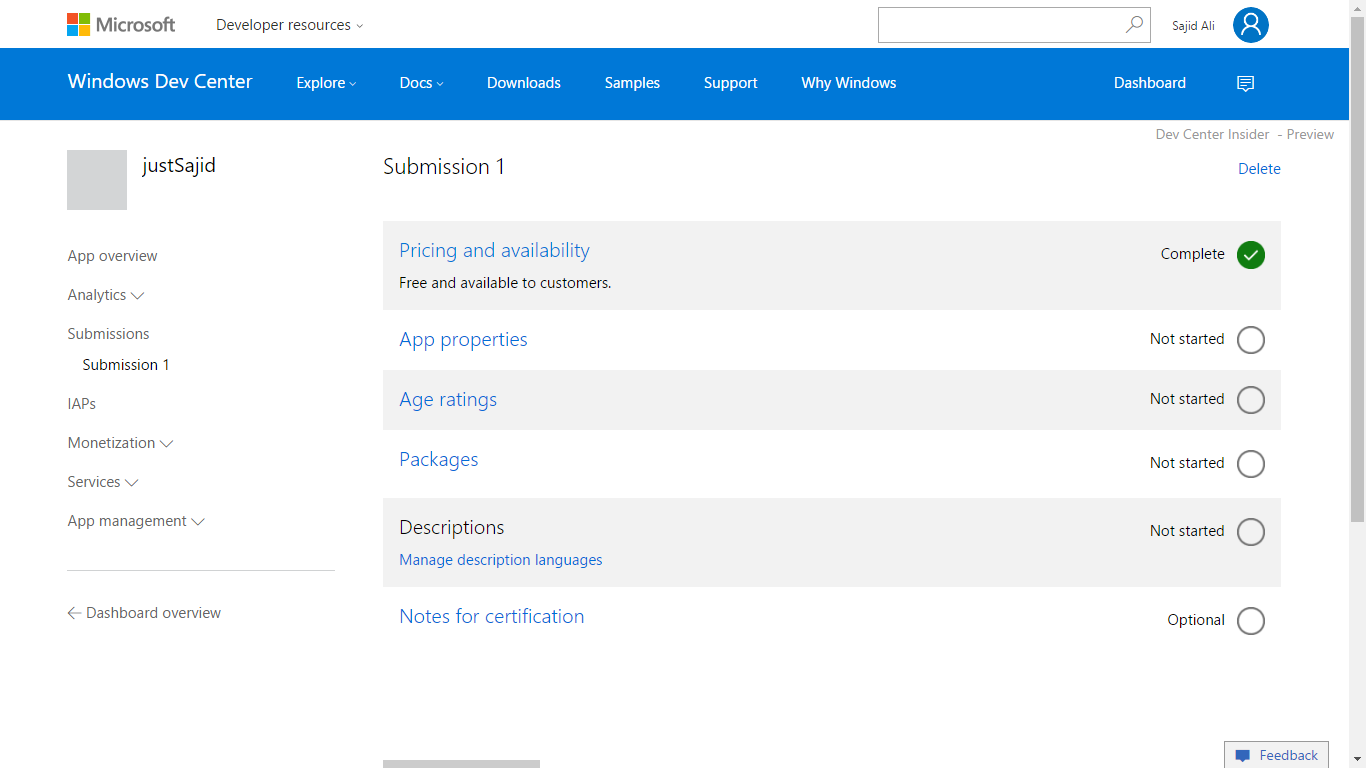
Now let’s move to the second section of App properties;
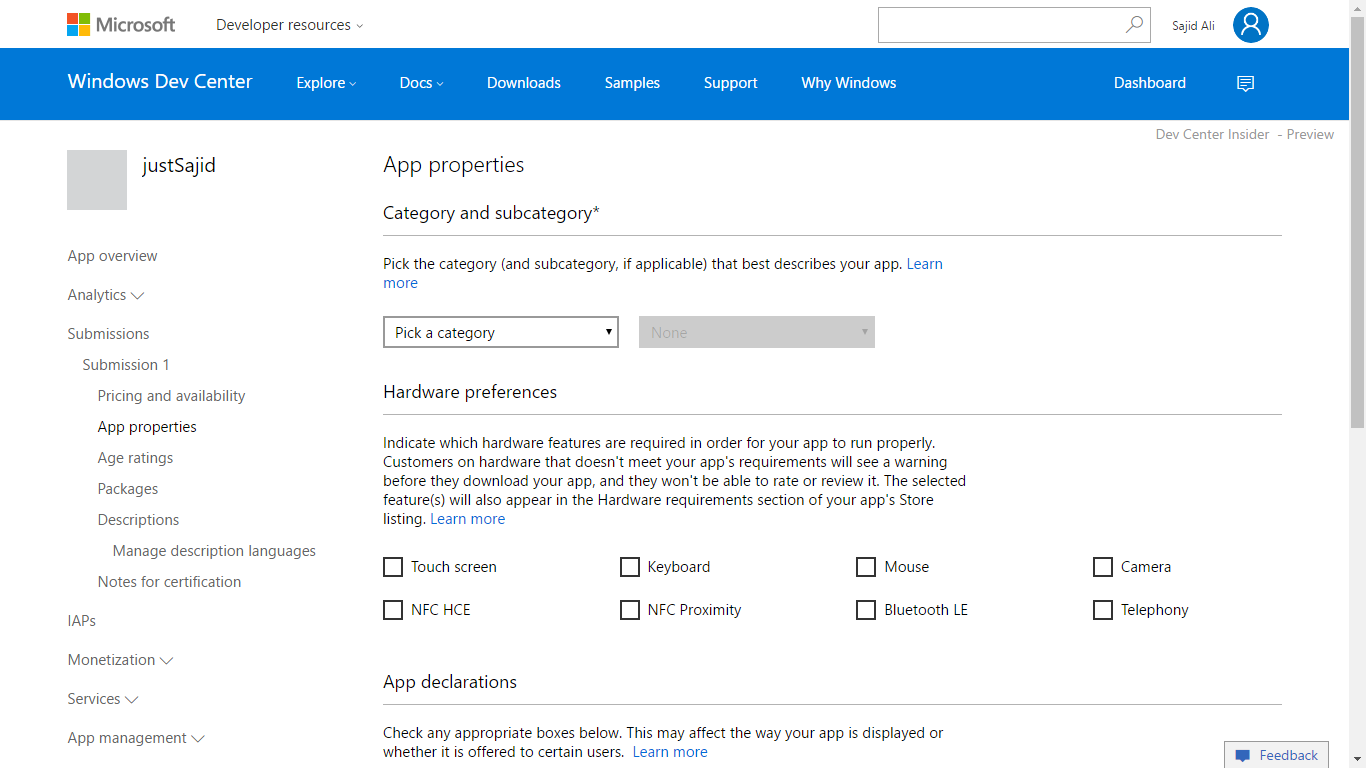
Here you can customize your app properties.
In Category and Subcategory section, simply choose appropriate category and subcategory for your app;
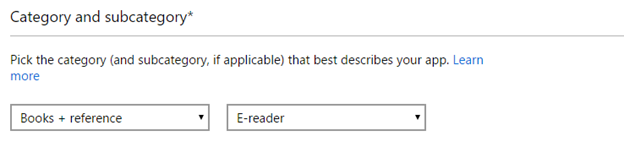
In Hardware features, indicate which hardware features are required in order for your app to run properly. Customers on hardware that doesn't meet your app's requirements will see a warning before they download your app, and they won't be able to rate or review it. The selected feature(s) will also appear in the Hardware requirements section of your app's Store listing.
In the App declarations, you can give your users different privileges.
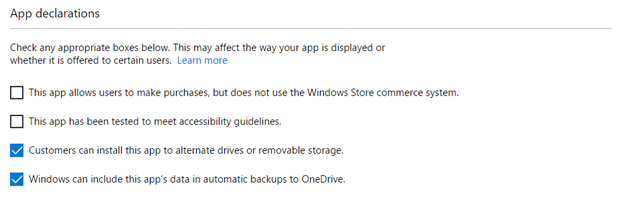
When everything is set from the section, simply click Save button and you will see the Complete dialog will appear at the front of your section;
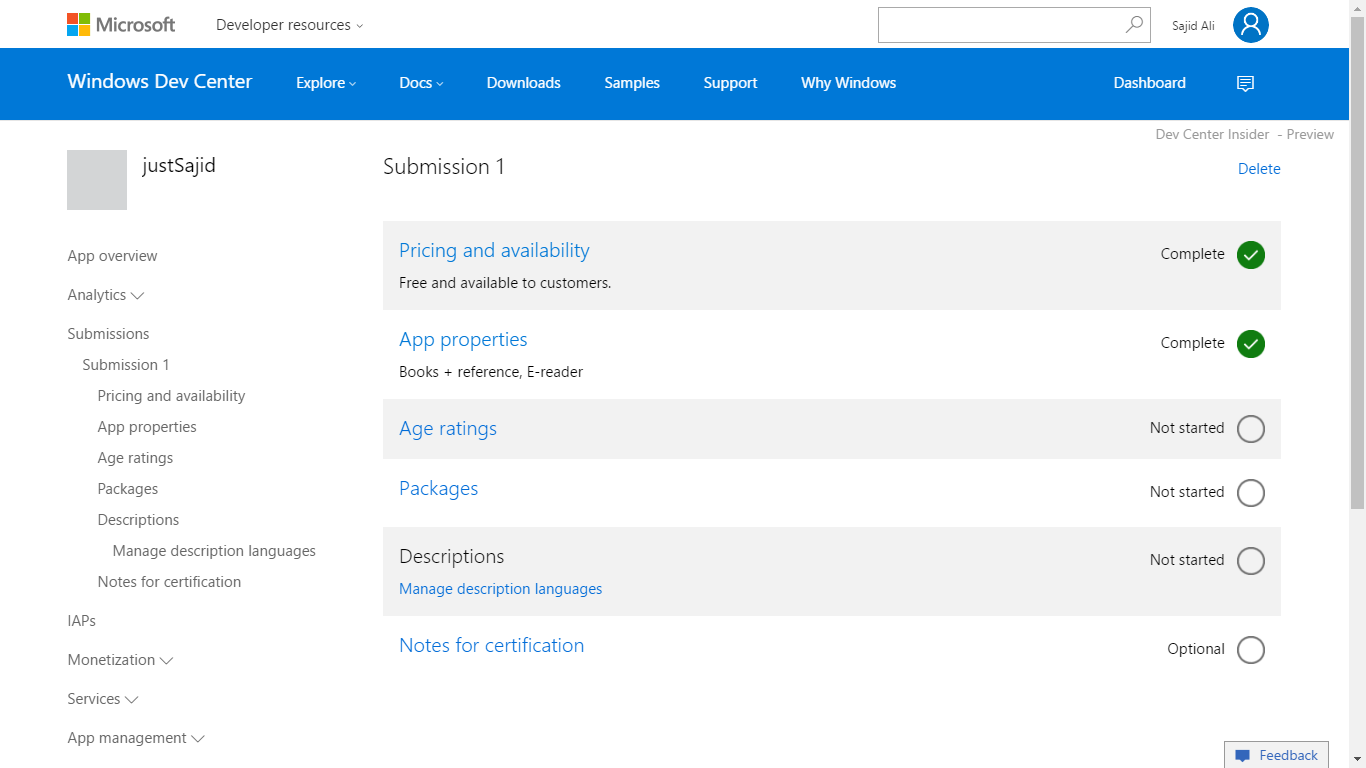
Now let's move to Age ratings section;
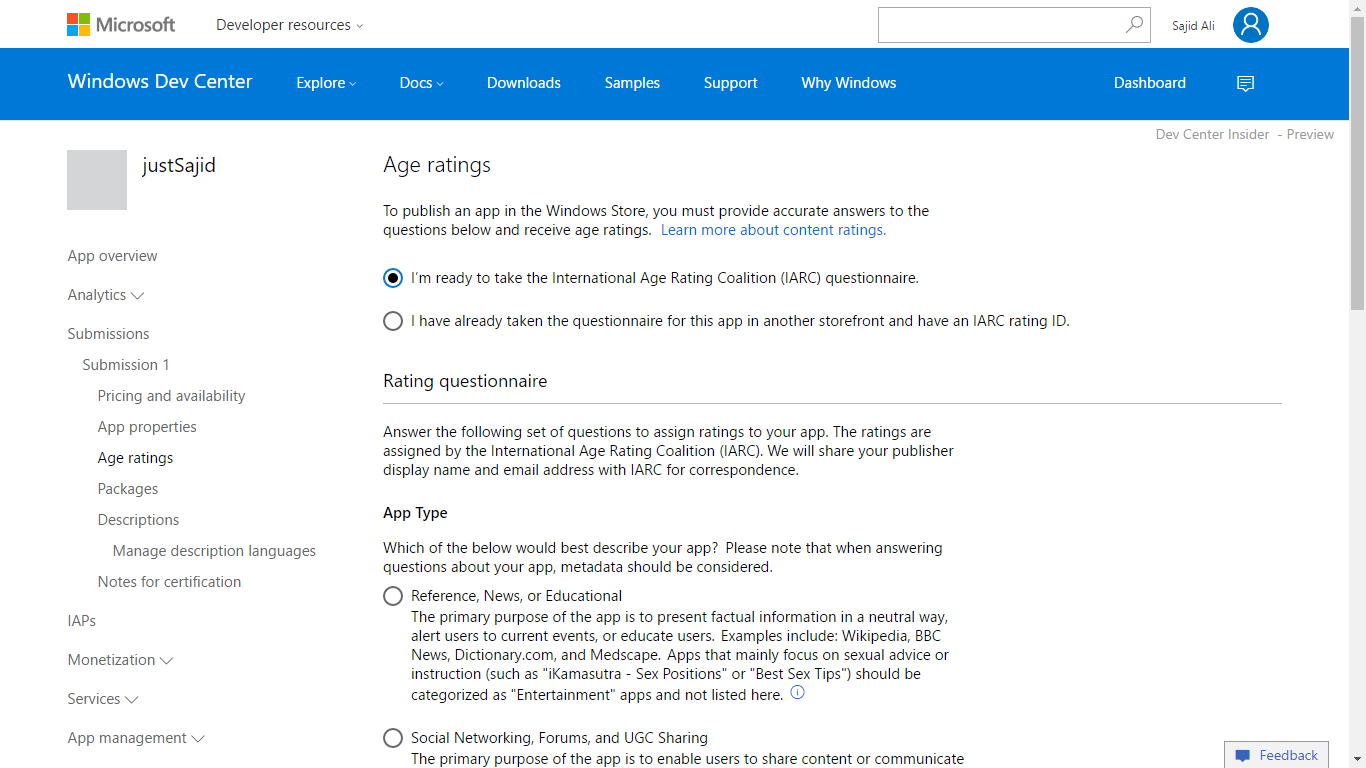
Here you need to answer the things appropriately.
As if you are not completed the IARC questionnaire then keep selected “I’m ready to take the International Age Rating Coalition (IARC) questionnaire.”;
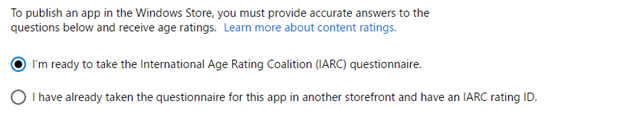
In the rating questionnaire, answer appropriately according to your app type.
As our app is more towards Reference, News, or Educational so we select that option;
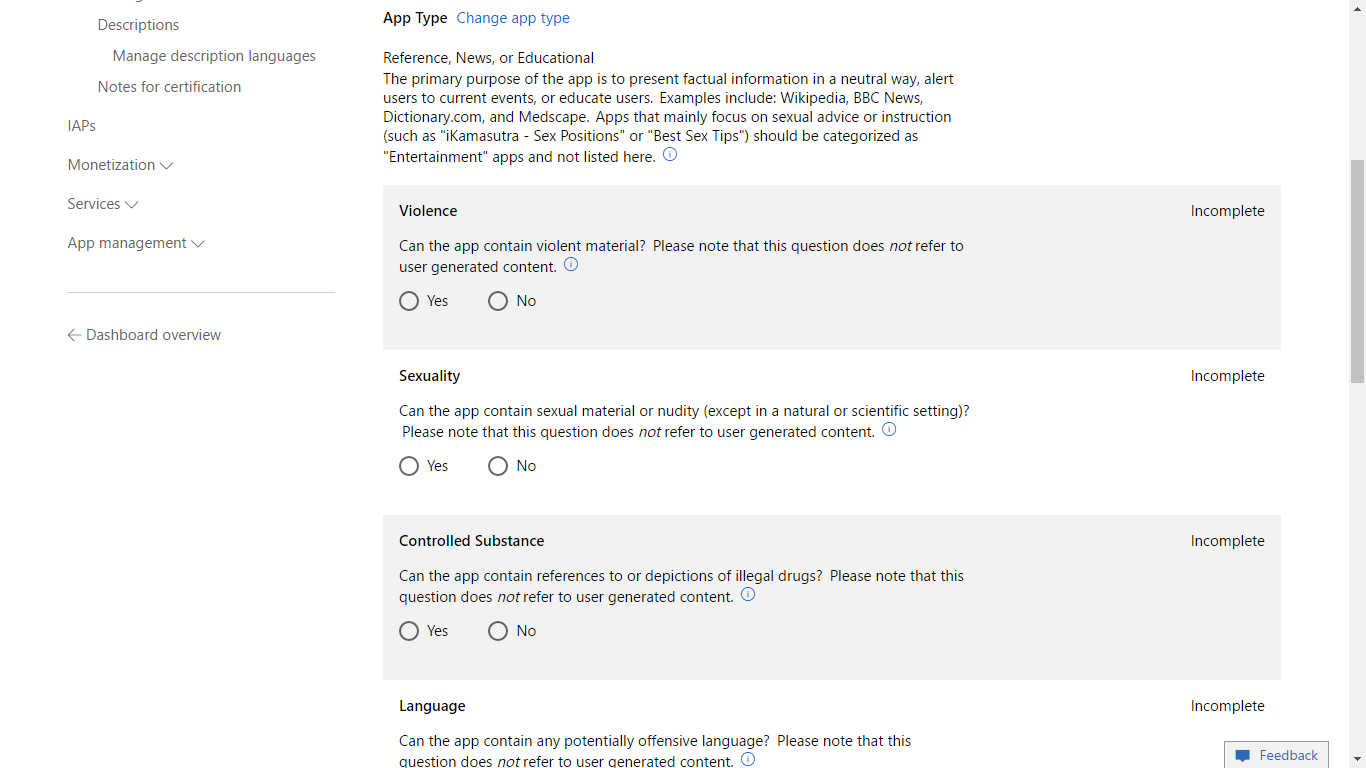
Now simply fulfilled all the option accordingly…
At the end of this section select the target age.
As our App is going to target all ages so we select all ages;
Now when everything is complete, simply click Save and Generate.
So IARC will take give your app rating according to your answers.
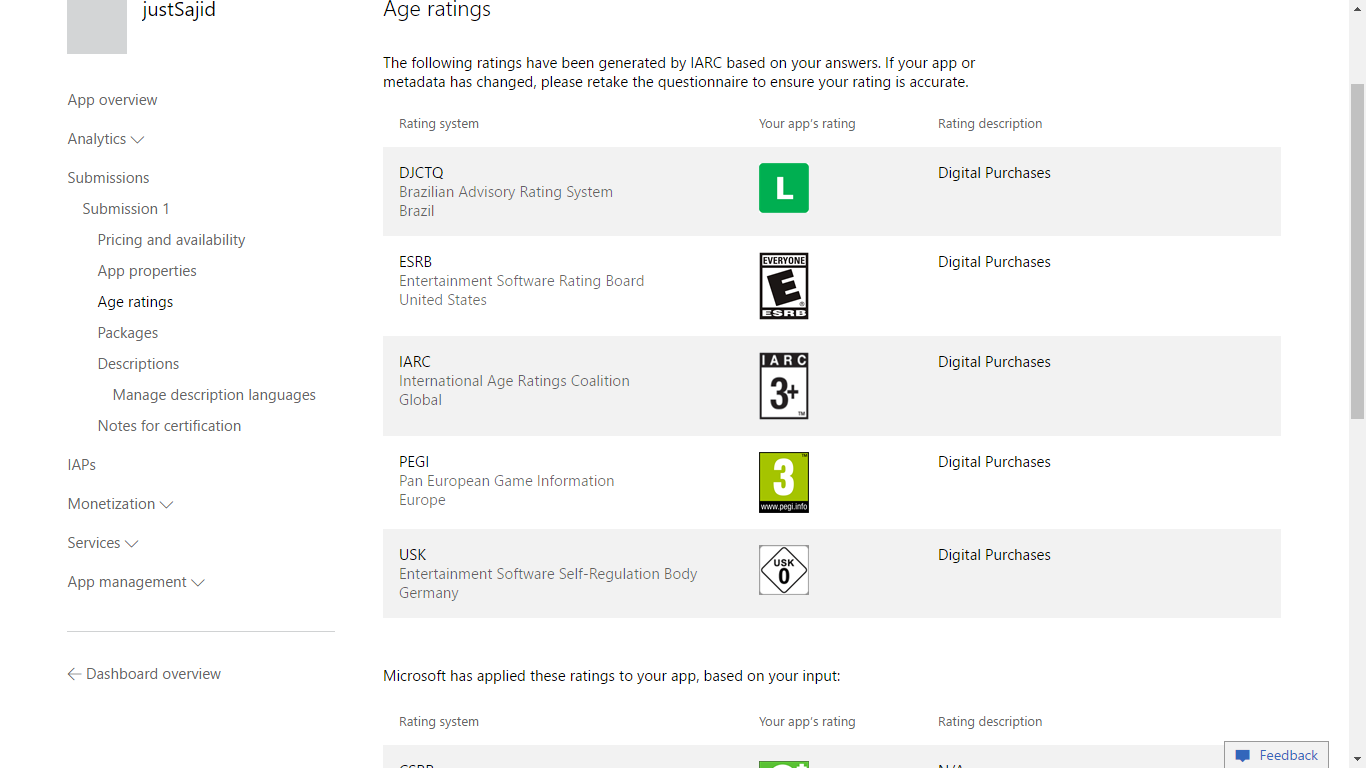
Now if everything is correct, simply click the continue Button you will see the Complete dialog will appear at the front of your section;
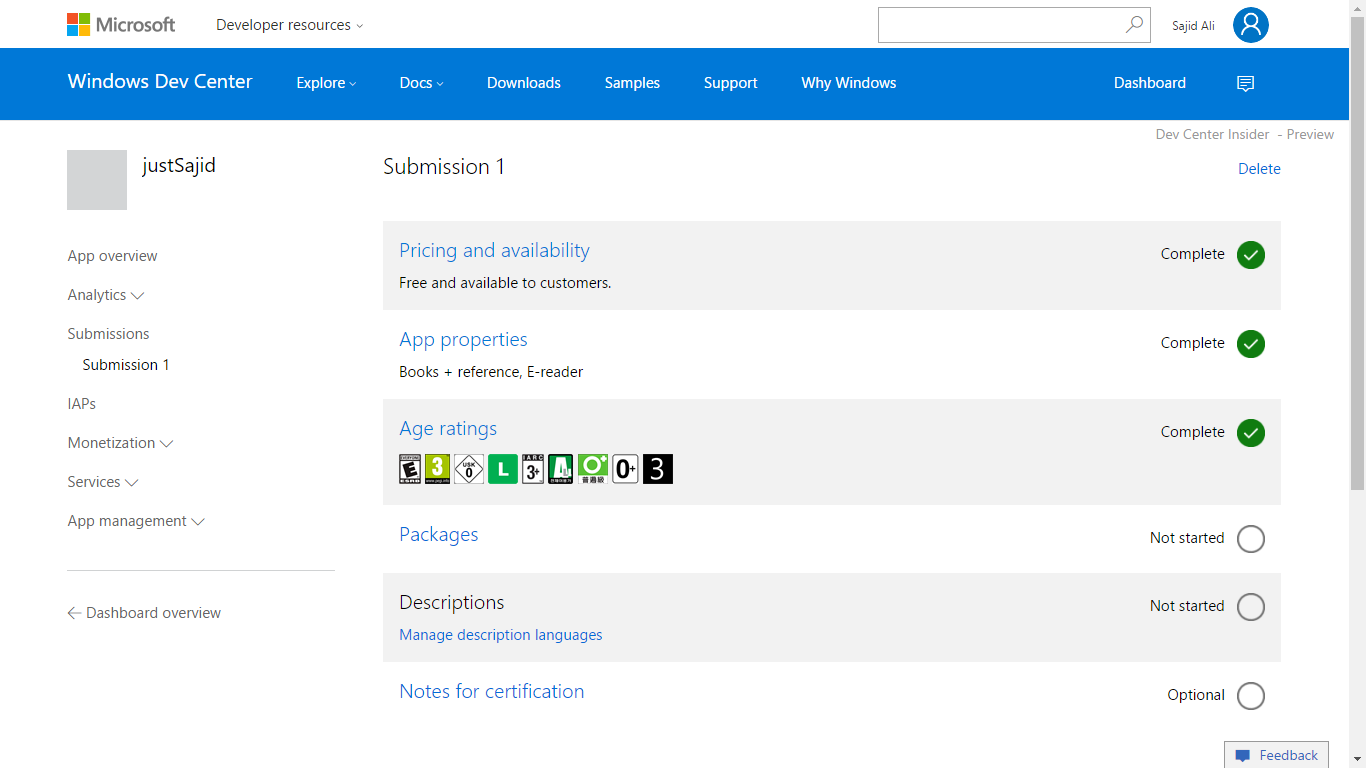
Now let's move to Packages section;
In this section, you will submit your app package;
Now lets drop the .appxupload that was created earlier by Visual Studio;
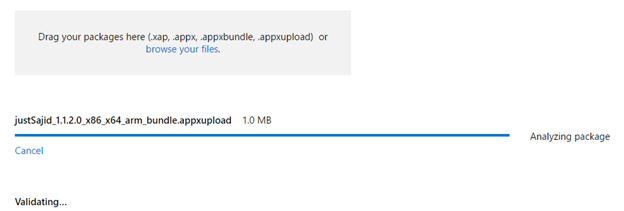
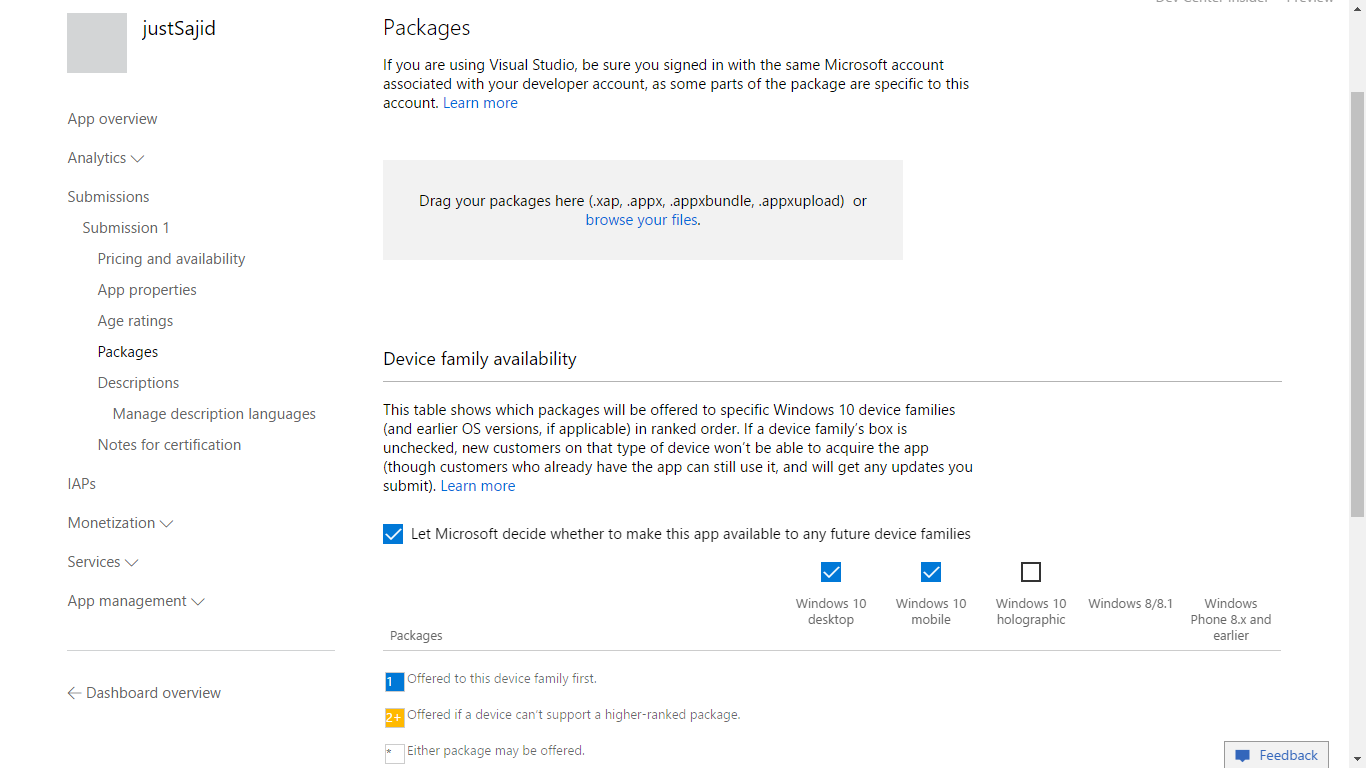
After the package upload you will see your app package at the section of Device family availability section;
In the Device family availability section, you will see the table. The table shows which packages will be offered to specific Windows 10 device families (and earlier OS versions, if applicable) in ranked order. If a device family’s box is unchecked, new customers on that type of device won’t be able to acquire the app (though customers who already have the app can still use it, and will get any updates you submit).
Now in the bottom section you will see the section of Windows 10 packages where you will see the package which we have uploaded to store;
When everything is done, simply click Save button and you will see the Complete dialog will appear at the front of your section;
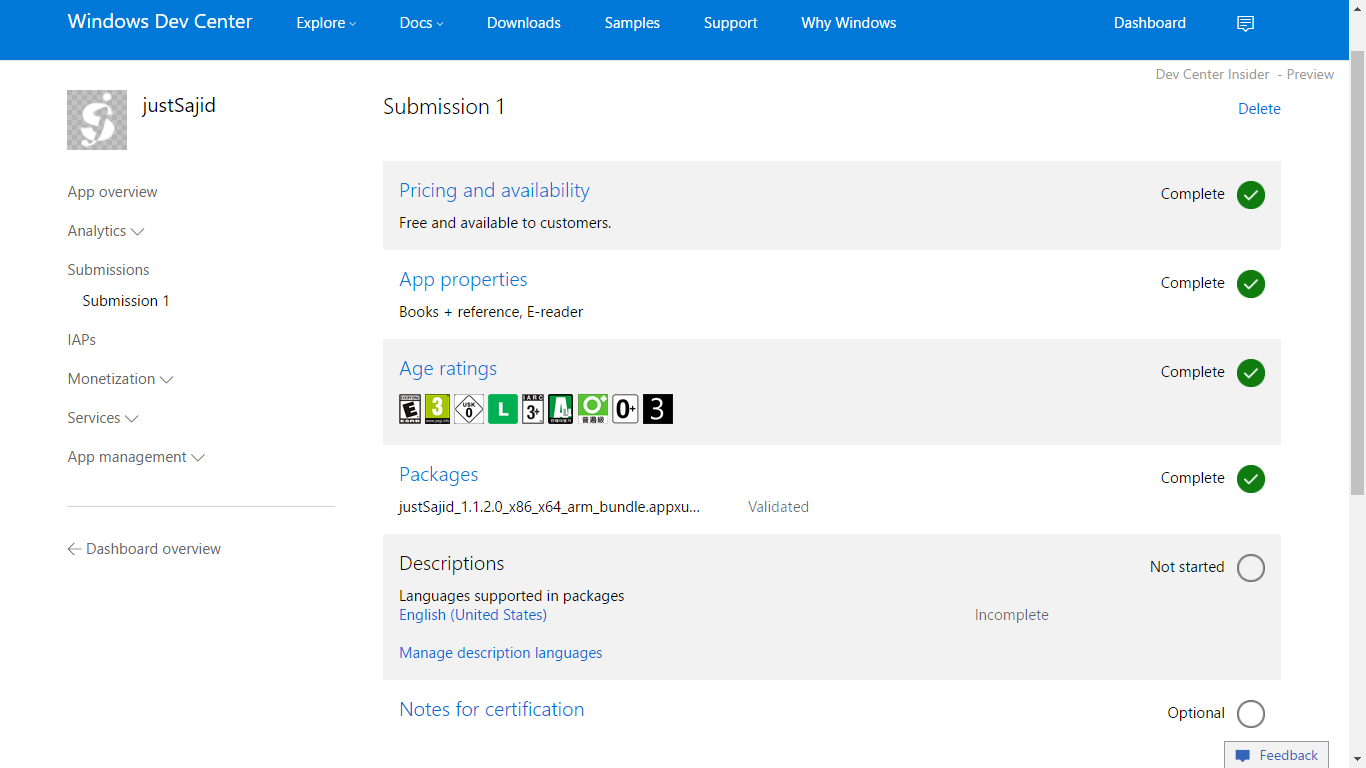
Now simply move to the next Section of Description.
Here you can manage the languages for description. Add additional languages if you need;
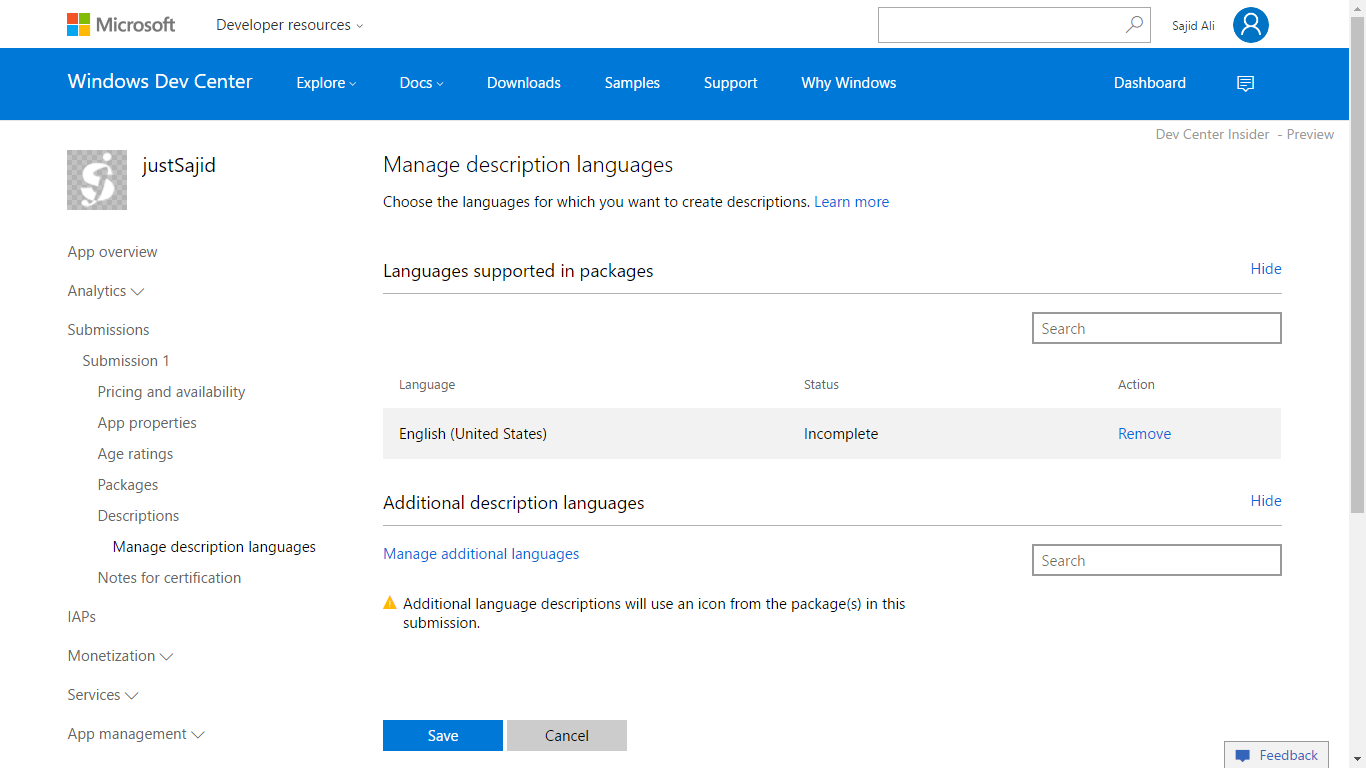
Then click on that language and add the description for your app. Also, add Screens what represent your app;
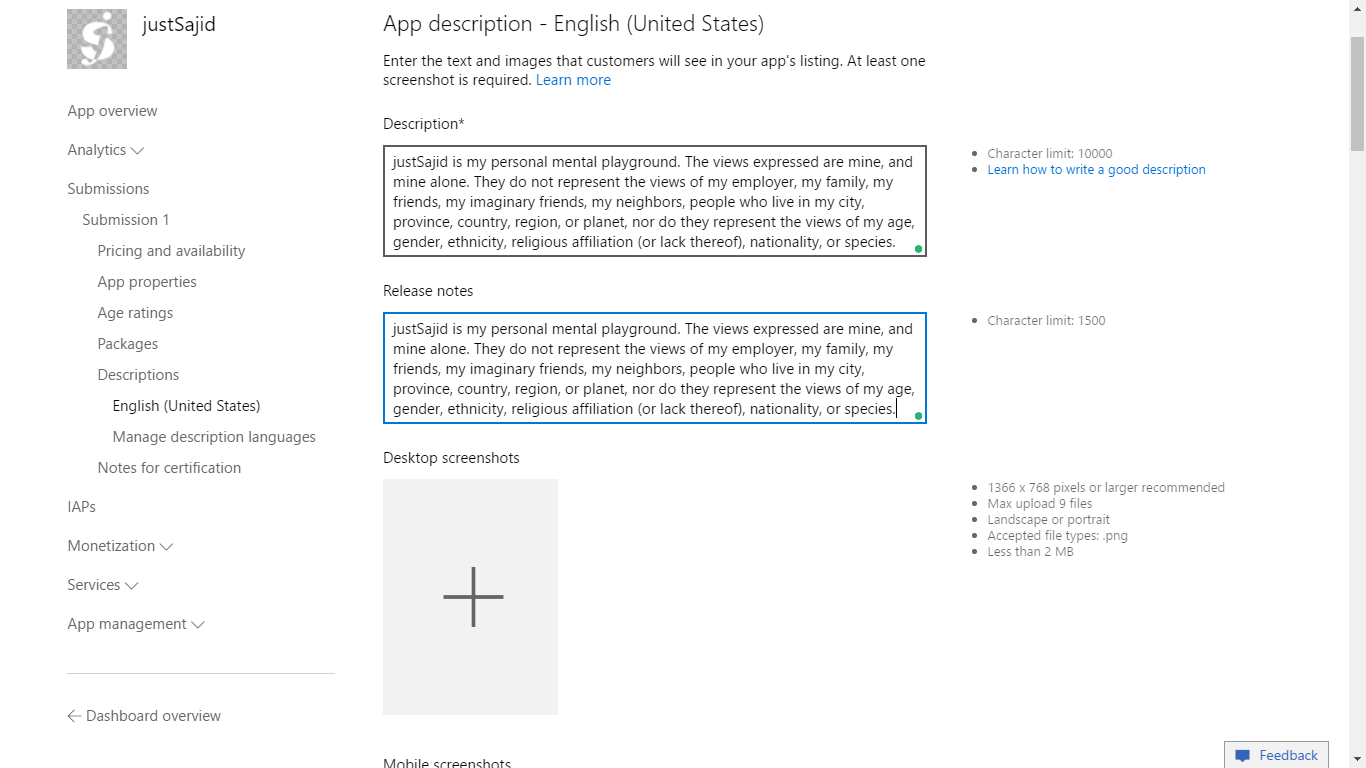
When Everything is set, simply click the save button and you will see the Complete dialog will appear at the front of your section;
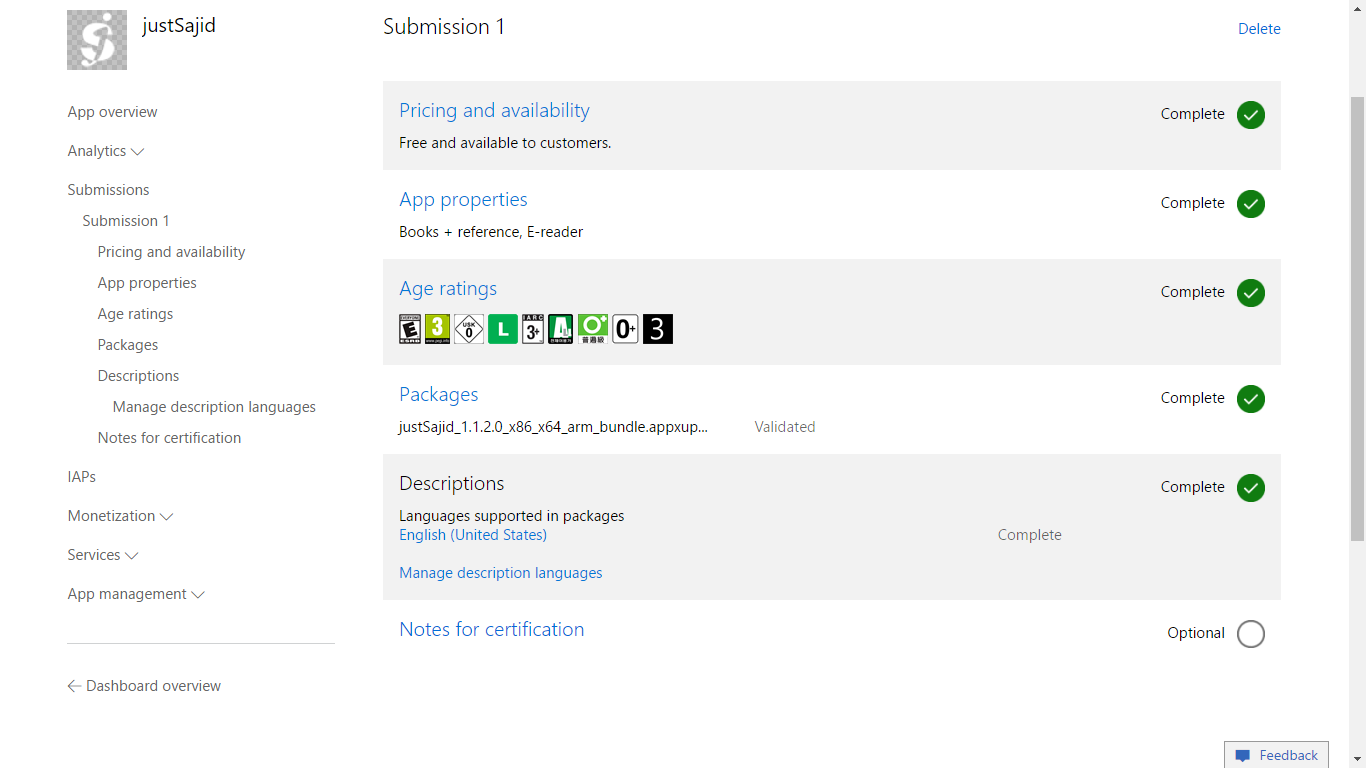
Now if you want to add some Notes for certification the go to Notes for certification;
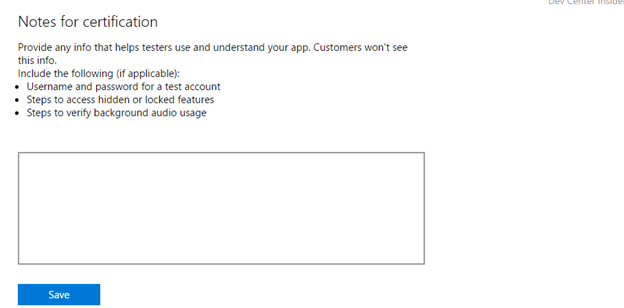
Here, simply add the required info if you need and click Save Button when all set and you will see the Complete dialog will appear at the front of your section;
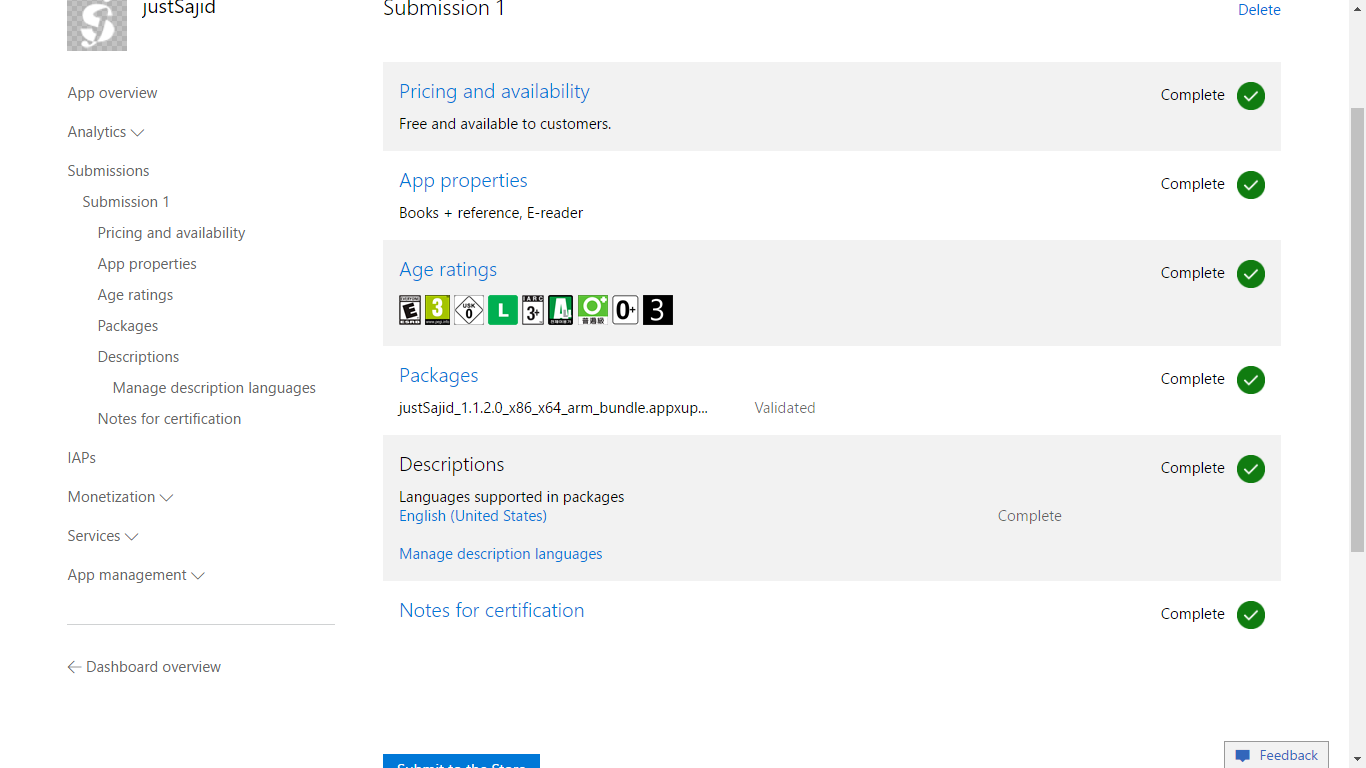
Now when everything is set, simply click Submit to Store Button;
KaBoom! Congratulations, Your App is submitted to store.
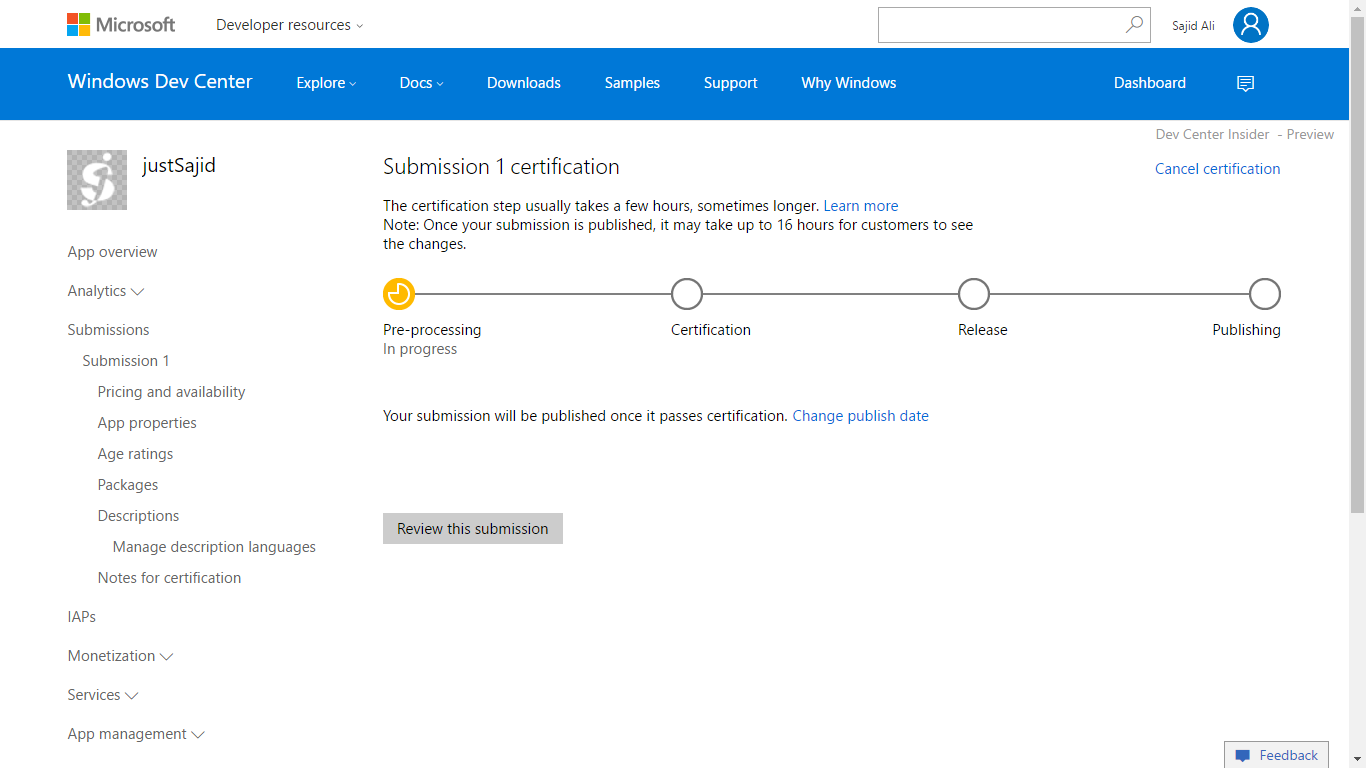
Now it's all done from your end. Now it's Store turn. Windows Store will complete Pre-processing, complete certification process. And finally, after some time if everything goes well then your app will be release and then Published to store…
And you will be informed through Email as your app get progress on Store…
So! Dude, Have a Sarsaparilla… : - )
You See! how easy and fun is that to Publish your app to Windows Store…