SharePoint 2016 Uninstall the Workflow Manager 1.0
In this wiki, let's walk through the process of completely uninstalling Workflow Manager 1.0. In order to uninstall the Workflow Manager 1.0, you have to perform the below steps in the following order.
Before Beginning
Before proceeding to uninstall, please get the list of all databases associated with Workflow Manager Farm. See below the list of databases for our workflow farm. (BTW, these are the default names.)
- WfManagementDB
- SbGatewayDatabase
- SBContainer01
- WFInstanceManagementDB
- WFResourceManagementDB
- SBManagementDB
Leave the Workflow Manager Farm
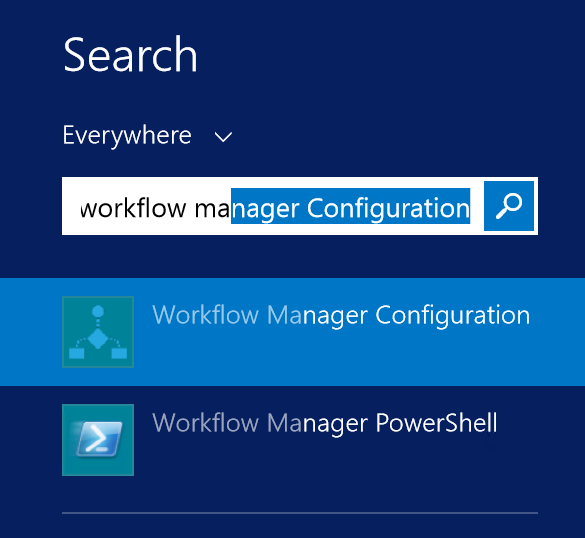
Type Workflow Manager Configuration in the Search Box and click it.
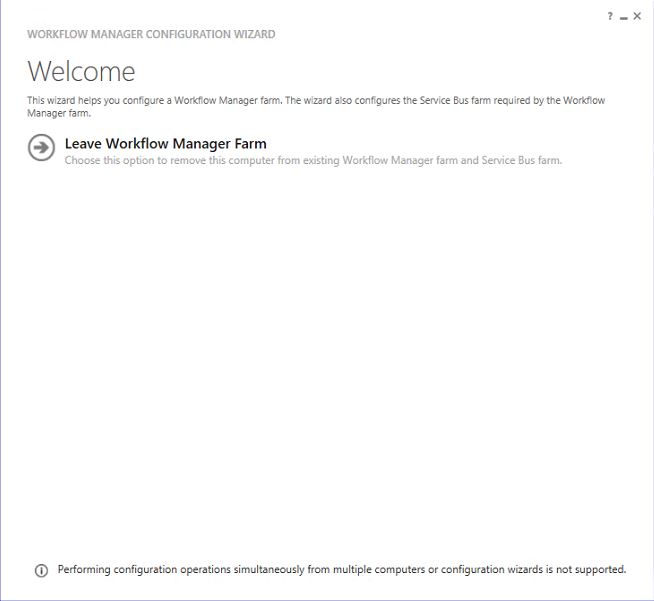
Open the Workflow Manager 1.0 Configuration Wizard. Click Leave Workflow Manager Farm on this page.
On Summary page, click OK.
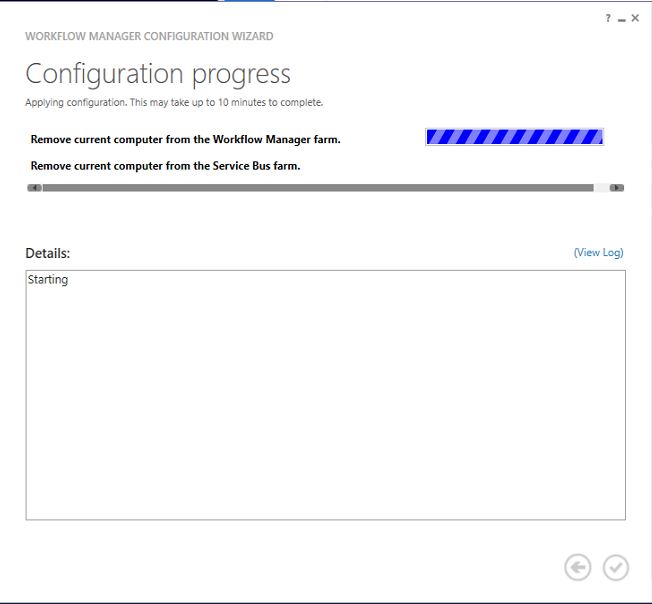
Wait for a couple of minutes to uninstall.
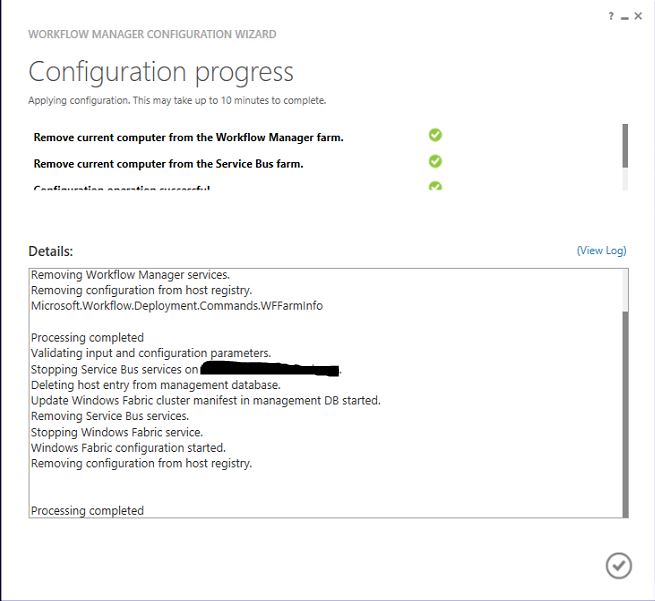
Click **OK **on the success page.
Repeat this Step for all servers in the Workflow Manager farm (if more than one server).
Delete the Database
- Now login with Database Server using SQL Management Studio.
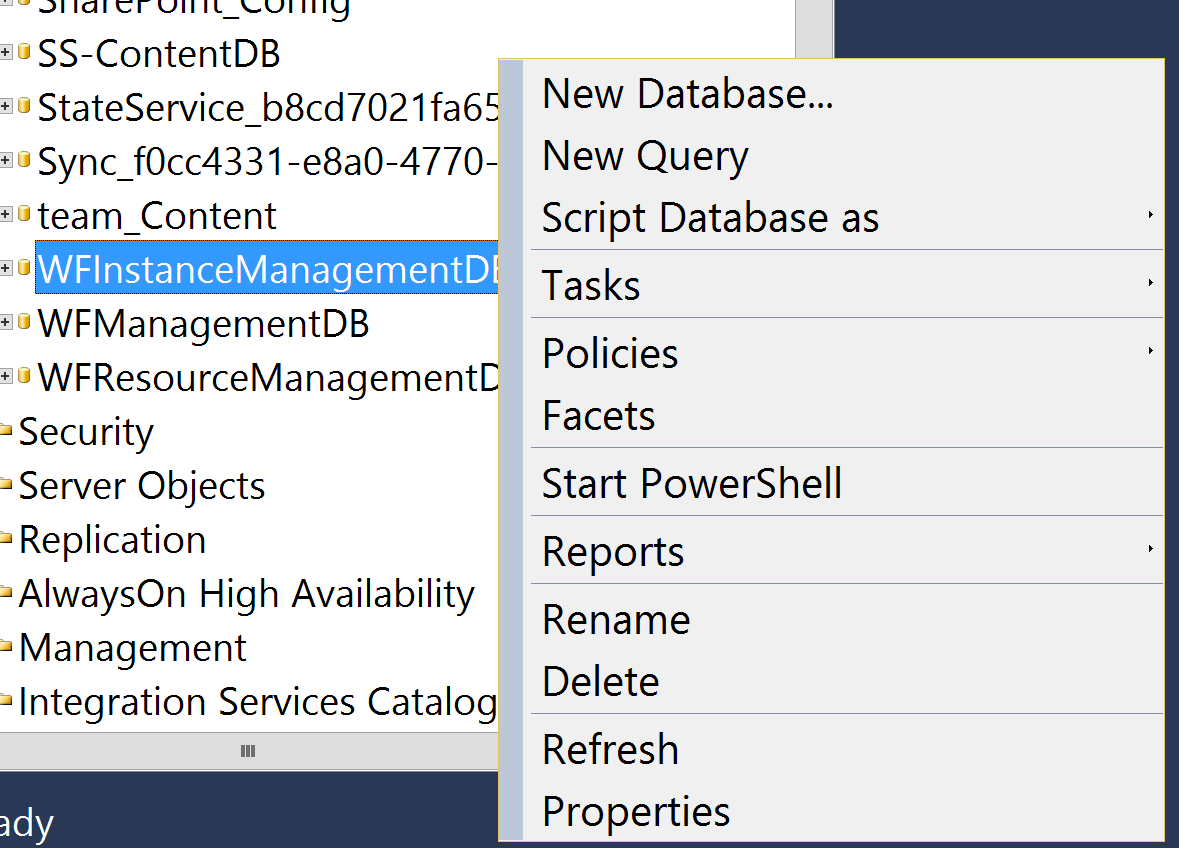
- Right-click on the WFManagementDB and select Delete.
- Check both Delete backup and restore history information for databases and Close existing connections. Click OK.
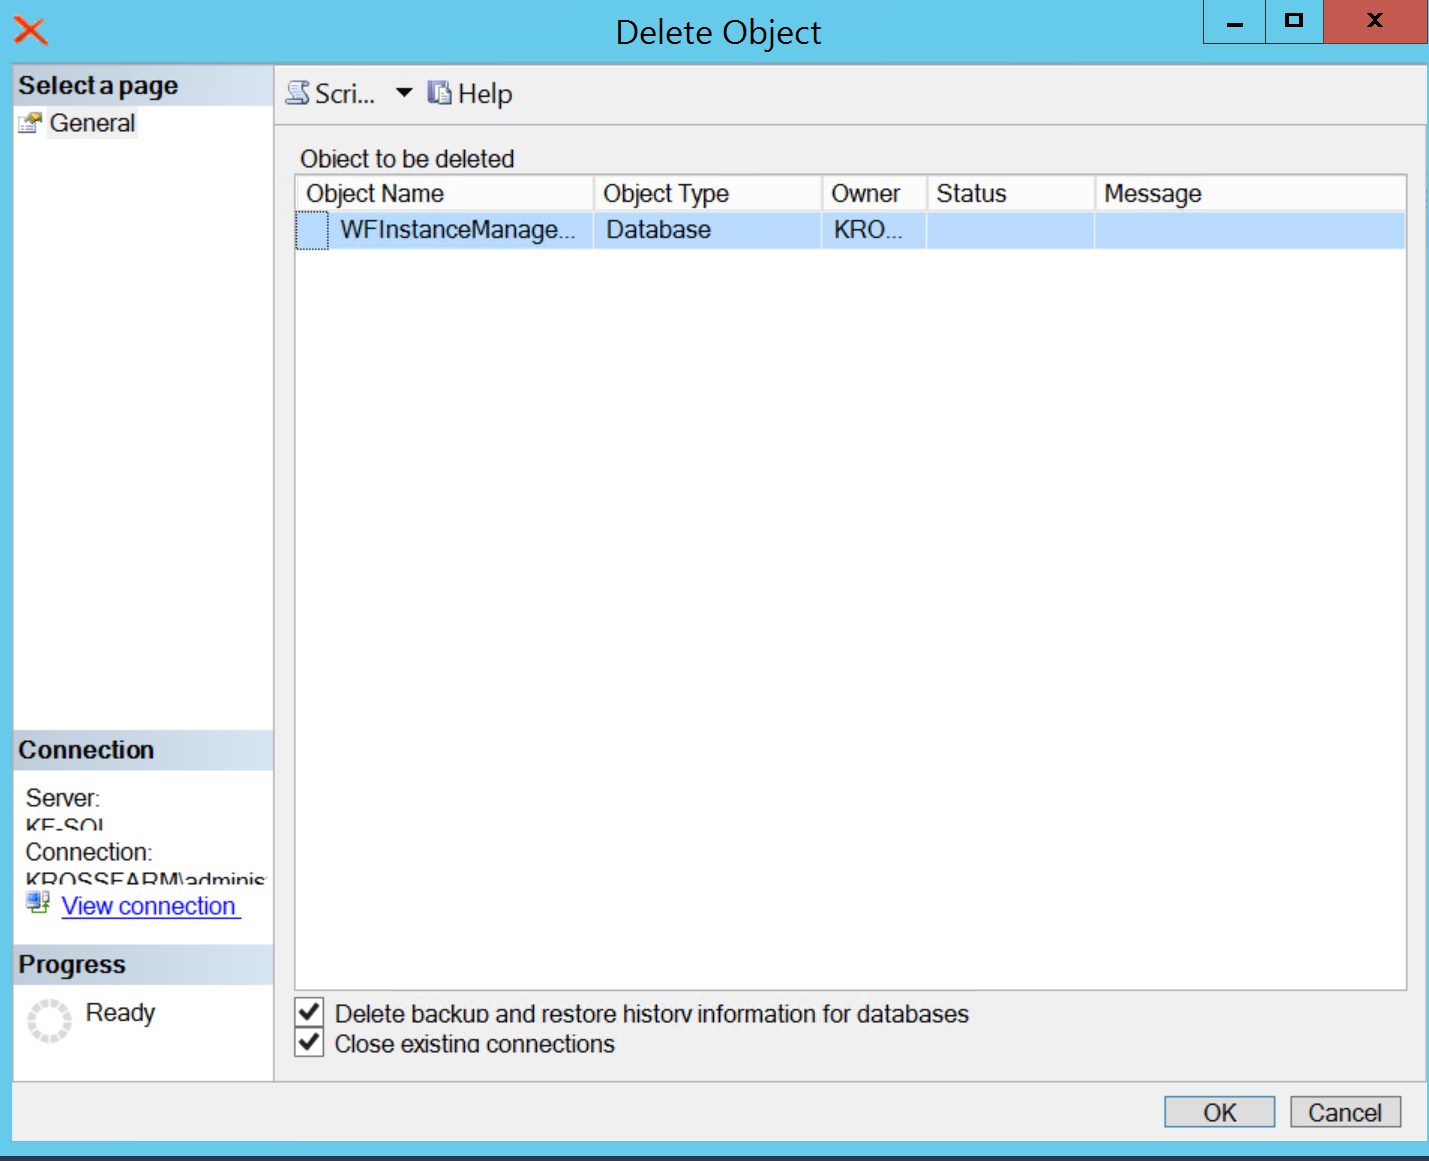
- This will delete the database.
Now, repeat the above steps for the remaining five databases one by one.
- WfManagementDB
- SbGatewayDatabase
- SBContainer01
- WFResourceManagementDB
- SBManagementDB
Uninstall the Workflow Manager
Please uninstall the component in the below order.
Workflow Manager 1.0
Let's start to uninstall the Workflow Manager.
In the Windows Start menu, click Control Panel.
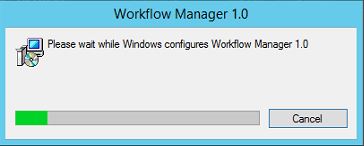
Locate the Workflow Manager 1.0 and click Uninstall on it.
Wait for a couple of minutes and it will be removed from the server.
Workflow Manager Client 1.0
Now we will uninstall the Workflow Manager Client 1.0.
- In the Control Panel window**,** locate the Workflow Manager Client 1.0 and click Uninstall on it.
- Click Yes.
- Wait for a couple of minutes and it will be removed from the server.
Service Bus 1.0
Now we will Uninstall the Service Bus 1.0.
- In the Control Panel window, locate the Service Bus 1.0 and click Uninstall on it.
- Click Yes.
- Wait for a couple of minutes and it will be removed from the server.
Windows Fabric
Now we will Uninstall the Windows Fabric.
- In the Control Panel window, locate the Windows Fabric and click Uninstall on it.
- Click Yes.
- Wait for a couple of minutes and it will be removed from the server.
Delete the Folders
Now go back to the server and check if any workflow directory or Service Bus Directory exists. If yes, delete it.
By default, Workflow Manager installs at C:\Program Files\WorkflowManager and Service Bus installs at C:\Program Files\ServiceBus
Back to Main
- To go back to the Main page, please use this URL: SharePoint 2016: Step By Step Installation of Workflow Manager

