SharePoint 2016: State Service Application Step by Step
This Wiki article will guide you through the steps of creating an import Service Application called State Service. A lot of SharePoint Components required this Service Application to store the status.
There are two ways to create the State Service Application:
- Central Admin (using Farm Configuration Wizard)
- Use Powershell
Farm Configuration Wizard
- Log in on Central Admin with a farm admin account with Local admin on the server
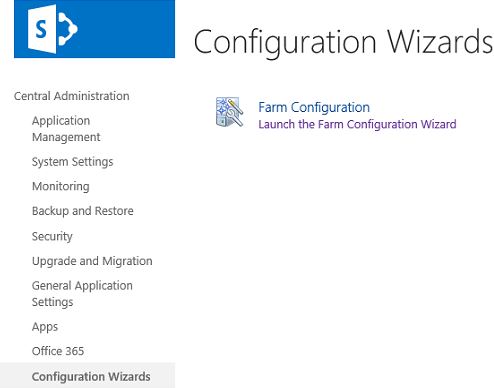
- On the Central Administration Web site, click Configuration Wizards.
- On the Configuration Wizards page, click the Launch the Farm Configuration Wizard.

- On the first page of the Farm Configuration Wizard, click Start the Wizard.http://i1.wp.com/krossfarm.com/wp-content/uploads/2016/04/14-1.png?resize=720%2C210
- On the services configuration page:
- In Service Accounts, either select the one from the list or use the new one.
- In the Services section, select the State Service check box.http://i2.wp.com/krossfarm.com/wp-content/uploads/2016/04/15-1.png?resize=720%2C336http://i2.wp.com/krossfarm.com/wp-content/uploads/2016/04/16-1.png?resize=359%2C1024
- Click Next.
http://i1.wp.com/krossfarm.com/wp-content/uploads/2016/04/17-1.png?resize=720%2C319 - Once it completes it will ask you create a new Site collection. Skip this and you are all set.
Create Via Powershell
- Launch the SharePoint Powershell console.
- Please login with your farm admin account
- Run the following command:
$serviceApp = New-SPStateServiceApplication -Name "StateService-App"
New-SPStateServiceDatabase -Name "SS-Database" -ServiceApplication $serviceApp
New-SPStateServiceApplicationProxy -Name "StateService-App" -ServiceApplication $serviceApp -DefaultProxyGroup