Premium Add-On Server - SQL Role
**How to Add the Premium Add-On Server to a SBS 2011 Domain - SQL Role
**The Add on premium server provides the ability to provide additional flexibility to your SBS 2011 domain. The Windows Server 2008 R2 can be the base OS for a Hyper-V deployment and then can be used as the line of business deployment server. It can also be used for a base for a line of business SQL Server.
If you have any issues installing SQL Server, keep in mind a key element is that it must see the SBS domain. Thus make sure you are logged in as a SBS domain administrator when installing the software.
This past blog post, while based on SBS 2008 covers the same issues you'll face in SBS 2011.
This step by step is based on http://demoshowcasesuite.com/demos/37cb96dd-b729-44f5-84c9-1360be5b18cb and you can run through a hands on lab of this as well.
- Downloading the software.
Download the Premium add on from the MVLS site.
Click on the Windows Small Business Server Premium Add-on 2011, and then choose the 64bit download to download the Windows Server 2008 R2 iso.
To download the SQL server 2008 r2 for small business choose the 32/64 bit version.
Once you’ve downloaded the media you can install the member server. It will install as a workgroup server. To join it to the domain you must manually join it. Ensure that it is obtaining it’s IP address from the SBS 2011 server.
- Manually join the server to the domain
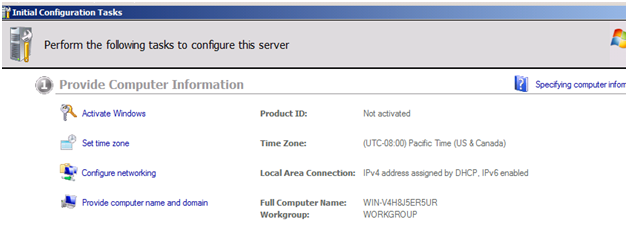
The wizard that one normally runs to join a computer to the domain does not work to join a server to the domain. Thus don’t even attempt to run http://connect on a server as it will indicate it’s not a supported operating system. On the initial configuration tasks screen, click on provide computer name and domain.
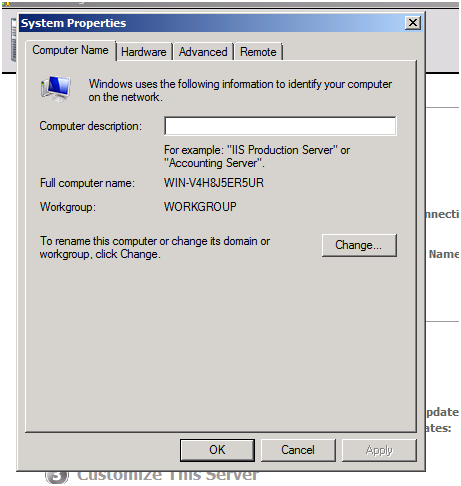
On the system properties screen that comes up, click on change to enter the domain and renaming tab.
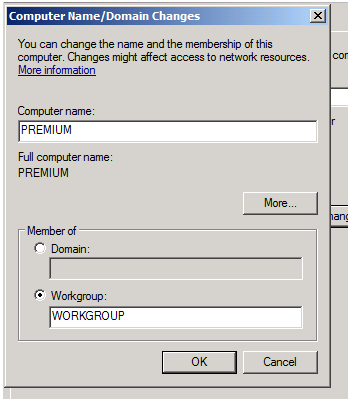
Rename the member server to make it descriptive based on your normal naming schema.
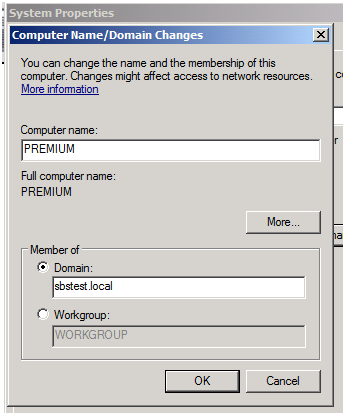
Click Domain, and then enter the domain name of the network.
Click OK.
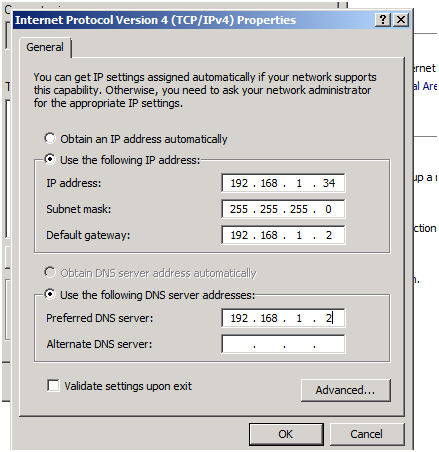
If the server cannot find the domain you may need to enter a static IP and point the DNS to the SBS 2011.
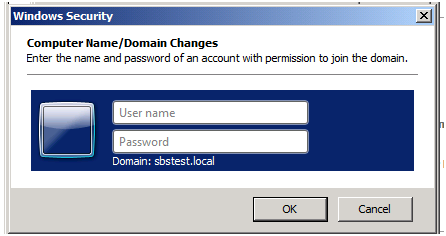
You will be prompted for a domain administrator account in order to join the domain.
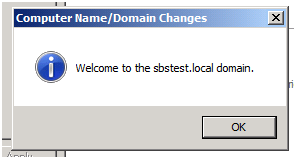
You will be then joined to the domain.
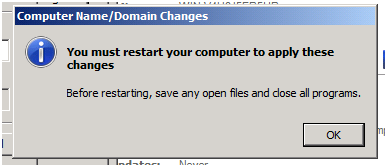
You need to reboot the server to finish joining the domain.
The server will be rebooted.
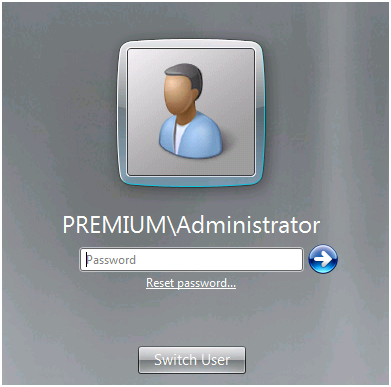
The server will reboot with the non domain user account setting.
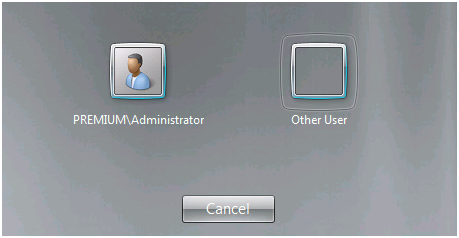
To log in as a domain, click on Switch User. Click on Other User.
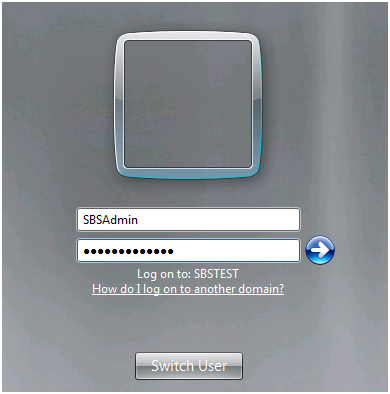
Enter the domain username and password.
Click on the blue arrow key to enter the domain.
The member server is now joined to the domain.
- Move the server into the right Organizational Unit.
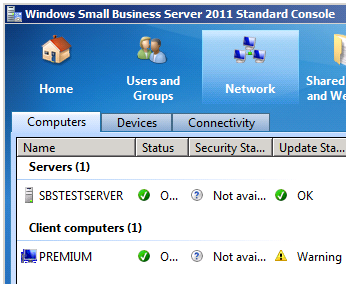
The next step that has to be done for SBS 2011 STANDARD servers only - is to move the server from the client organizational unit to the Sever organizational unit. If you do not do this you will be unable to successfully add roles to the server. Go back to the SBS 2011 server and check the console and then on the network tab. You’ll notice that the Premium server is listed in the client computer category.
For SBS Essentials this step is not necessary.
This is due to the fact that when a server is joined to the SBS network, it’s placed in the SBS computers OU. You’ll want to move it to the SBSServers OU. If you do not you cannot install the TS/RDS role.
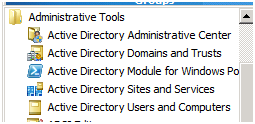
Click start, administrative tools, then on Active Directory Users and Computers (ADUC) console.
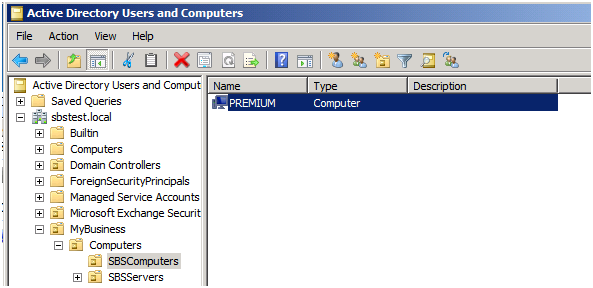
In ADUC, expand the domain to navigate to the SBSComputers OU which is under the domain, then under MyBusiness, then under Computers.
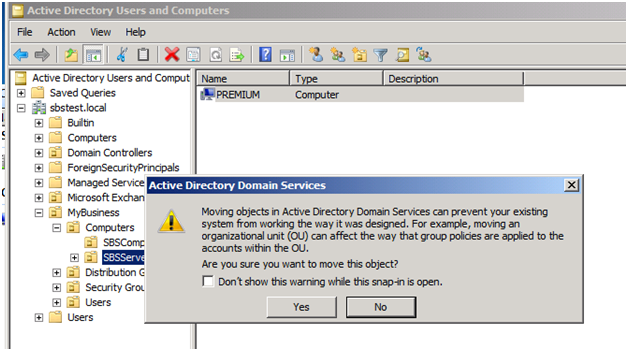
Find the premium member server listed and right mouse click, hold and drag it to the SBSServers Organizational Unit.
Click Yes when you are prompted to confirm the move.
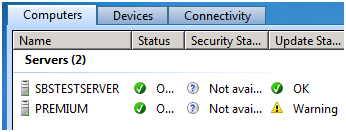
Go back to the console and confirm that the server is now listed as a server. You may need to click “refresh this view” to refresh it.
You’ll notice that the server is now listed in the Server section.
- Installing SQL server 2008 R2 for Small Business.
You need to ensure that you have joined the member server to the SBS 2011 domain so that the SQL and "see" the domain.
Take the base Windows 2008 R2 you have build above and either burn in using magiciso to a dvd the SQL 2008 r2 you downloaded or use magic disk to mount a virtual DVD.
Once you mount the ISO so that it's seen as a proper dvd, it will launch the setup.exe
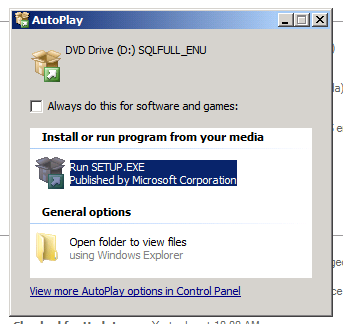
Click to approve the UAC prompt
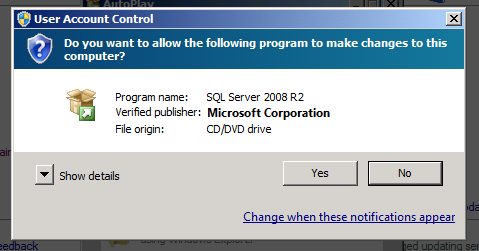
You will need to install .net and a new installer as prompted.
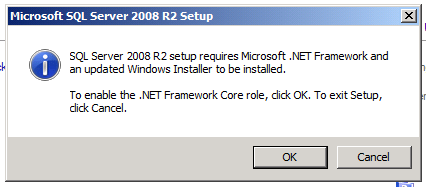
The installer will install the needed .net

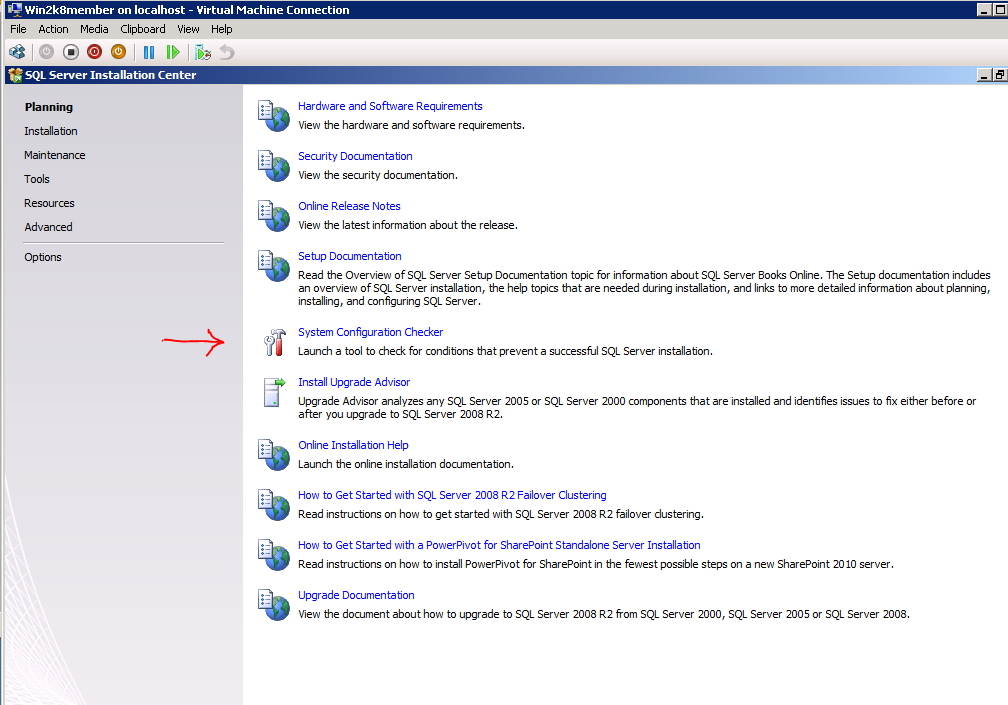
You may wish to launch the system configuration checker at this stage
The config test will run and indicate any issues

Click OK
Now click on installation on the left hand side to get to the install menu
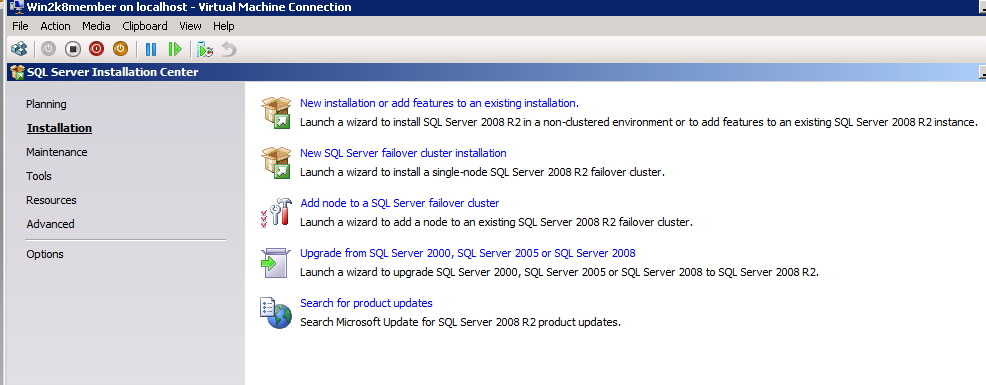
Click on New installation

The setup will begin

It will do a rule check
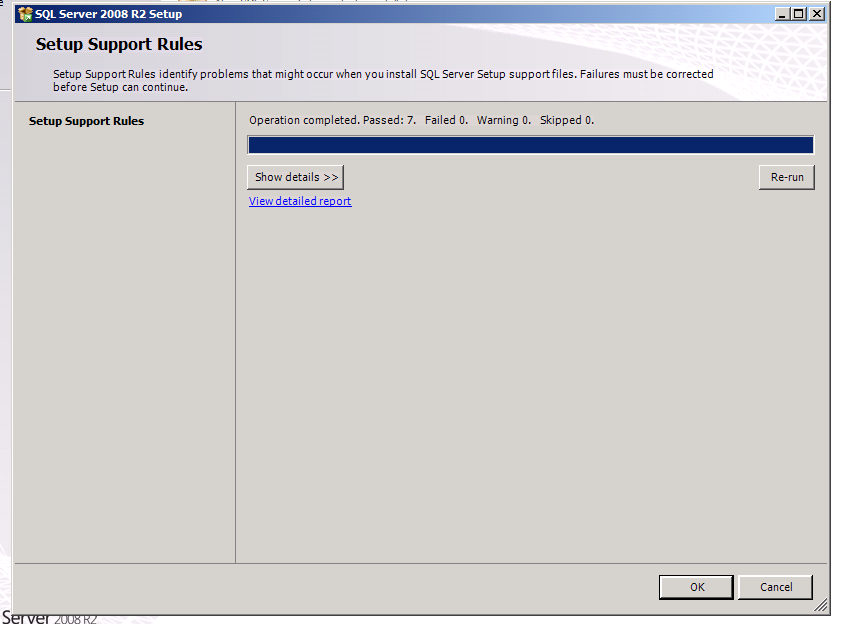
Click OK
The install will begin

If the product was purchased via volume licensing, it will be prekeyed so you don't need to enter a key code. For other channels, you will need to have the key provided with the media or obtained electronically and use it here:
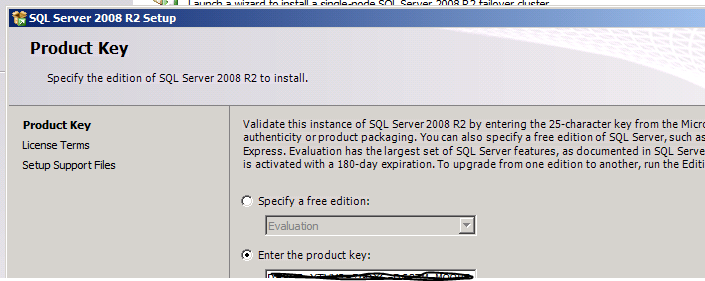
Click Next
Click to accept the eula
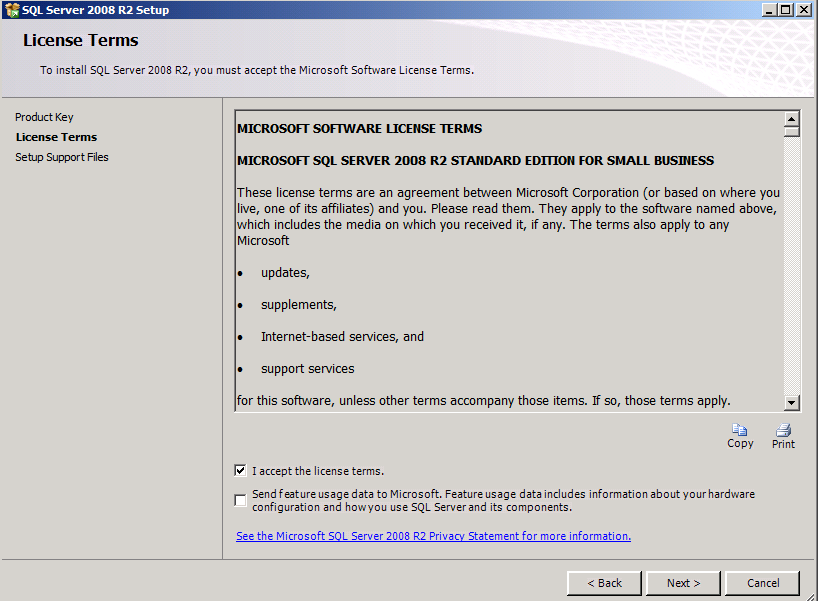
Click install to begin the process
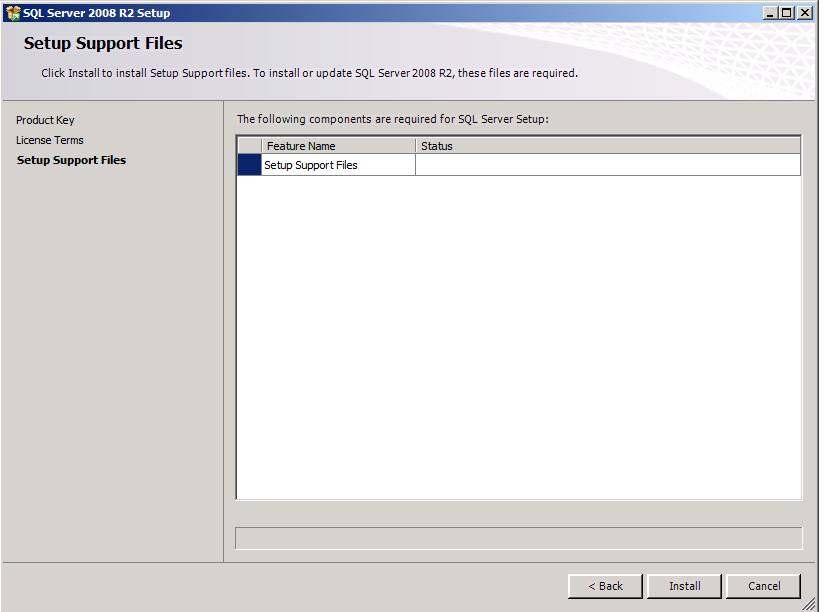
It will begin to install

It will complete the check for setup
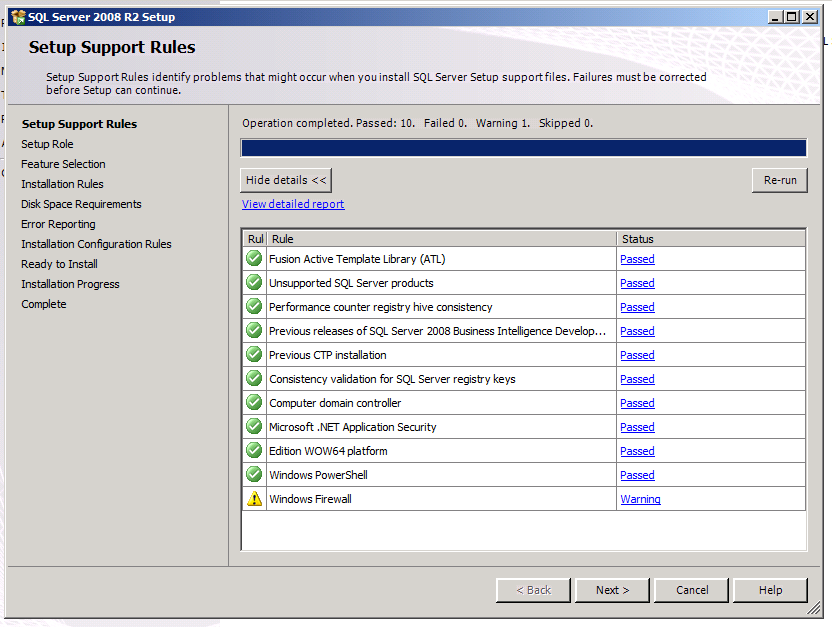
It will warn that we need to later on poke holes in the firewall for SQL
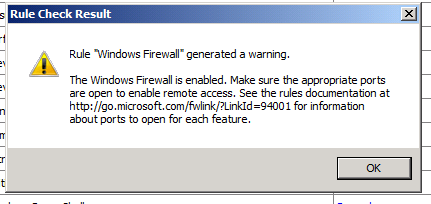
You will need to check with the Line of Business vendor as to what features they need for SQL

Click next to begin the install
Choose only those features you need. Again, check with the vendor on this.
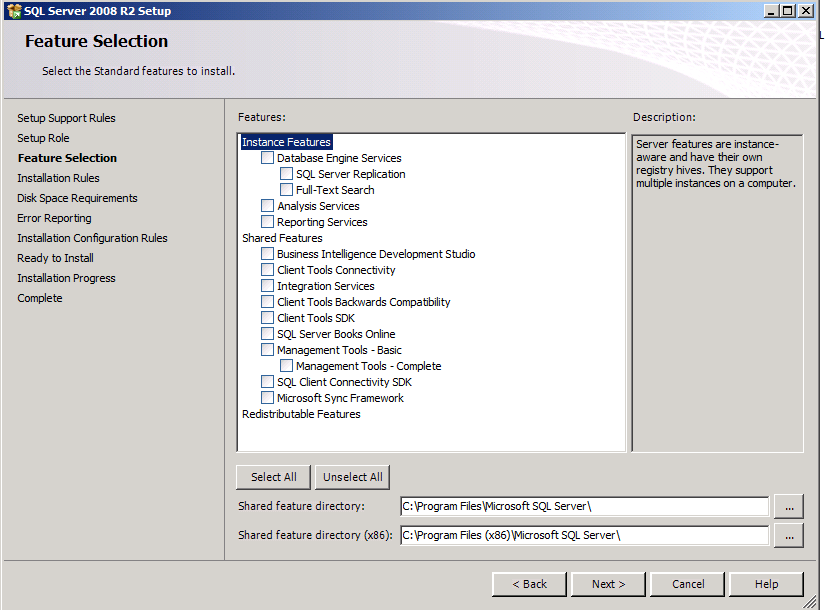
Click Next to begin the install.
A test will be made and any errors noted.
If all is clear, click Next.
At this screen name the sql instance or choose the default - again check with the vendor:
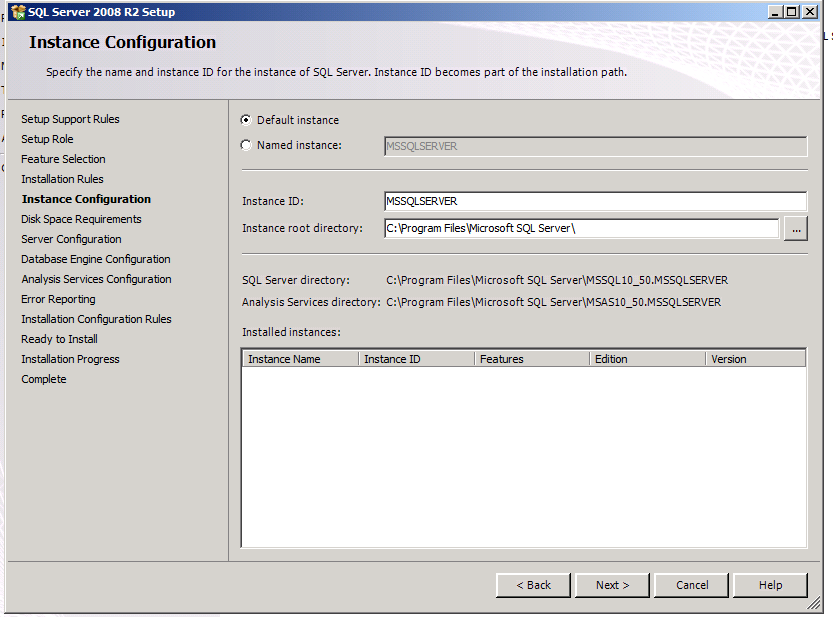
Click next to continue
Review the drive space and click next
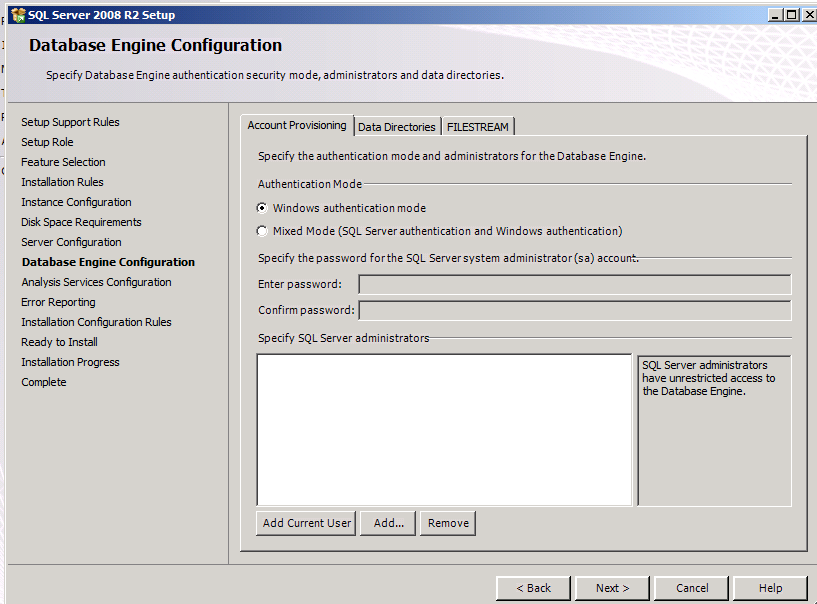
Set up appropriate SQL accounts - again check with the vendor
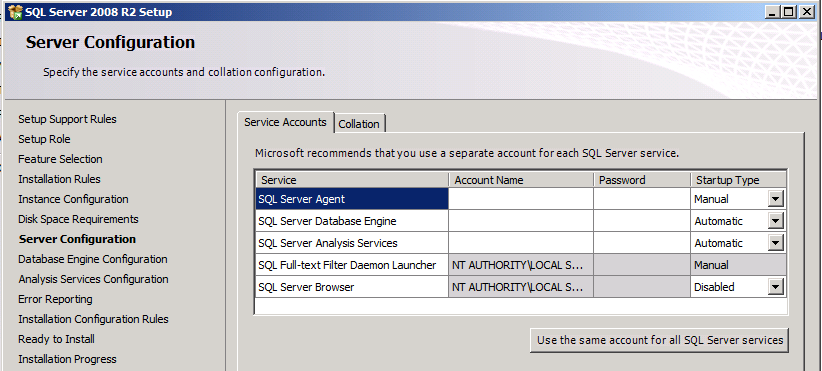
If the SQL needs a SA account ask the vendor if they can use windows authentication - but in general check with the vendor in the setup of SQL
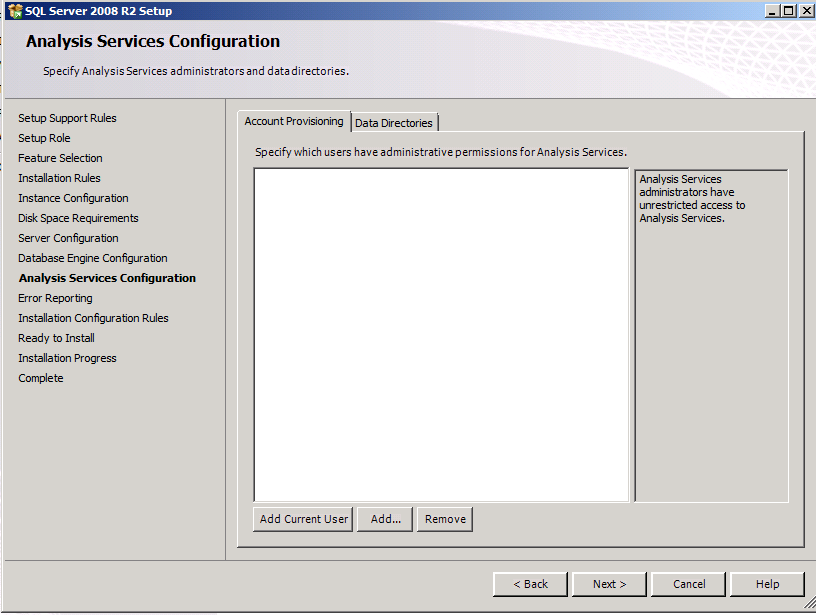
Check what account they need for analysis services
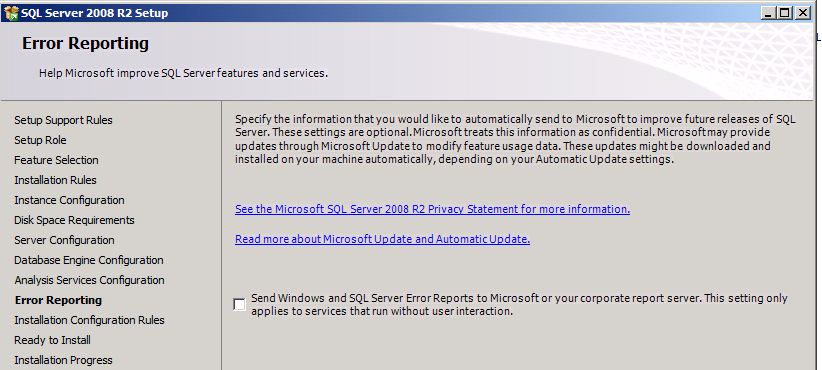
Decide if you want to send error reports to Microsoft
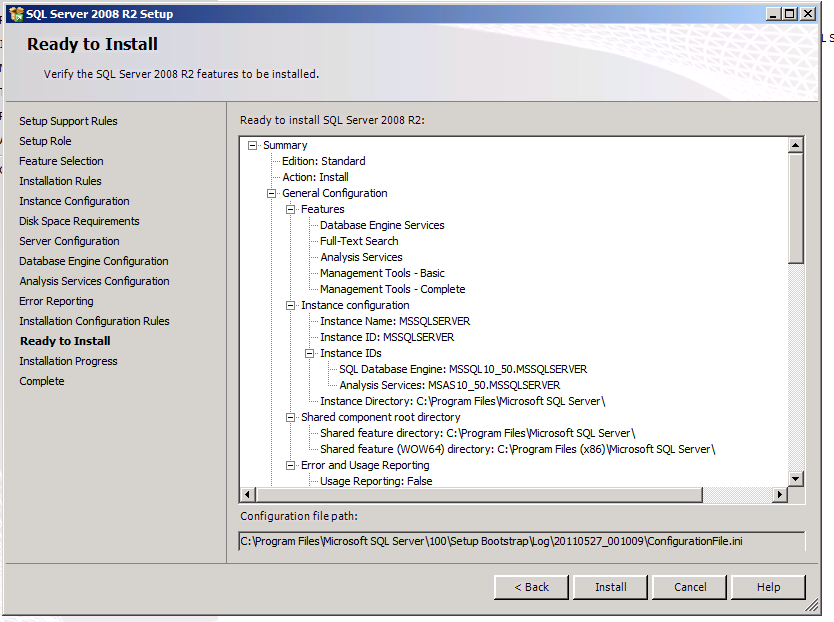
It will check for install problems, click next


