Exchange: Move an On-Premise Exchange User to Office 365
With Exchange 2013, it is simple to move a user from on-premis to the cloud. Moving a user from the cloud back to on-premis takes a few more steps but will be discussed in a future post.
To move a user to Office 365, you can do so from the O365 tab in the Exchange Admin Centre or from the Office 365 Portal.
Lets start with the Exchange Admin Centre.
https://collaborationpro.com/wp-content/uploads/2016/01/O1-300x188.png
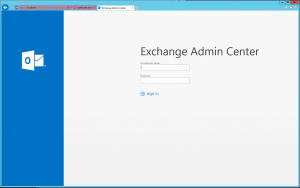
Open up the EAC on your Exchange Server or any machine that you work from. The login screen above will be presented. Enter in the account that has access to the EAC and sign-in.
https://collaborationpro.com/wp-content/uploads/2016/01/O2-300x48.png
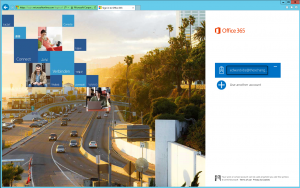
Once signed in, you will see the Office 365 tab on the top as highlighted. This is one of the options to use, click the tab, you will be presented with a o365 sign-in page.
https://collaborationpro.com/wp-content/uploads/2016/01/O3-300x188.png
Sign-in with your tenant account, enter in the password.
https://collaborationpro.com/wp-content/uploads/2016/01/O4-300x188.png
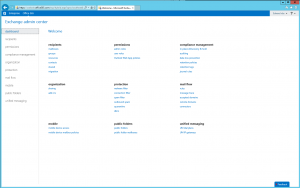
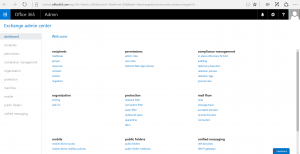
You will be presented with the screen above, you are now connected to the o365 admin console.
https://collaborationpro.com/wp-content/uploads/2016/01/O5-300x187.png
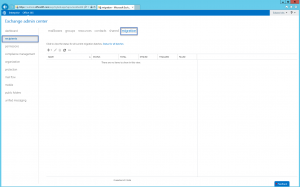
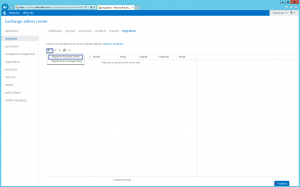
Now click on the Recipients Tab on the left and then the migration option on the top as highlighted.
https://collaborationpro.com/wp-content/uploads/2016/01/O6-300x187.png
Now click the down arrow next to the + button and select "Migrate to Exchange Online".
https://collaborationpro.com/wp-content/uploads/2016/01/O7-300x271.png
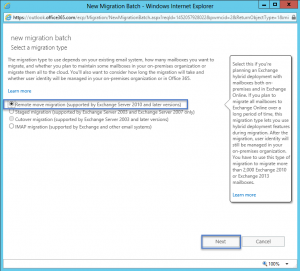
In this exercise we are going to be doing a remote move, select the first option and click next.
https://collaborationpro.com/wp-content/uploads/2016/01/O8-300x187.png
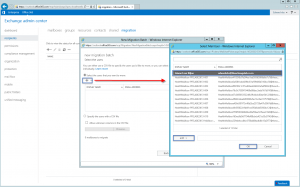
Click the + button to add a user, a second window will pop-up to allow you to select the user/s you want to migrate, select the user, click the add -> button then click ok when done.
https://collaborationpro.com/wp-content/uploads/2016/01/O9-300x272.png
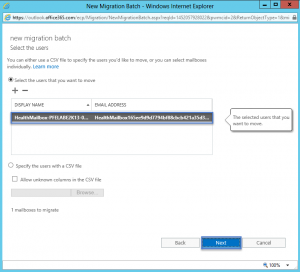
The user you selected will now show in the main window, click the Next button.
https://collaborationpro.com/wp-content/uploads/2016/01/10-300x271.png
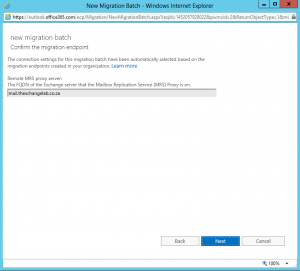
On this screen you will be asked to Setup your MRS Proxy, if you have done so already then the box will be grey and you can click next.
If you are prompted to setup the MRS Proxy, you will firstly need to make sure that the option for MRS is enabled on your EWS Virtual directory. You will then be asked to enter in an account that has privileges like an org admin. Once it detects your name and you confirm it then you can continue.
https://collaborationpro.com/wp-content/uploads/2016/01/11-300x271.png
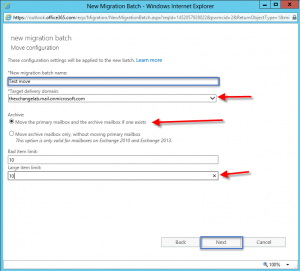
Here you can give the Migration batch a name, select the Target delivery address, select the archive option and then enter in a Large Item limit if you need to. Click Next to start.
https://collaborationpro.com/wp-content/uploads/2016/01/12-300x273.png
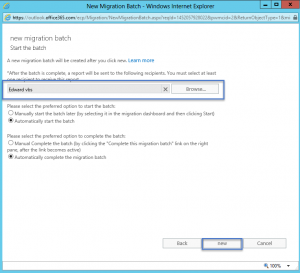
In this window you can select which user will receive the report for when the migration completed or failed etc. and you can specify the how the batch will complete, either manually or automatically.
Once done, click the New button. The rest is the same as with moving a user in Exchange 2013 On-premis.
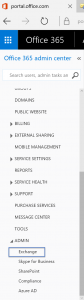
The other way to get to this same window is to open portal.office.com, sign-in with your tenant and then scroll to the bottom, Expand Admin and select Exchange as per below:
https://collaborationpro.com/wp-content/uploads/2016/01/13-84x300.png
You will see the same window:
https://collaborationpro.com/wp-content/uploads/2016/01/14-300x154.png