Office 365: How to schedule a script using Task Scheduler
Configuration Steps
Often times as an Office 365 Administrator, there are opportunities to automate tasks. However, getting Exchange Online or other Office 365 related scripts to successfully launch from Task Scheduler can prove challenging. This article will help navigate the typical hurdles involved.
First test your script or Exchange commands from an Office 365 PowerShell session. If it can't run there, it will certainly fail as a scheduled task.
In Task Scheduler create a Basic Task
Choose a schedule.
Choose “Start a program” as the Action
Add the following syntax to add for the Program/script text entry box.
C:\Windows\System32\WindowsPowerShell\v1.0\powershell.exe
Verification of the PowerShell path can be made by selecting the Browse button. This is the default path however for all PowerShell so far.
Add the following syntax in the "Add arguments" text box.
-NonInteractive -WindowStyle Hidden -command ".’<Your Script>’"
Replace <Your Script> with the path and name of the Office 365 script to schedule. If Fabrikam administrator is running the Get-O365ActivesyncLogs.ps1 script from a folder named scripts, the full arguments section needs the following syntax:
-NonInteractive -WindowStyle Hidden -command ".'c:\users\administrator.fabrikam\scripts\Get-O365ActivesyncLogs.ps1'"
At the finish of the Basic Task Wizard, select the option to “Open the Properties dialog for this task when I click Finish” to configure some advanced configuration needed.
At the general tab, specify "Run whether user is logged on or not" (this is critical for RBAC) and "Run with the highest privileges" (this is necessary for User Account Control)
(Optional) If you need the script to run more frequently than daily, simply create multiple daily triggers varying the start time.
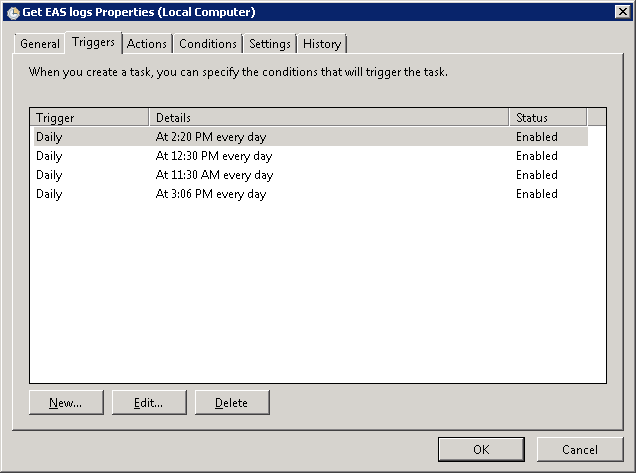
Saving the Task will prompt for credentials. The only privileges the account needs is the ability to launch powershell as a local admin. The script will have the Office 365 credentials in it.
Securing the Office 365 credentials necessary to run your script is the tricky part. A secure way to store your Exchange Online password for automation is to use the following command to store an encrypted version of the password in plain text that can only be decrypted using the private key of the user logged on that ran the convertfrom-securestring command in the first place. For more information check out the article "Working with passwords secure strings and credential in windows powershell".
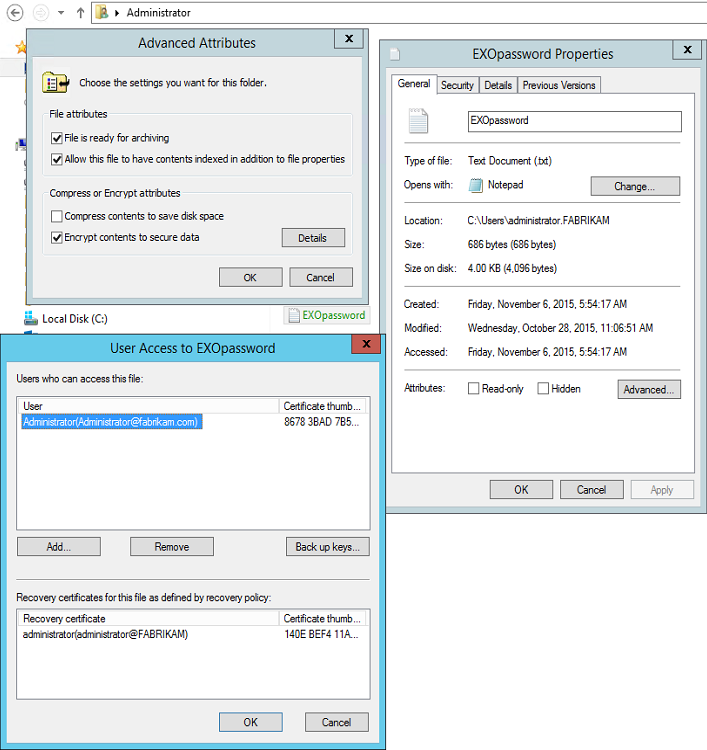
Read-Host -AsSecureString | ConvertFrom-SecureString | Out-File ~\EXOpassword.txtAs an extra precaution, you can also encrypt the EXOpassword.txt using file level encryption with the same account used in the Task Scheduler credential prompt.
Then, inside your script, you can securely access the encrypted plain text password secured with NTFS with the following lines:
$password=get-content ~\EXOpassword.txt | ConvertTo-SecureString

$userid='administrator@fabrikam.com'

$cred=New-Object System.Management.Automation.PSCredential $userid,$password
To see a full script using this technique, check out the Get-O365ActivesyncLogs.ps1 available on GitHub.
Troubleshooting and verification
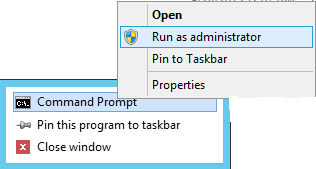
If the commands or script have already been verified from an Office 365 PowerShell session, the next step is to verify the commands or script can run from the workstation environment using an elevated command prompt.
Here's an example for an Office 365 command.
C:\Windows\System32\WindowsPowerShell\v1.0\Powershell.exe -noExit -Command "$exchangeSession = New-PSSession -ConfigurationName Microsoft.Exchange -ConnectionUri https://outlook.office365.com/powershell-liveid/ -Credential (Get-Credential) -Authentication "Basic" –AllowRedirection; Import-PSSession $ExchangeSession; Get-OrganizationConfig; Remove-PSSession $ExchangeSession"
Here's an example for an Office 365 script.
C:\Windows\System32\WindowsPowerShell\v1.0\Powershell.exe -noExit -Command ".'c:\users\administrator.fabrikam\scripts\Get-O365ActivesyncLogs.ps1'"
The -noExit is important for this troubleshooting step so the results will be on the screen as opposed to the -NonInteractive -WindowStyle Hidden behavior desired in the scheduled task.
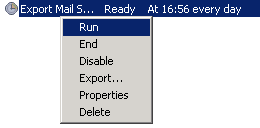
The Scheduled Task can then be verified further by right-clicking the task and choosing Run:
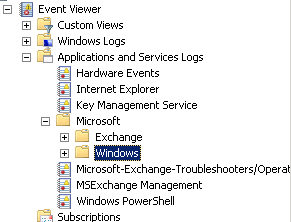
Additional troubleshooting can be found in the crimson channel logging. You can access this directly from the event log, or check the history tab of the scheduled task.
Microsoft-Windows-TaskScheduler/Operational
It’s a good idea to use scripts that have their own error logging, however. If the task scheduler reports a result code of 0, that means the task ran successfully. But, if the expected result of the script wasn’t realized, there isn’t a way to tell what went wrong without error logging initiated from the script.
Acknowledgements
Much of this content was taken from Steve Goodman’s blog post on MSExchange.org
