Setup SharePoint Server 2016 IT Preview VM on Azure
In Progress. Please Do Not Edit
Introduction
This article describes how we can setup SharePoint Server 2016 IT Preview VM on Azure. Also we will explore some of the features of SharePoint 2016.
VM Setup
Before we start with VM setup, we have to make sure that there is a working Azure subscription. Best thing to start with is to sign up for a free one month trial Azure subscription. To register for this free subscription, see below post-
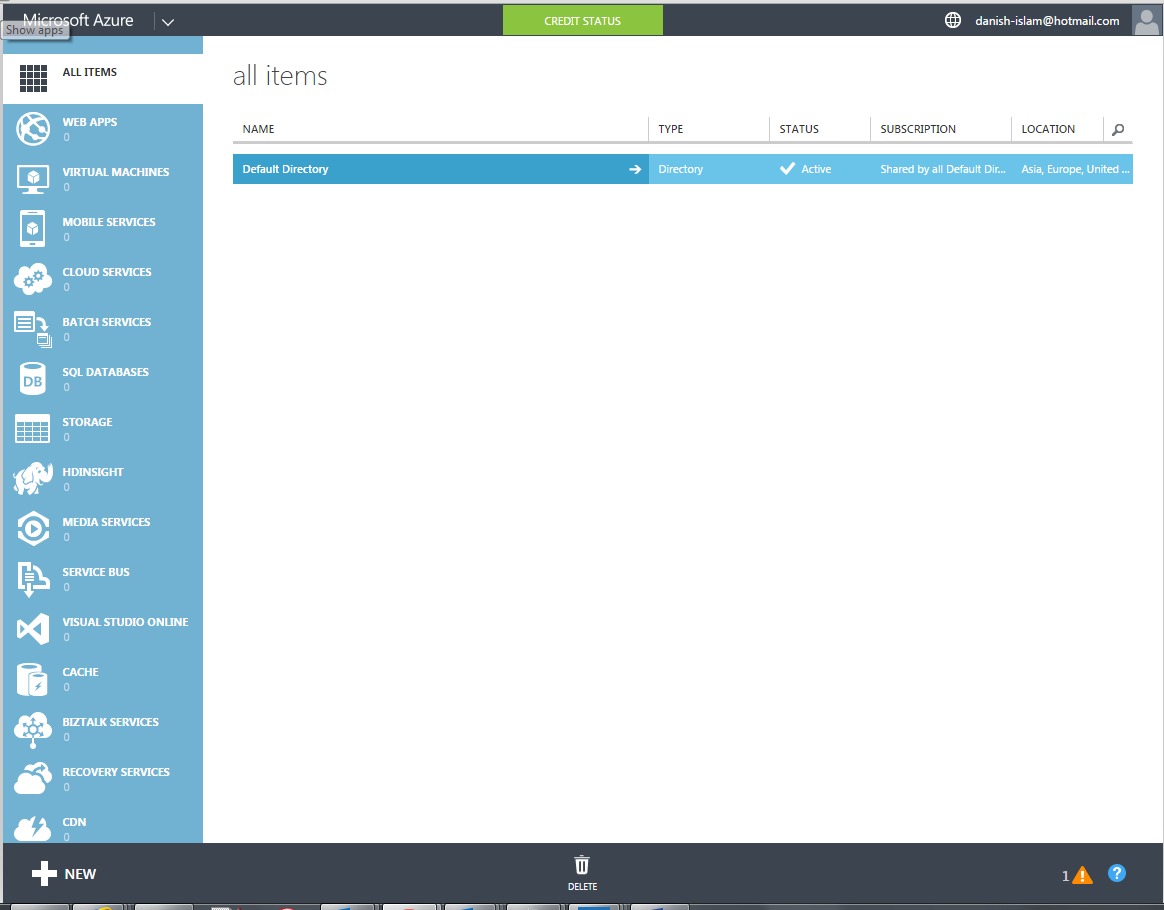
After subscribing, login to Azure portal, you will screen as below-
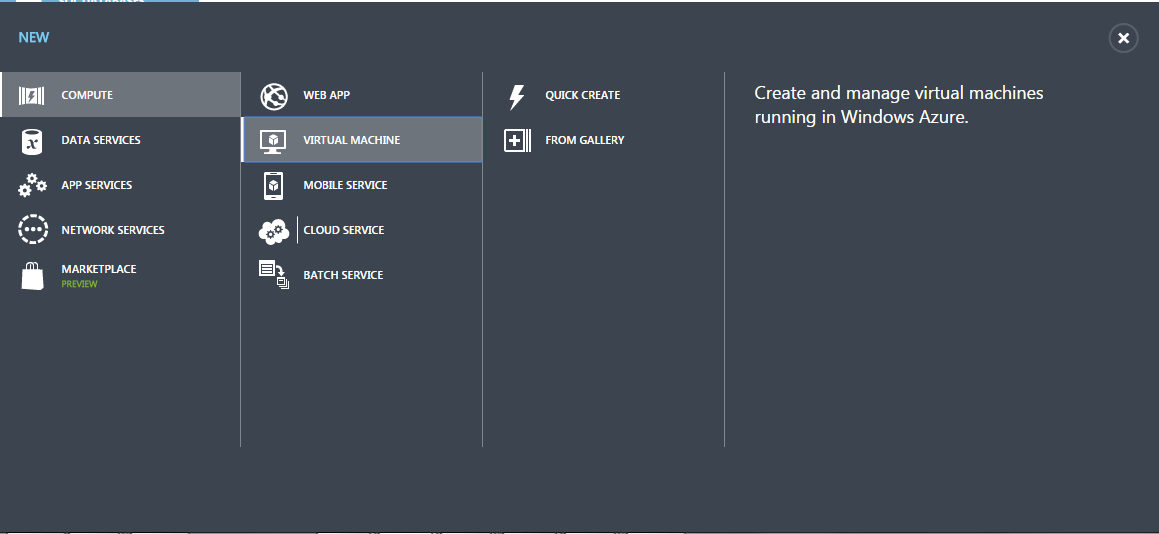
Now click on "+New" from bottom ribbon and select Compute -> Virtual Machine -> From Gallery
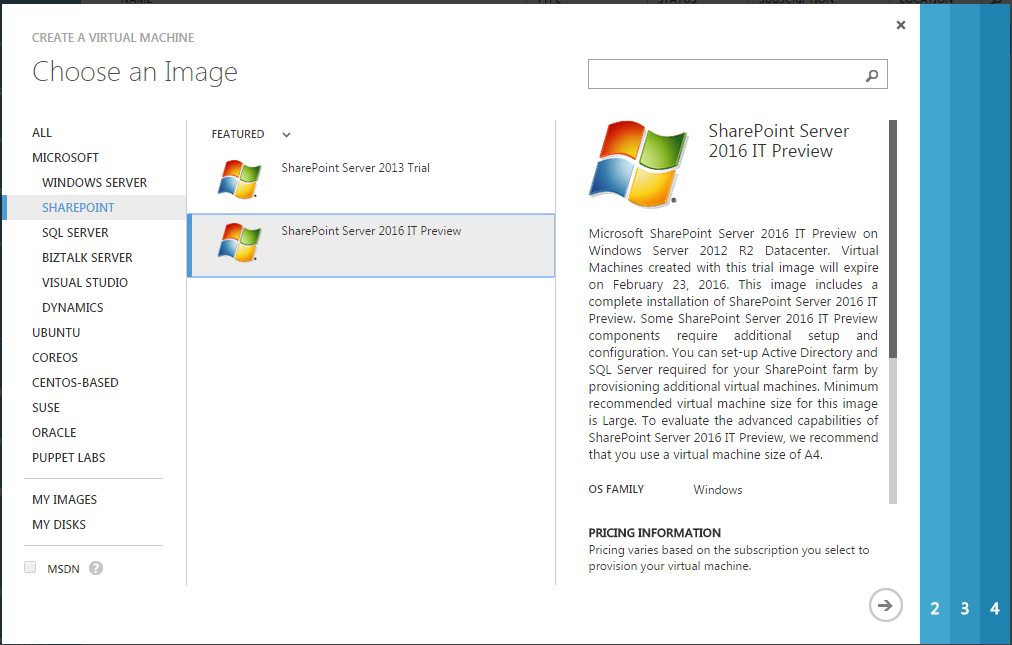
Now choose an Image -> Microsoft -> SharePoint -> SharePoint Server 2016 IT Preview. Click on arrow at bottom to move to page 2.
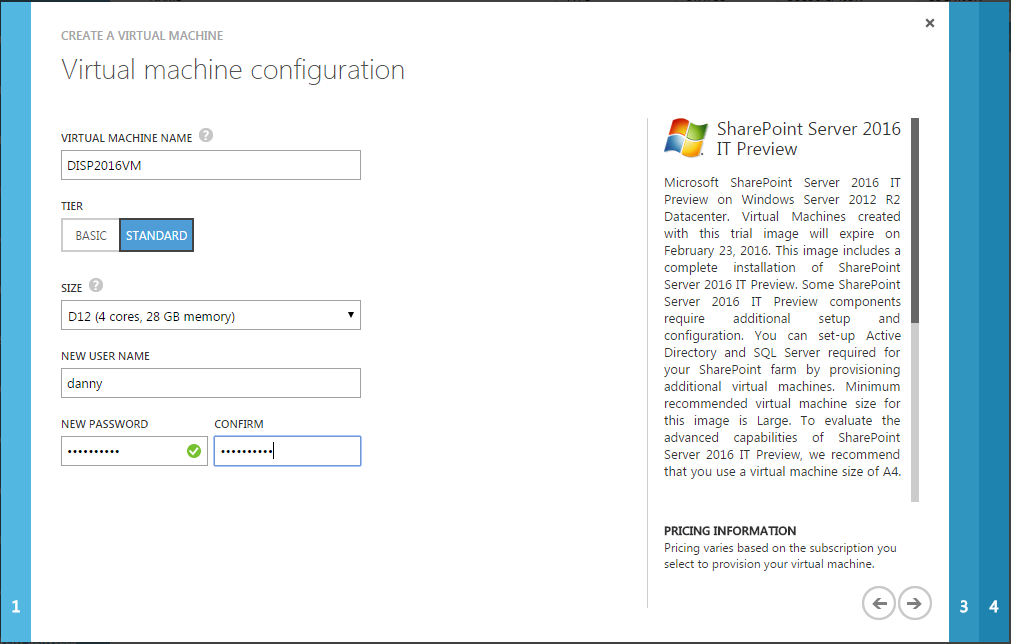
Here provide VM Name, User Name and Password (User Name and Password is different than used to login to Azure). Leave other fields default. Click on arrow at bottom to move to Page 3.
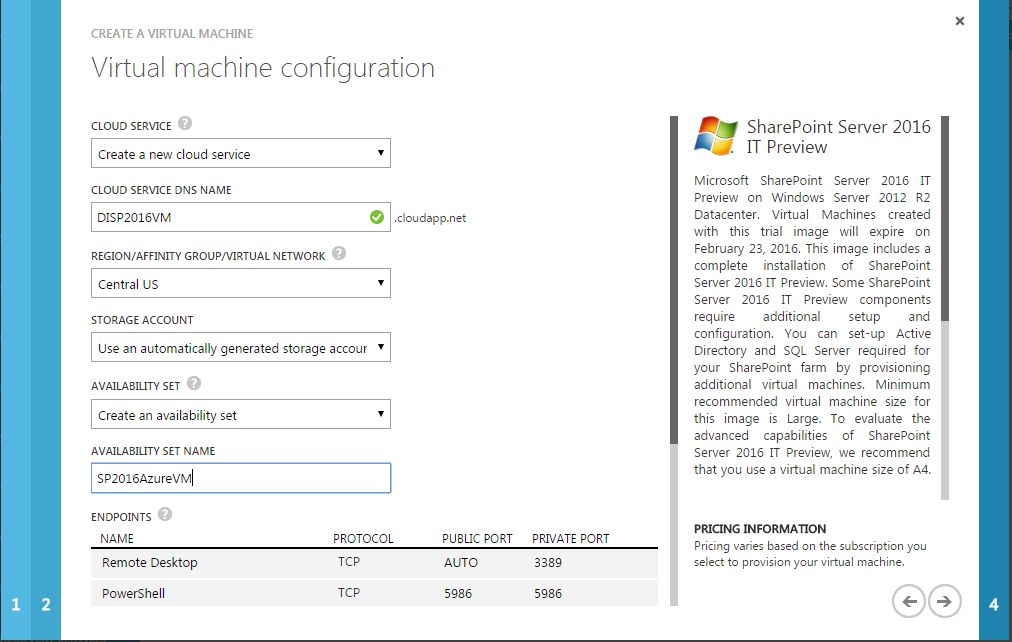
Here provide below details and leave others as default-
- Provide Cloud Service DNS Name
- Select Region/Affinity Group/Virtual Network
- Under Storage Account, select "Use an automatically generated storage account"
- Under Availability Set, select "Create an Availability Set" and provide some name to that
Click on arrow at bottom to move to Page 4.
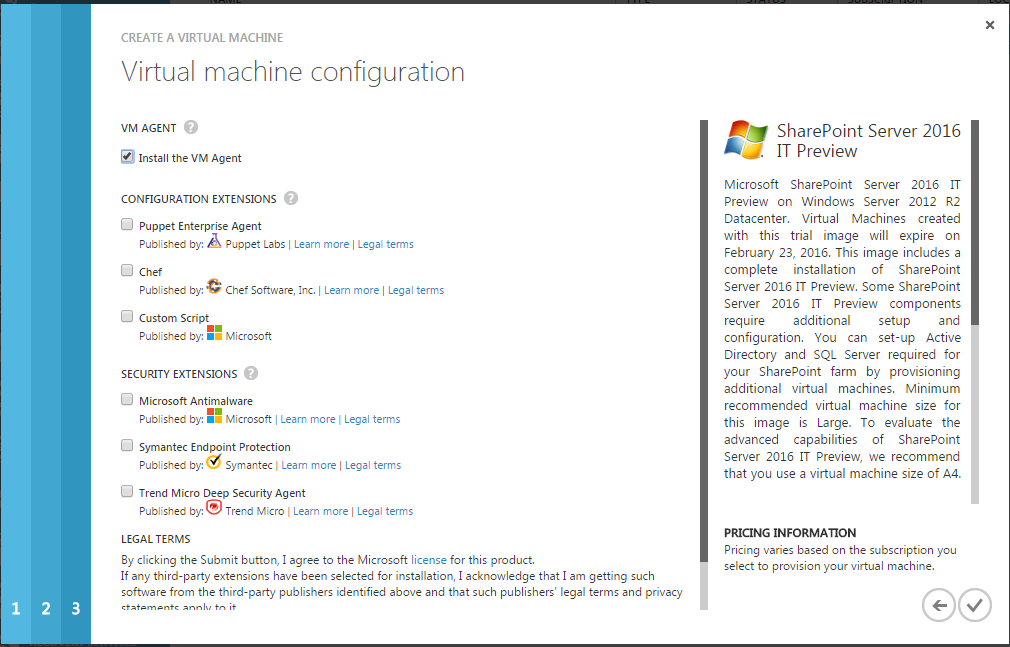
On this screen, select "Install VM Agent" and click tick mark at the bottom to finish setup.
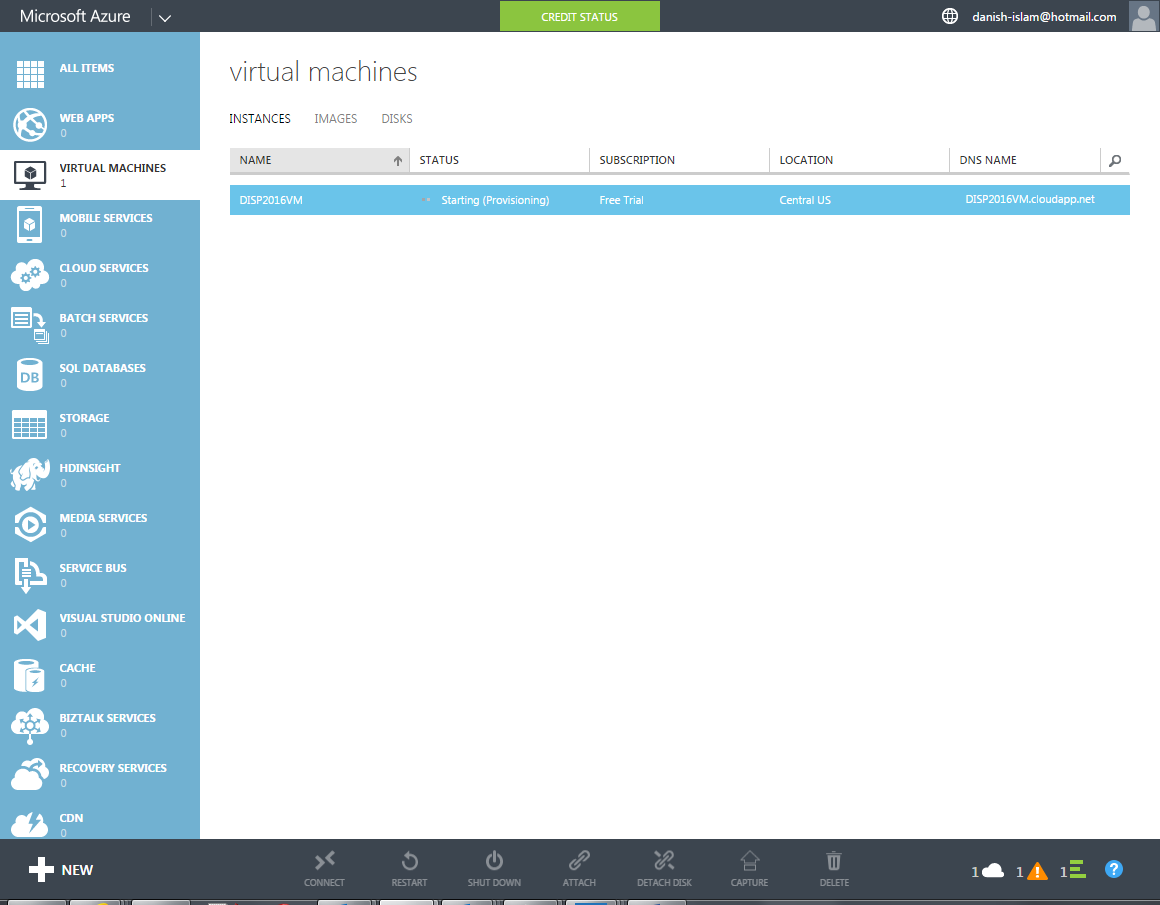
Once setup is finish, you will be redirected to a page where it shows status of VM as "Starting (Provisioning)". See below screenshot-
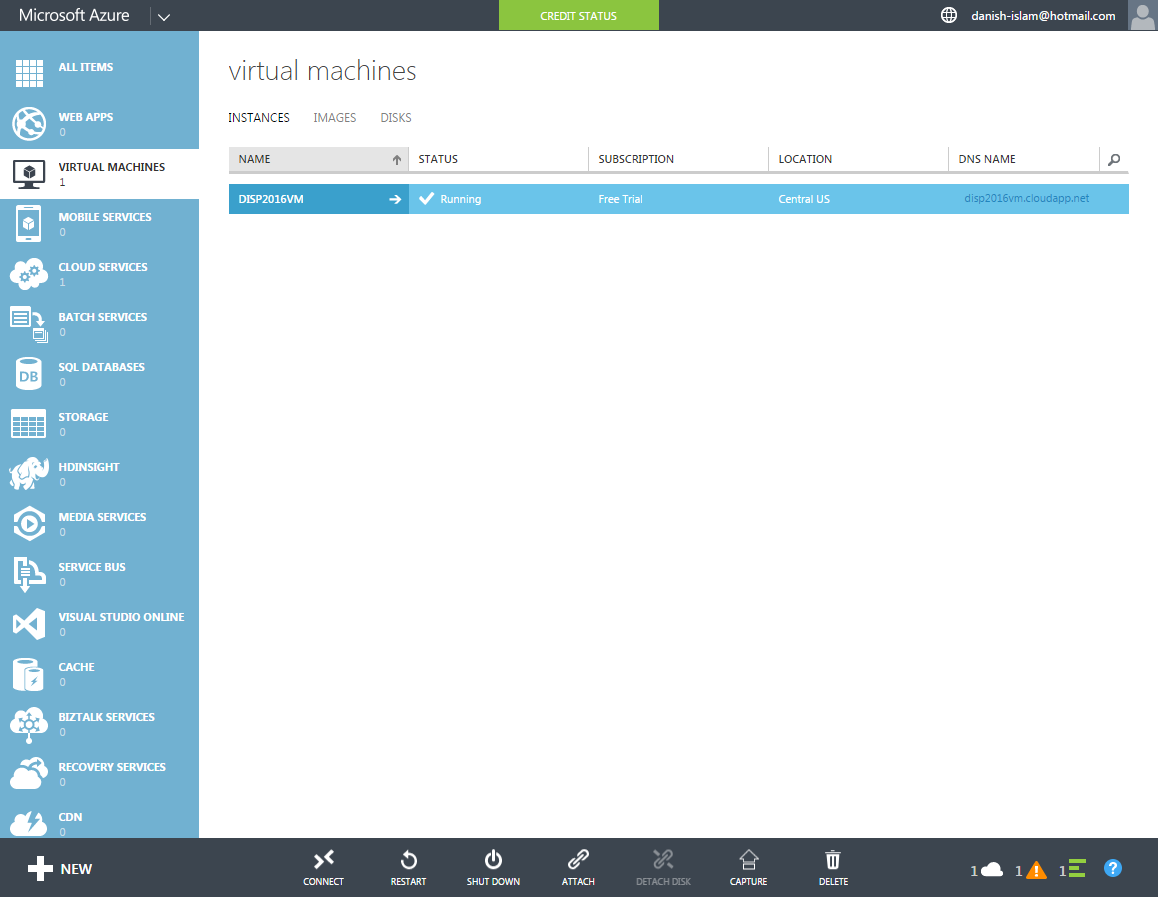
Once VM provisioning is complete, status changes to "Running" and options available at the bottom are enabled.
- Connect - Click on this button to connect to selected VM
- Restart - Click on this button to restart selected VM
- Shut Down - Click on this button to shut down selected VM.
Note:- You should always shut down your VM when not in use to save credit or avoid any unnecessary charges.
Now our VM is ready to use. Lets connect and see what we got.
If you have shut down your VM, before you connect you have to start the VM following below steps-
- Login to Azure Portal (http://manage.windowsazure.com)
- Click on "Virtual Machines" from left navigation panel and then select your VM created in earlier steps. (Status shows as "Stopped (Deallocated)")
- Click on Start from options available at the bottom. System will prompt you with message "Are you sure that you want to start Virtual Machine ?". Click "Yes".
- Status is changed to "Starting" and it will take some time to start the VM. Connect option is now enabled at the bottom.
- When Status is changed to "Running", we are ready to use our VM. Click on Connect. System display a message "The portal is retrieving the .rdp file. You will receive a prompt to open or save the file shortly". When prompted open or save the file.
- Click Ok for the message and open downloaded ".rdp" file.
Connecting to VM
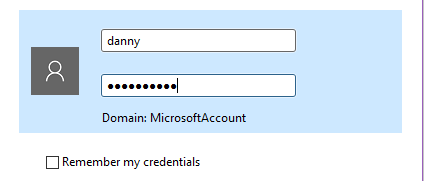
Click on .rdp file and provide credentials as created in above steps to login to VM
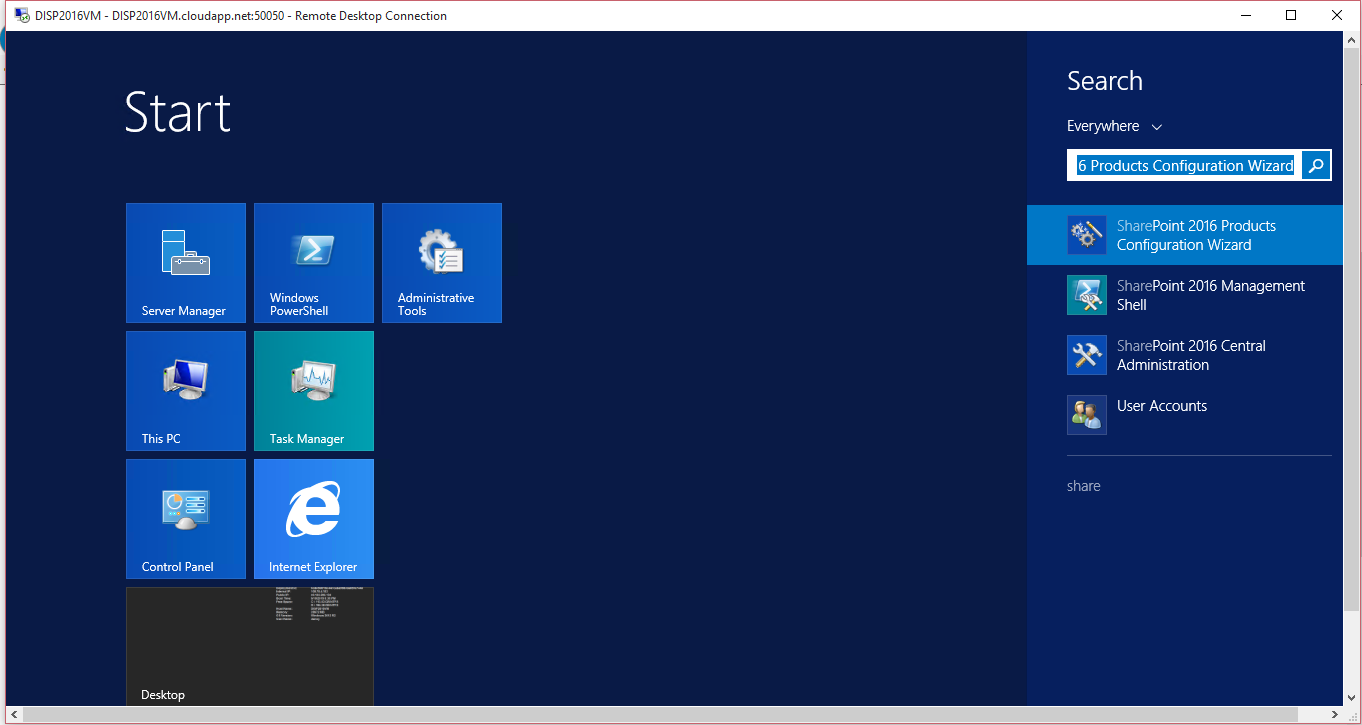
Click on Start Icon -> Search. In search text box type SharePoint and select SharePoint 2016 Central Administration from results. (See below screenshot)
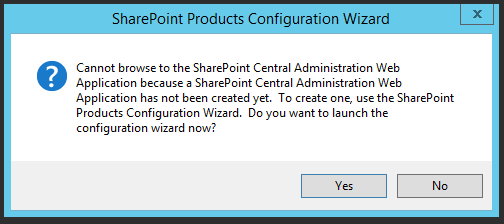
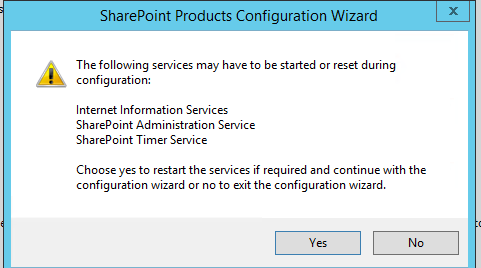
After selecting "SharePoint 2016 Central Administration", you will get below prompt. Click to Yes to launch SharePoint Configuration wizard.
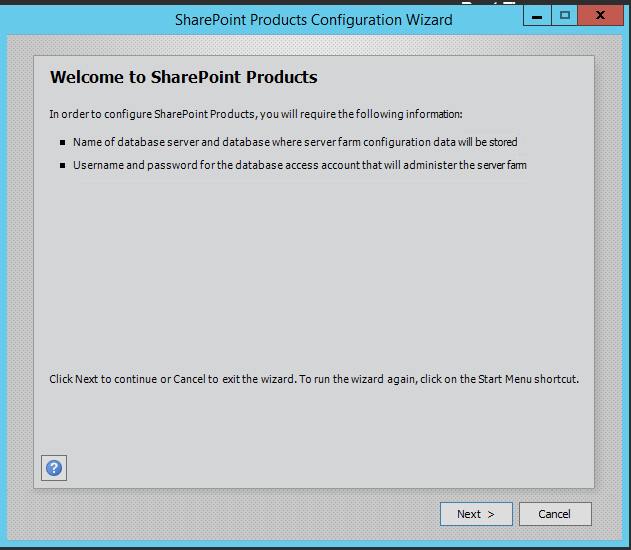
This is the Step 1 of Configuration Wizard. Click Next to proceed.
On clicking next, system will prompt to start/stop few services. Click Yes.
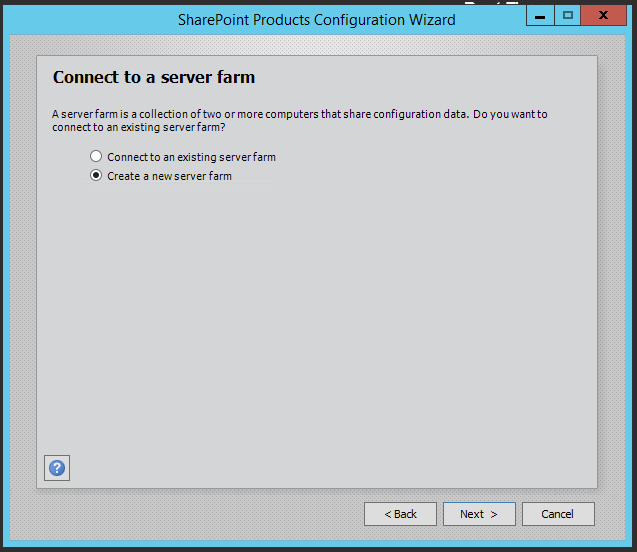
On "Connect to a Server Farm" - Select "Create a New Server Farm" and Click Next.
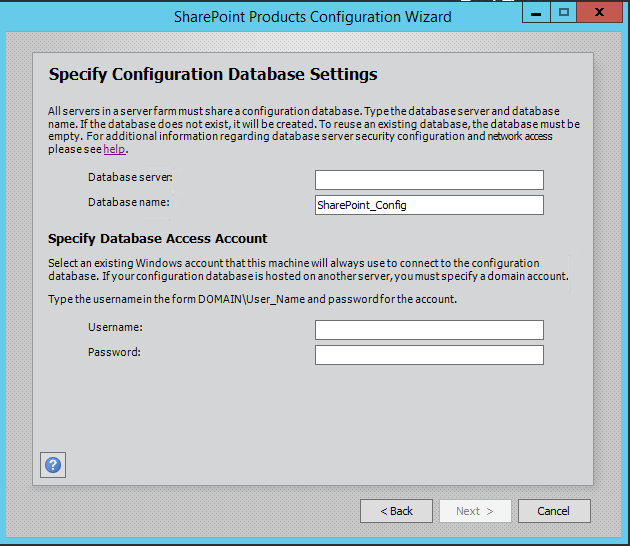
At this step, you have to provide database details and user id/password to access database. But here you wonder, where are the database details.
