Convert and Edit Microsoft Office Live Meeting Recordings
Introduction
Microsoft Office Live Meeting has a built in recording feature, which allows multiple people to share a presentation, and content.
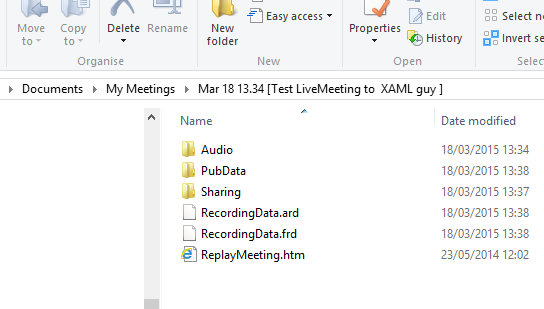
The recording output is actually a folder, with an HTML page that generates a playback of the meeting, combining the different bits of video and content from presenters
This is however, no good for sharing on social media, so here is a quick guide on how to convert it, and also some basic tips on audio editing.
I gather it is soon to be replaced with Skype, but if it helps someone else, then it was worth my time...
Convert to WMV
Download Recording Converter for Microsoft Office Live Meeting 2007
Simply install this nifty tool and run. Point it at the root folder of the recording you want to convert.
If it was the same computer you recorded it on, you should have no problems, and get a WMV produced at the end.
If you use another machine, you may not have the same codecs, and will not be able to convert, or even play the separate wmv files within the child folders (separate audio and video files). There are ways to find which codec is missing and install them.
Edit the audio
Live Meeting audio is saved in WMV video format, so unless you have an editor that edits WMV audio, you'll have to convert it into another format like MP3 or WAV. I want to use Audacity to edit my audio, which doesn't take WMV.
Extract audio
Go search for and find your preferred tool for separating out the audio. There are many. I chose aTube Catcher. I will not even link to it here. You can choose to go to their official site, or download from cNet or other semi-reputable sources, but BE WARNED, the programs usually come with a LOAD of extra JUNK like browser plugins and search bar addons, that are nothing more than a form of suspicious adware and snooping tools. JUST be careful to untick or decline the extras, as you go through - NOT JUST NEXT, NEXT, NEXT.
With aTube Catcher, I extracted the audio as a WAV.
Edit the audio
Then I opened this WAV file in Audacity. Now this is a great tool that's been around for ages and loved by all.
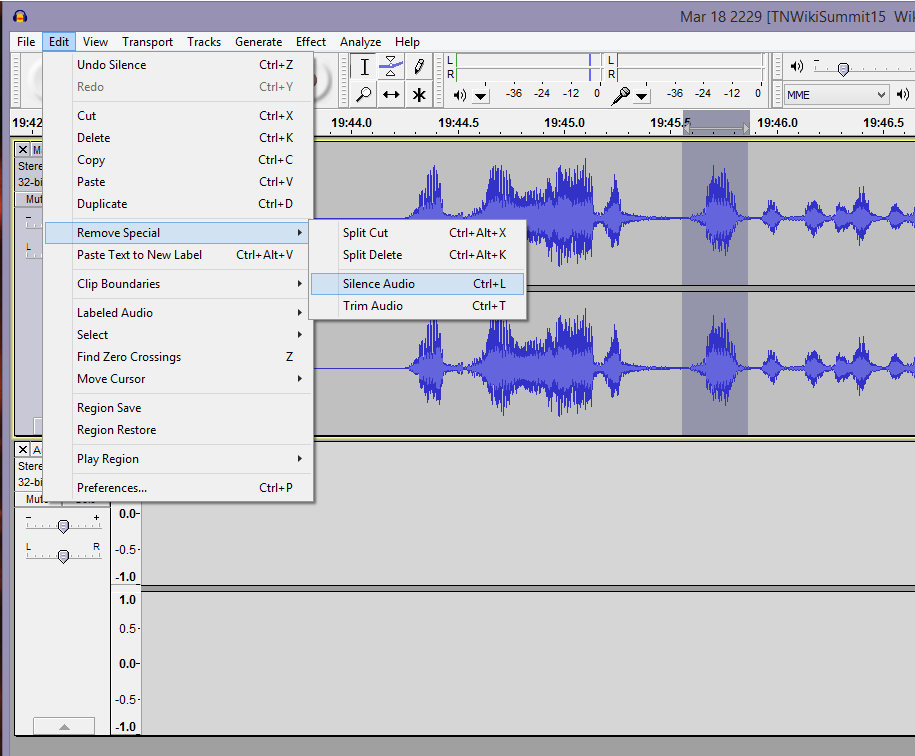
In the image above, I played the audio until I find an "erm" - quite a few in this presentation :/
Then I hit pause, select the bit that I want to change, stop the playback and select the menu options "Edit", "Remove Special", "Silence Audio".
This is great for web casts, as they often cut out to save bandwidth if no one is speaking, so gaps in audio are common and not noticed.
If you can reproduce the same quality and sound to the original recording, you can hit the record button, and add your new audio to replace the removed bit.
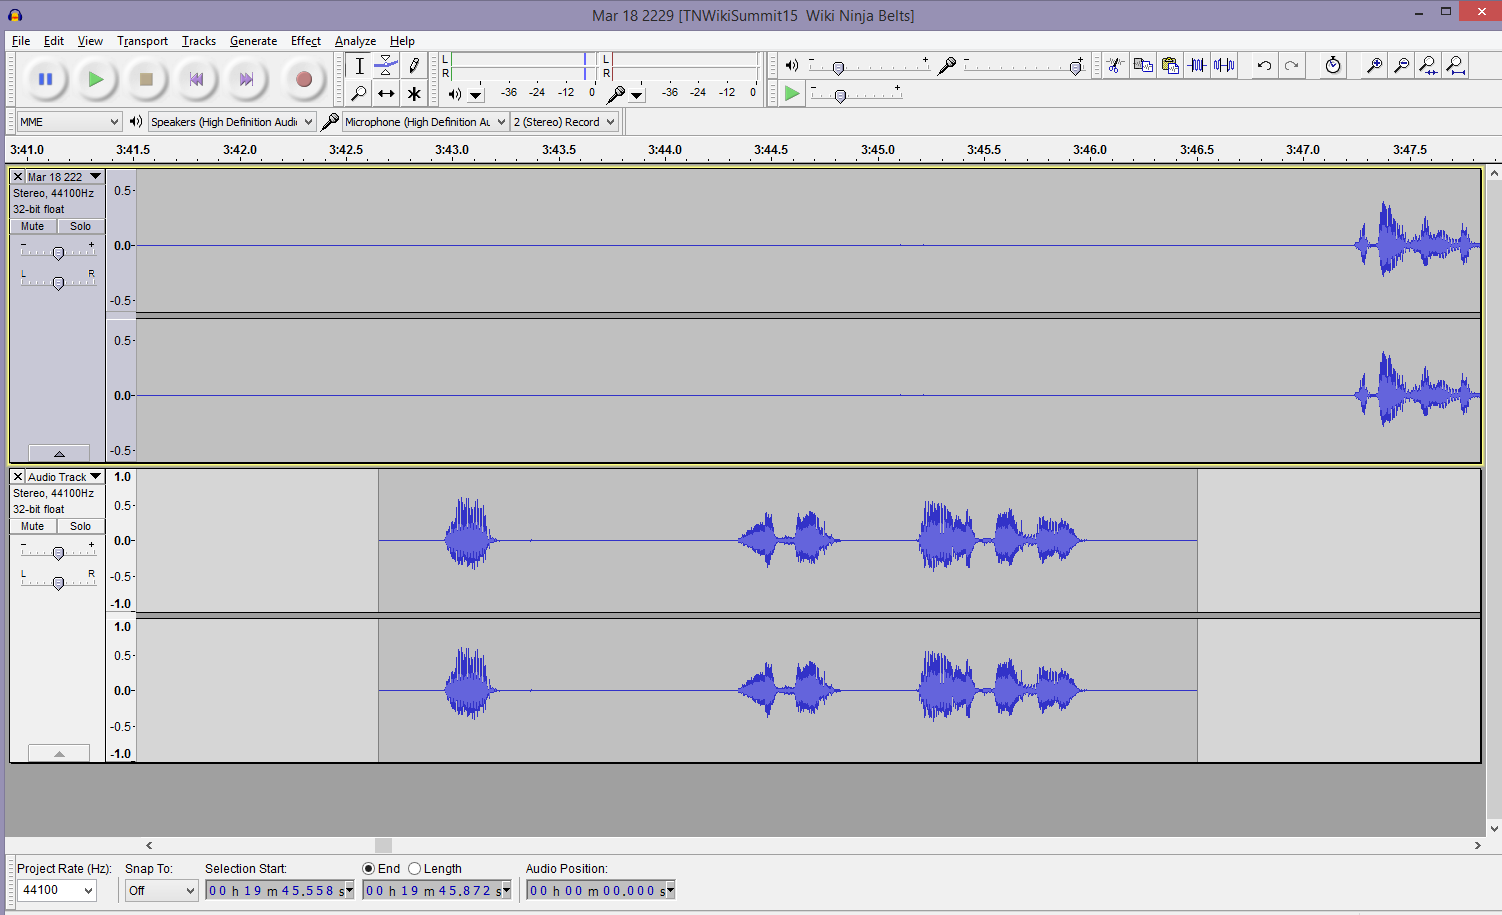
You can add this to the original track, or add a new Stereo track beneath the first, and do it there. You can also copy and paste chunks, thereby repeating, filling gaps or moving audio up or down the timeline, as shown below.
Finally, export your new audio (it will combine any extra tracks you added) in a format you choose.
Putting it all back together again
For this I used Windows Movie Maker. Quite a reputable company, so you'd think you're OK, but it comes as part of Microsoft Essentials, and my advice is to go the custom install route, and at least remove MSN Messenger.
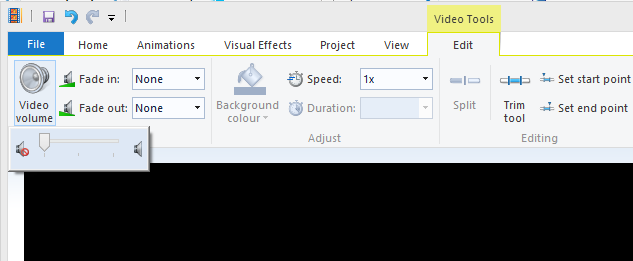
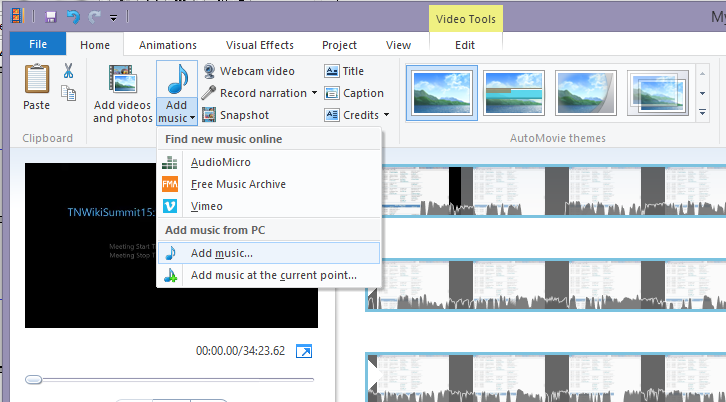
Open the original WMV file that "Recording Converter for Microsoft Office Live Meeting" made at step 1. You need to silence the original audio, and overlay your new audio. This is very simple, two options as shown below.
Silence Audio
Add New Audio
All done!
Now just export your new movie and we're all done!
