SharePoint 2010: Author's Image for Blog Posts
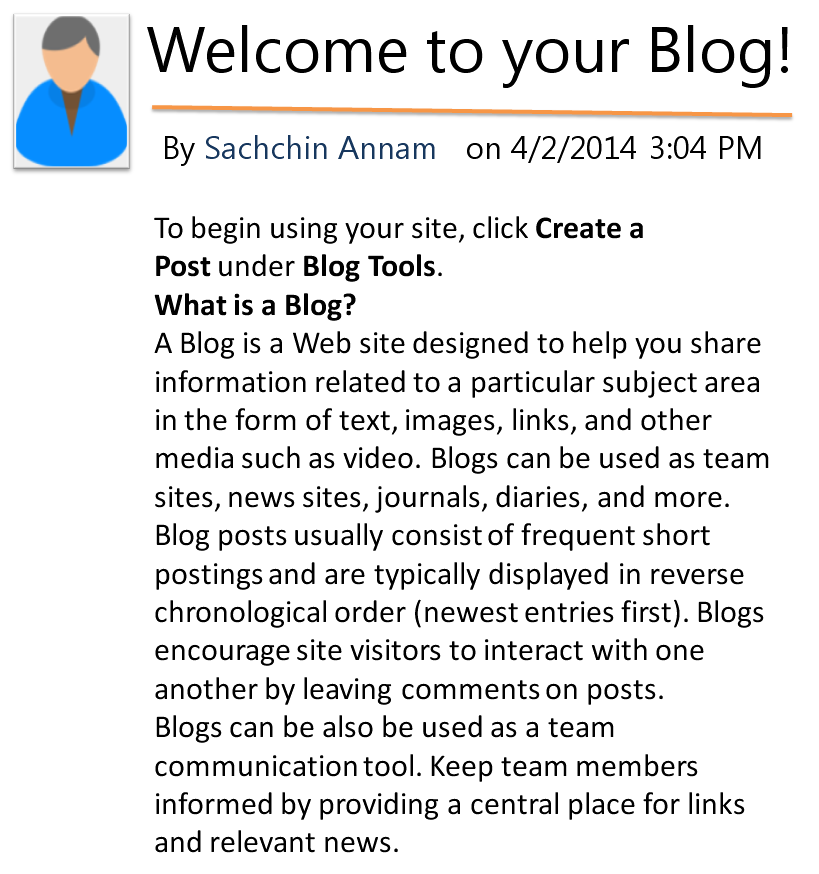
When you get a requirement fetch Author’s profile image on the Blog Posts. That is to have Authors image besides Post Title
http://1.bp.blogspot.com/-bazmZMCkVM8/Uz8A75ifvRI/AAAAAAAABJI/kJI9oQCStYM/s1600/untitledblog.PNG
How to achieve it?
As a developer, we can suggest many answers to this question like developing a custom webpart which will fetch data from Post List and through that we can also fetch Author’s profile image and place it on our webpart then DONE.
What if…
If your SharePoint Web Application contains 25-30 Site Collections and within those site collections you have ‘n’ number of Sites and sub Sites. The above creating webpart idea will work fine for couple of sites but it will be tedious for a developer when number of Sites and Subsites are more.
Next?
If you’ve ever noticed SharePoint Hive folders, you will notice SharePoint renders data through some XSLT files. Even for Blogs SharePoint uses Blog.xsl. Few steps to achieve Author’s Image on Blog Posts:
• Take the backup/copy of Blog.xsl
• Open the Blog.xsl in Visual Studio Editor or any other Editor.
• Open your blog site in any browser and open developer tools.
• Through developer tools, inspect the element of date box which is displayed left to the Blog Post Title.
• You will find one td tag with css class defined as "ms-leftblogdate"
• Under this tag, you will find three div
tags with ids “PostDateTopBox” , “PostDateBottomBox” , “PostDateBottomBox” respectively.
Comment out those tags like this:
http://3.bp.blogspot.com/-DeLXhxotbtY/Uz8FBsTDtNI/AAAAAAAABJU/vSqbnLeXkRA/s1600/commented+xslt+code.bmp
And place this below code under that td tag
http://2.bp.blogspot.com/-zAXL2ad25DI/Uz8GBiYiUcI/AAAAAAAABJc/jNKMe80f55Q/s1600/xsltforaouthorimage.PNG
Once done save Blog.xsl and reset your IIS to see the changes.
After resetting the IIS go back to your Blog Post and you will be able to see Author’s image besides Blog Post Title.
In another scenario, if you want author’s image on particular blogs then do the above changes in copied Blog.xsl and save it on root site.
Then open you Blog Post, the posts will be visible on two pages i.e. default.aspx and Post.aspx. Edit those pages and ghost the upload Blog.xsl on Post webpart; click on Apply button of Post webpart properties. DONE.. you will be able to see Author’s image on both the pages.