How to Create Custom MMC and Add TaskPad
If you like to do it in your computer then you have to download RSAT (Remote Server Administrator Tools). For Windows 7 you can download it from here:
http://www.microsoft.com/downloads/en/details.aspx?FamilyID=7d2f6ad7-656b-4313-a005-4e344e43997d
How to create this custom MMC
First, we have to create MMC, and then we have to add Active Directory Users and Computers Snap-In.
- Start -> Run -> MMC
- File -> Add/Remove Snap-In..
- Choose Active Directory Users and Computers
- OK
- Save it to your desktop
If MMC is created, then we can add necessary things. You can add Taskpads for MMC and if you like to create TaskPad then select correct OU e Organizational Unit and select form menu Action -> New TaskPad View.
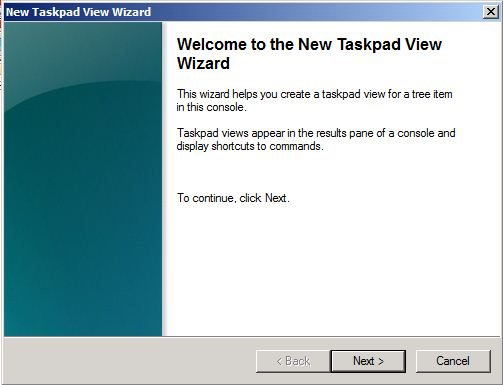
After that, it opens the new Wizard, and with this wizard you can create TaskPad:
***
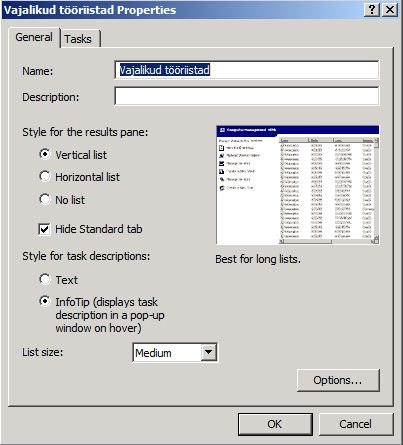
Here you can choose where to create it vertical, bottom, left, and so on:

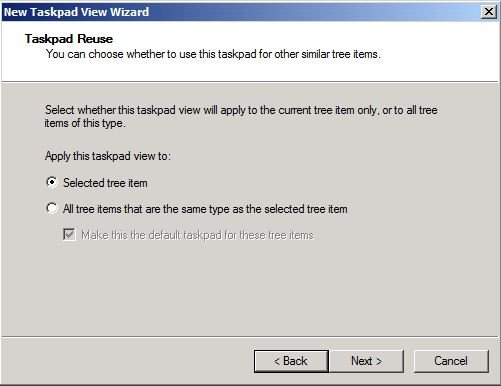
Here you can choose that do you want to create for every OU or only single OU:
Enter the correct Name, for example “Cool tools”:

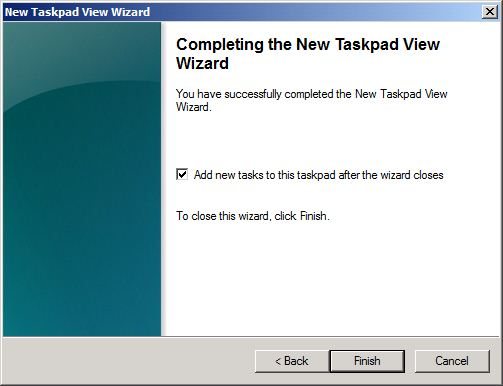
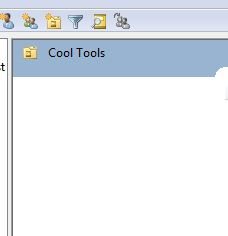
If the Wizard is successfully completed then we can see our MMC “Cool Tools” Taskpad:
**
**
**
What we can add to this TaskPad**
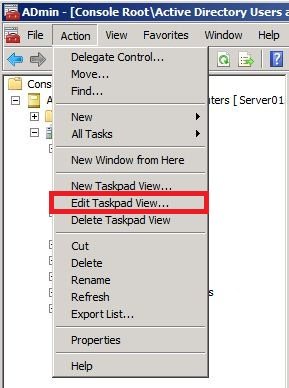
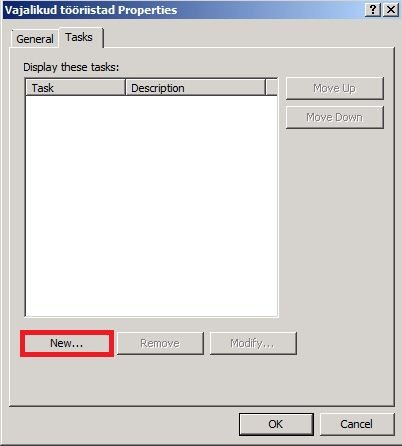
One useful thing that we can add there is RDP e Remote Desktop Connection. If you want to add RDP there, then select OU where you created your TaskPad and select from menu Action -> Edit TasPad View

Choose Tasks tab
Choose New:
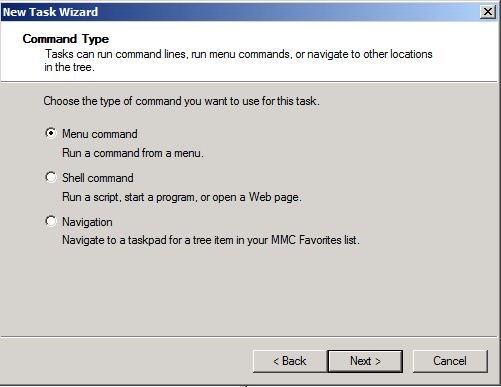
After you pressed the New button, then the new Wizard pops up:

Choose Shell Command:
***
If you want to add RDP, then you have to fill Command and Parameters textboxes. In Command textbox type “mstsc.exe” and Parameters textbox type “/v:$COL<0>“. This “/v:$COL<0>“ means selected computer name:
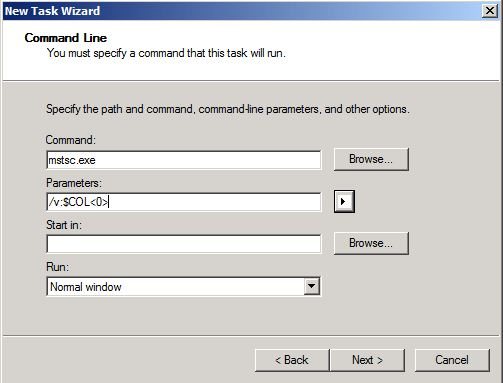
Put the correct name, for example RDP:

**
**
Choose an icon:
**
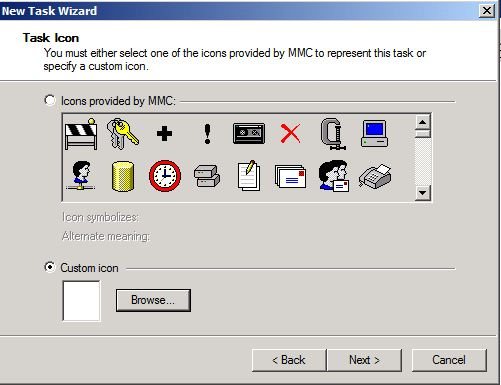
TIP**: If you want to access better icons, then choose a custom icon and specify this DLL file: c:\windows\system32\imageres.dll – only Windows Vista, 7 and so on.

If the wizard is successfully completed, then you see your TaskPad RDP and if you like to start RDP connection then choose computer can click RDP.

This simple task gives us an easier way to connect a remote computer, and we don’t need to type the computer name anymore.
But what else we can add? J
I recommend you add every task that you need your everyday job.
If you want to add Computer Management, then create a new Task again, choose Shell Command, and add this information:
Computer Management.msc
Command: Compmgmt.msc
Parameters: /Computer= $COL<0>
Services.msc
Command: services.msc
Parameters: /Computer= $COL<0>
Event viewer
Command: Eventvwr
Parameters: $COL<0>
If you want to run VB script or PowerShell scripts directly from MMC, then choose Shell Command and then you need to fill Command, Parameters and Start in textboxes.

Your scripts should support parameters.
If you have Configuration Manager in your environment, then you can add Resource Explorer to your MMC. To add Resource Explorer to your MMC, you have to write simple VB script or PowerShell script, and then run the following command. (Please remember that you first install SCCM console to your computer.)
WshShell.run "\" & SCCMServer & "\SMS_" & SCCMSiteCode & "\AdminUI\bin\resourceexplorer.msc -s -sms:ResExplrQuery="& chr(34) & "Select ResourceID FROM SMS_R_SYSTEM WHERE Name='" & strComputer & chr(34) & "' -sms:Connection=\" & SCCMServer &"\root\sms\site_" &SCCMSiteCode
This was a simple overview of how can you use custom MMC and make your life a little bit easier.
**
If your Custom MMC is ready, then do not forgot to save it! J**
Good luck!
Author: Kaido Jarvemets
Configuration Manager MVP, MCITP, MCTS
Blog: Depsharee.blogspot.com
Other Language.
Cómo crear MMC personalizada y agregar cuadro de tareas (es-ES)